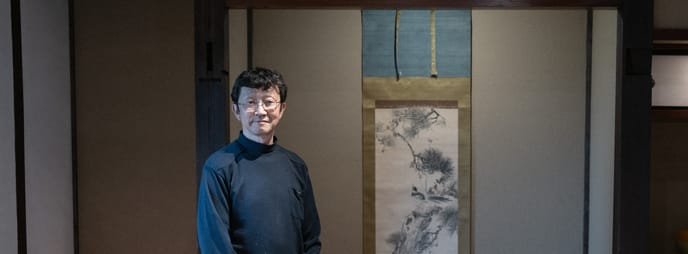
I am just wrapping up another month of study in Japan. Last time I was here, it was for a general intensive Japanese woodworking program over 4 weeks at the Mount Fuji Wood Culture Society—this time, for an artist in residency program to study sashimono. I thought I would have time to drop some updates along the way, but work was all-consuming.
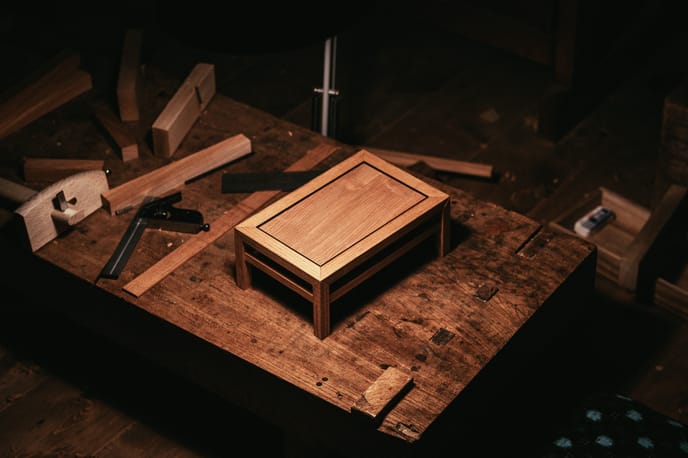
My goal this past month in Japan was to study box making—and, even more specifically, to improve my secret-mitered dovetail techniques. My project was to be a box that Tak-san had loosely designed the last time I was there. This box wasn't made because I was focused on creating and modifying planes, but I wanted to finish it this time.
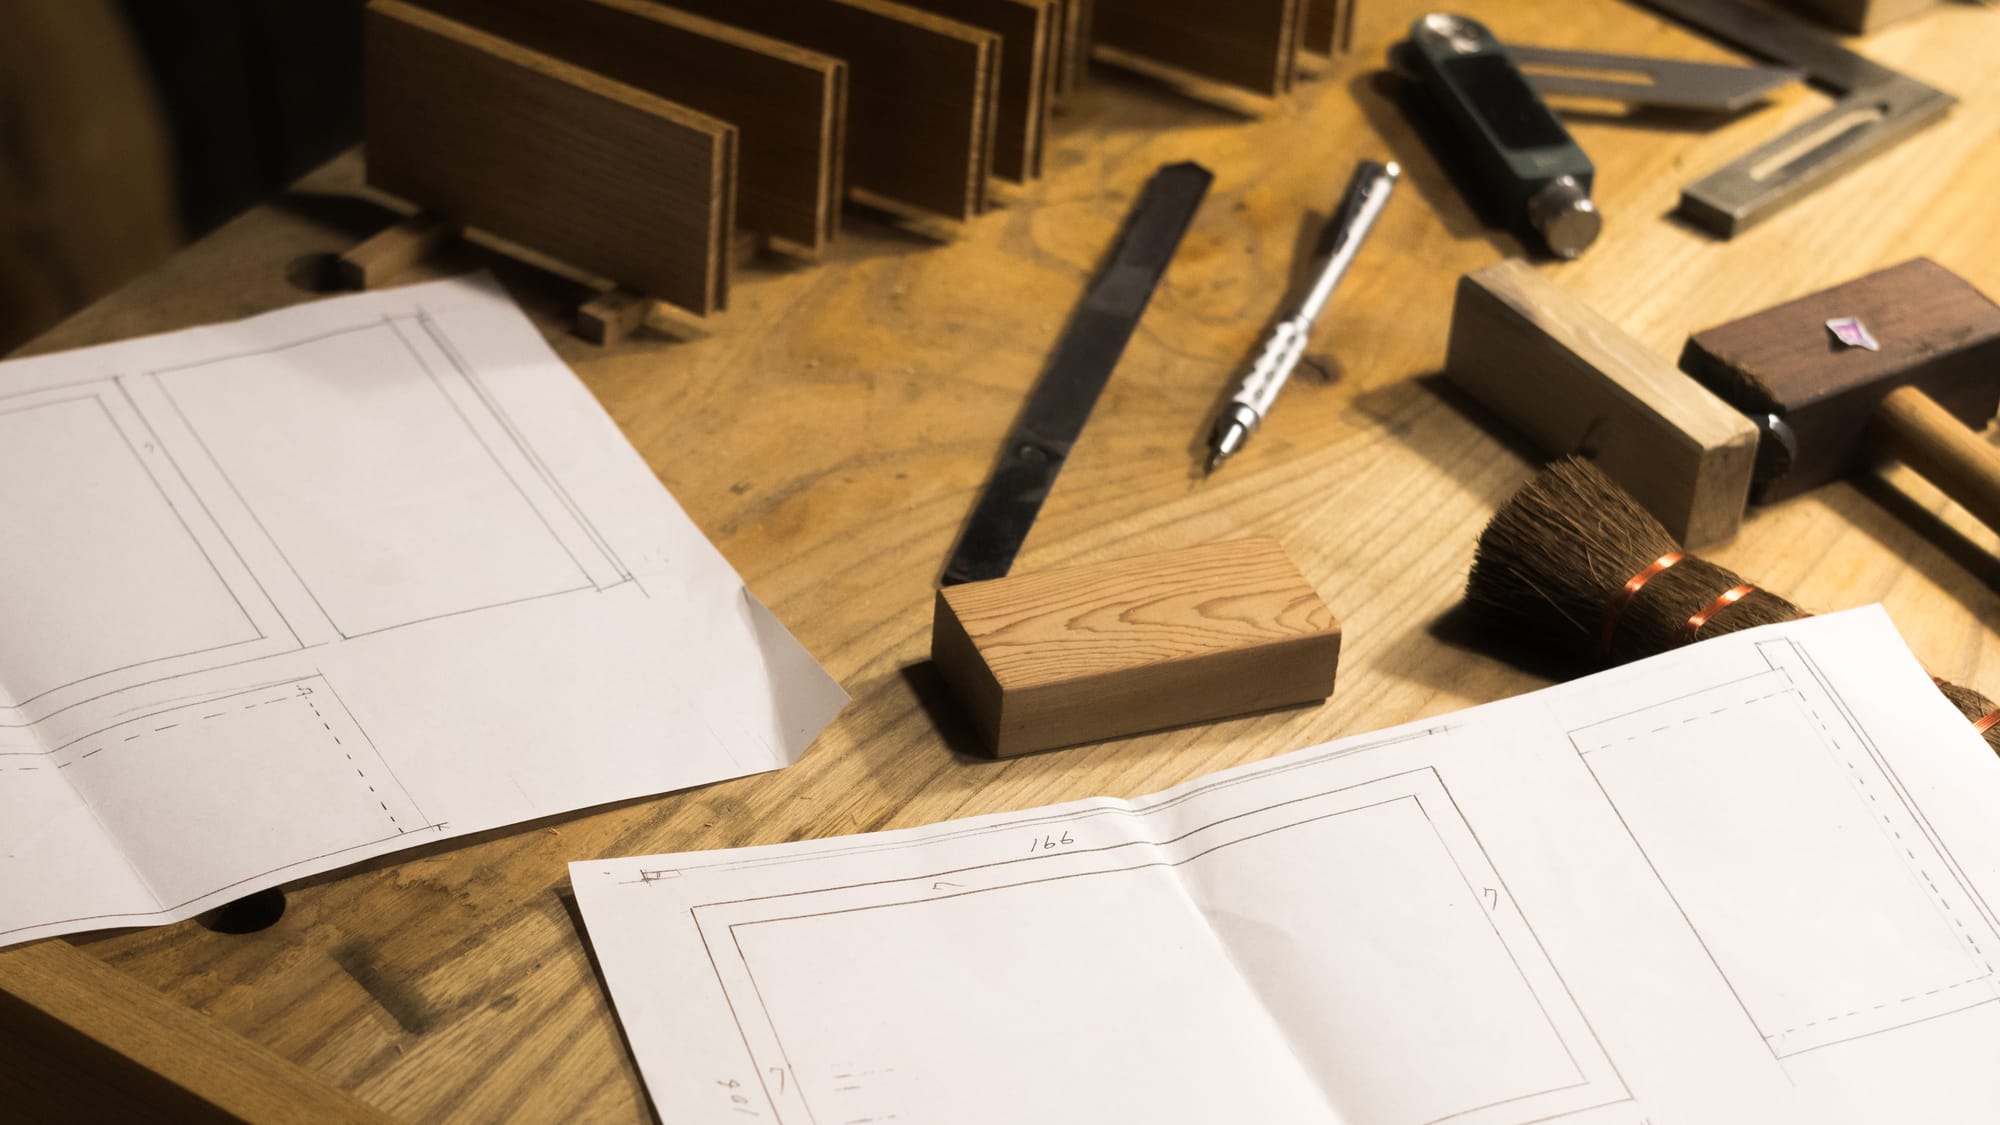
Before discussing this Fall trip, I need to tell you more about the four-week intensive program that I took over the Summer. I was very pleased to see so many of those fundamentals come up as critical skills the second visit, so it would be hard to explain the second month without the context of the first.
That class is meant for people with little experience. But from what I've seen, Western-style woodworkers or even carpentry-oriented Japanese woodworkers of various experience levels can benefit from the program.
Even though this post is over 5000 words long, I estimate it only covers about 10% of what I studied at the school over the month. I highly recommend it for anyone who can take the time to go and has an interest--with experience or not--in woodworking in a powerful and refined style.
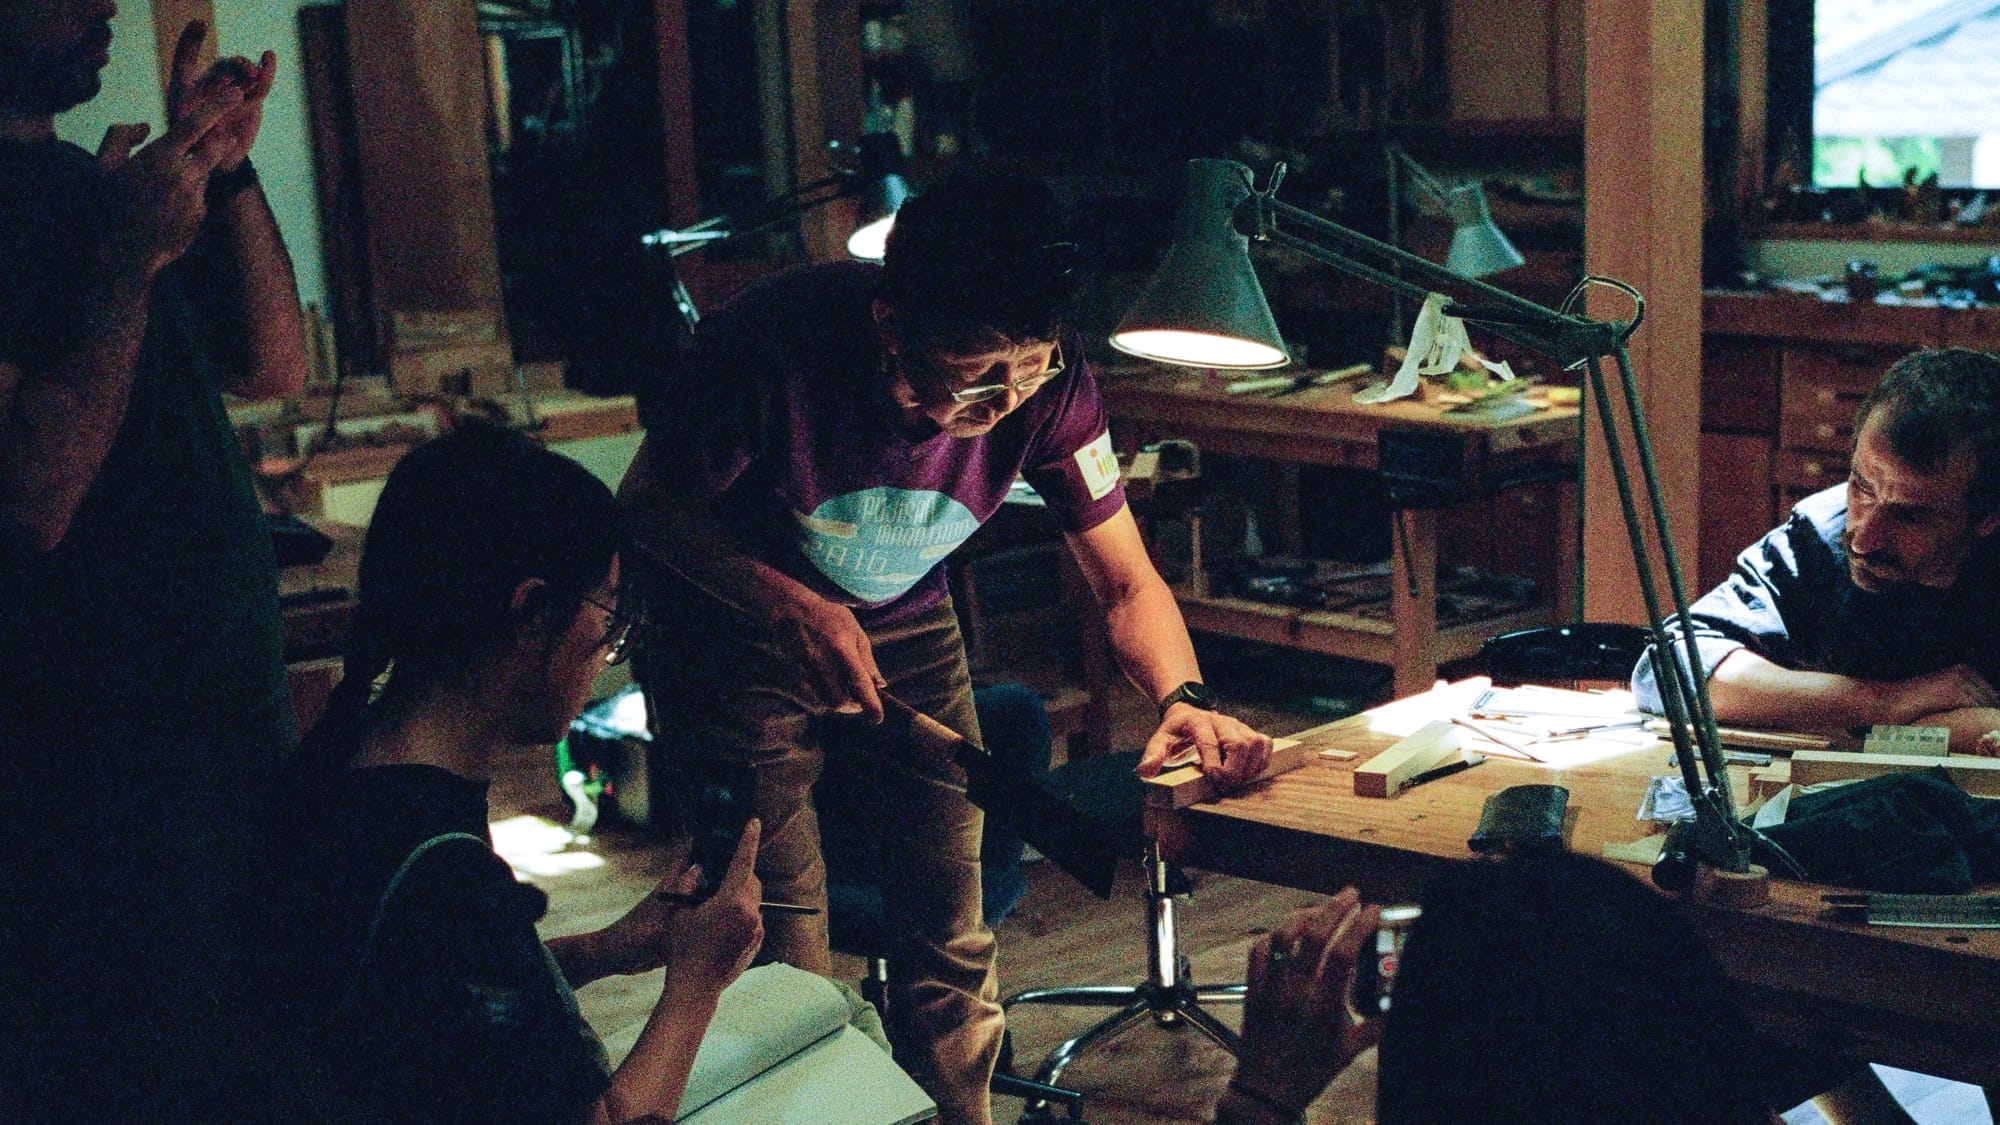
Before woodworking, class gently started with the ins and outs of living on the grounds. It’s a place with a kind energy, reflective of the staff’s spirit.
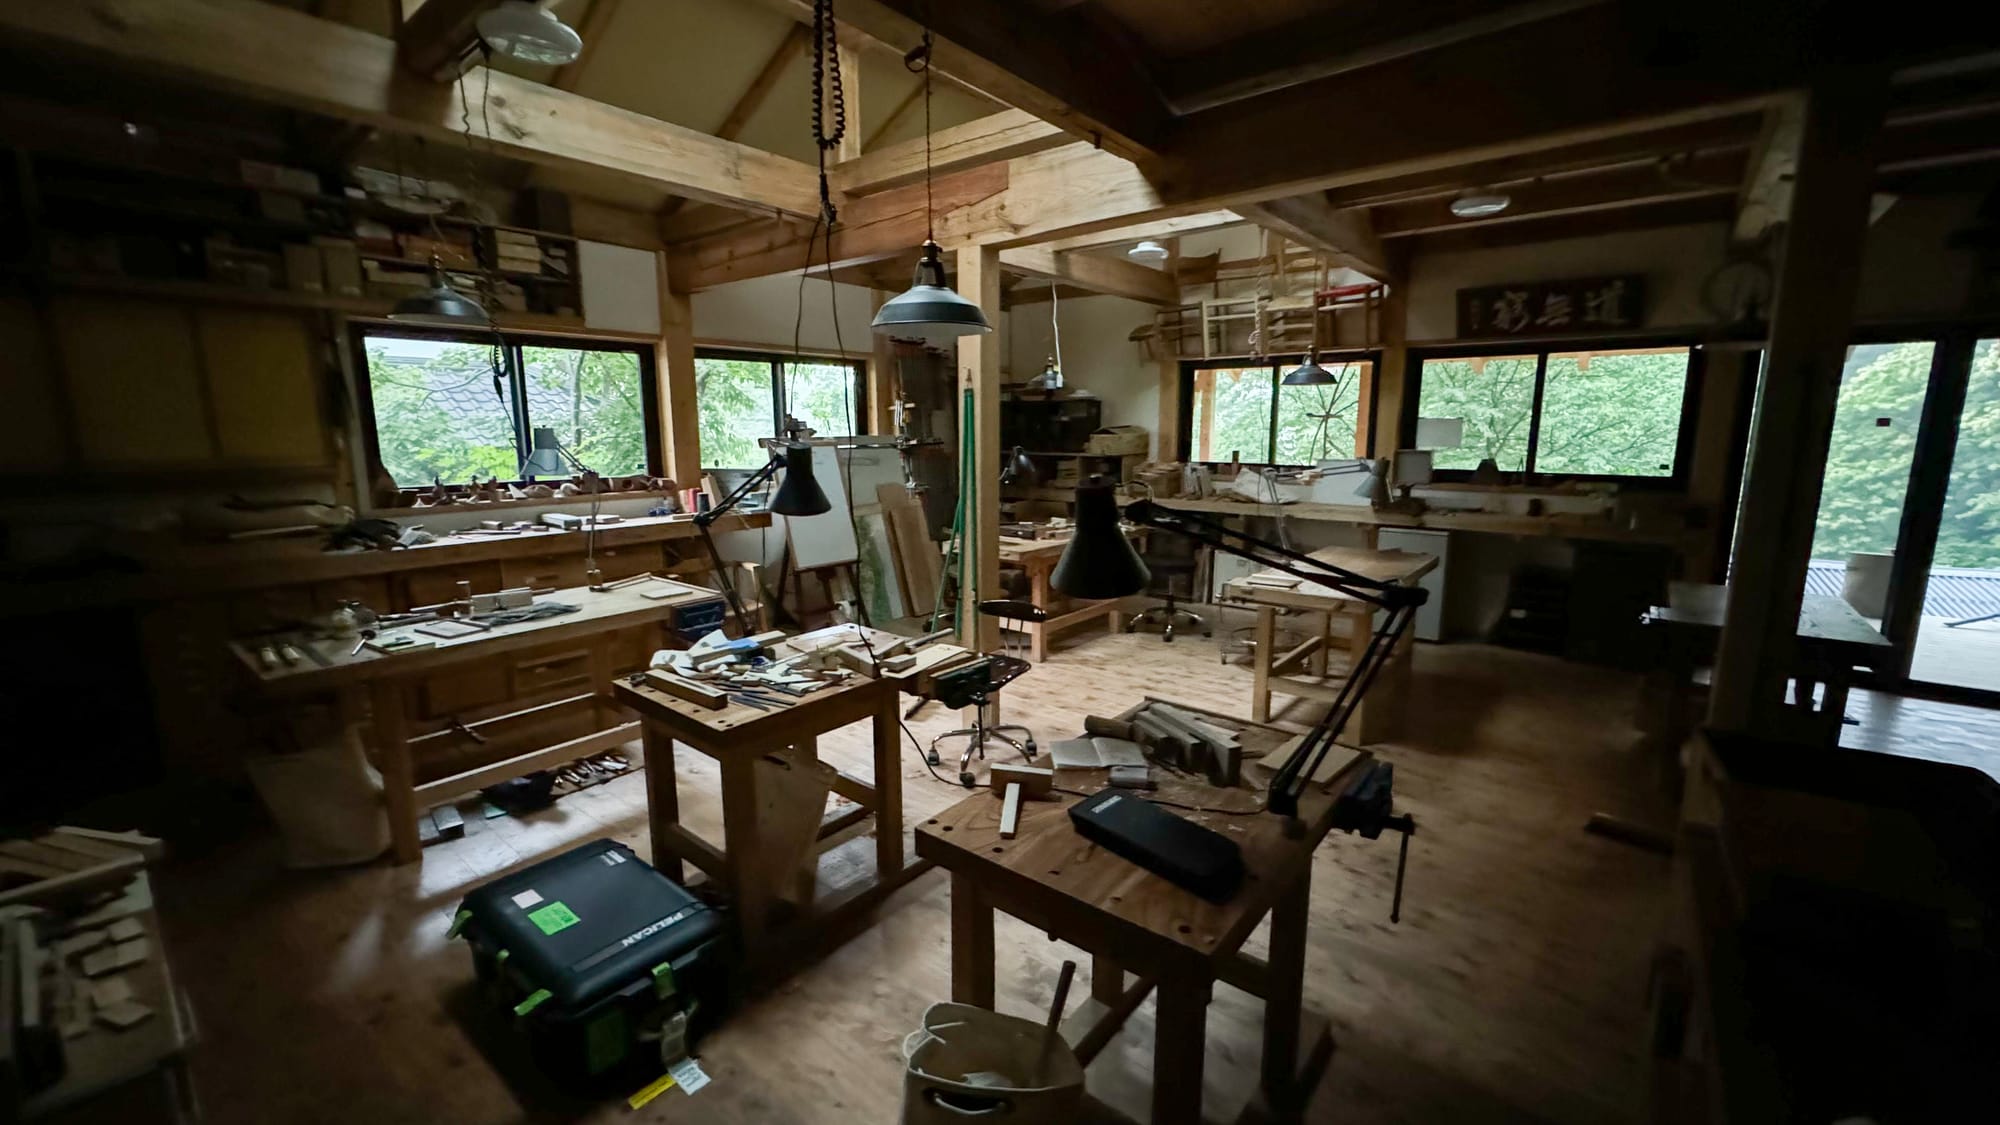
There was a tour of the hand tool shop, where students get benches with vises and interesting adjustable planing stops of 15mm hardwood boards held in place with two bolts and infinitely height adjustable—ideal for planing thin stock for small projects.
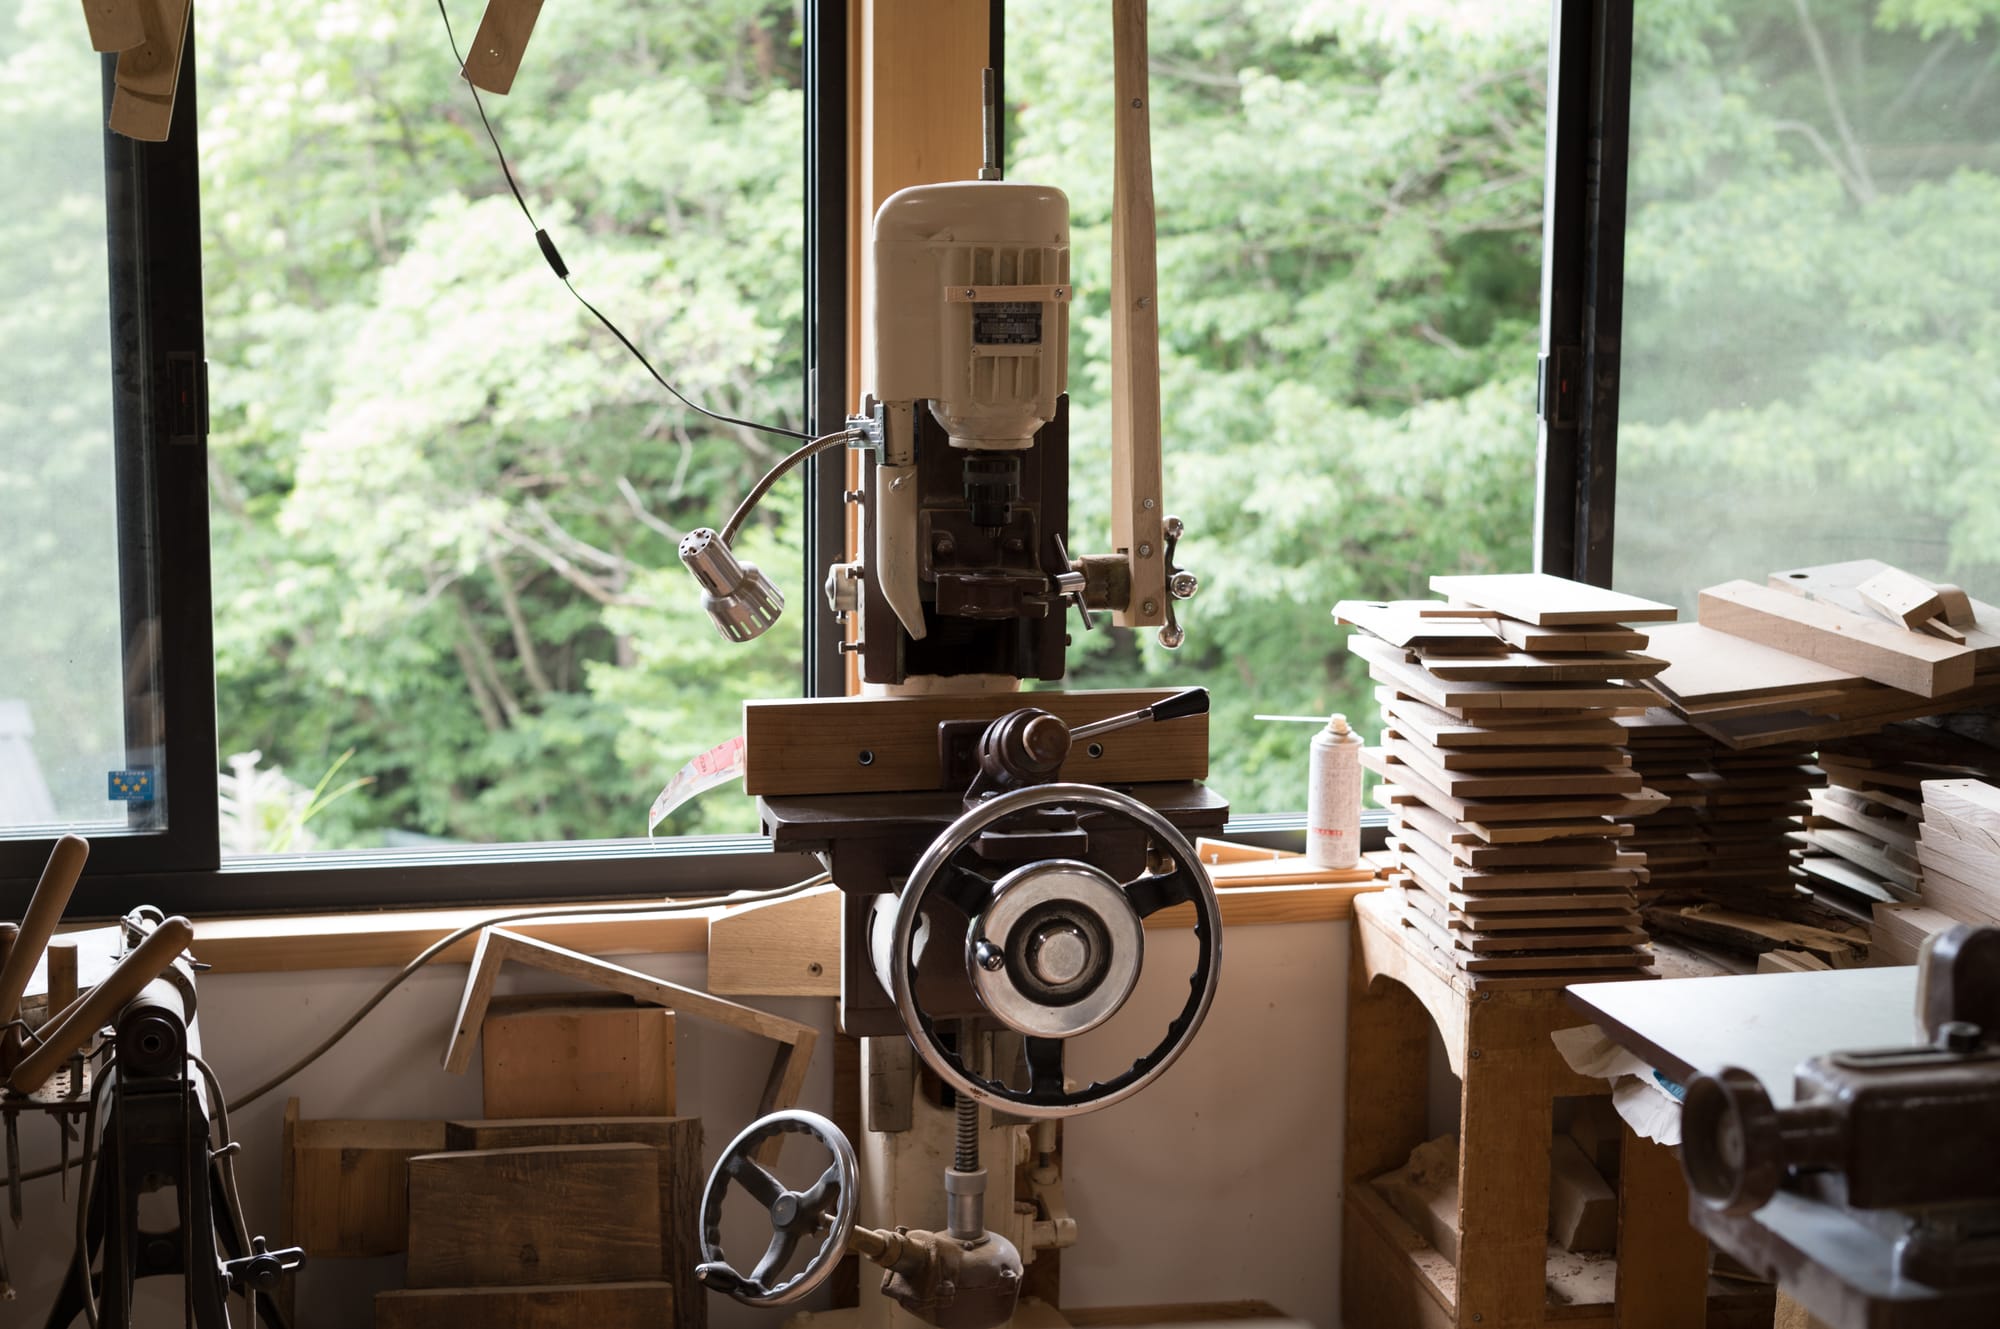
The machine shop is filled with classic Japanese machines like a rip saw with tenoner, sliding crosscut saw, square hollow chisel mortiser, and a very large overhead router.
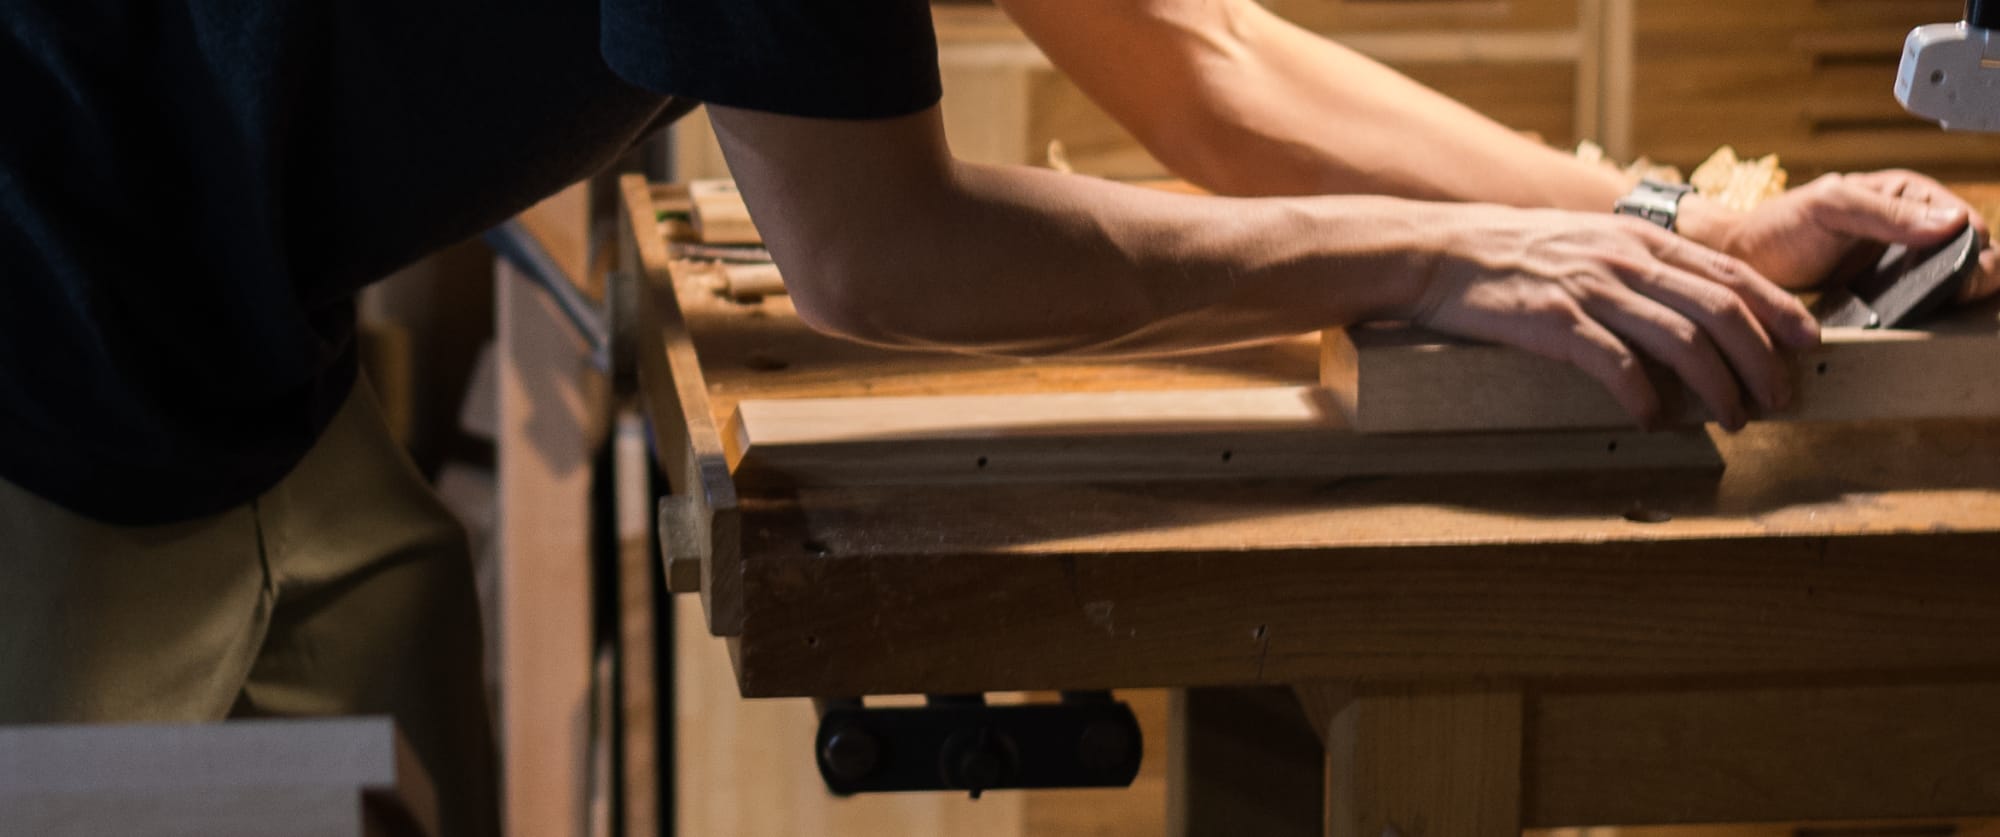
Powered saws were typically equipped with larger-than-average diameter blades with 2mm width, and I learned to rely on their precision. The crosscut slider was particularly tuned well and was suitable for producing square stock and rabbets for hyper-accurate joinery. I came to depend on it greatly, but note that the micro adjust is less dependable than just bumping and checking a piece of scrap of identical dimension for the depth and width of cut you want.
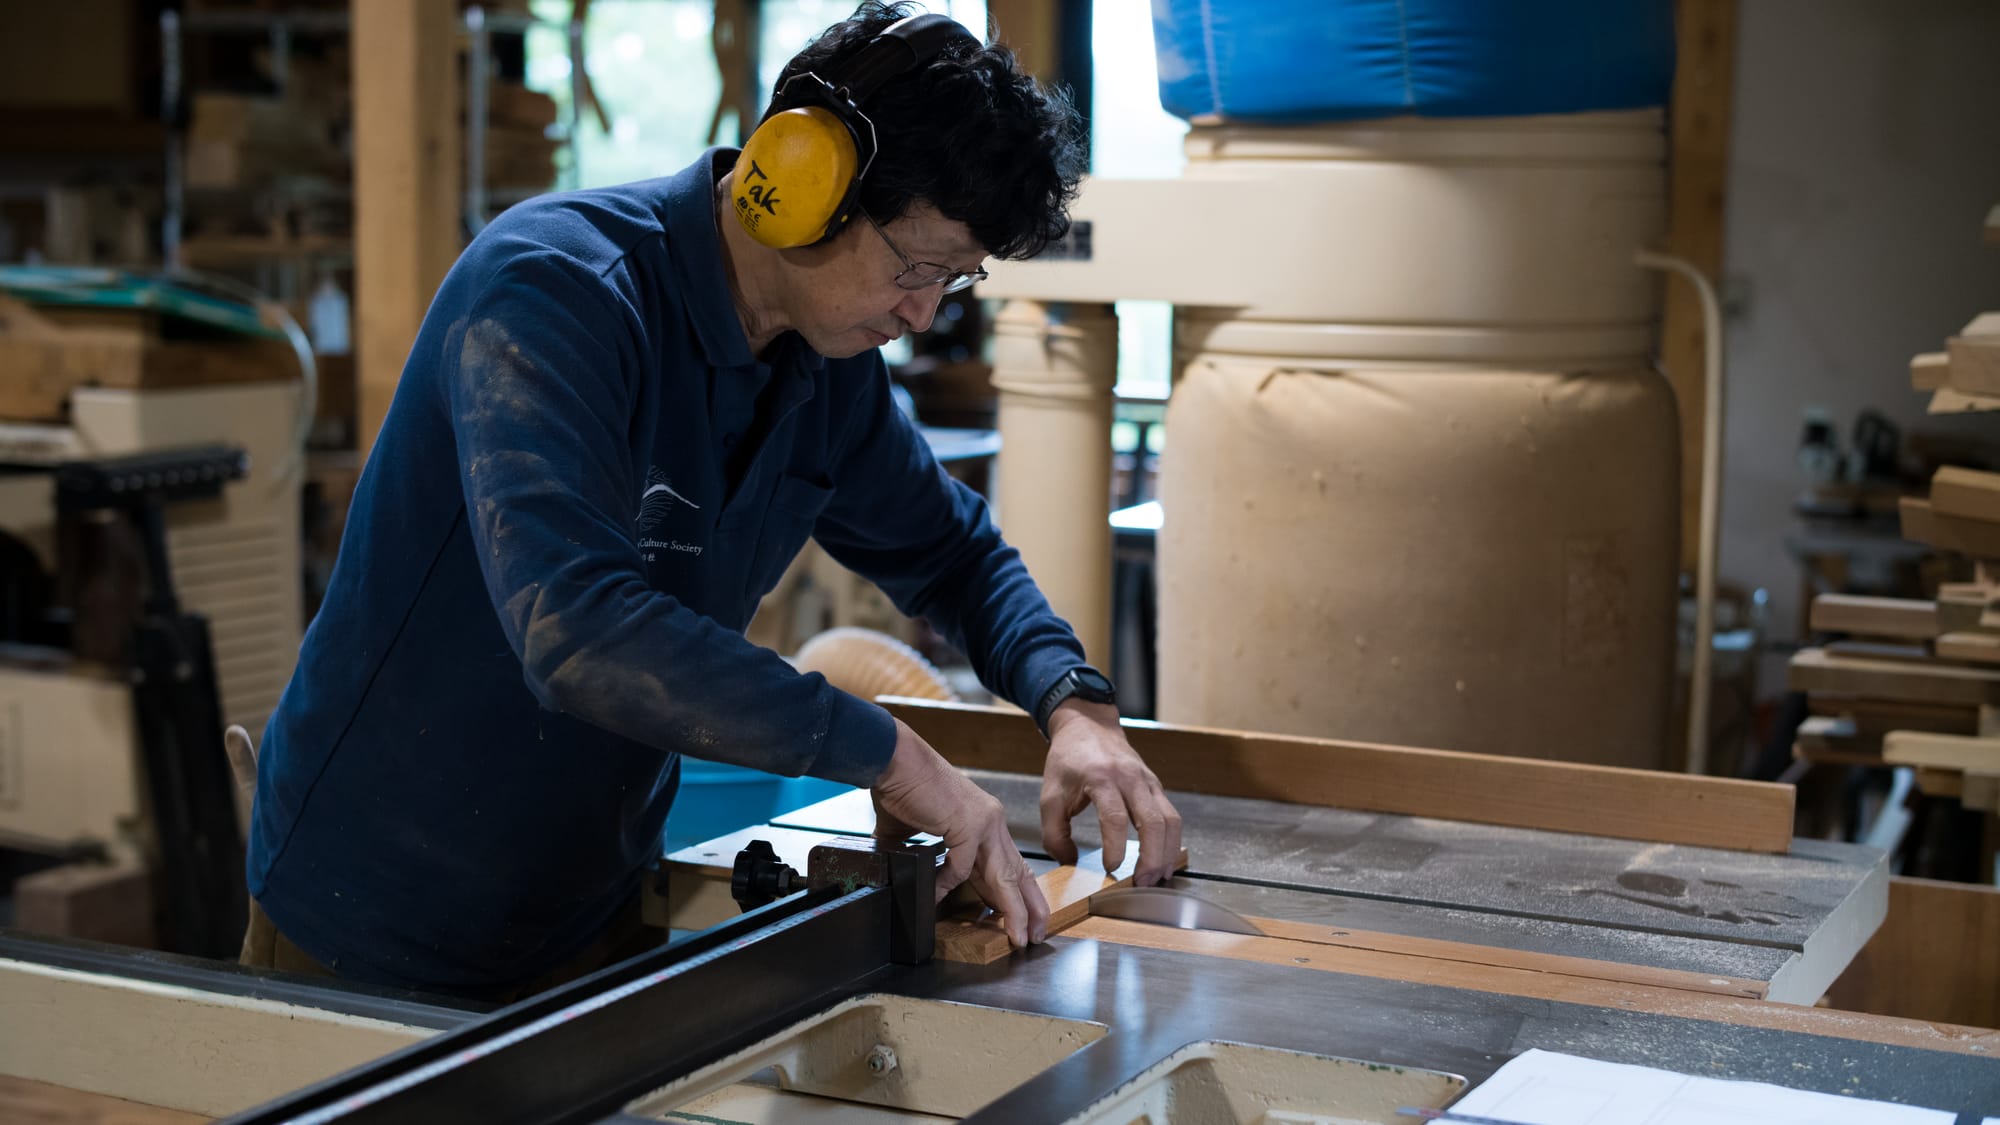
There was no router table, but other familiar machines to westerners, like jointer, planer, drill press, belt sander, lathe and a big old bandsaw.
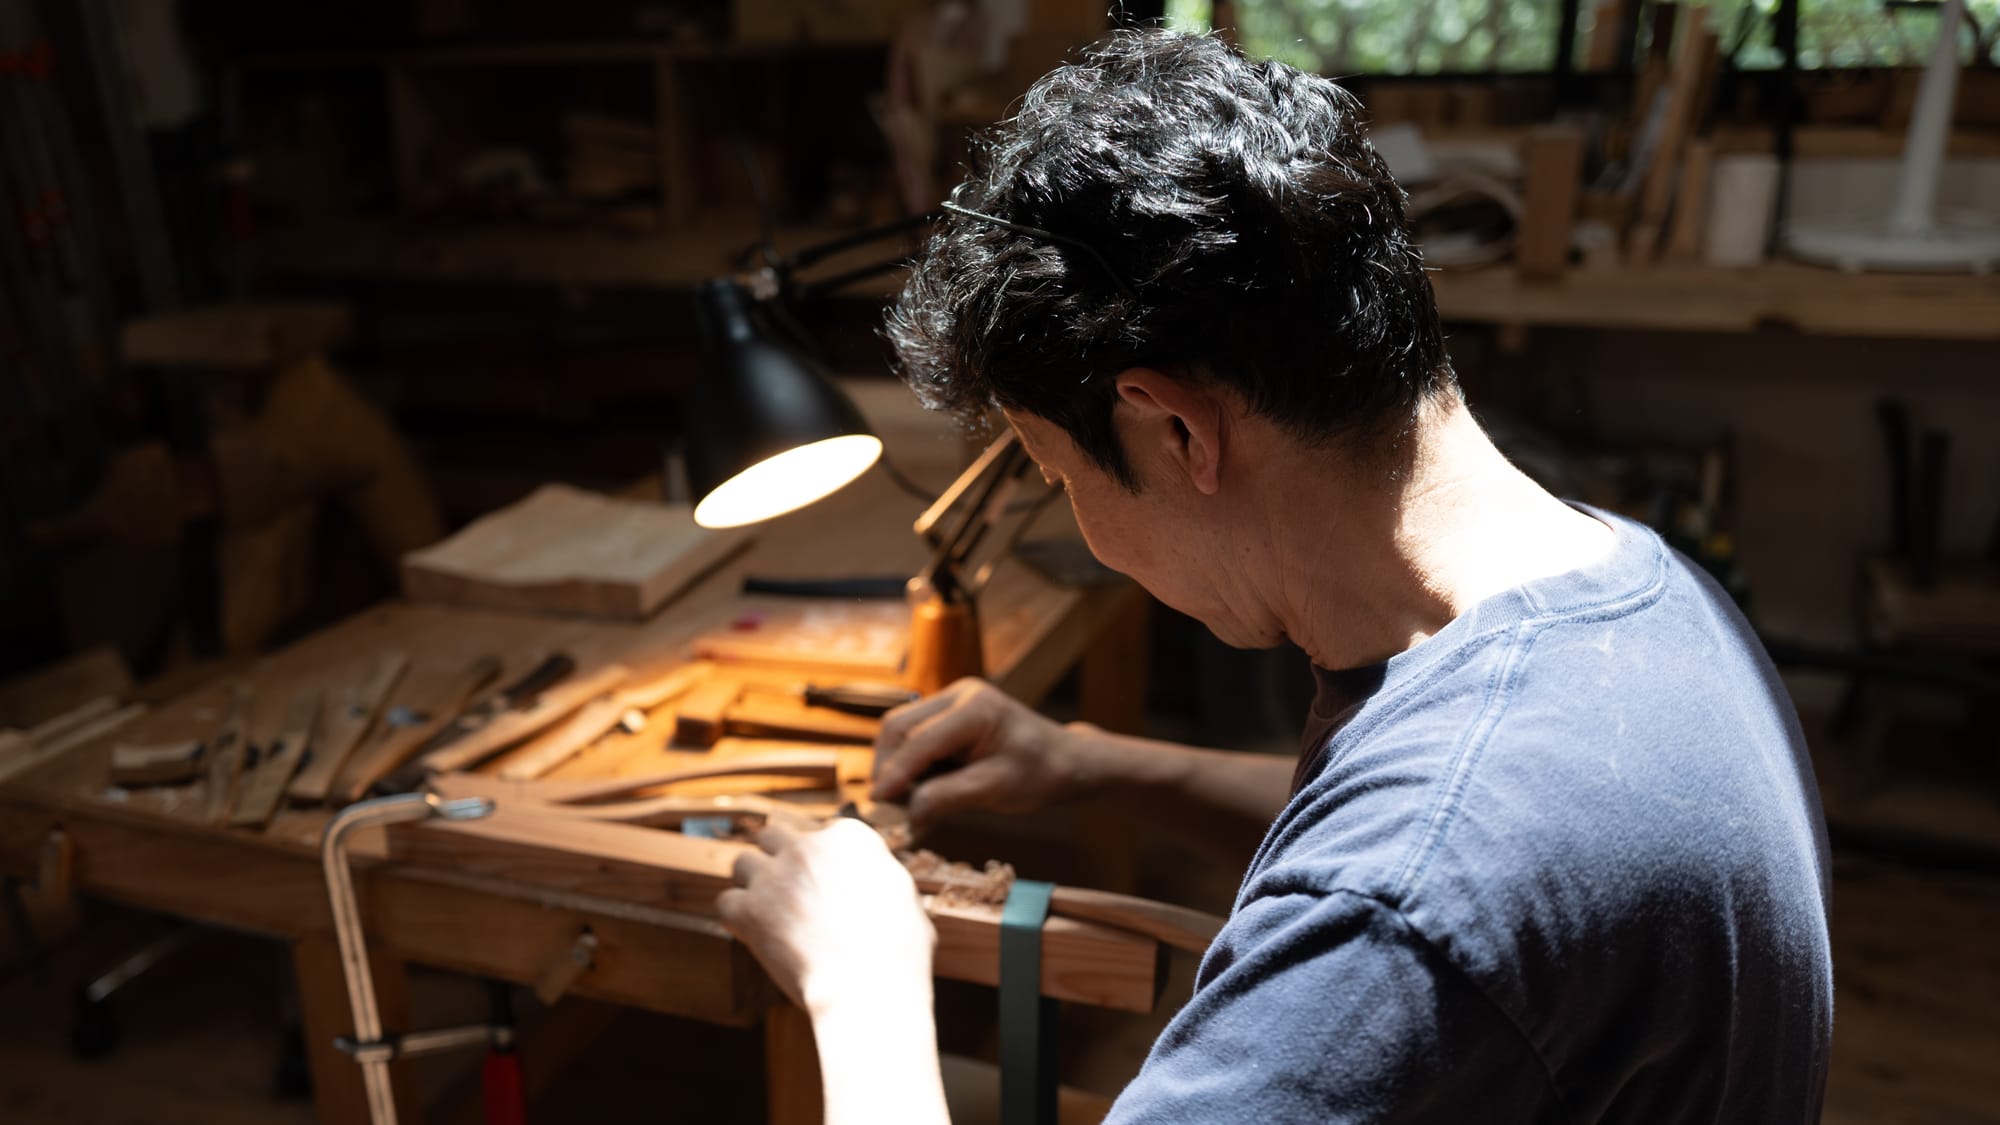
During the summer, gentle morning light rakes across the benches; in the fall, sunlight is more muted but still easy to work under. One of the things we would learn, however, is how useful an architect's lamp is for moving our light to suit our needs when sawing or chiseling. And to check, with raking light, the evenness of planed surfaces, flat or curved, when roughing or finishing. [2]
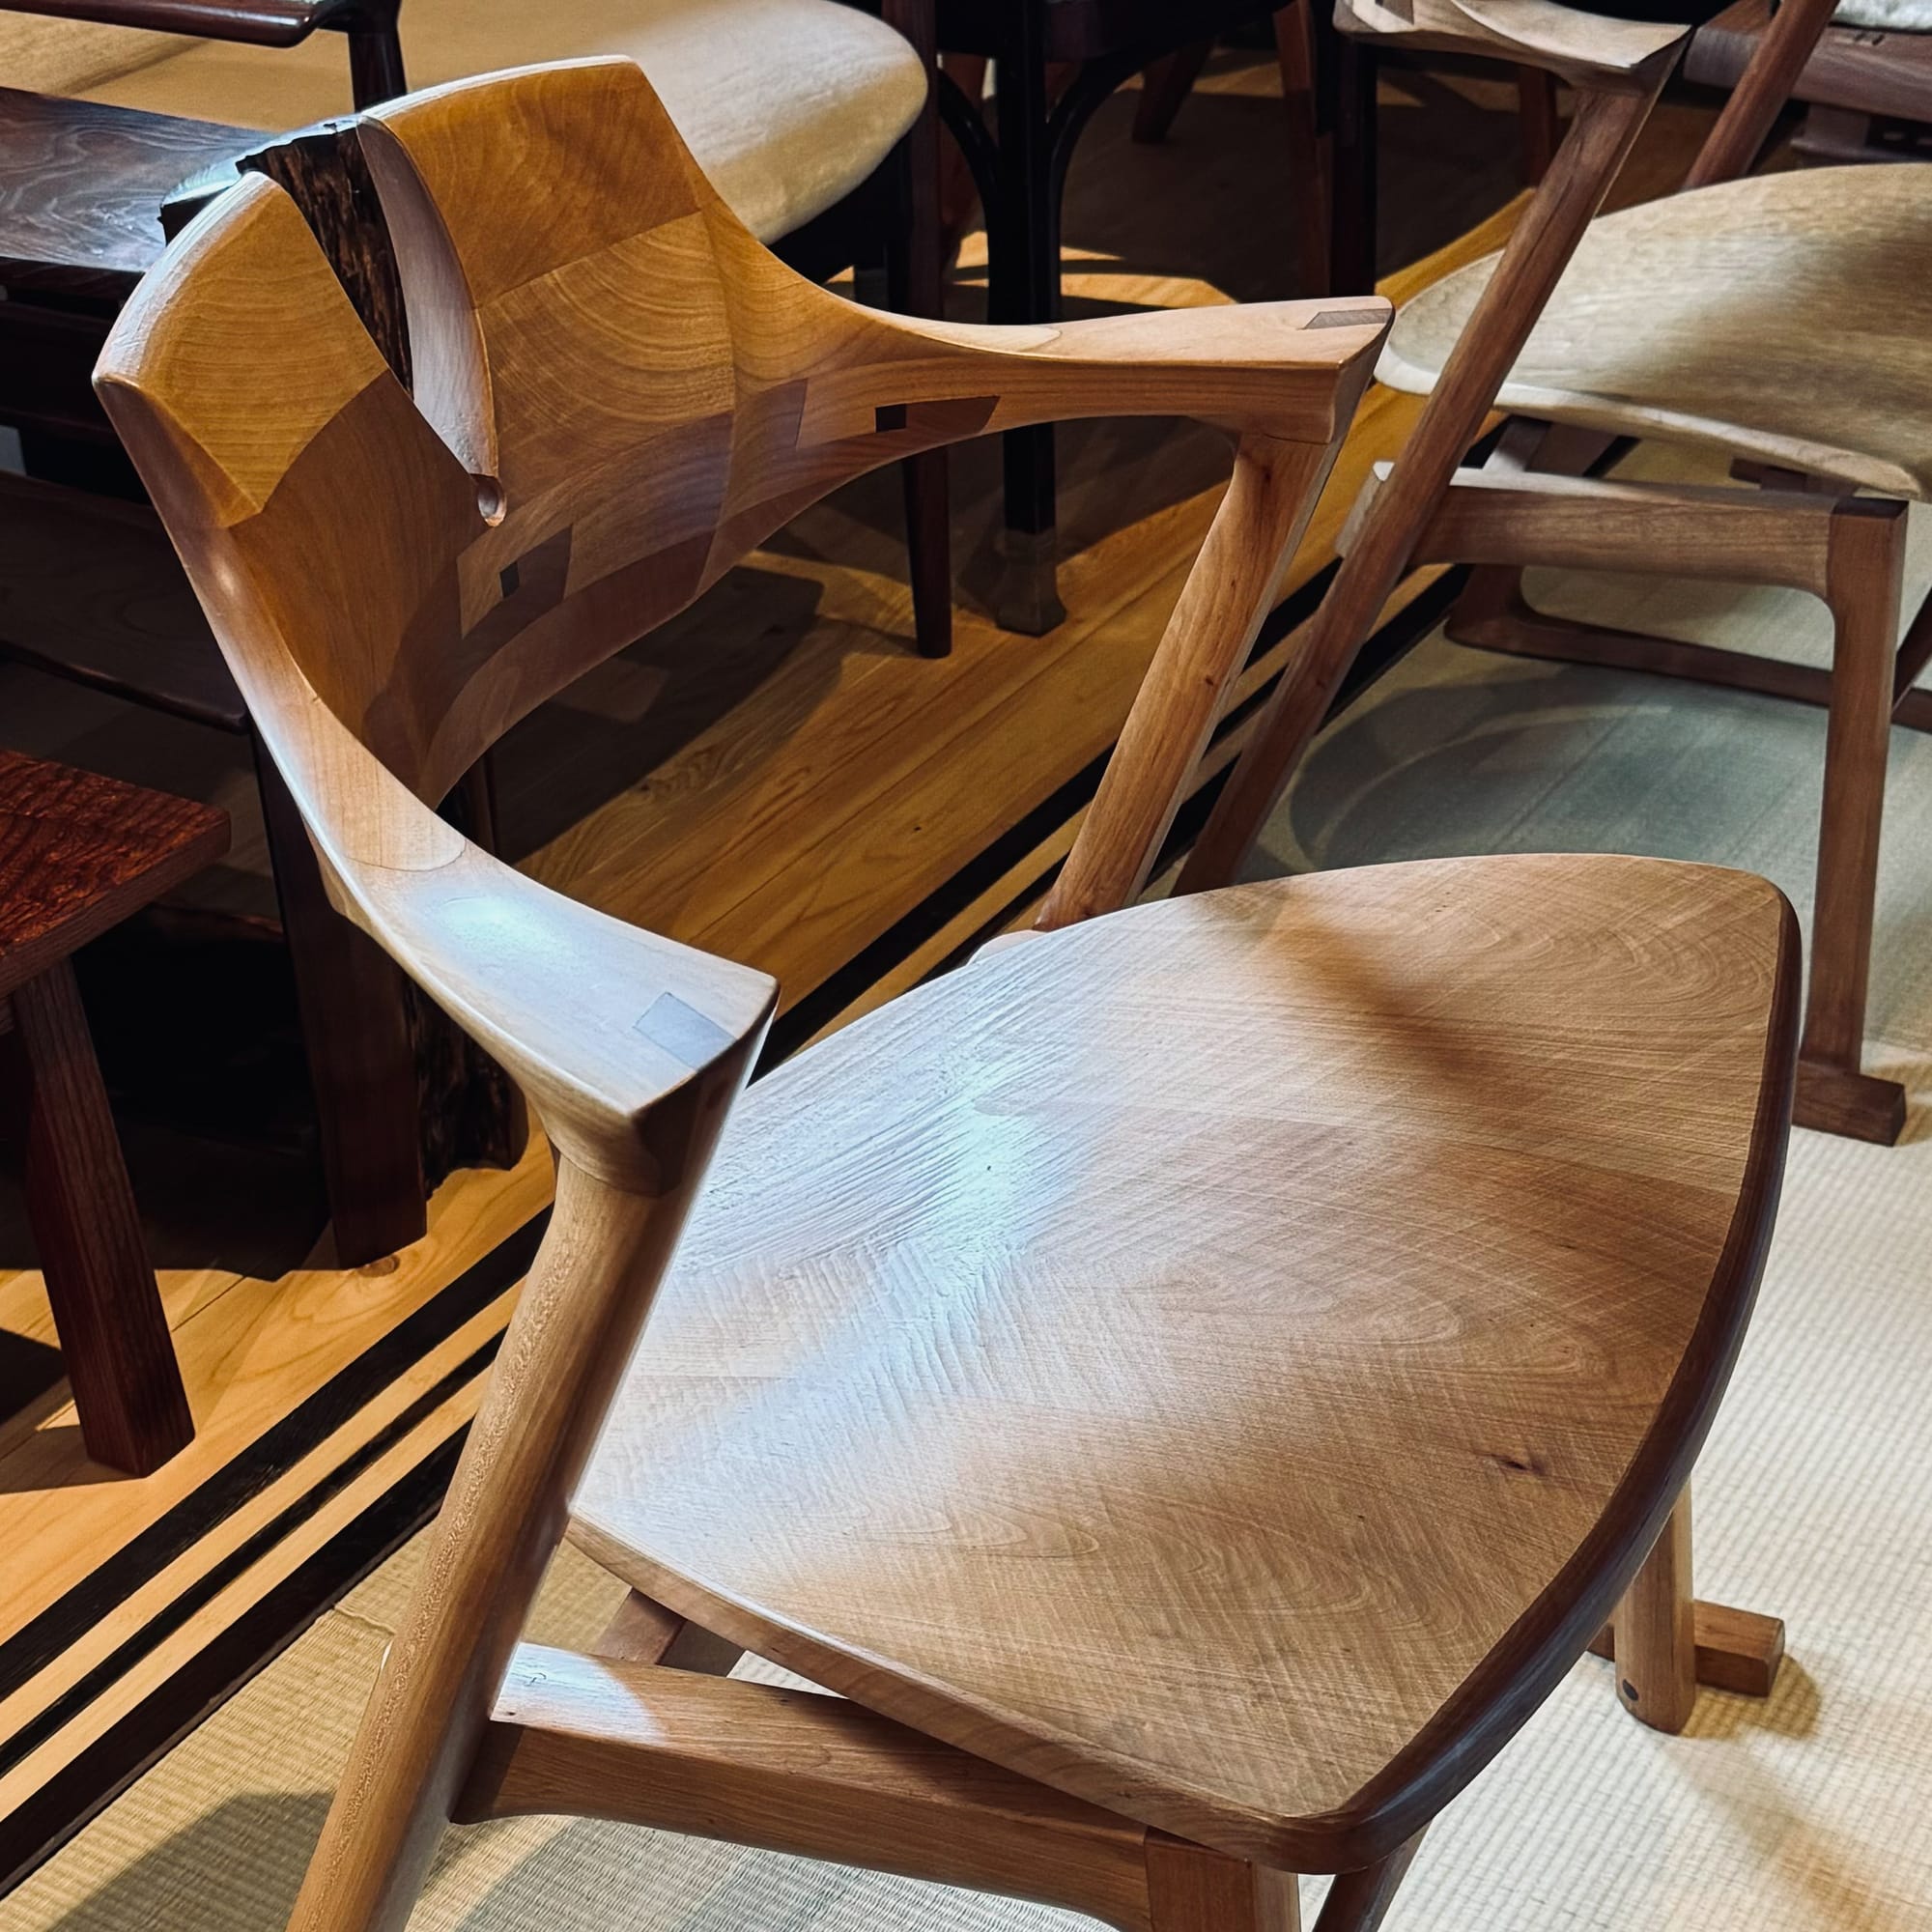
There are also walks through the forest (including tours of the sawmill and the treehouse), and the chair lab, which is filled with hundreds of chairs. Upstairs, he showed us his sashimono work and the chairs he made himself, including his Zen chair, inspired by zazen. One of the most spectacular chairs was one with a curved backrest made not from bending but from scarf joints.
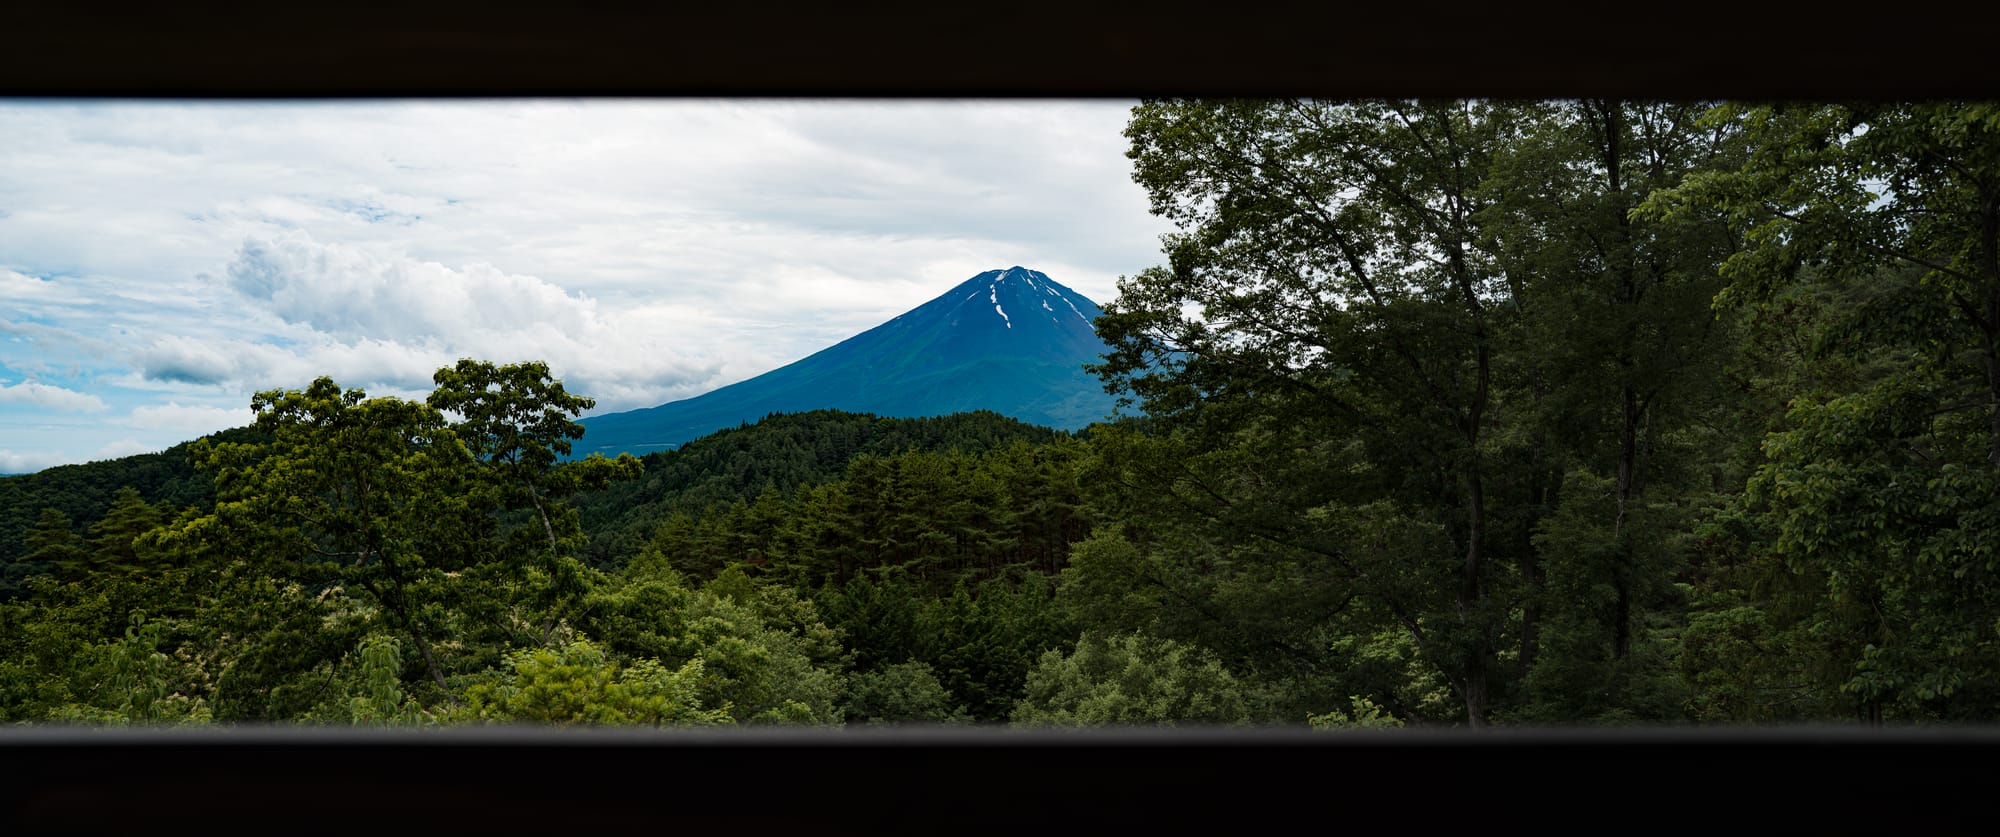
Half the student lodging is in the main house, a hotel built in the 1990s and recently converted into Tak and Junko's home. Volunteers live there, too. There are also three bedrooms and a kitchen above the shop, which I have stayed at twice now. (My favorite room is the one in the far right corner past the stairs, which has a spectacular view of Mount Fuji.) [3]
On top of being introduced to your quarters, you'll get some space in the kitchen and fridge; you will also be initiated to the dark arts of Japanese garbage disposal, the one thing you’ll learn there that is perhaps more difficult than sashimono.
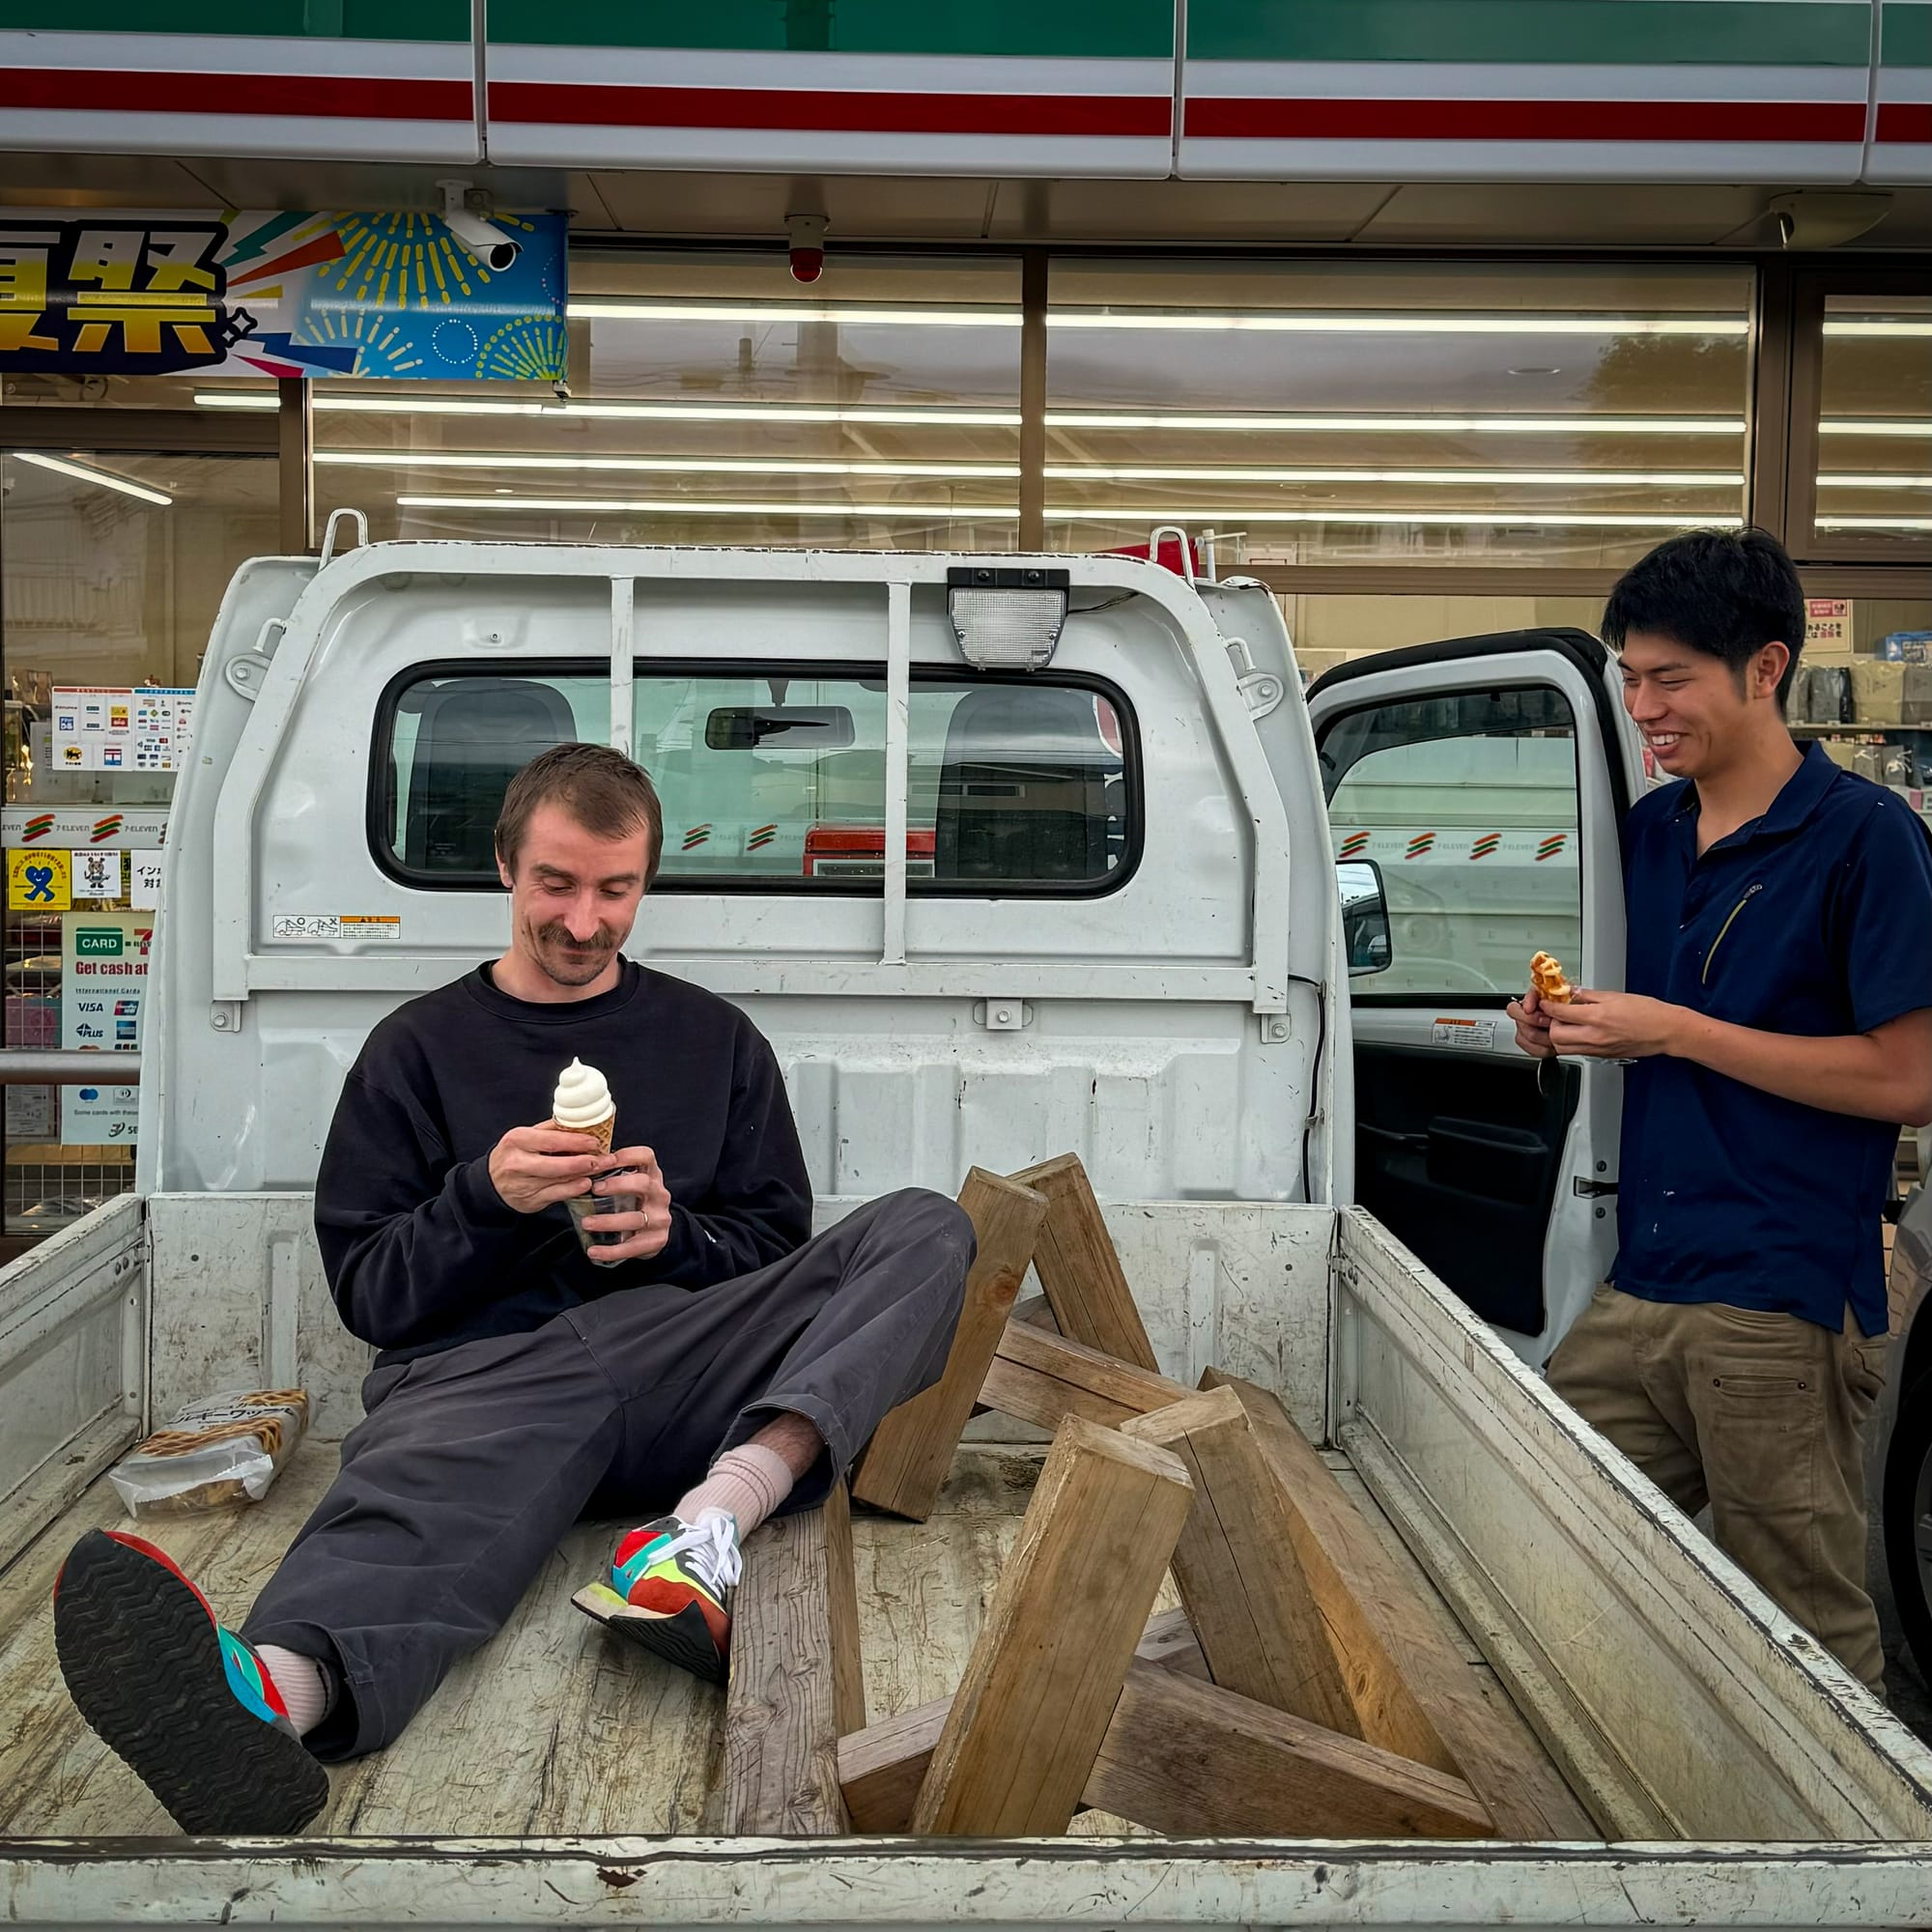
Supermarket runs happen twice a week, Monday and Thursday. There are sometimes 7-11 runs (if you're lucky.) From what I've seen, the groups that decide to share in duties, and perhaps even cook together save a lot of time and eat better. (Monopolizing the rice cooker for just one person makes no sense.)
Every day, voluntary group meditation happens on the southern covered deck at 830am. Some people skip out on it, but it undoubtedly elevated my mood, focus and quality of work. So I would rarely pass on the opportunity.

As I mentioned, the first week starts with sharpening techniques and setup of tools.
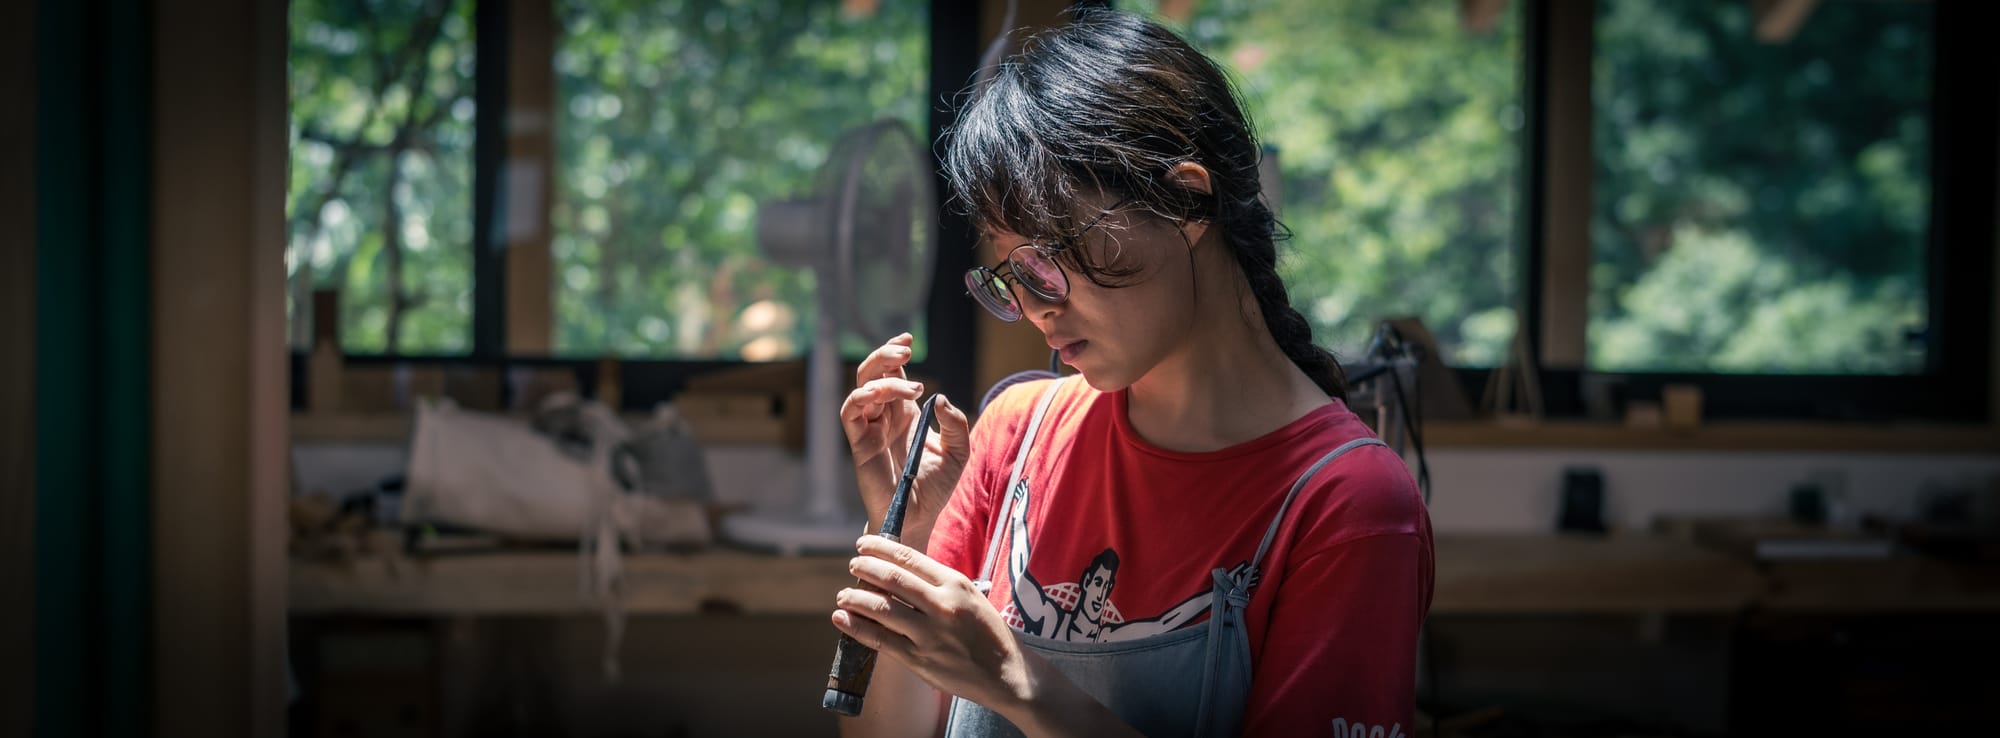
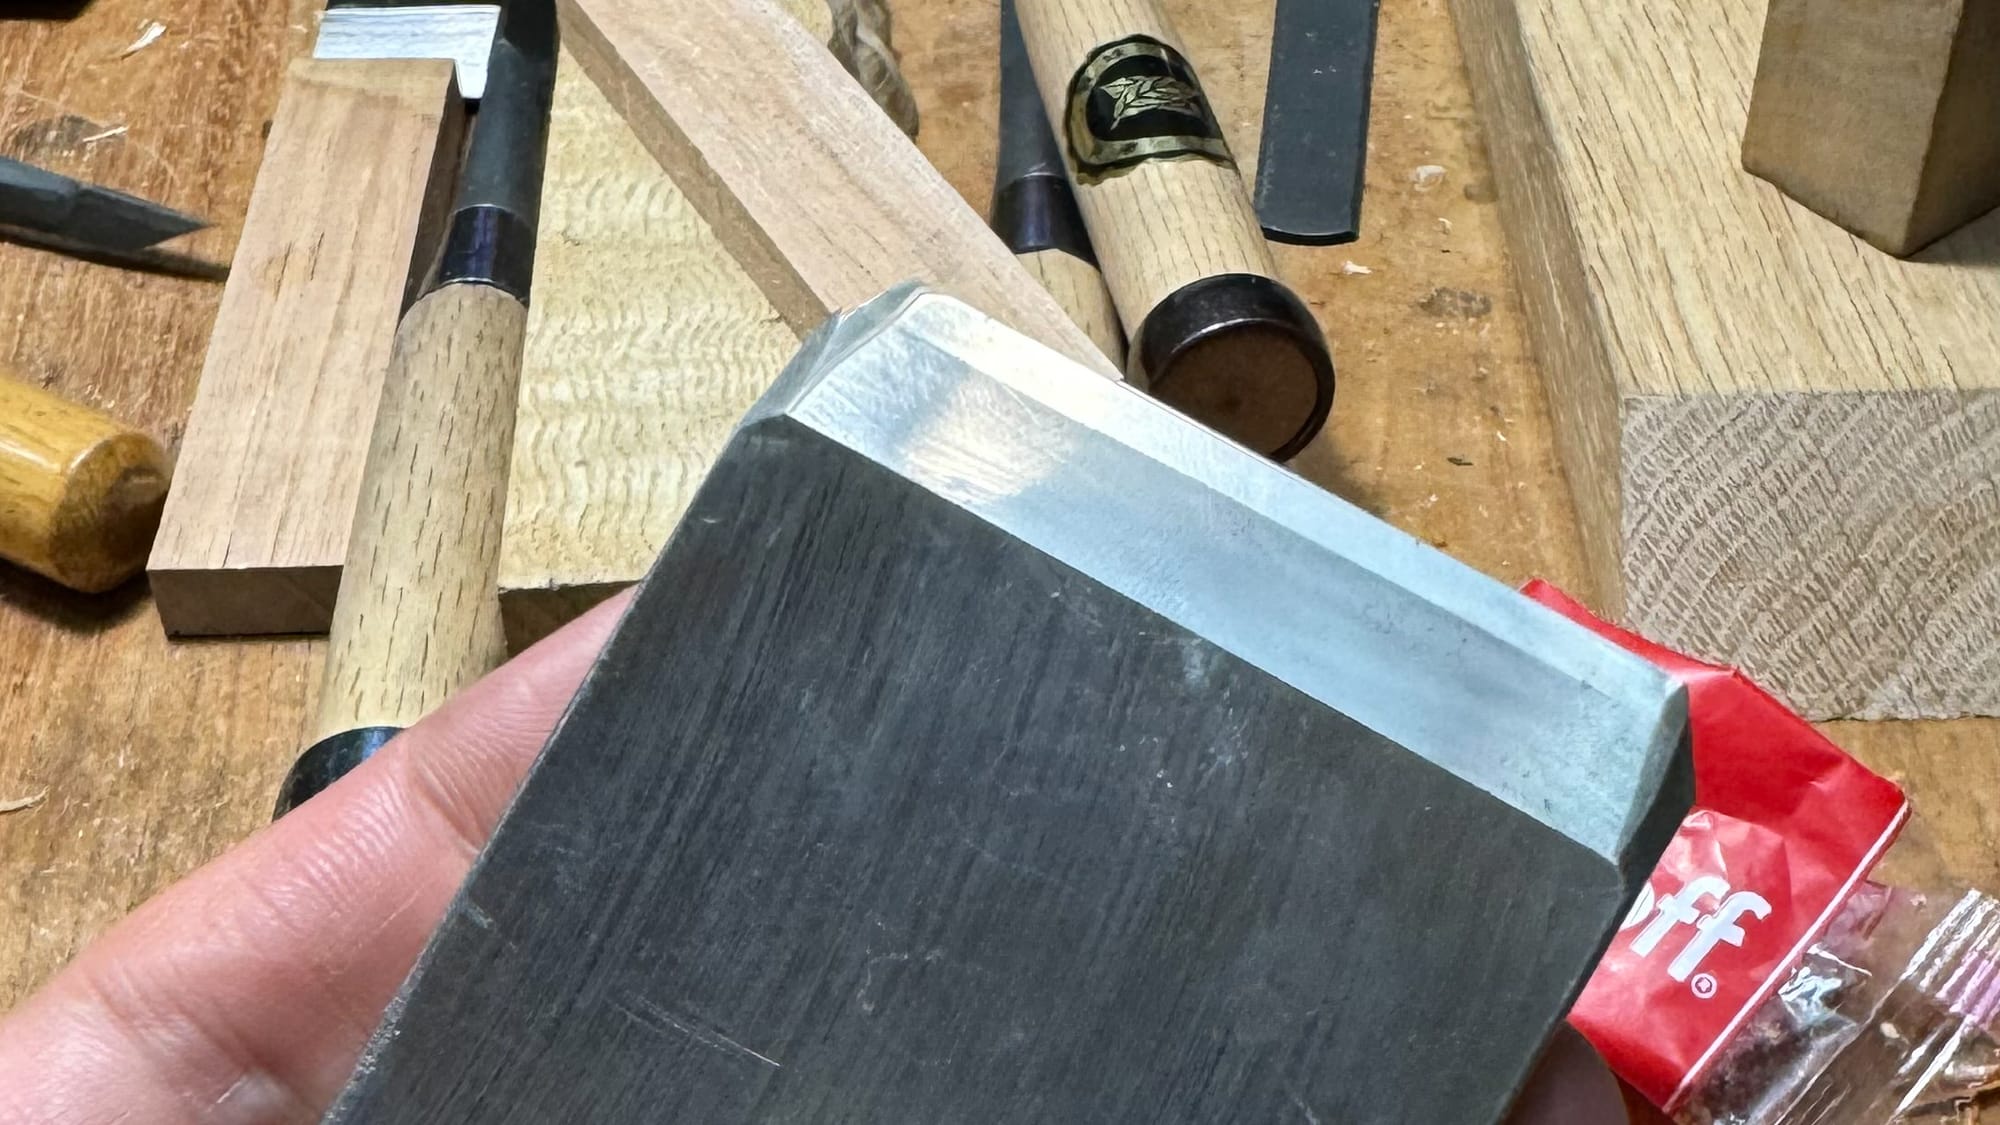
Chisels and planes were mainly smaller than what you'd see in carpentry contexts, and that made set up of tools pretty easy. Partial flattening of just the last centimeter or so of plane blades was preferred over referencing the entire back. Smaller blades have naturally shallower and less precise back hollows, so I imagine this flattening style allows blades to keep their ura in good shape longer.
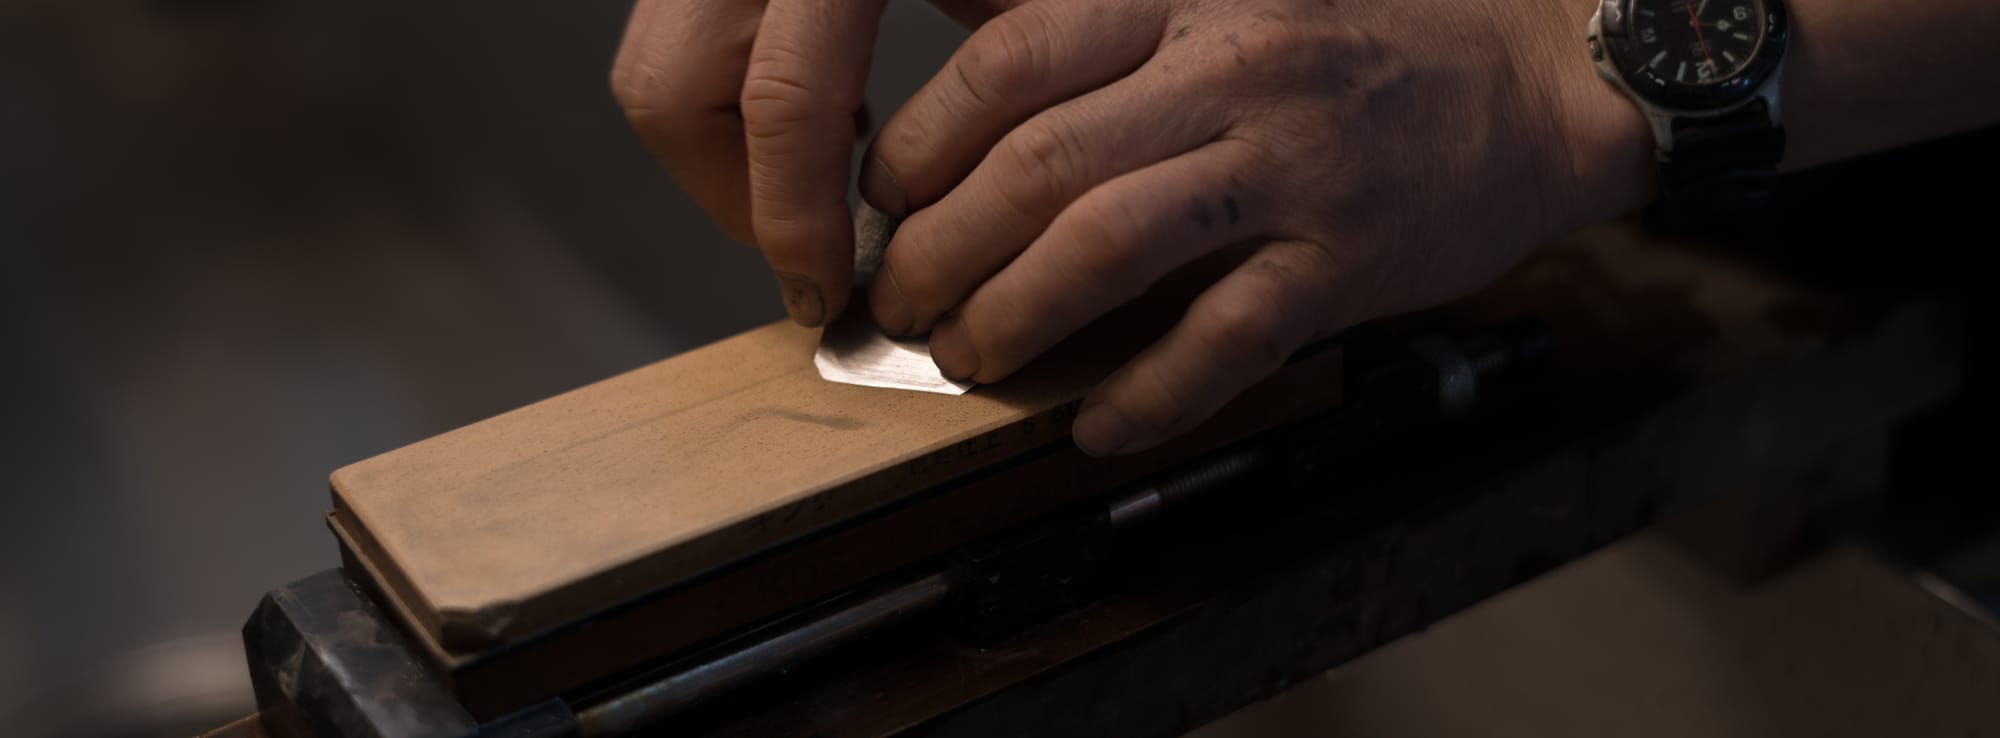
And uradashi, or using a hammer to bend over steel to help flatten the back, was not used as readily here as I've seen in carpentry. [4]
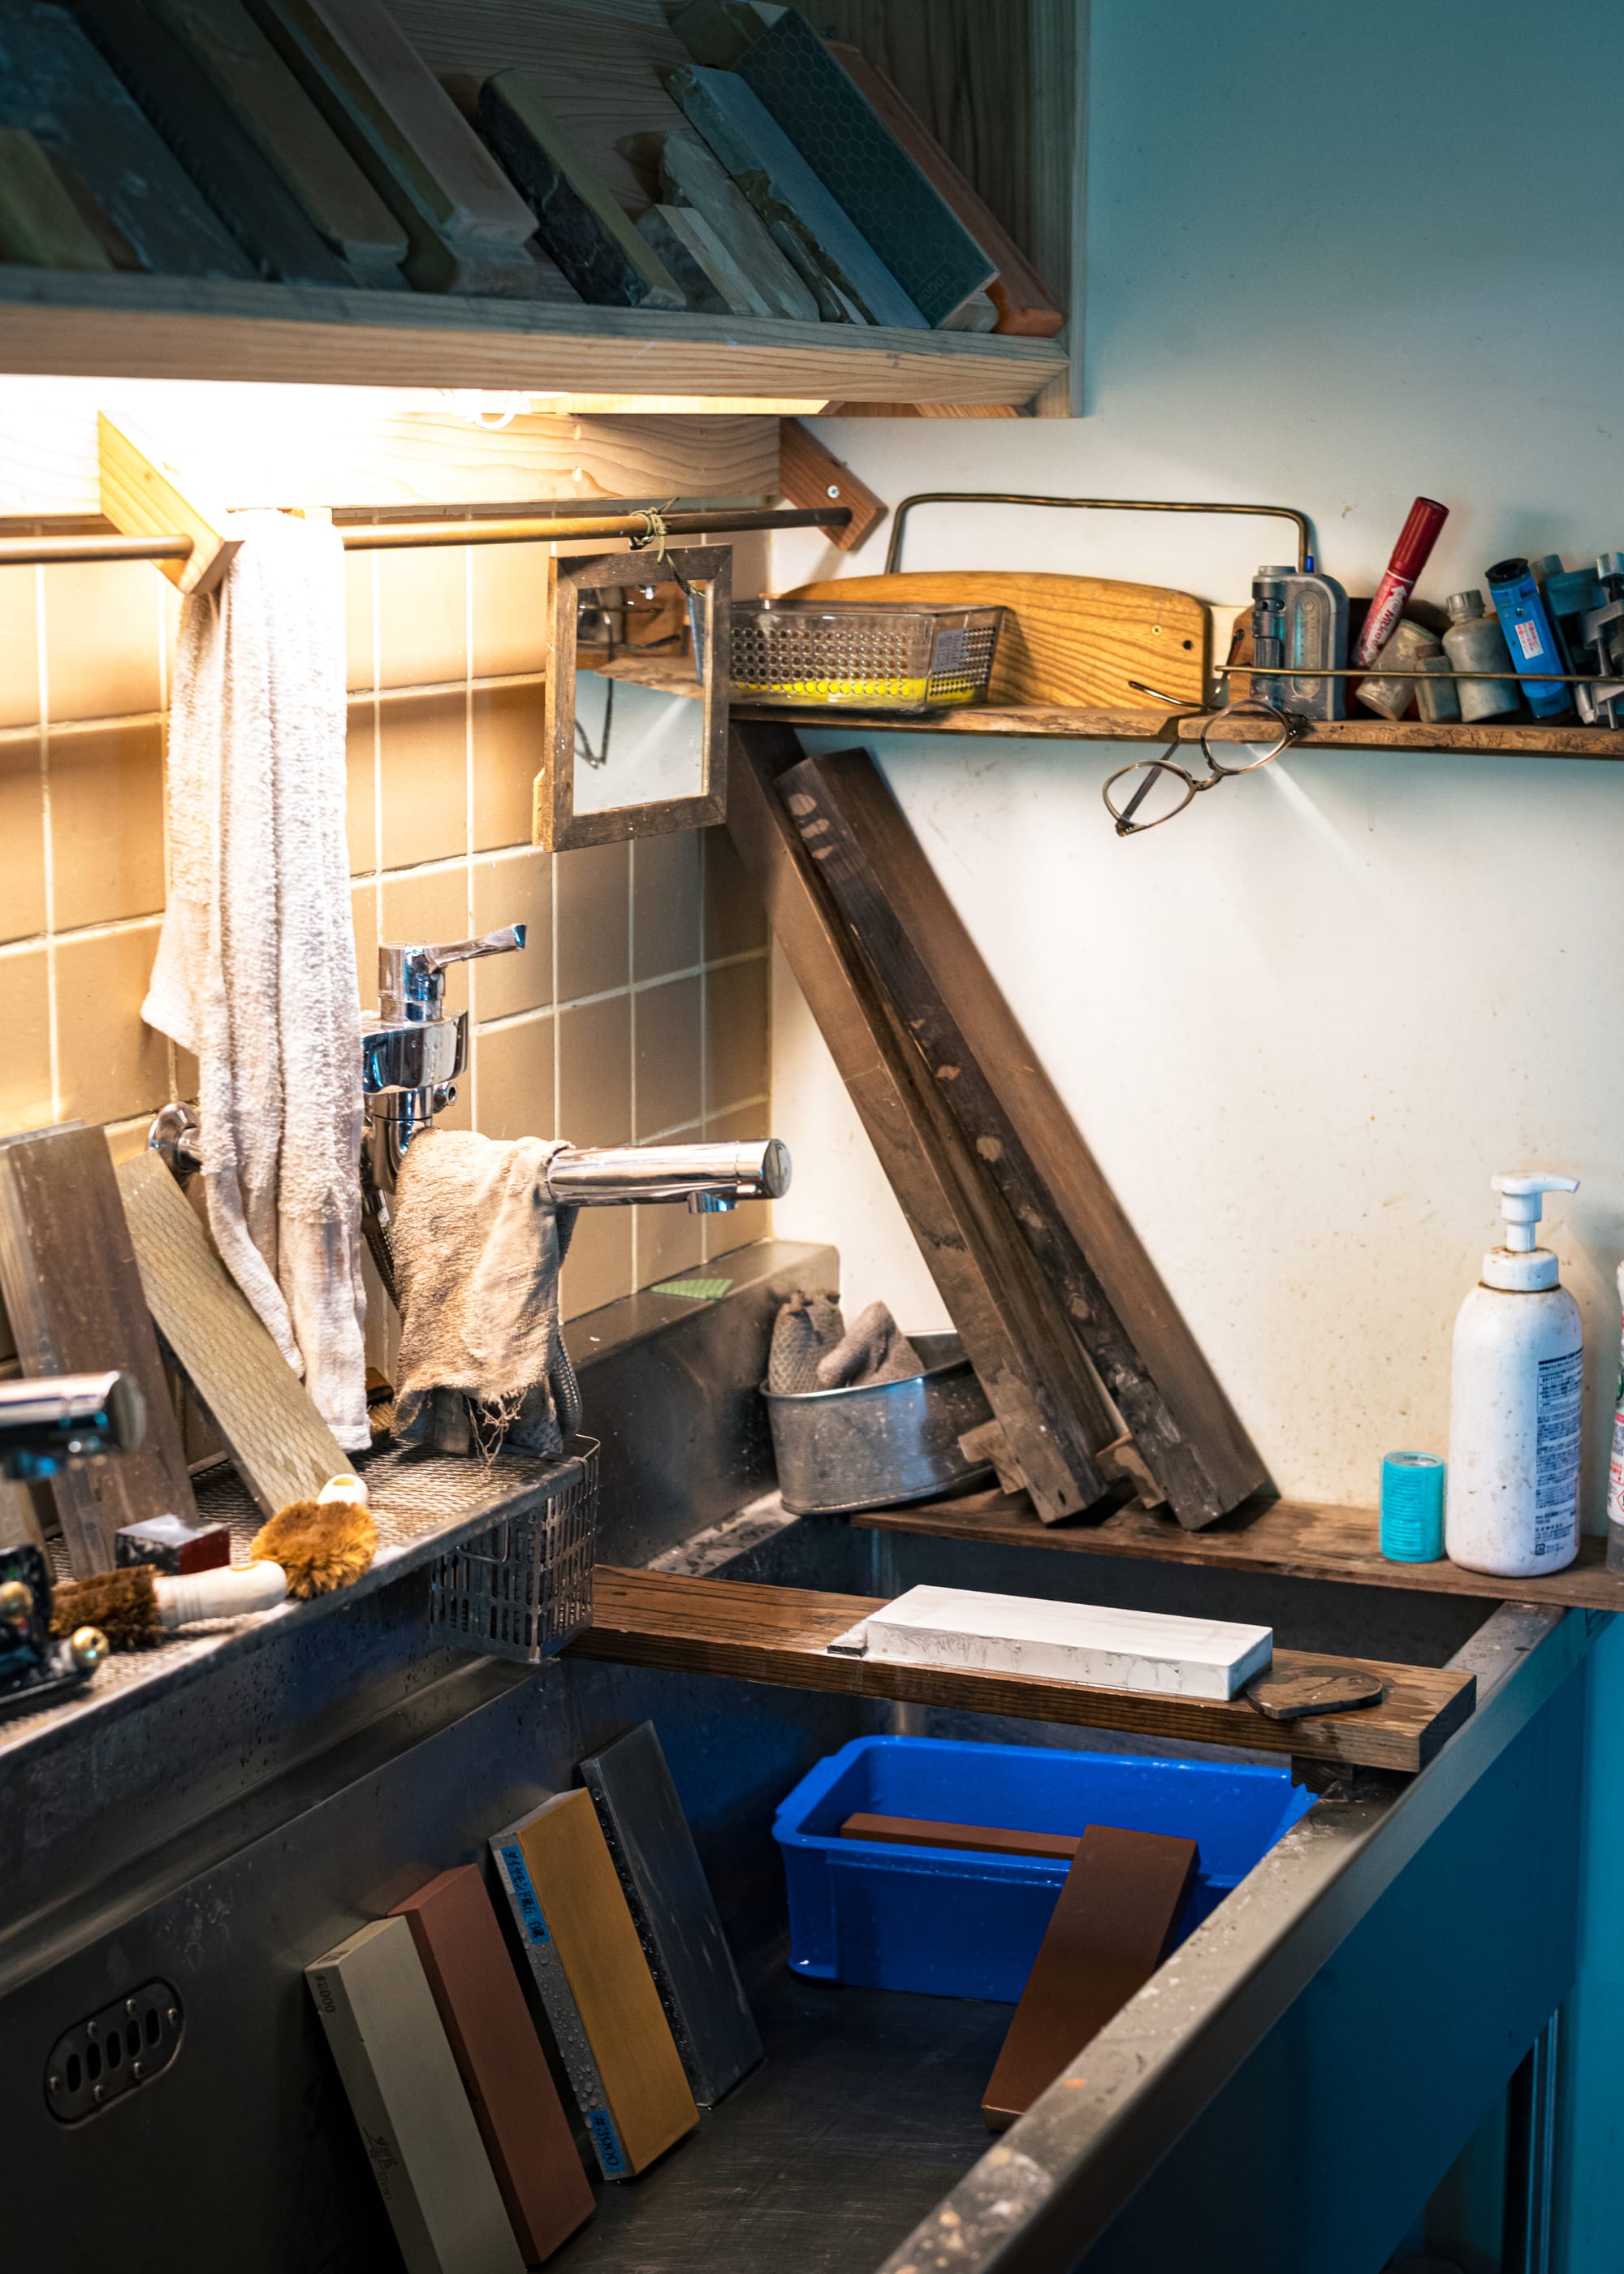
Tak also sharpened with 1000-6000 grit stone sequences, sometimes going higher to natural stones for finish planing. The school also taught higher bevel and blade angles than typical in softwood carpentry contexts. [5]
Later on, he would also explain his technique for rounding the corners of the plane to eliminate track marks on surfaces, flat or otherwise. Side sharpening was a common technique in the shop, blade parallel to long edge of the stone.
One day, we went to a tool shop in Tokyo. The store was over 100 years old. I had heard that George Nakashima had shopped for tools there decades ago. I found some of the knives Tak-san used for sashimono. Aisuke, is what he called them, and they are basically straight, flat carving knives.
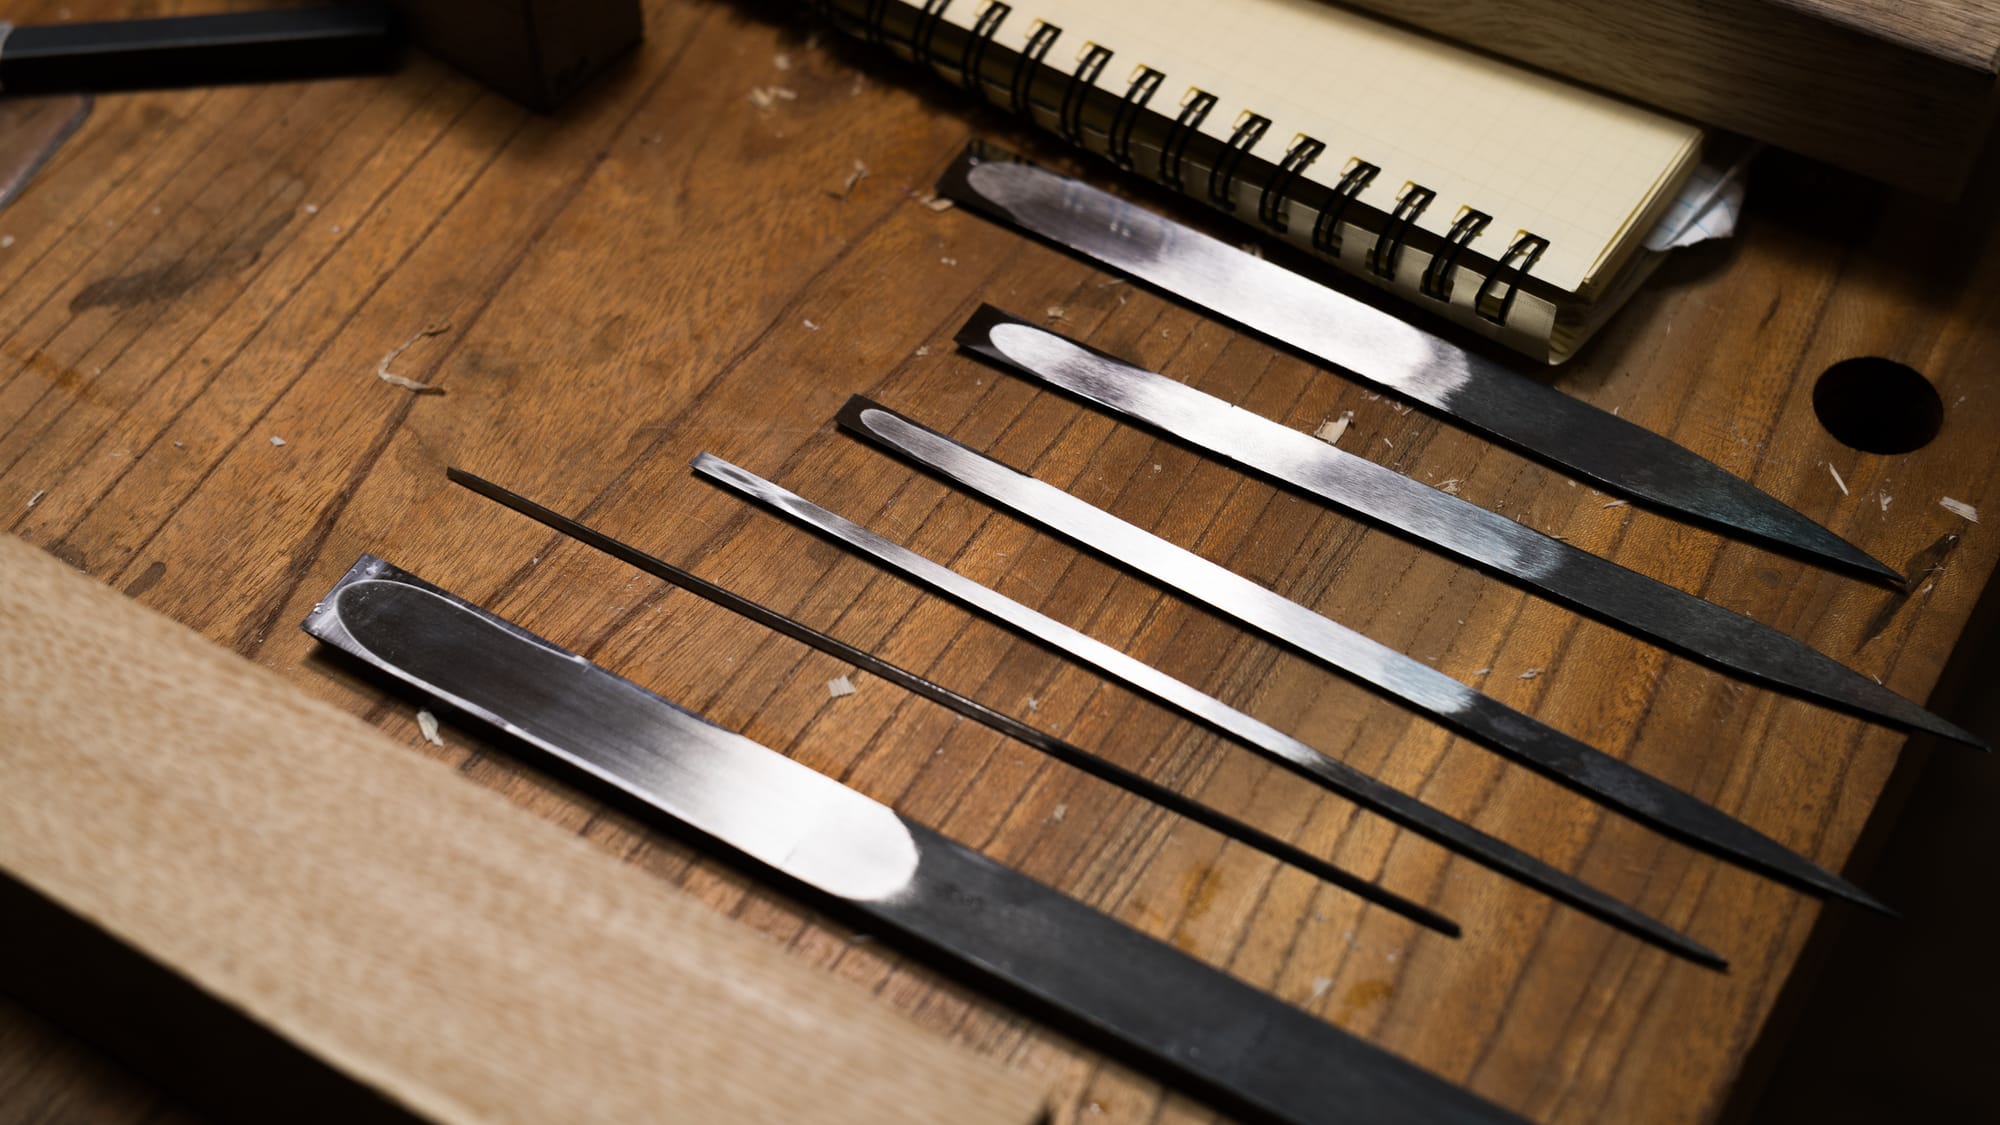
Shorter than chisels in height and length, they lack beam strength. Their shortness helps them resist bending but they are not meant for anything but the finest trimming. I picked up some in 12, 10.5, 9, 6, 4.5, 3 and 1.5mm. I turned the 1.5mm blade into a banana sharpening it one time, and I realized I needed to be a lot more gentle with these tools.
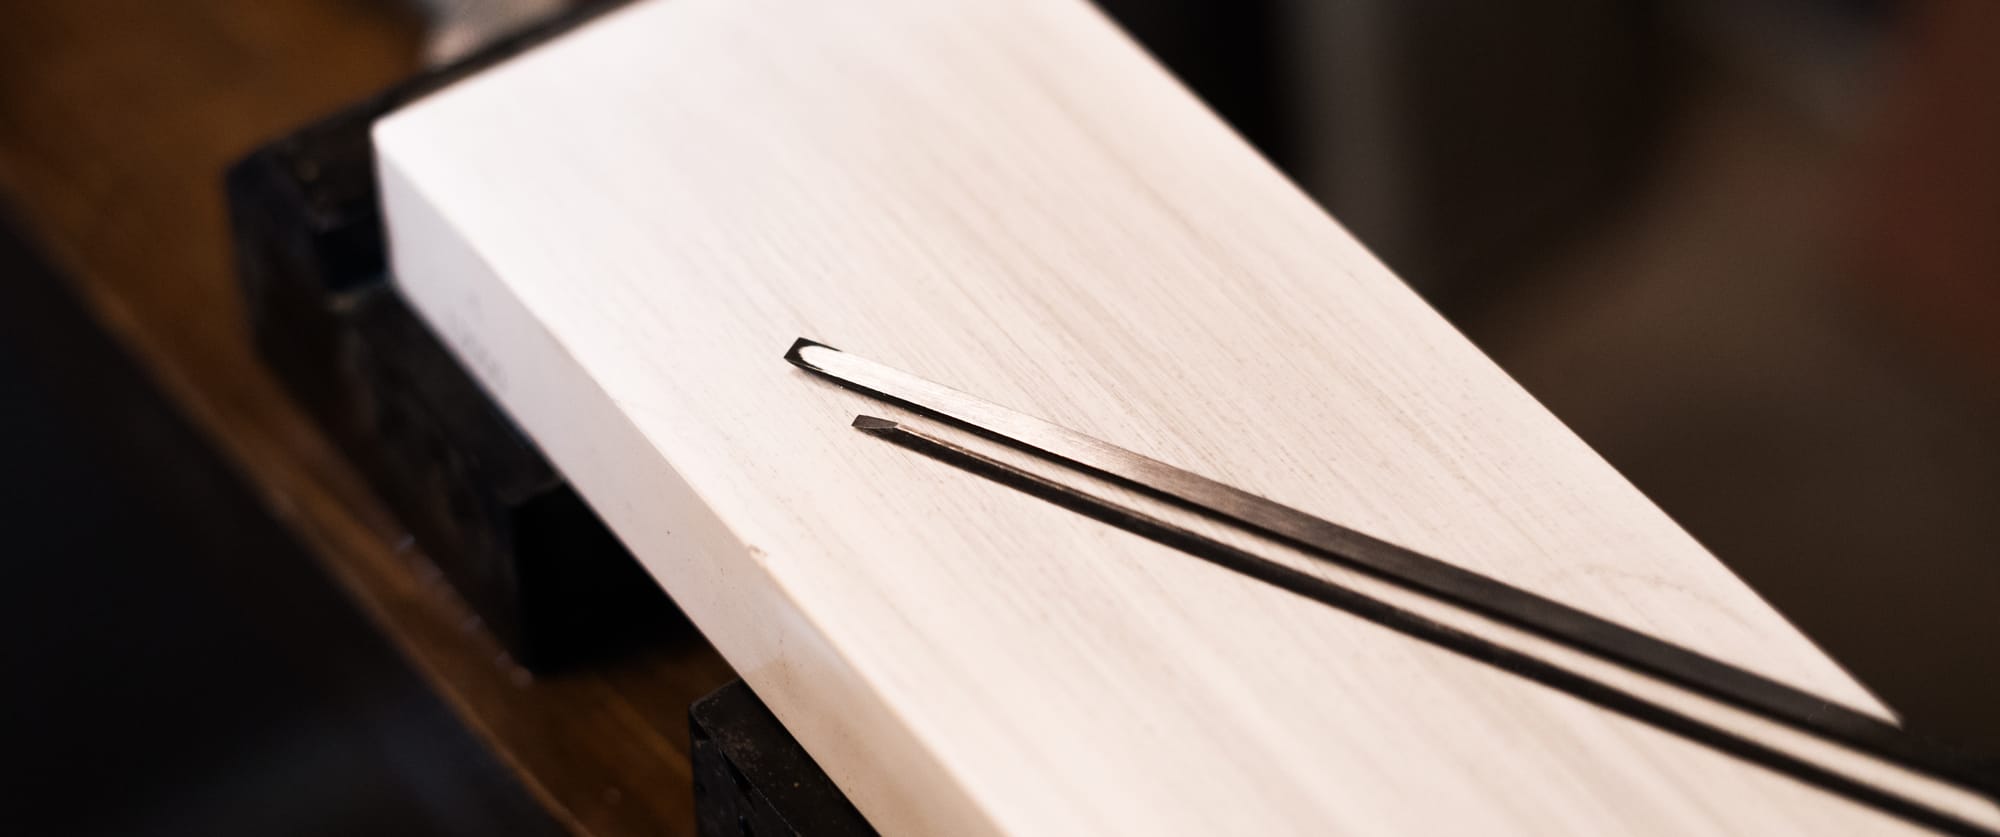
Tak also provided instruction on sharpening curved tools like uchimaru gouges and spoon planes. Until now, I hadn’t really been able to get these tools functionally sharp enough to work with.
Tak taught us how he likes to saw. He sawed with an eye on each side of the saw and used finer disposable saws. Finish cuts were made with chisels, paring jigs, or knives. Sawing was mainly for roughing. He also cocked his head to the angle of dovetails when cutting them.
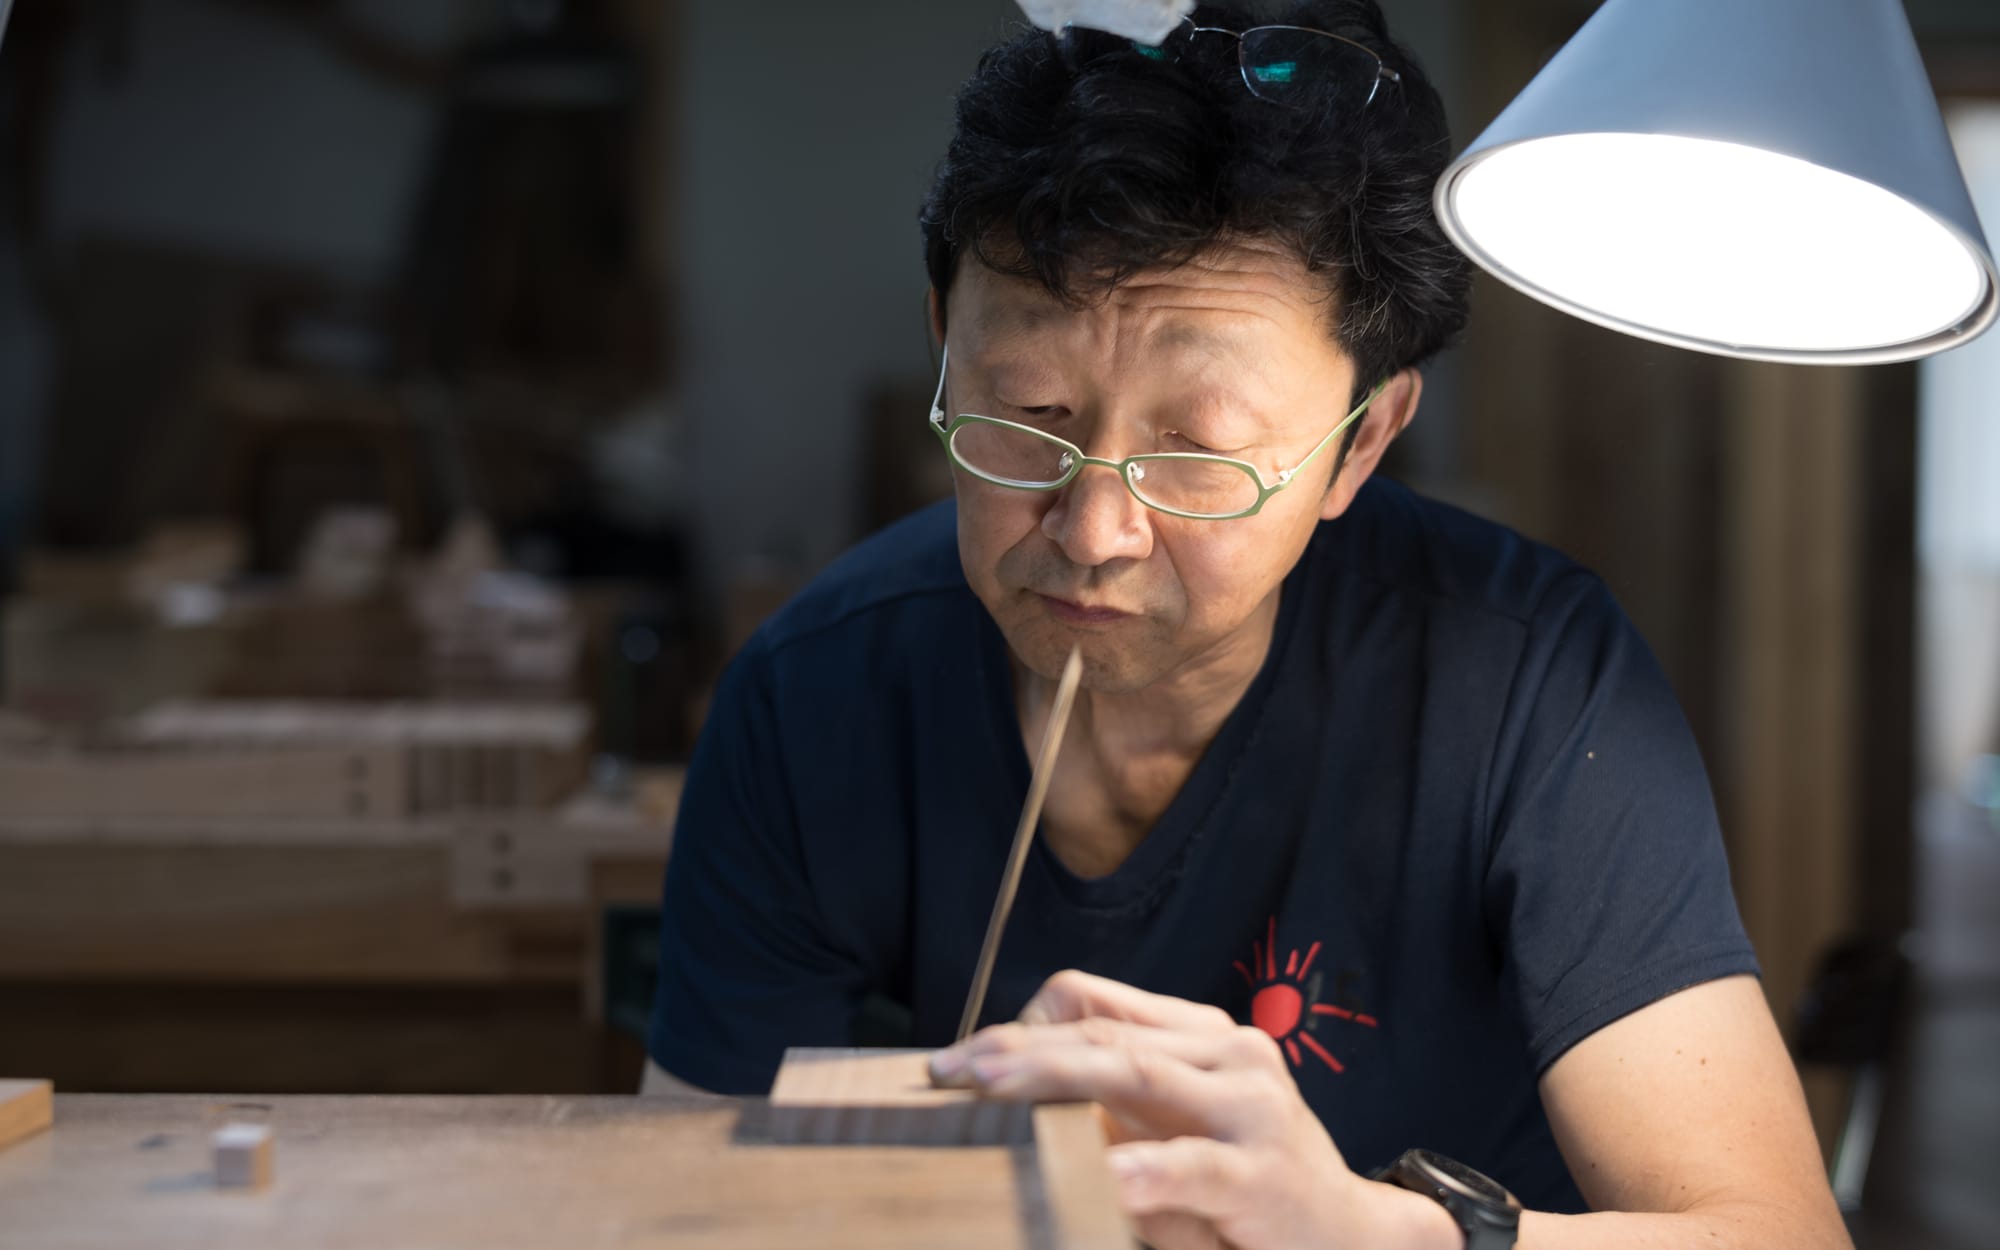
His general pattern of sawing, say a box joint, was to cut a v pattern, first front, then back, and then connect them down the middle. (In carpentry, many teachers draw a shallow line around a tenon shoulder to follow deeper to the tenon itself. Basically the same, but around a post versus at the end of a board.)
As Tak said to me in discussing all these differences, "skill is personal." Which is to say, there are a lot of different ways to work and so many of them are valid depending on the context.
After students set up and sharpened their small flat planes, we practiced creating curved surfaces from square stock. First we drew the curve we wanted to create on the end grain. Then we roughly planed the edge into three faces, and then planed down those edges to create seven faces, and so forth.
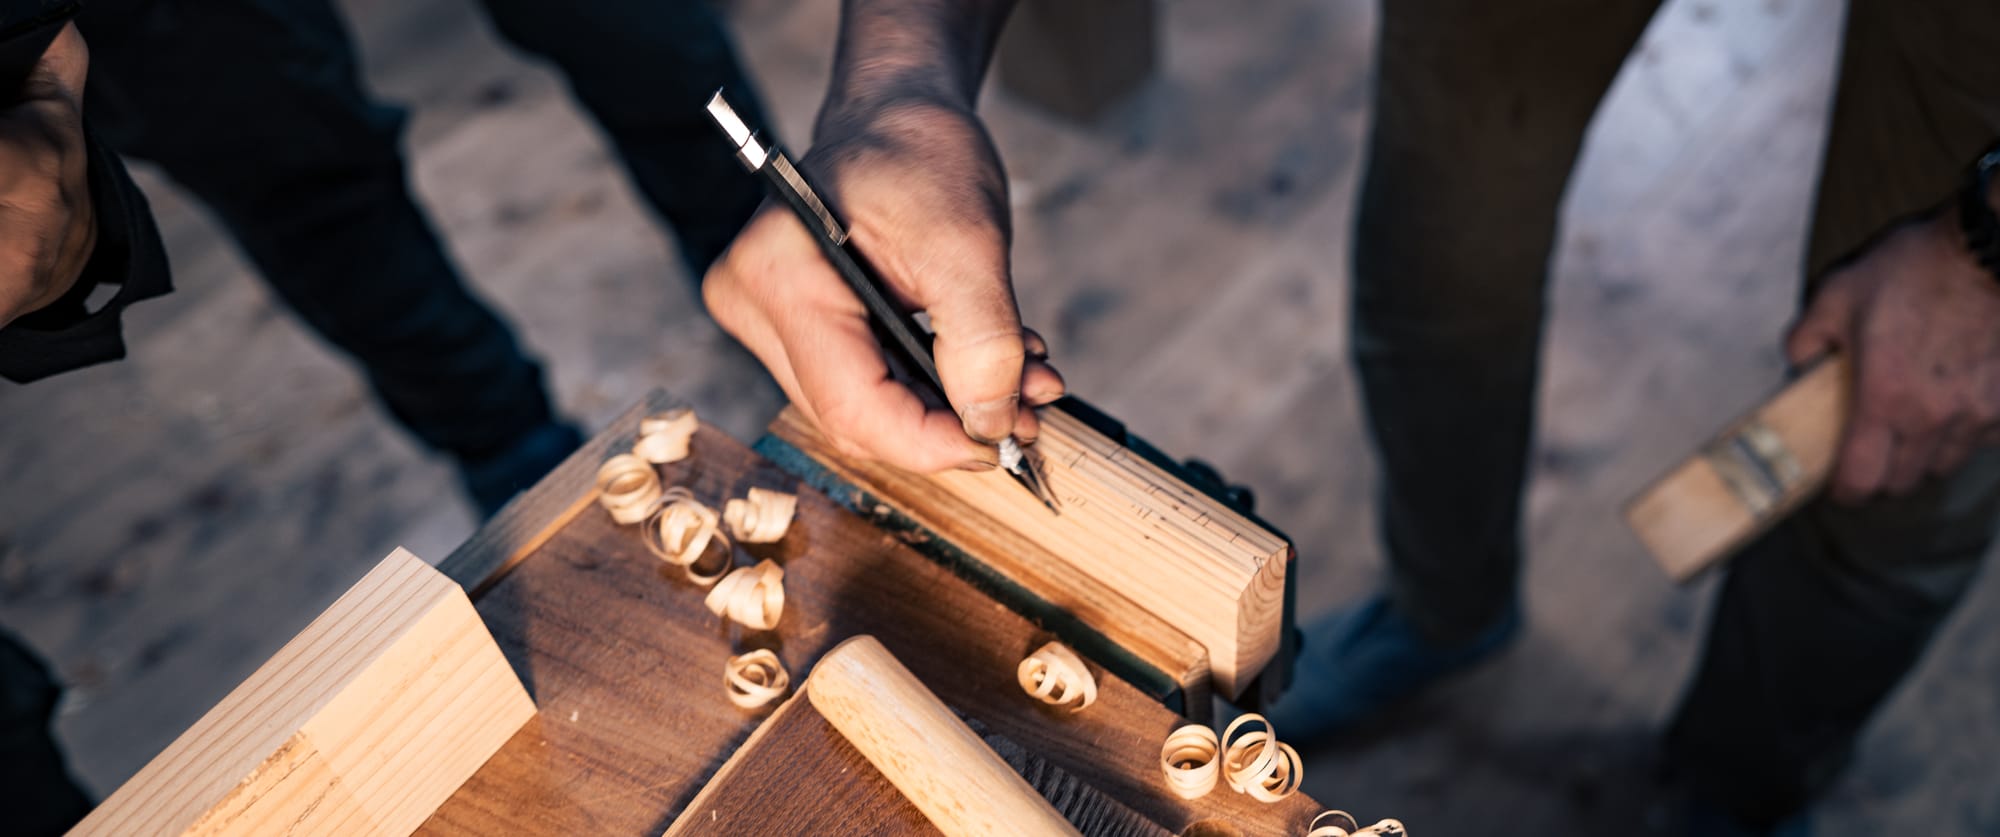
We created these curves on one axis and then the other axis. And finally, across both axis.
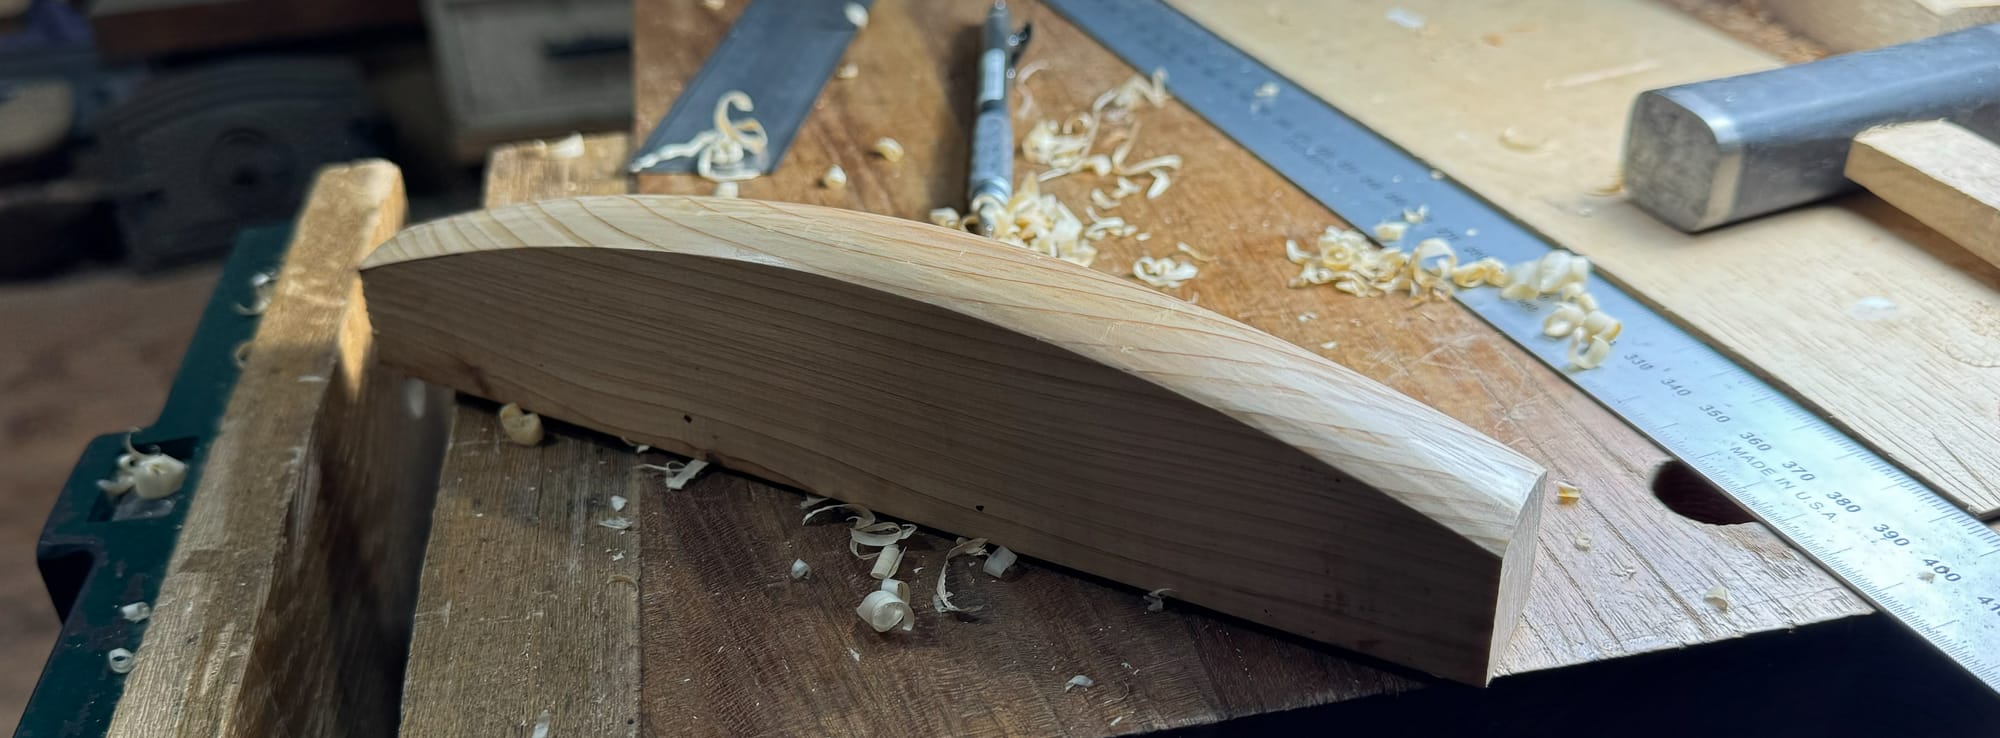
After those exercises, students were also asked to use their plane to create a simple tea ceremony tray.
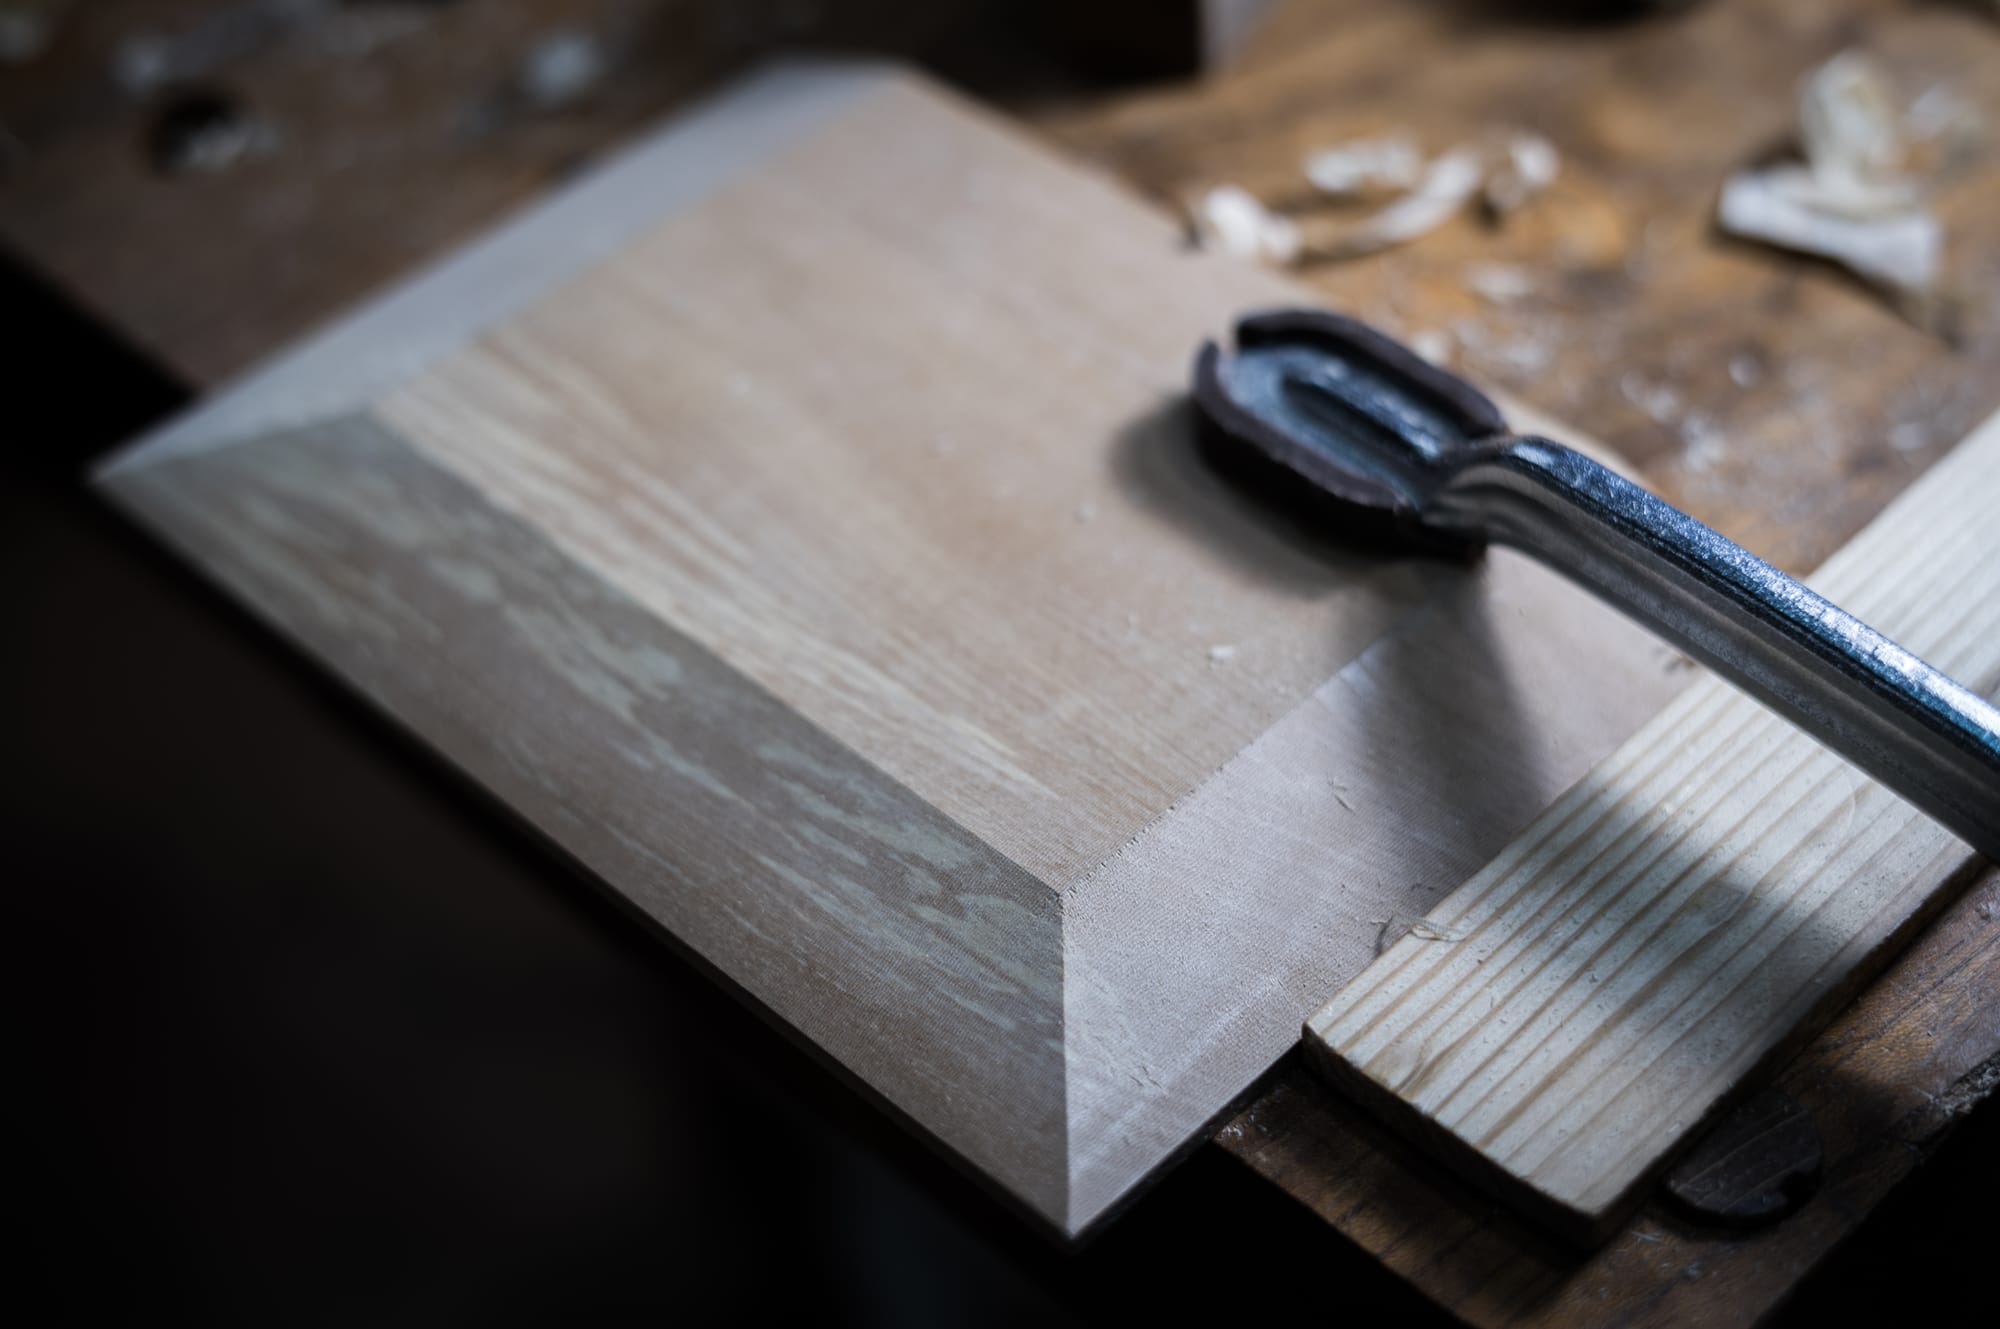
First, the boards we chose were milled by hand to be square and true. Then, we added large bevels to the bottom side by drawing pencil lines and planning them.
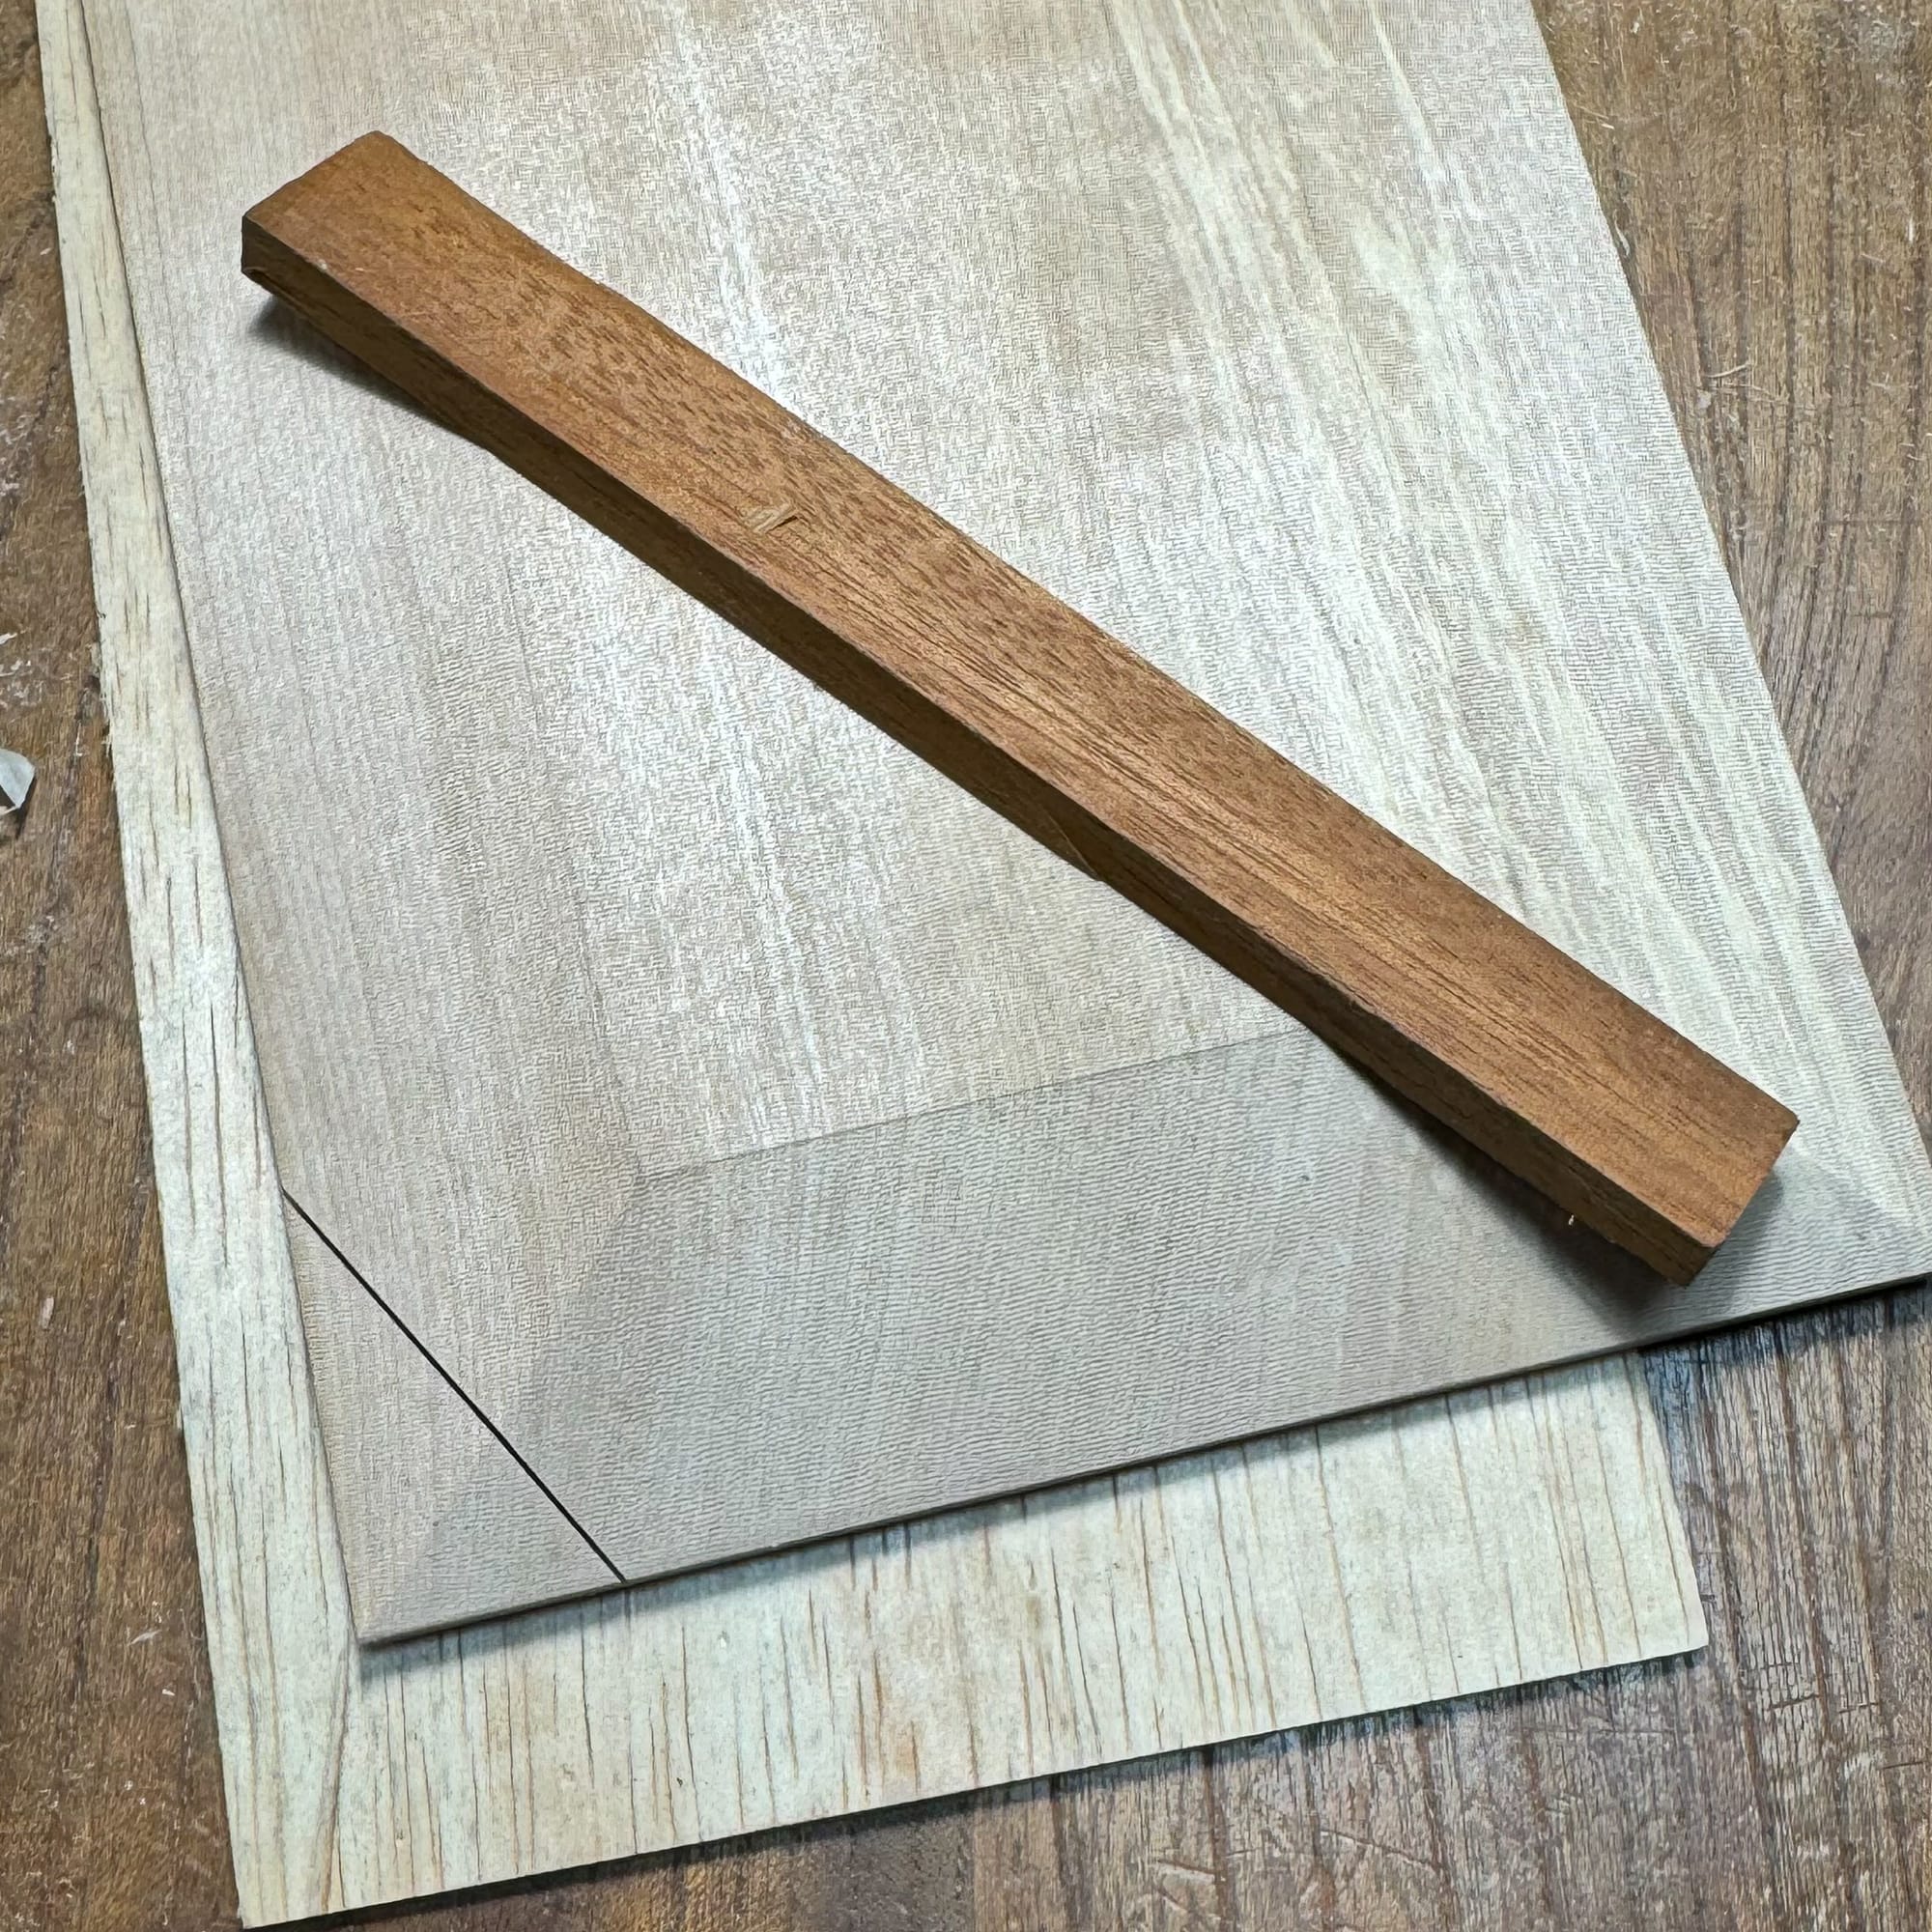
The tea trays receive a finishing detail on the left corner nearest to the server: a sawn and steam-bent corner fixed with a glued-in wedge. First the panel is sawn, leaving a tenth of a millimeter of wood left to hold the dog ear on.
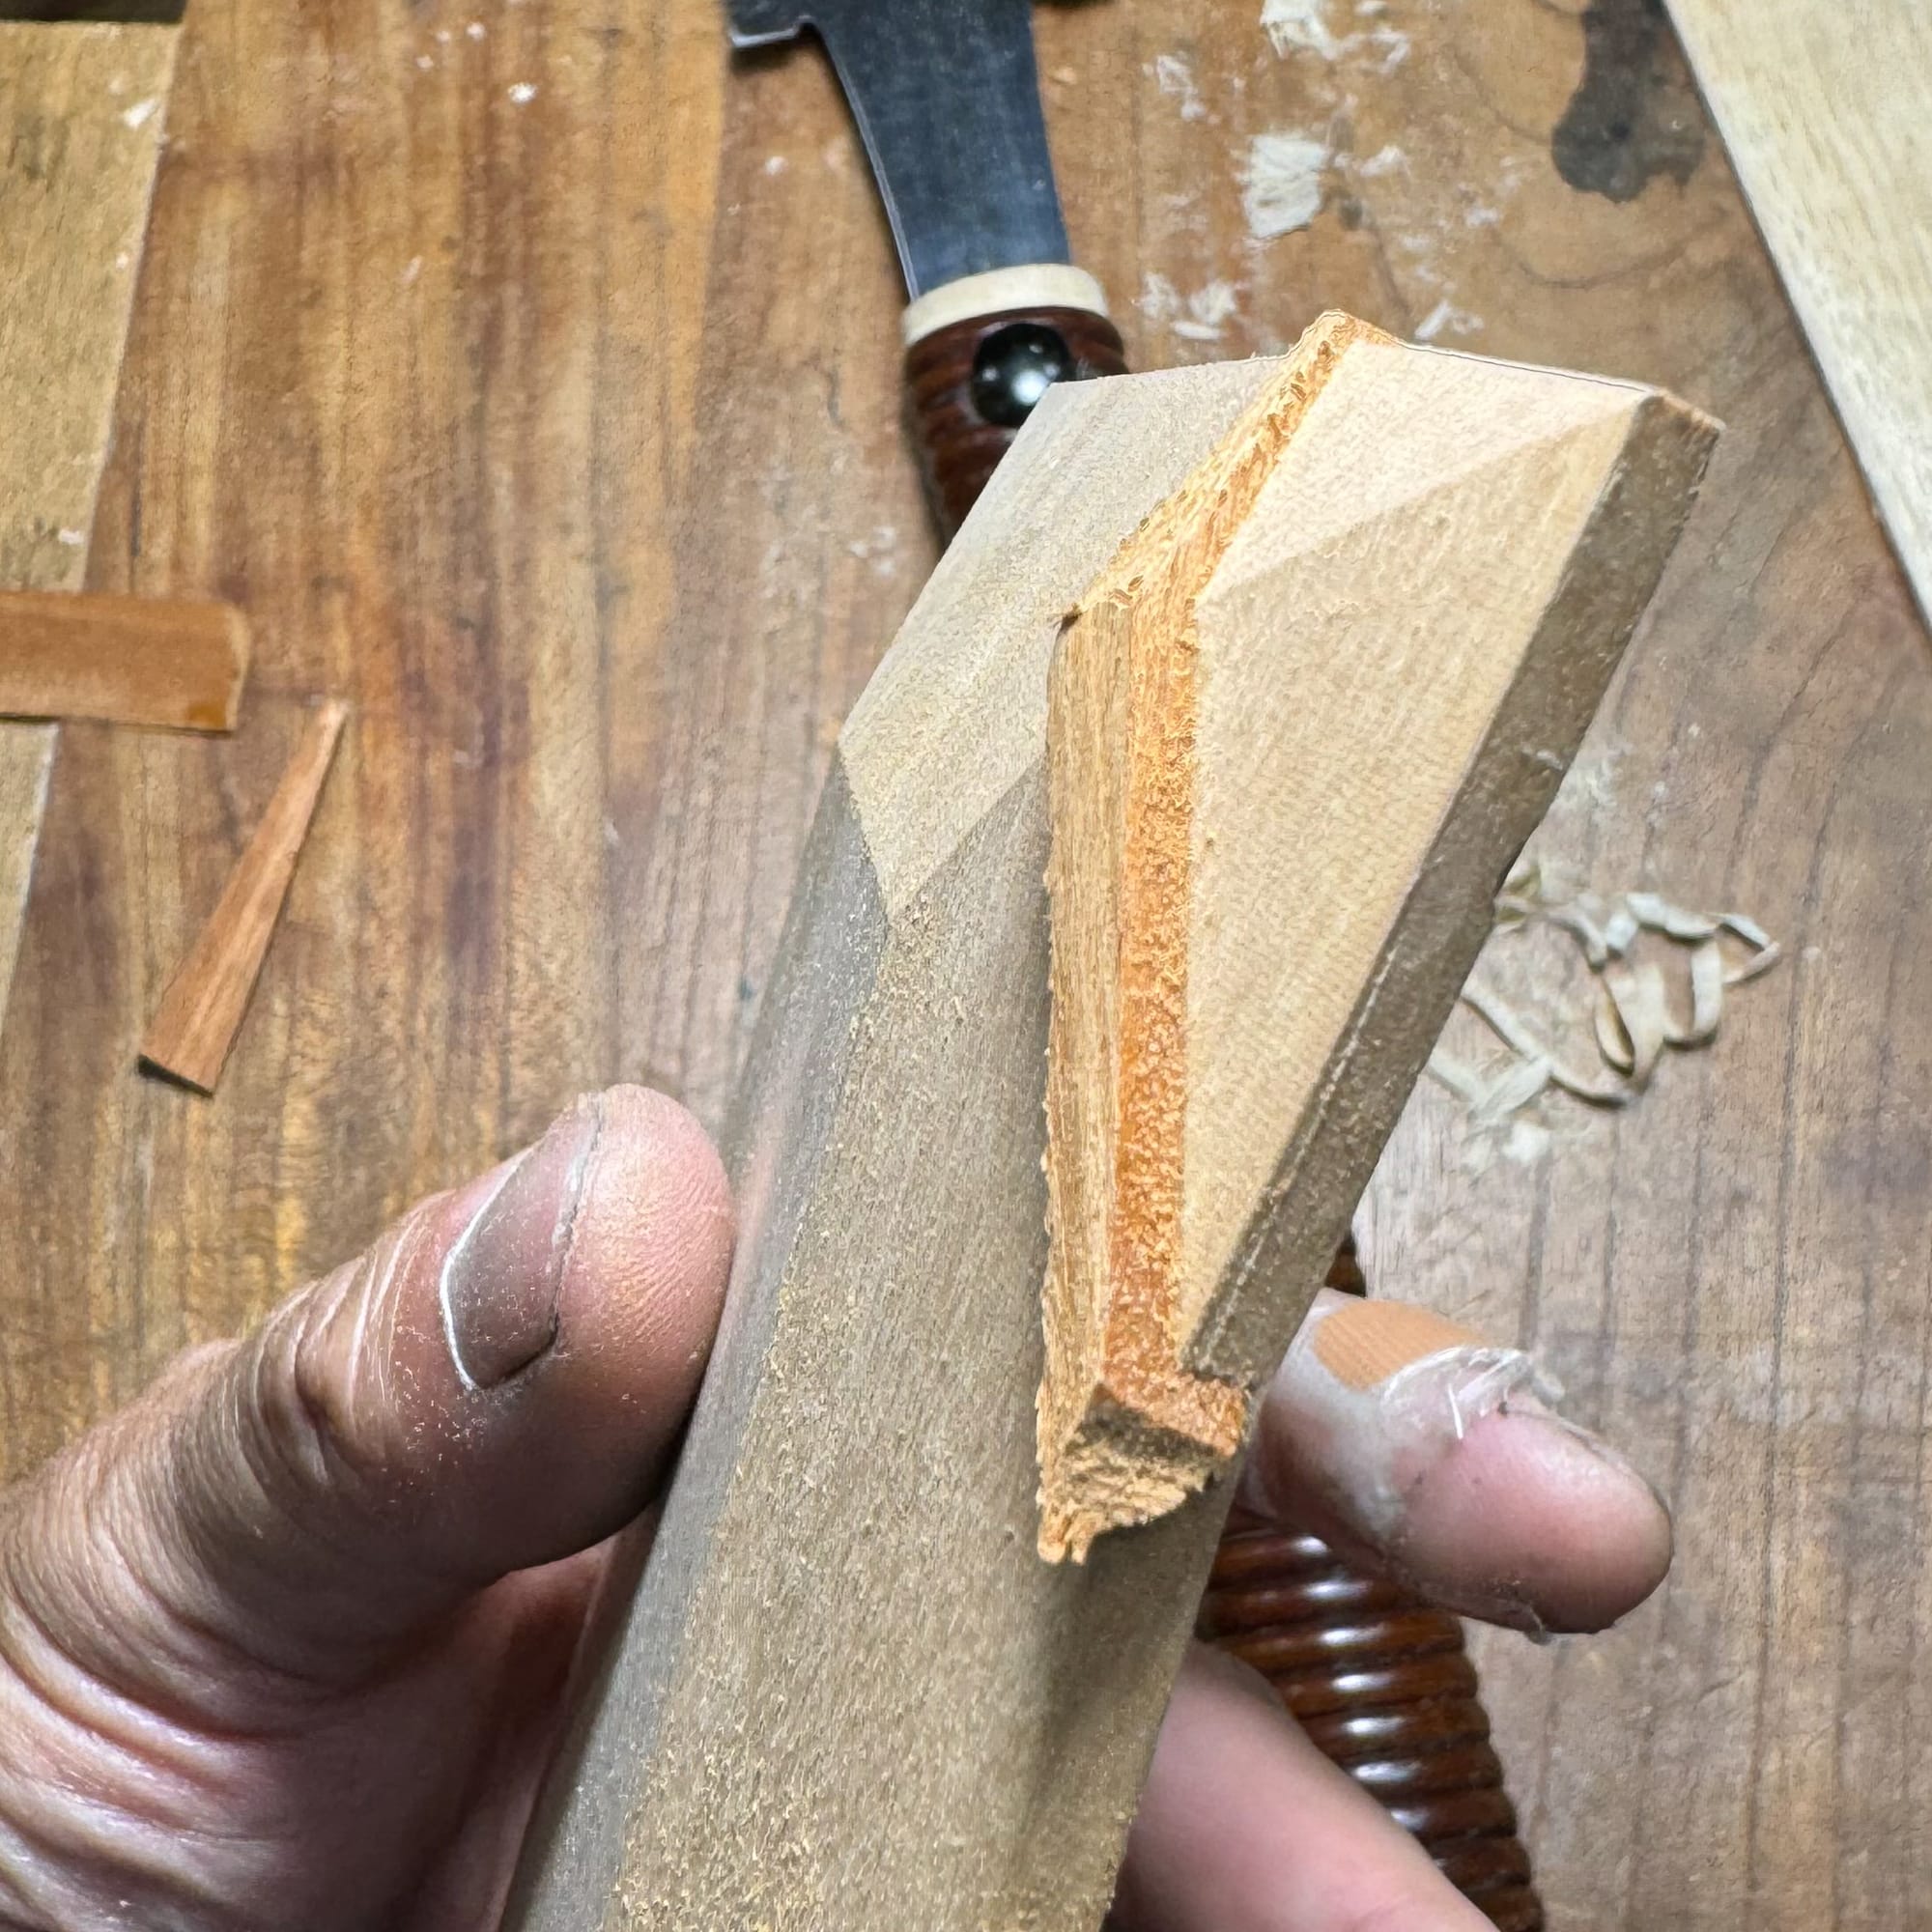
The bent corner detail is evocative of that corner traditionally being used with a cloth to wipe clean a serving knife. The trays were then finished in urushi over several coats applied throughout the rest of the month while we worked on other projects.
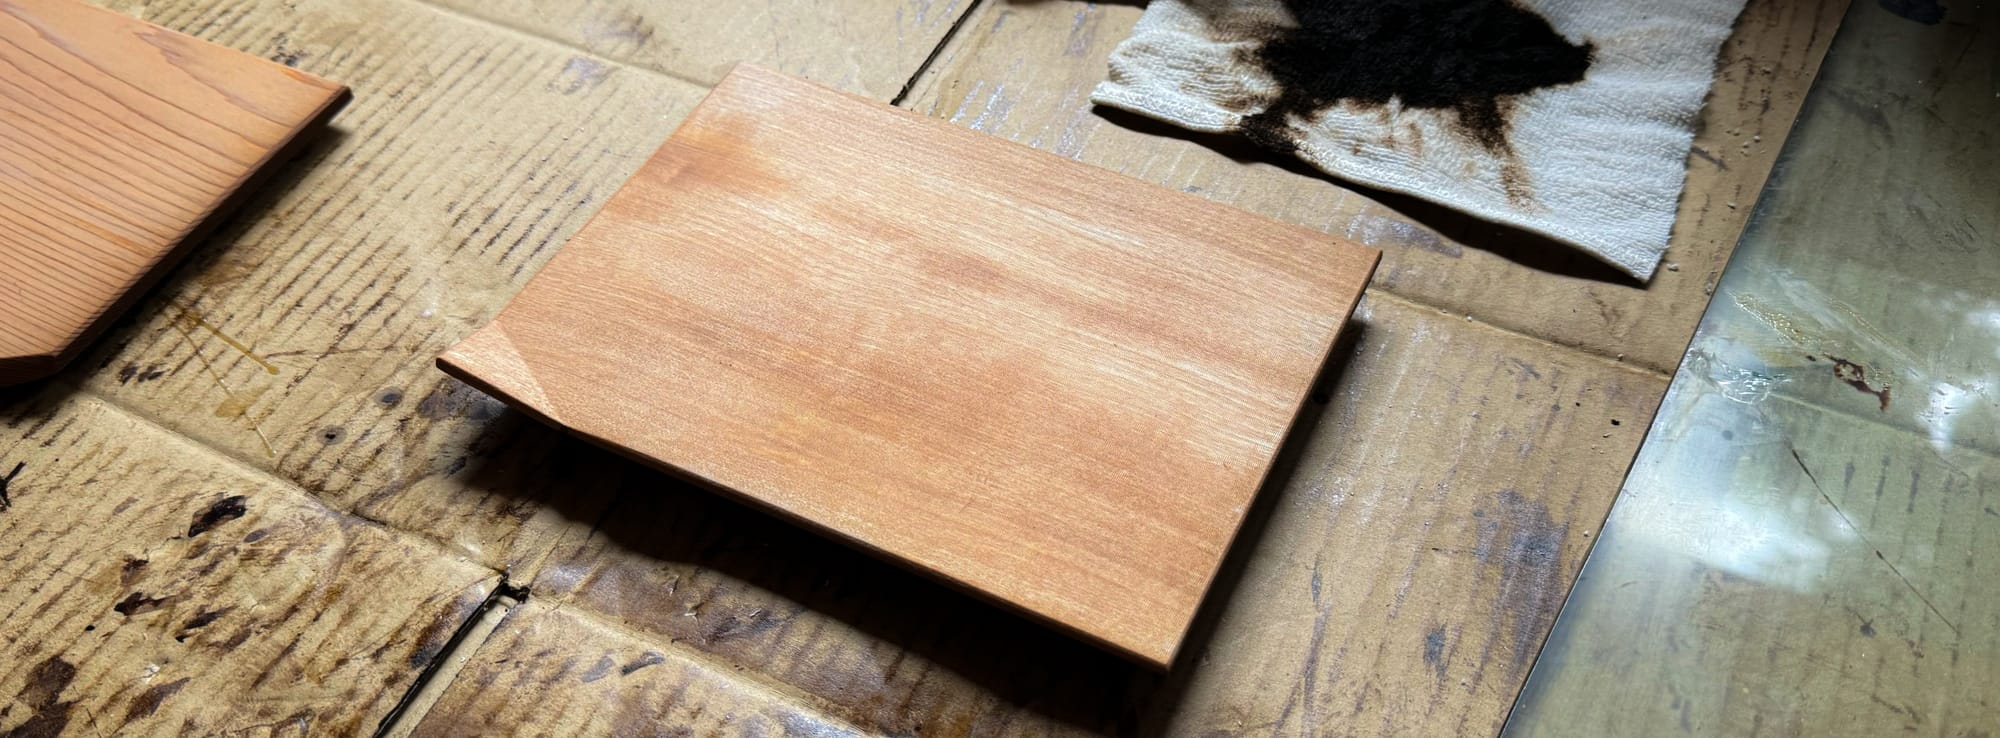
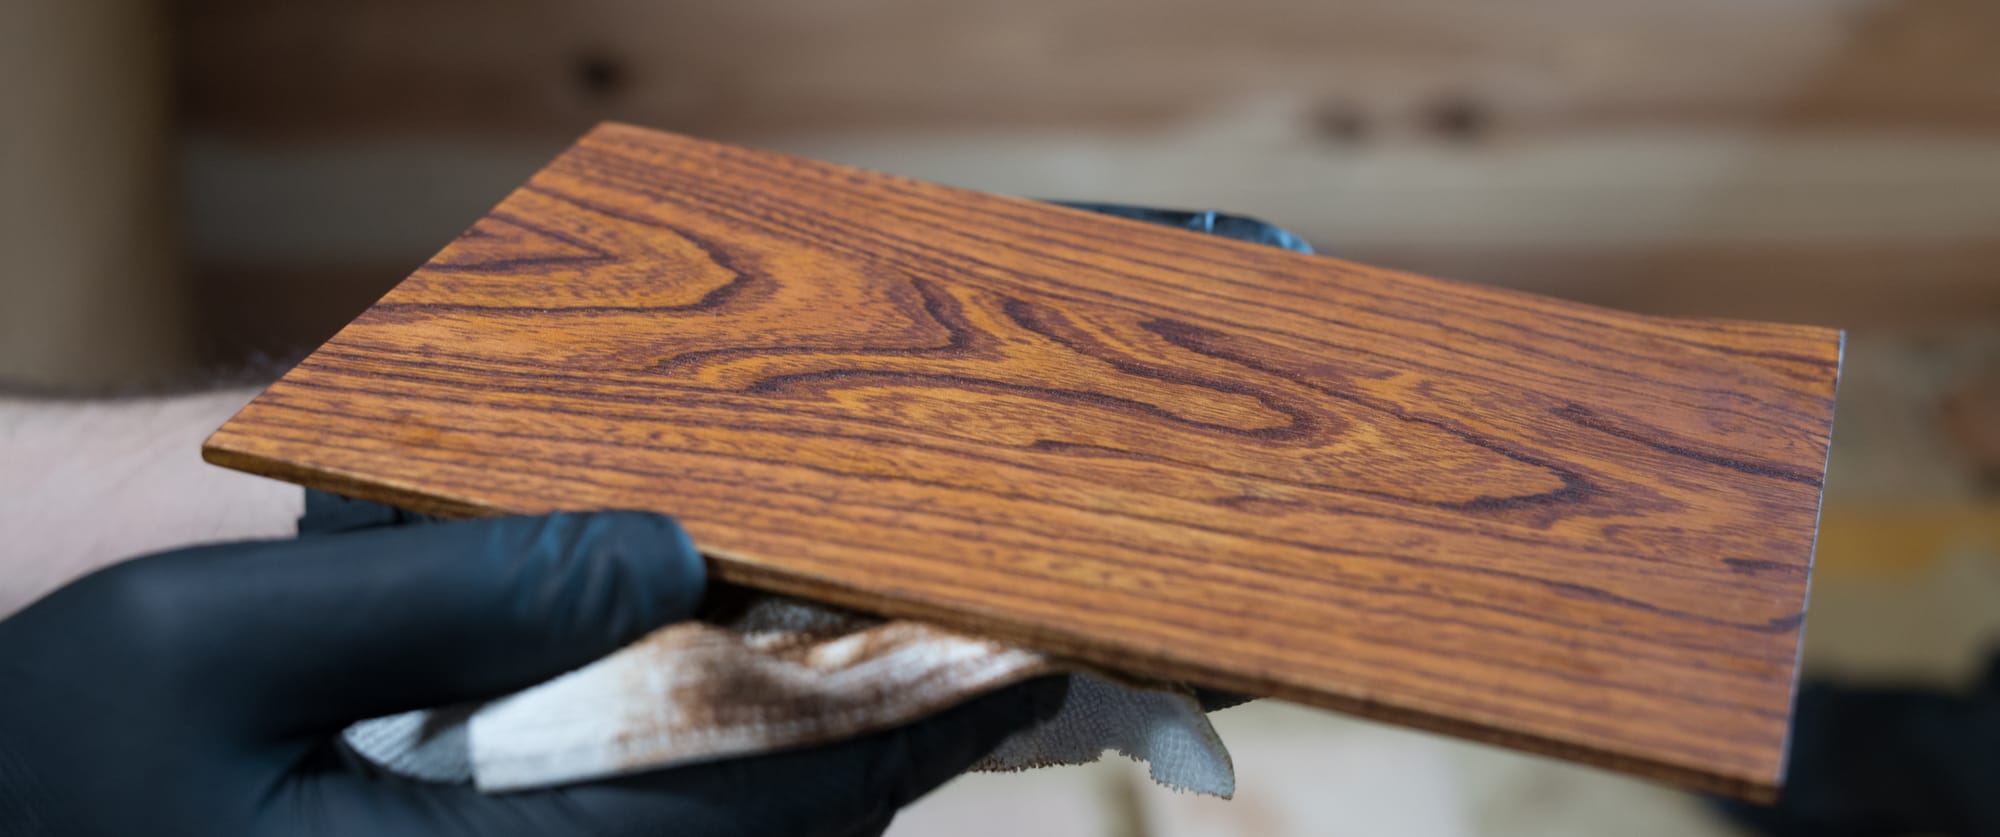
We went over things like urushi's preference for humidity when curing, and the use of stone grit laden water to pre-finish the surface. Also, how to sand between coats.
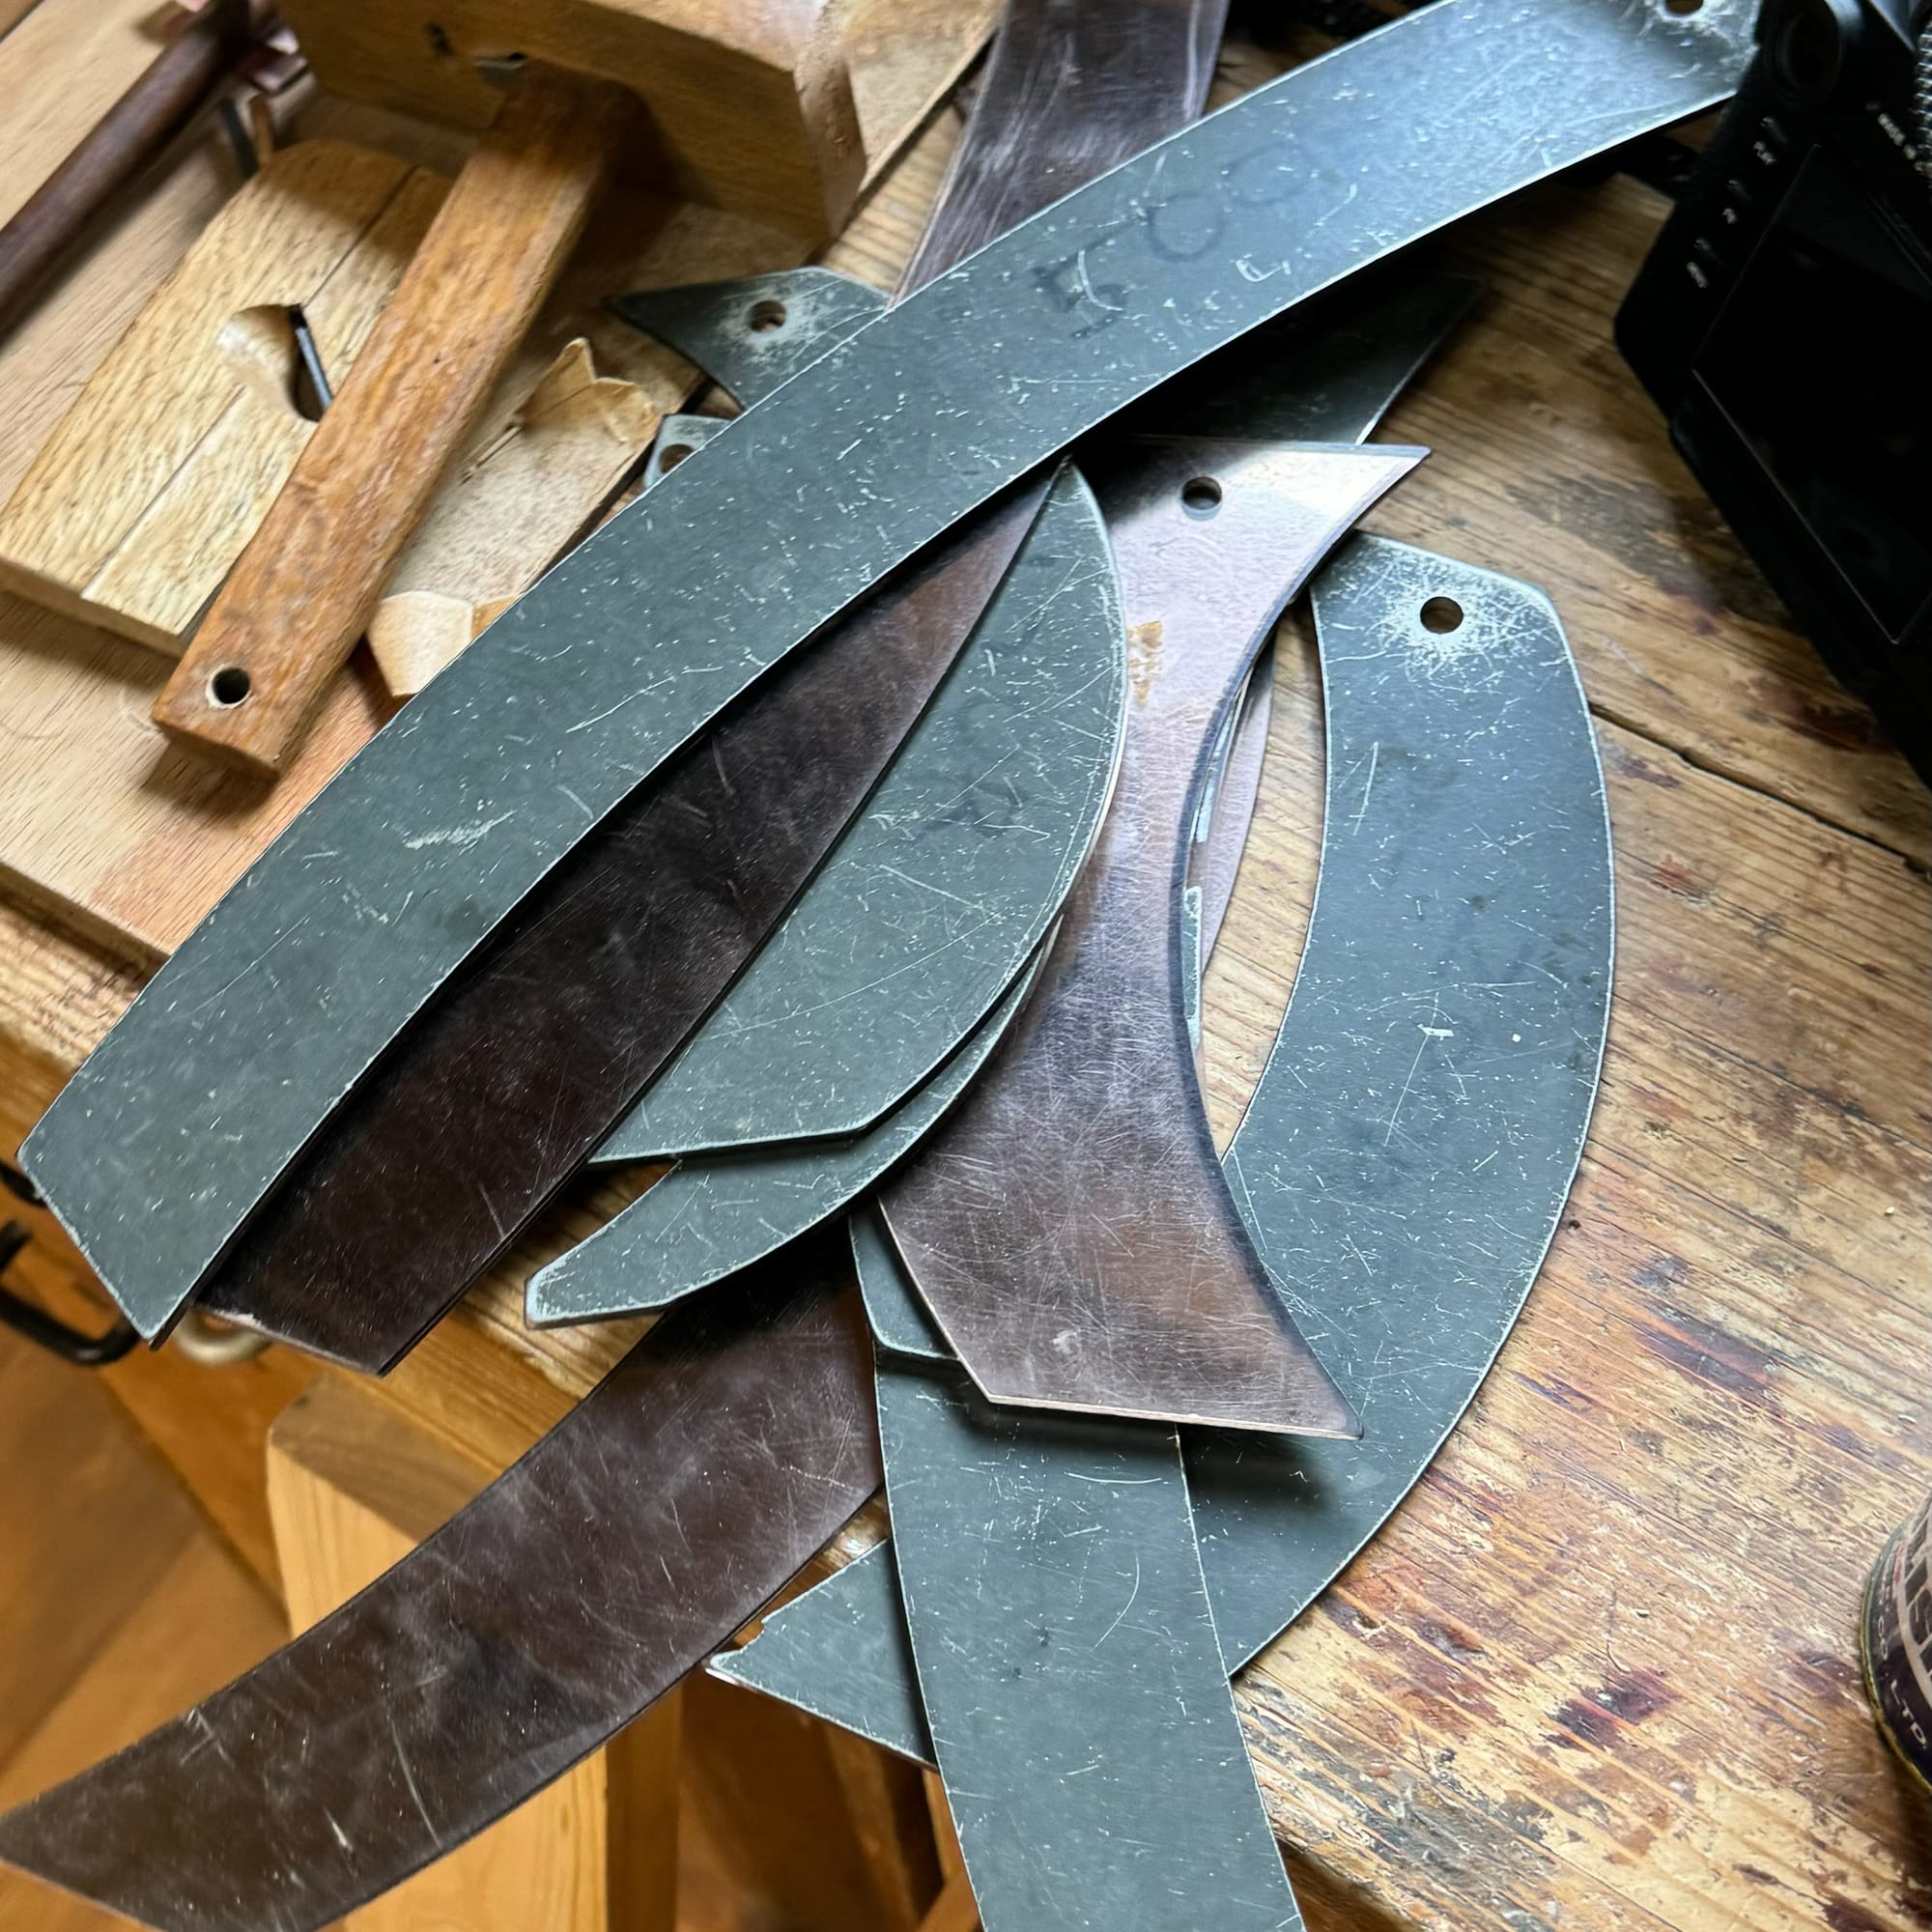
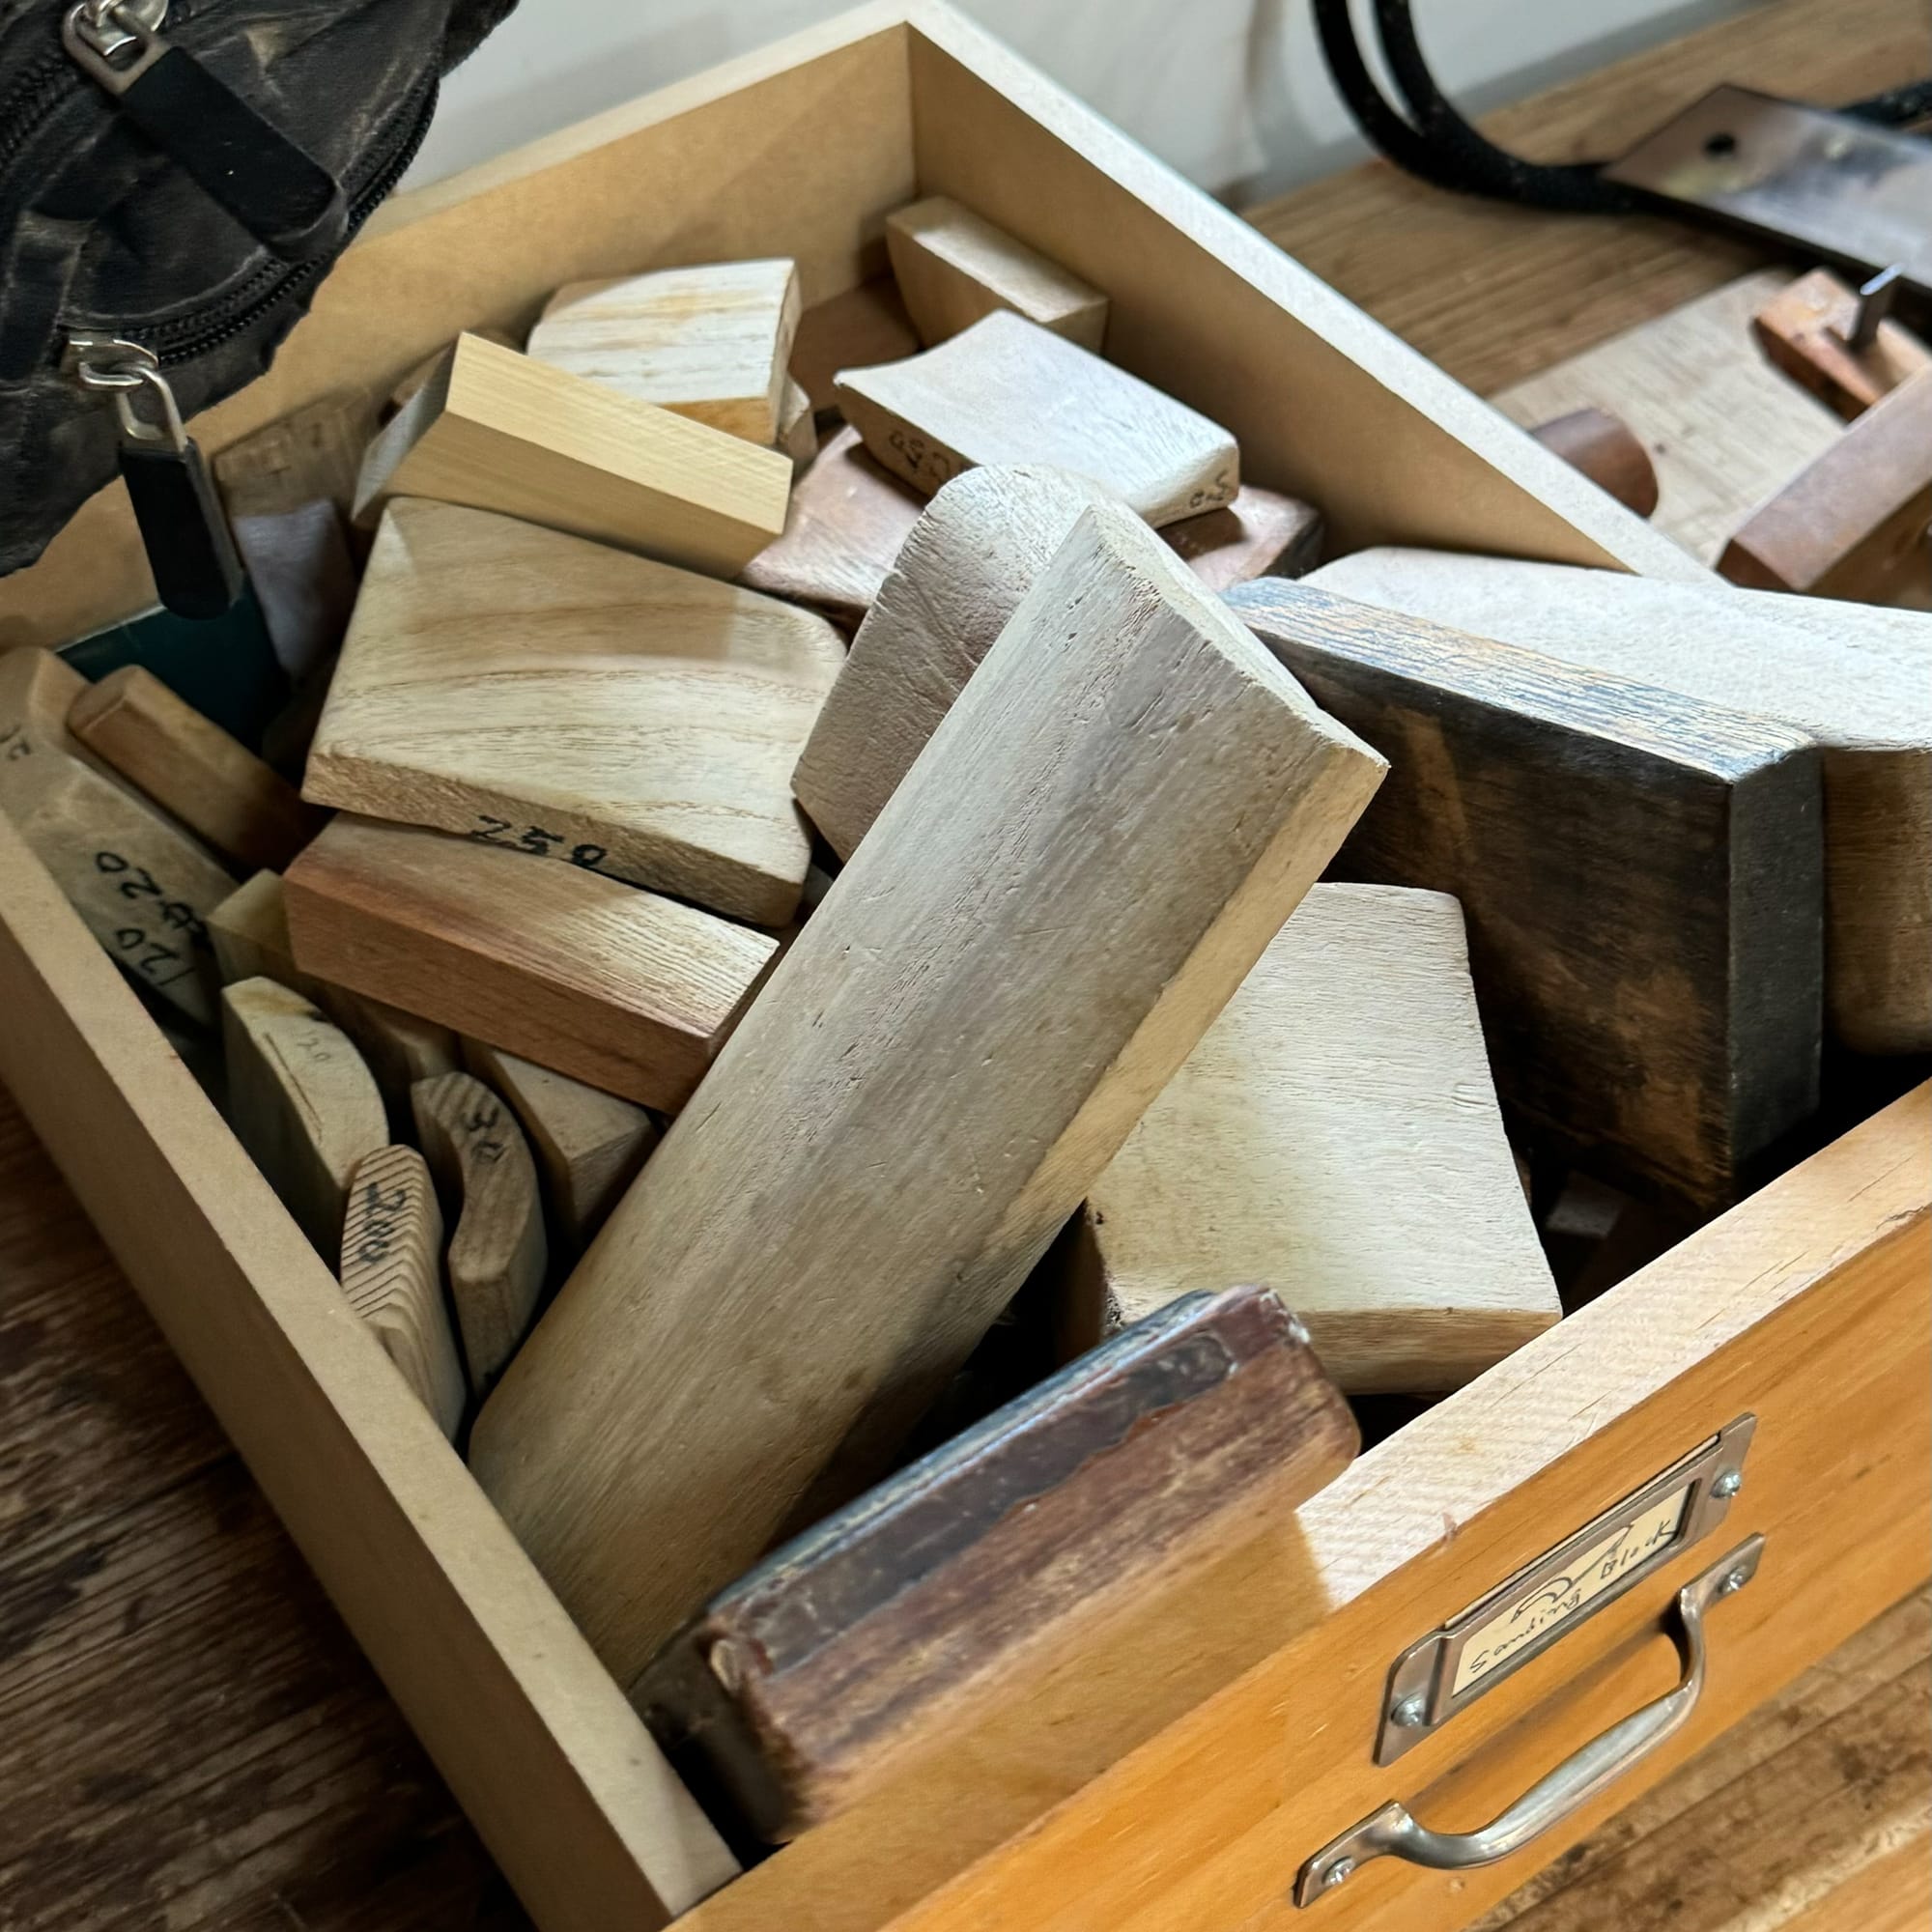
Tak also introduced some of his specialties, including how he creates planes of any curvature to shape his chairs and boxes. He uses radius templates he created to create sanding blocks, which are used, after roughing on machines, to finalize the shape of the sole.
Whem making custom a plane, Tak starts with regular flat bottomed koganna from the blacksmith komori, with a thicker than average dai and longer than average blade, so that the planes are not too thin after they are shaped.
Since compass (one axis) and spoon (two axis) planes receive extreme wear at the point where the curve of the plane touches the flatter workpiece, the mouth can be deformed very quickly.
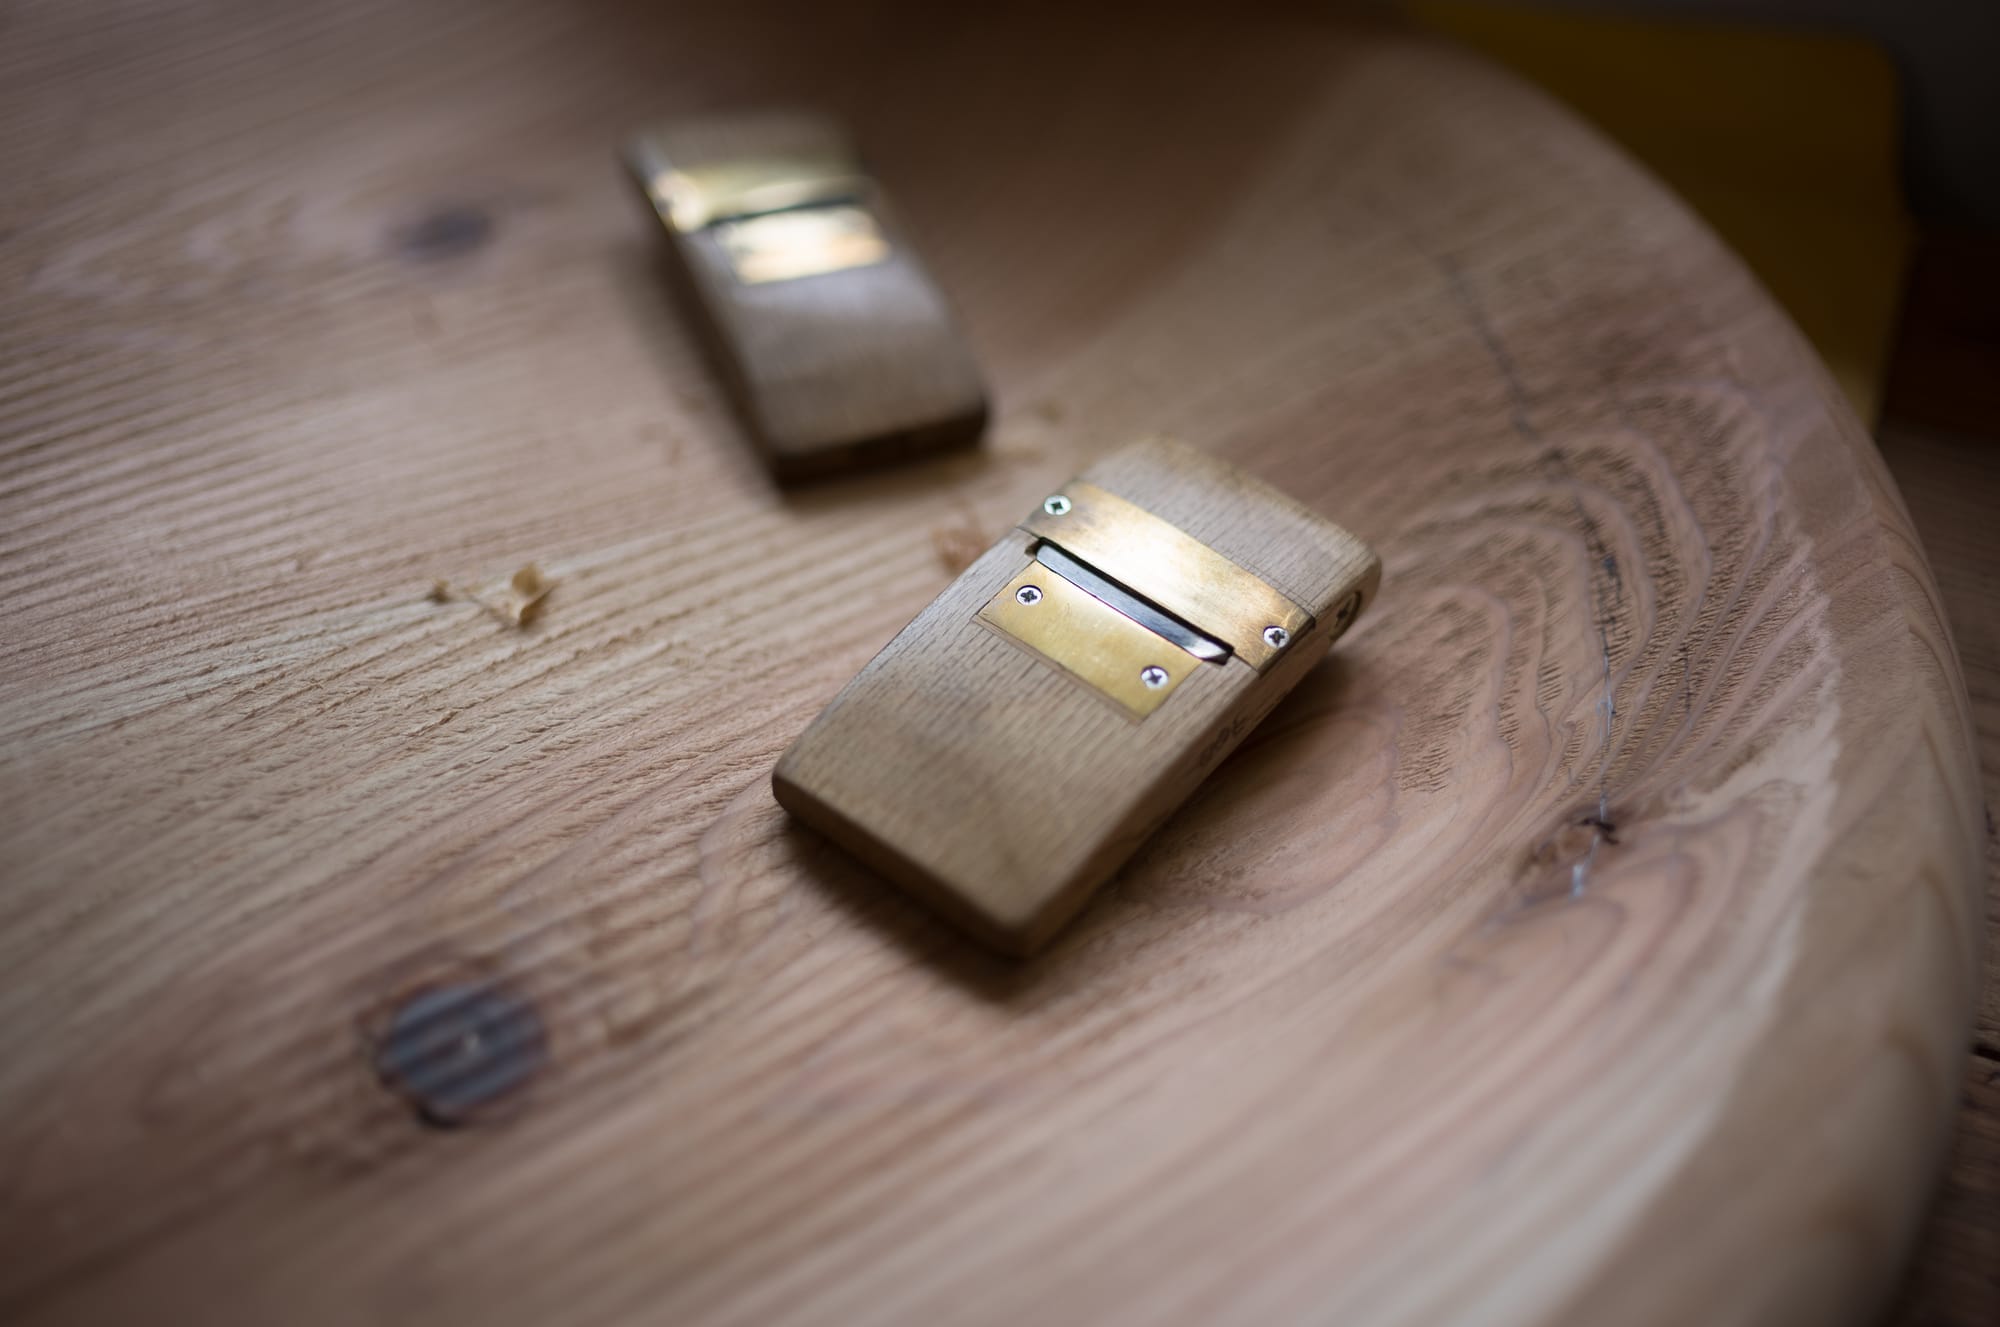
To deal with this, several decades ago, Tak heard from Tsuchida-san, a legendary Tokyo tool dealer, that a carpenter was experimenting with brass mouth planes. So Tak started trying as well. [6]
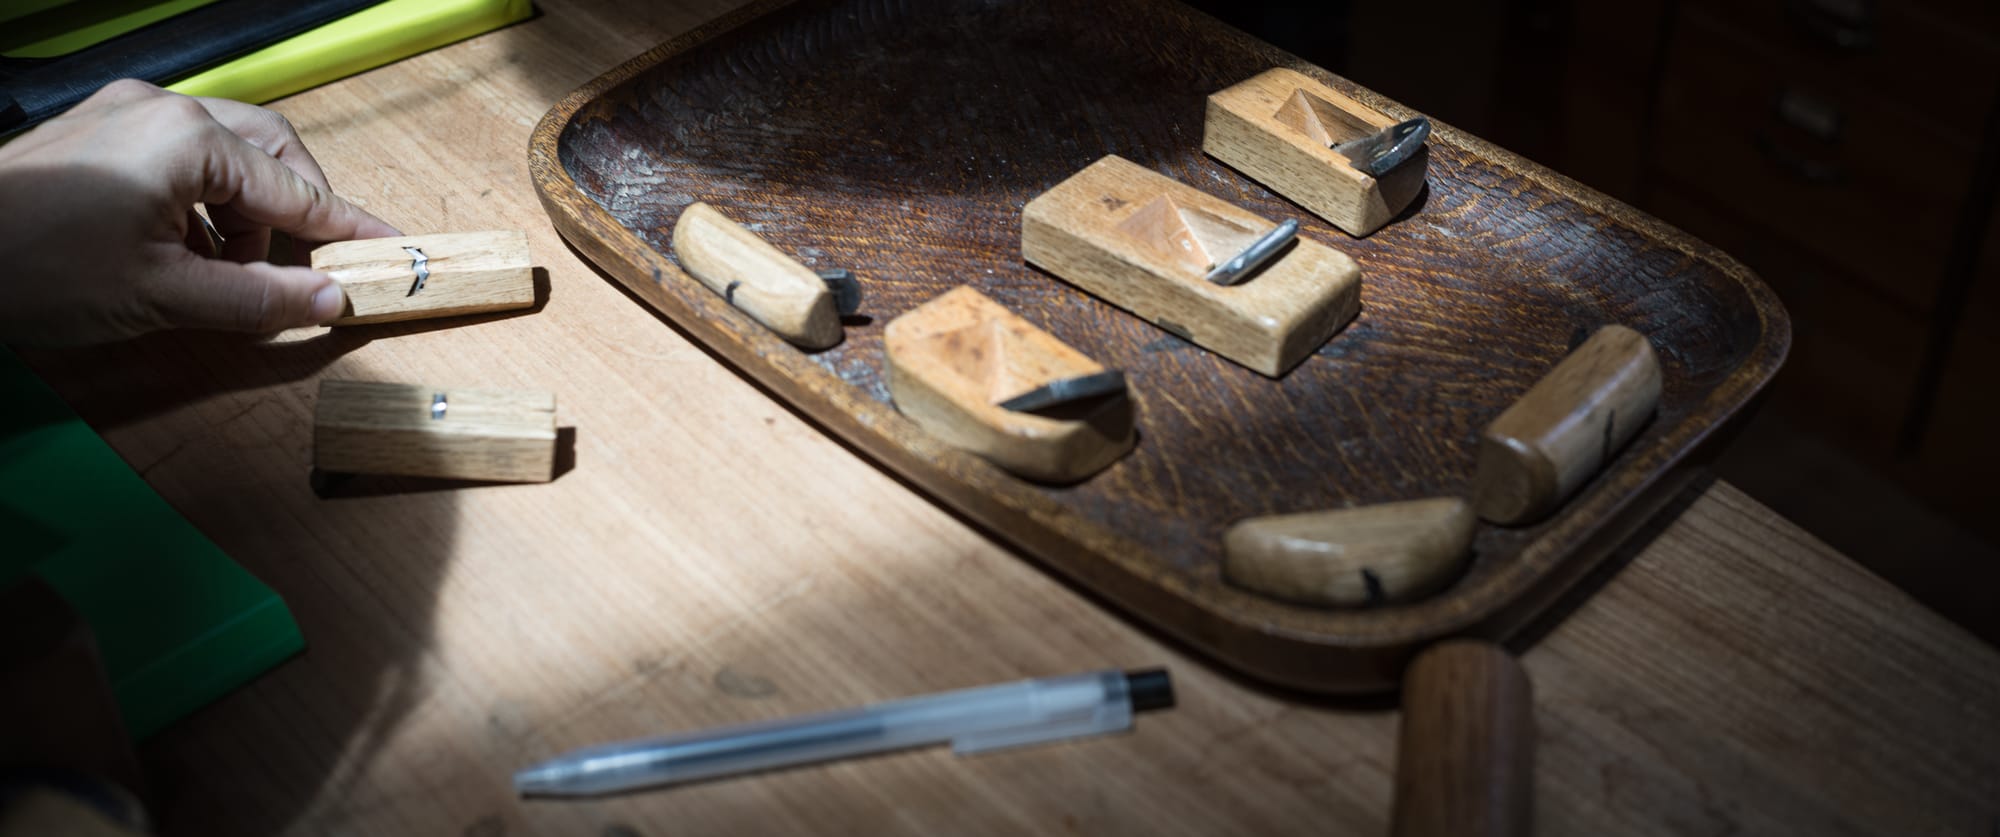
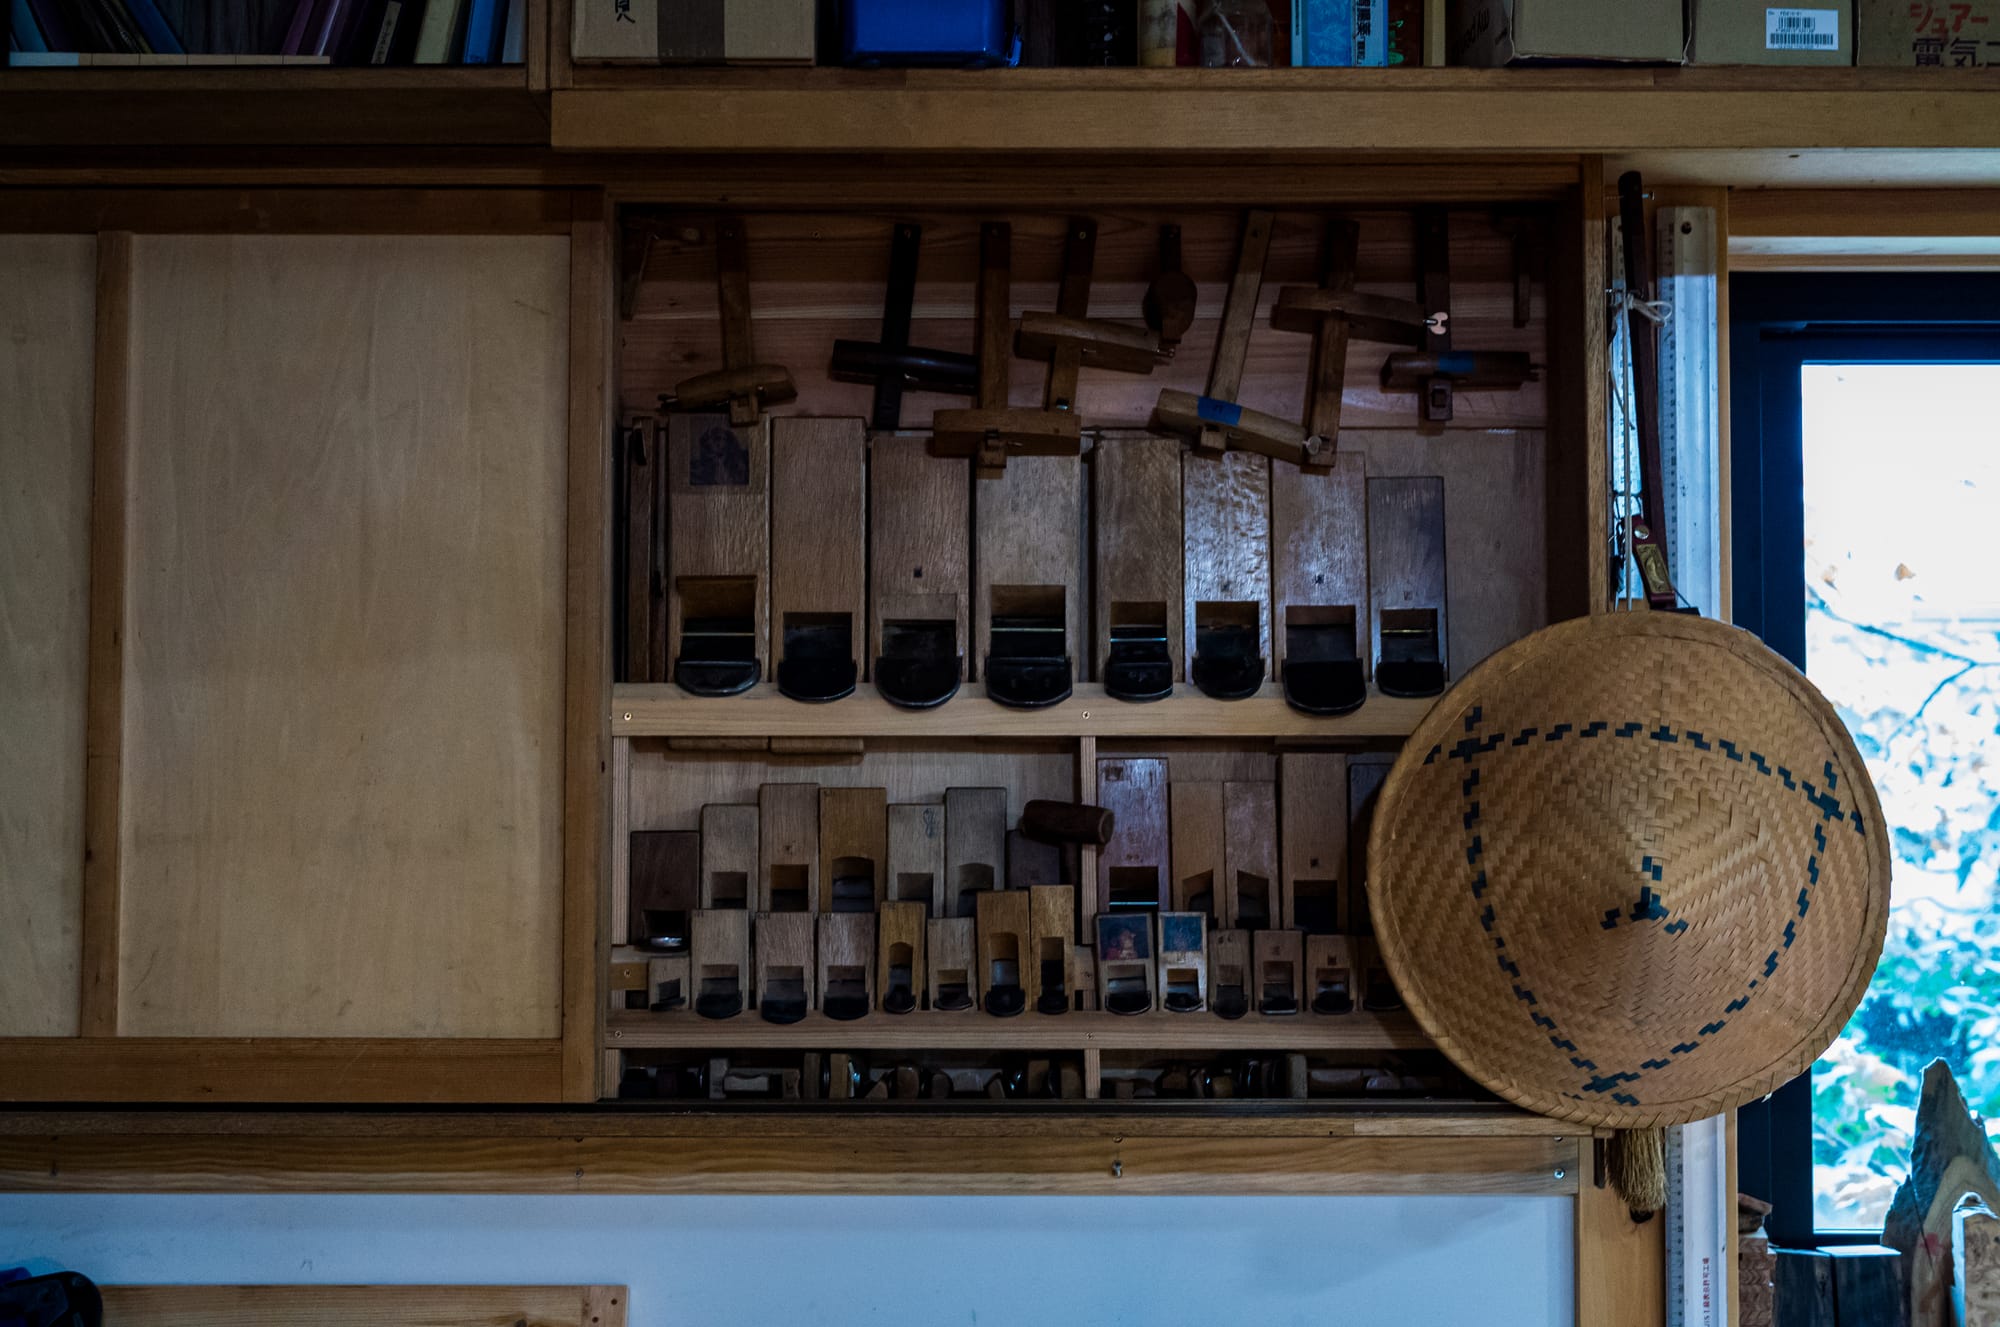
His cabinet of planes is full of decades' worth of trials and errors, leading to refined modern examples. Since different projects require several radius planes to complete, Tak's cabinet has almost 300 planes for various functions, most of the curved ones with brass reinforcement.
We also got the chance to set up a spokeshave.
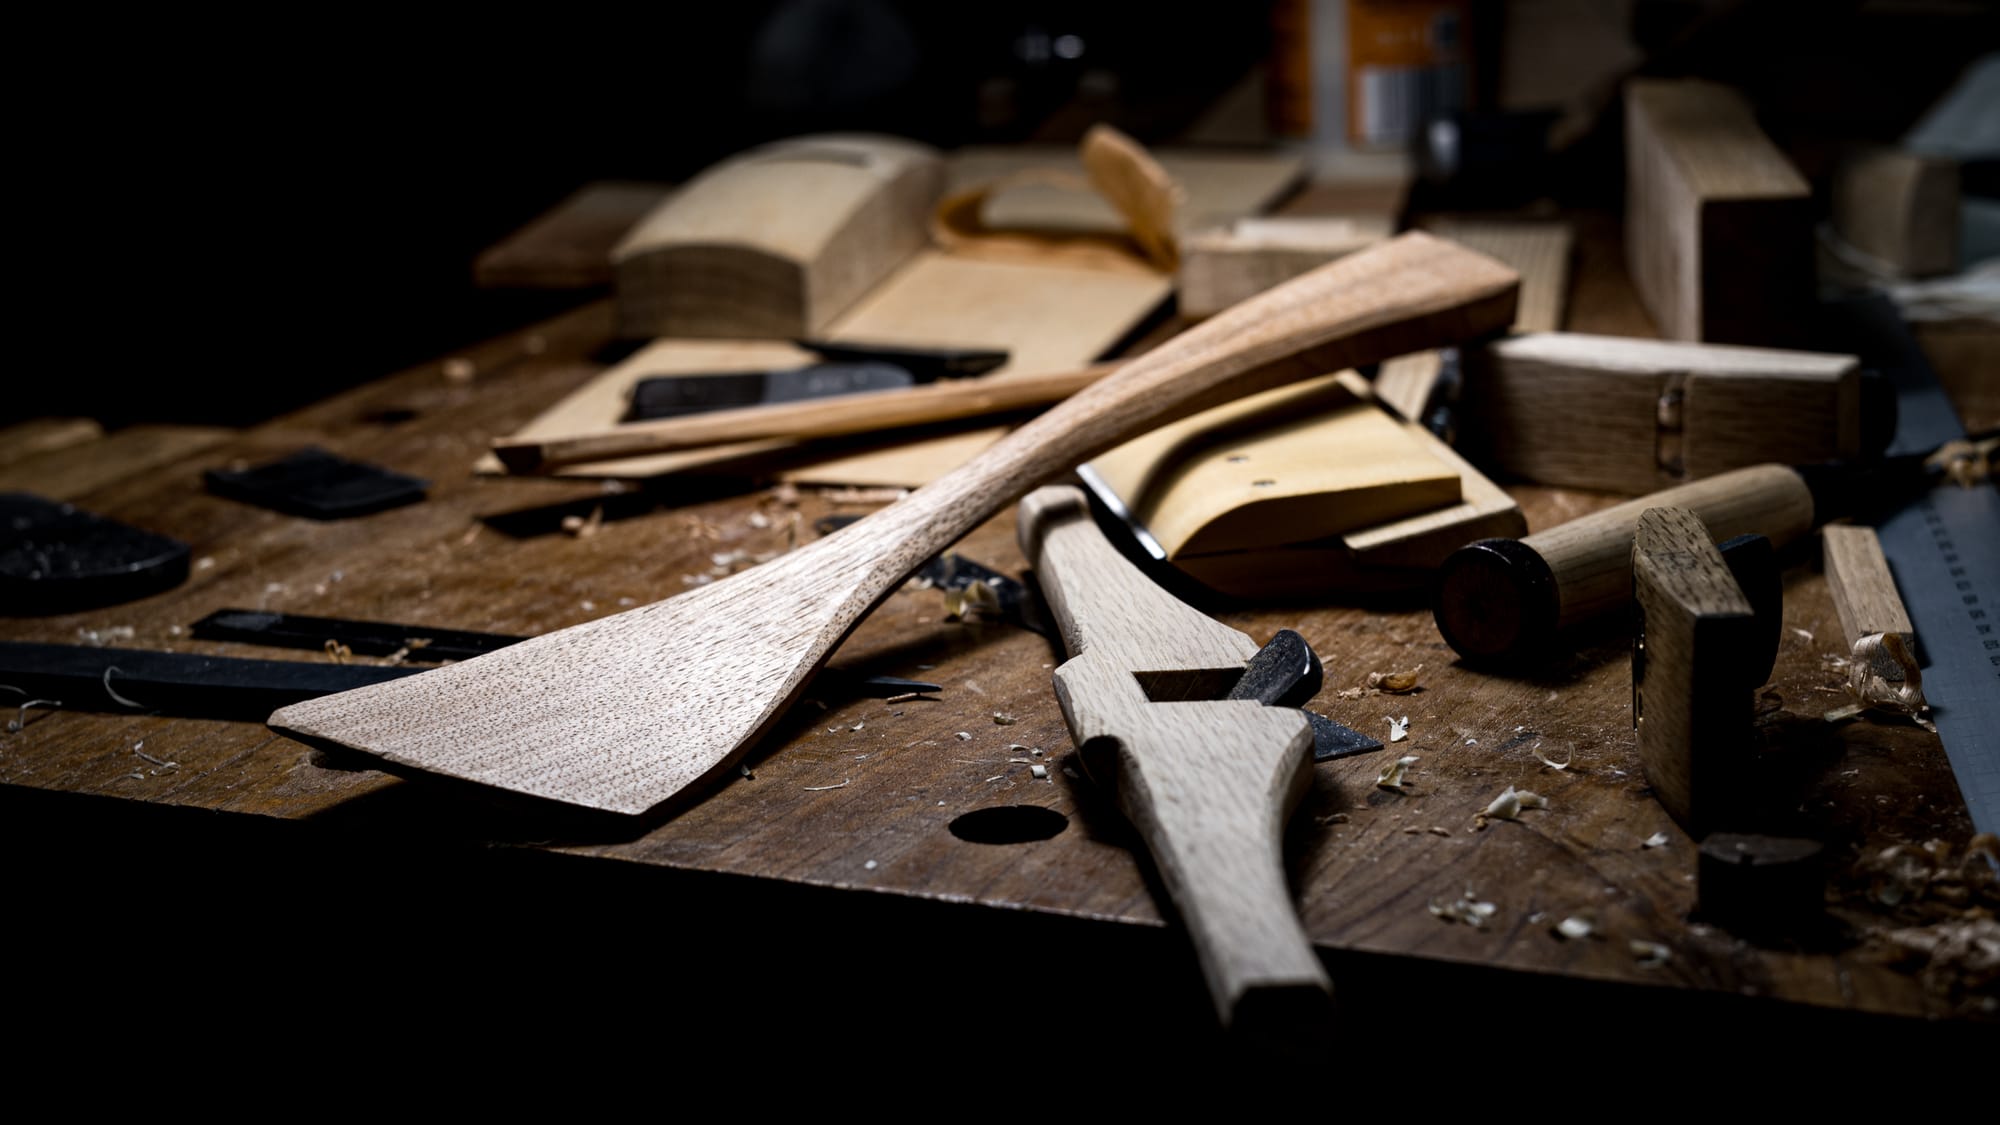
When spokeshaves were set up, we carved spoons, quickly learning how to control the shaves. We also tuned the handles of the spokeshaves to align with the mouth of the blade for more control and feedback from the tool. Working the spoons, we were asked to read the grain direction as it pertained to how the tree grew but also how the shape of the surface affects how the edge and the grain interact.
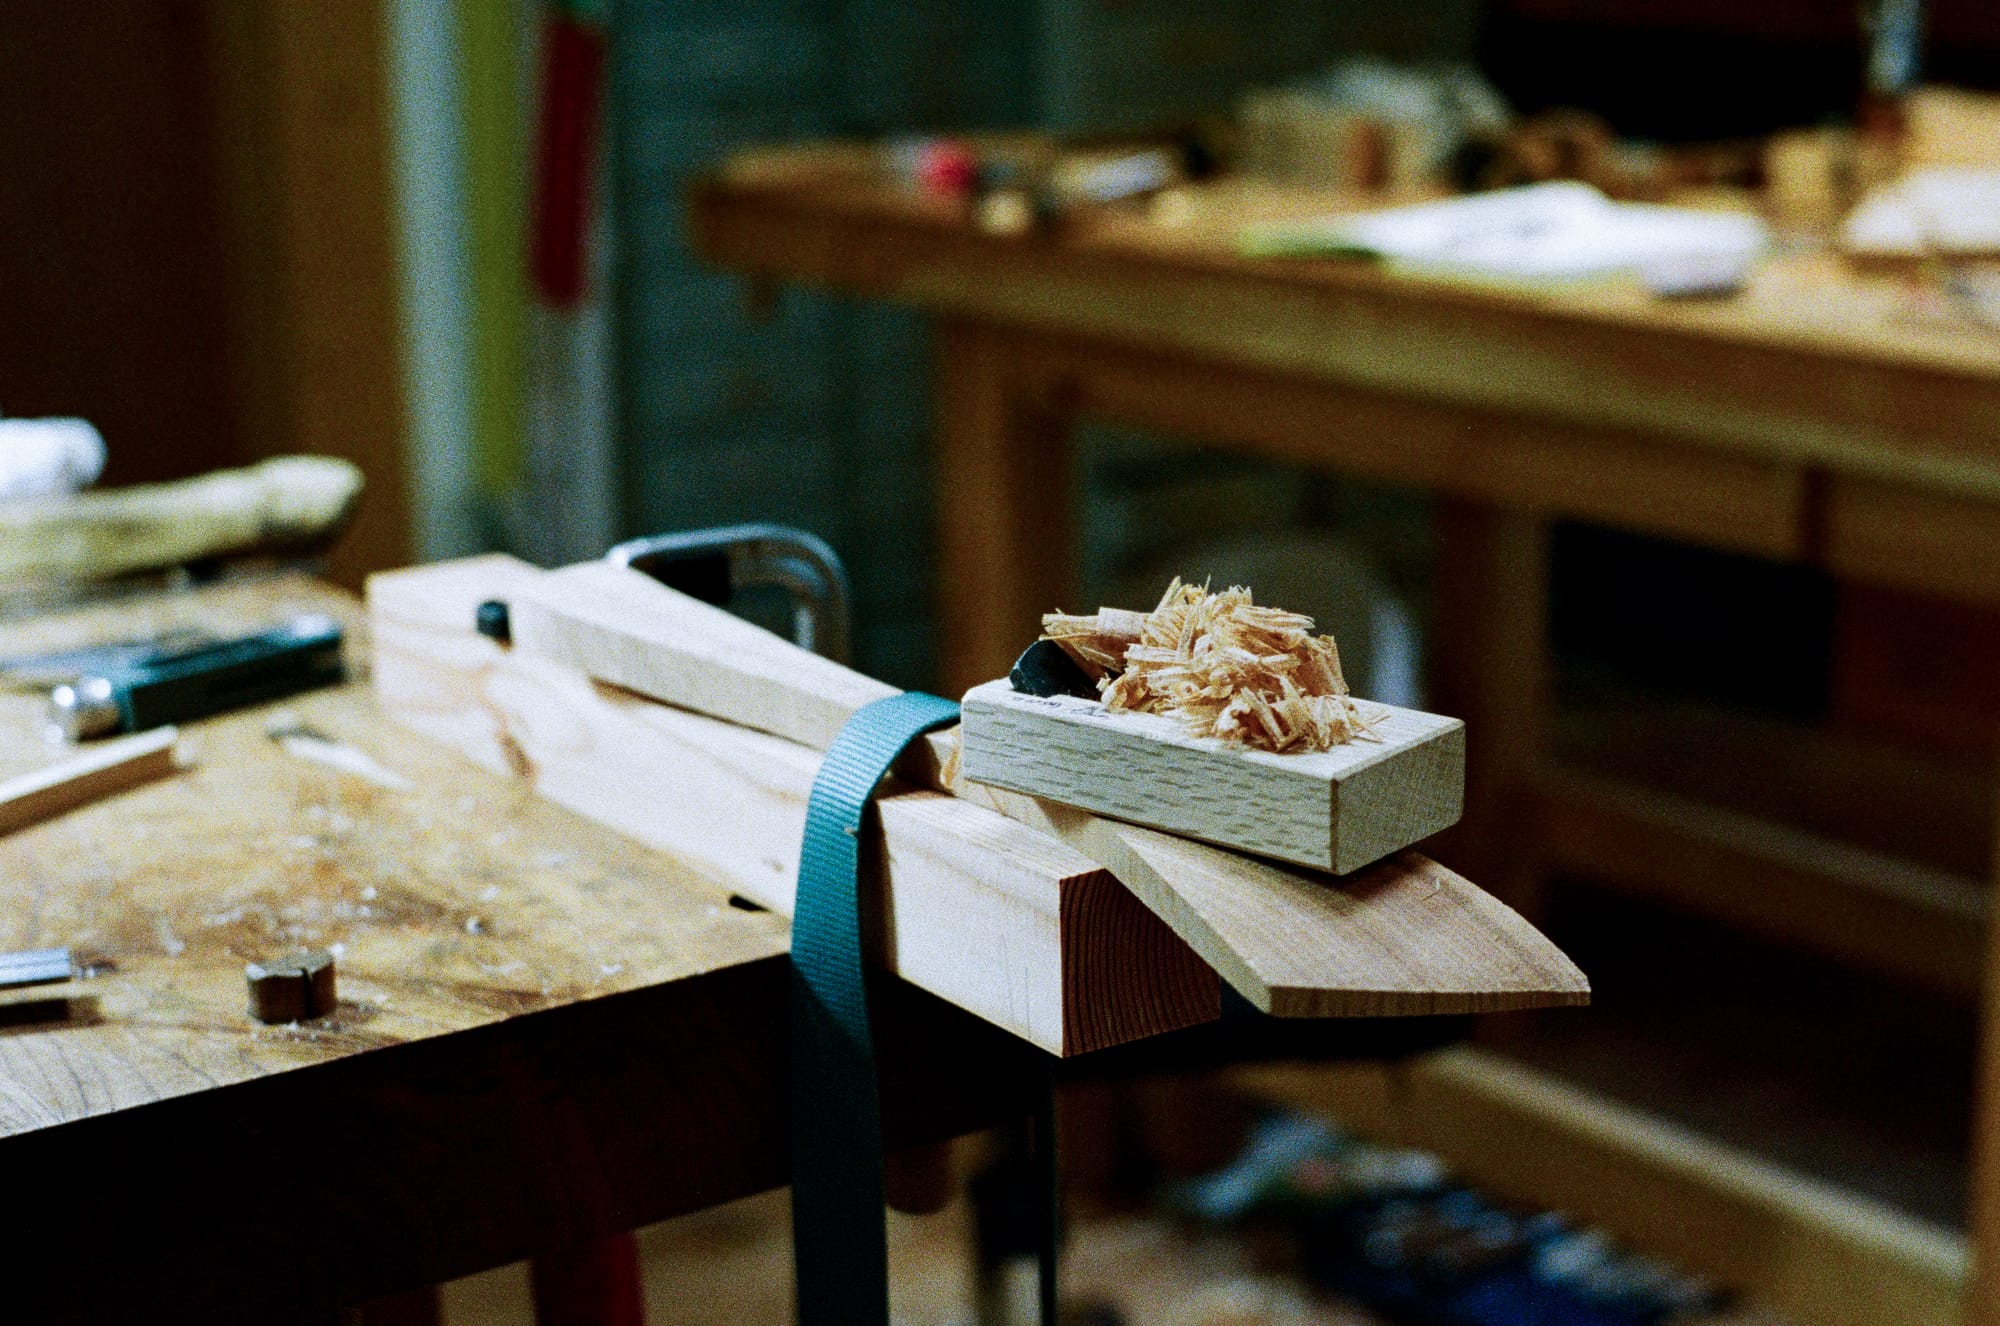
Simple joinery was next. Instead of just the typical, post and beam arrangements Japanese carpenters cut with mortise and tenon, we were to cut joints in boards useful for casework and boxes. Then, a small sliding dovetail. Tak commented on my preference to sit on a work piece, and look down over it as I mortised feverishly. He said, “you look like a carpenter.”
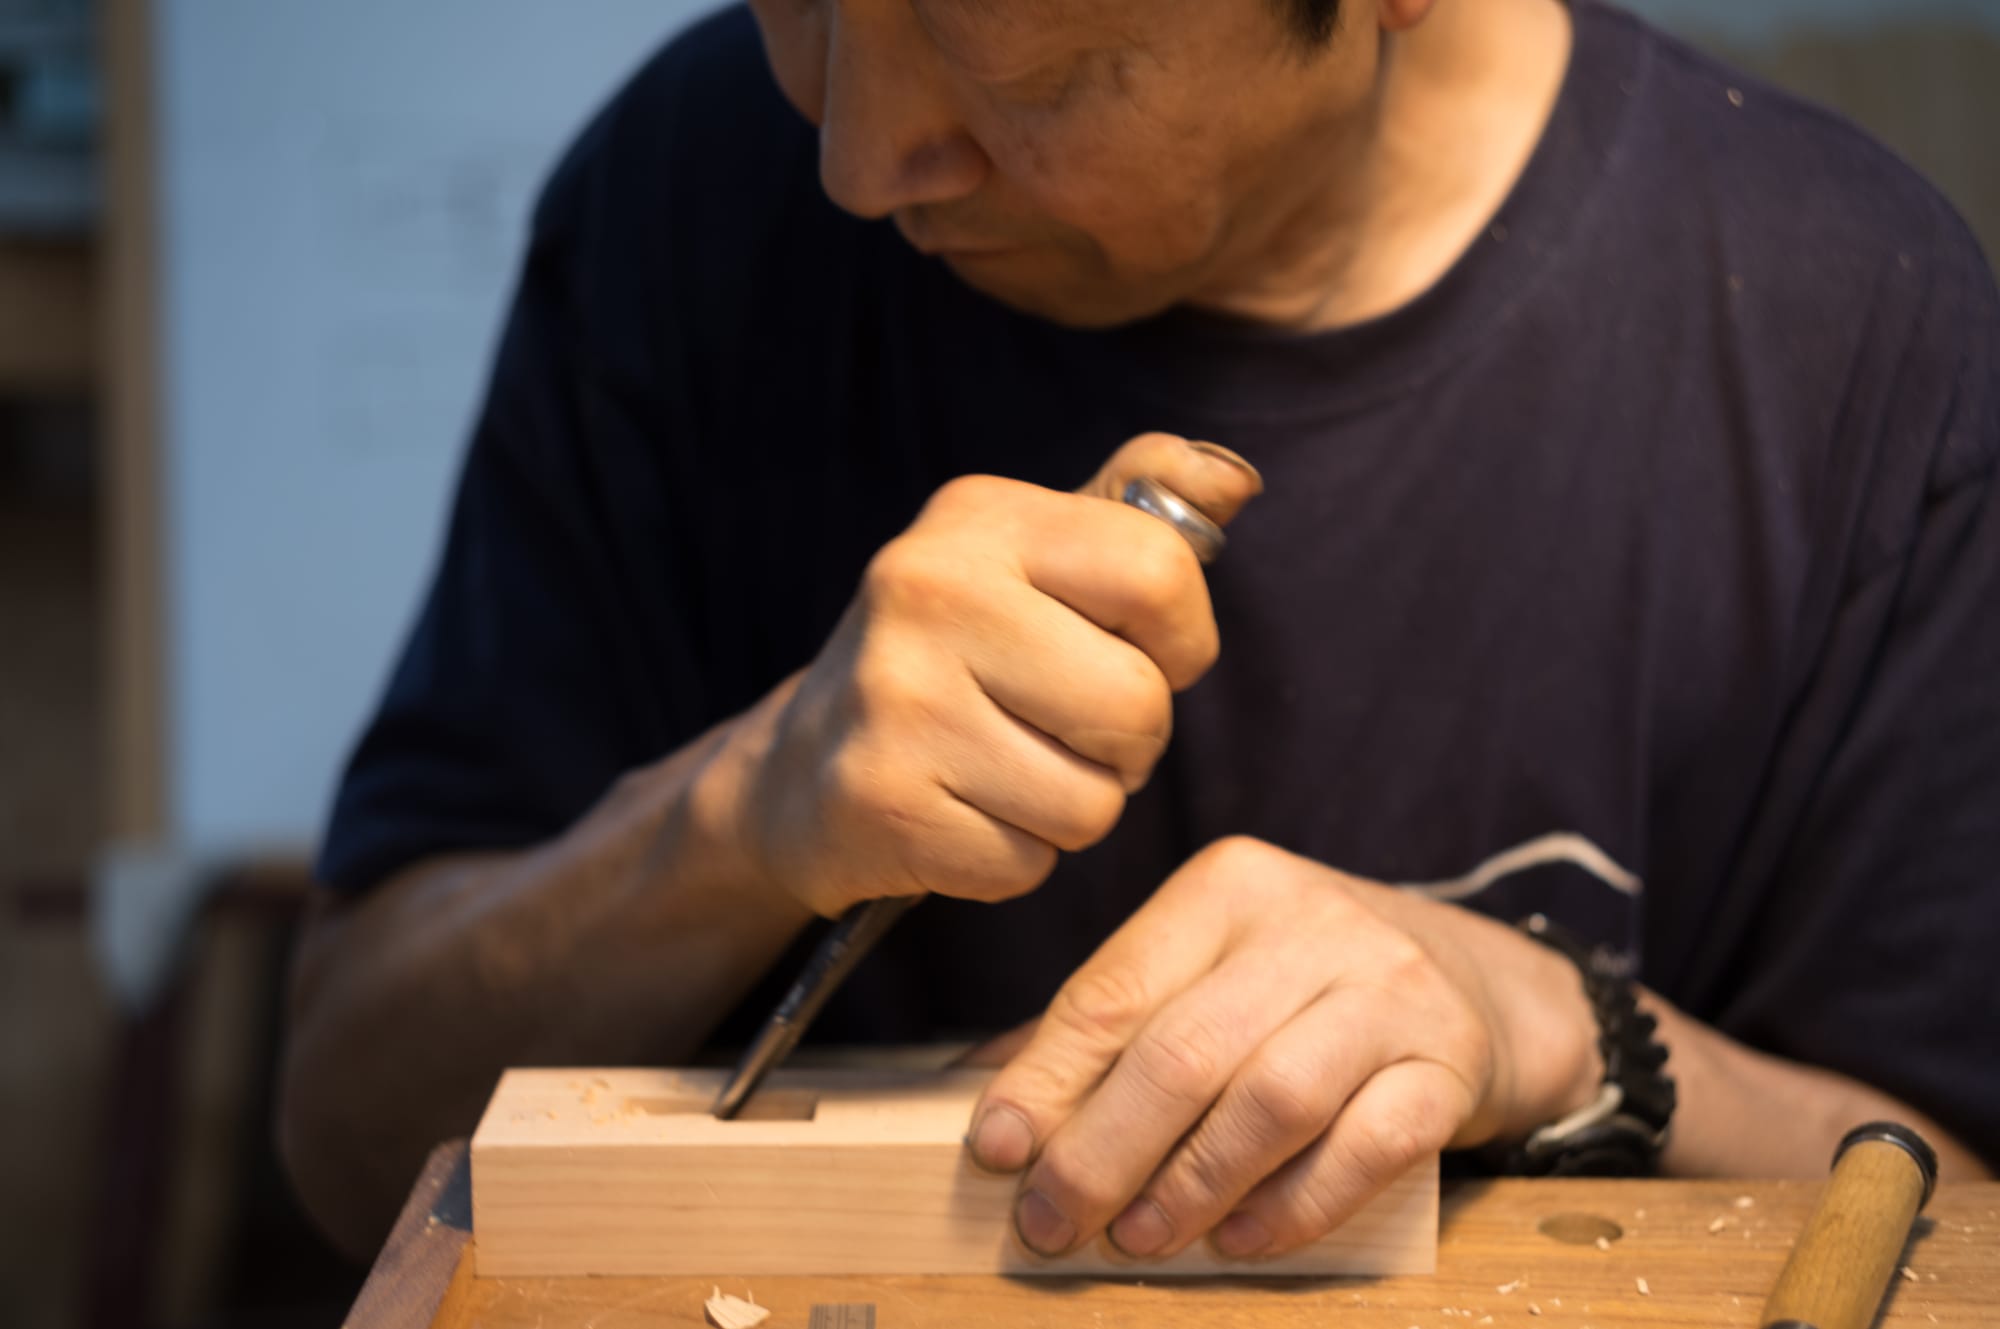
I admit, the rhythm of hammer and chisel--in the hands of teams of carpenters that know how to sharpen and cut--sound like music to me. But I took it as a cue to explore other more delicate methods of roughing out joinery. Keeping the chisel in view from the side at eye level was helpful for checking plumb for square joinery, was how Tak-san worked. So I followed.
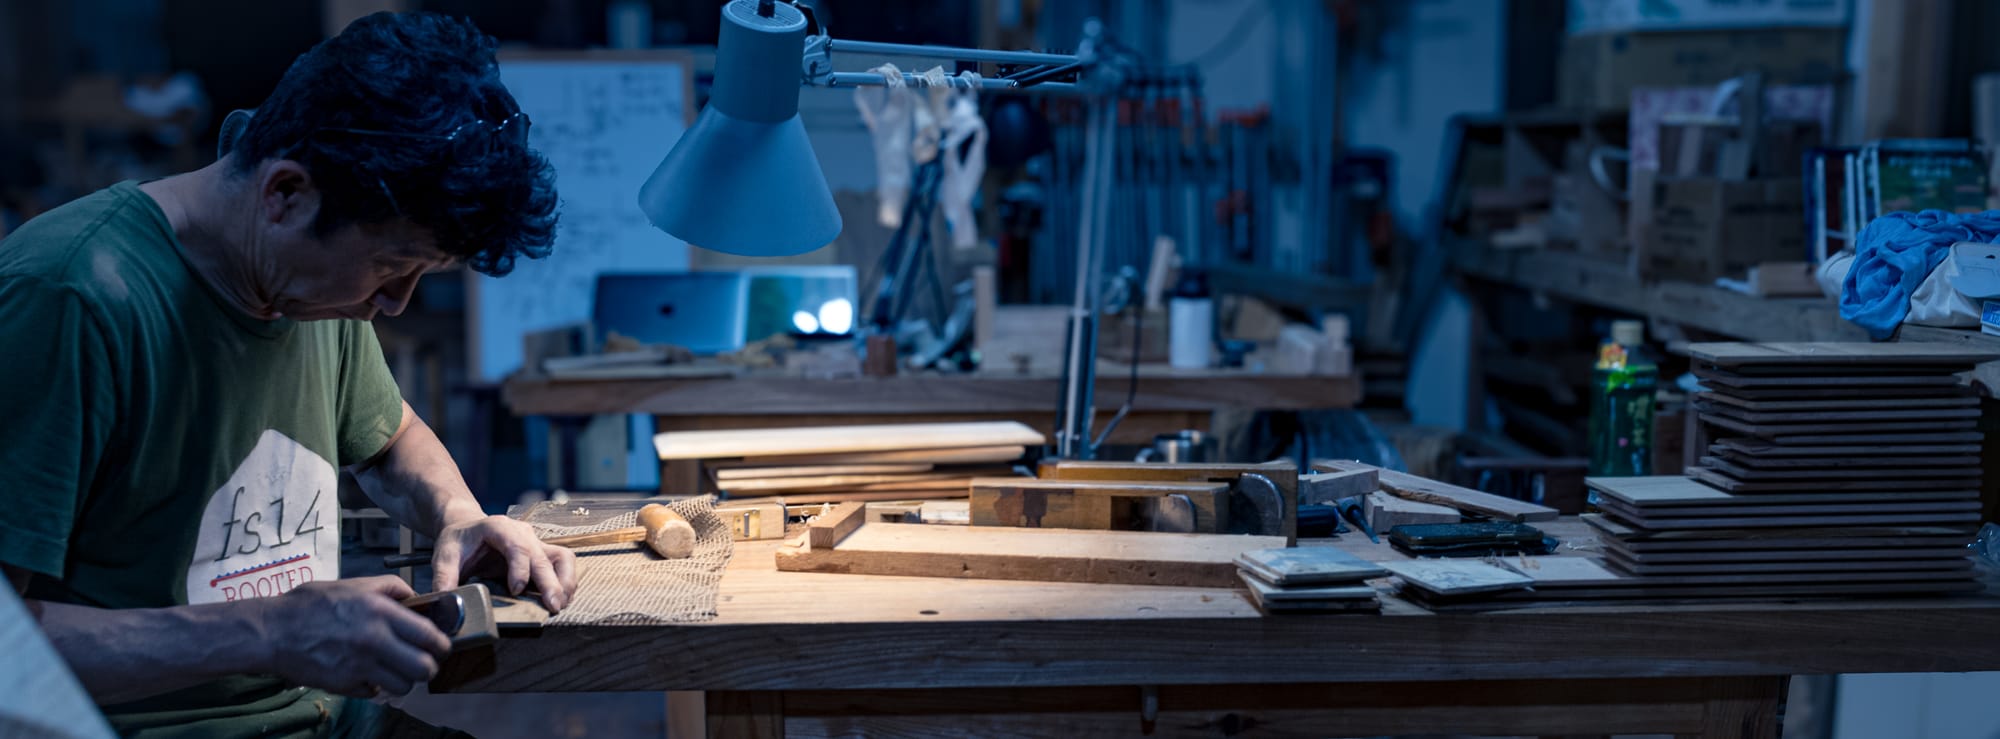
One night, I got a chance to watch Tak work for the first time. Tak pulled out a few hardwood boards to plane. I noticed a deliberate down pressure and slow steady pull. He told me later that in general, softwood planing is lighter and faster.
We also got the chance to set up a spokeshave.
Alfred, the senior student in class, always finished his work so quickly that he decided to pass the time waiting for the rest of us by learning how to make his first brass-mouthed plane.
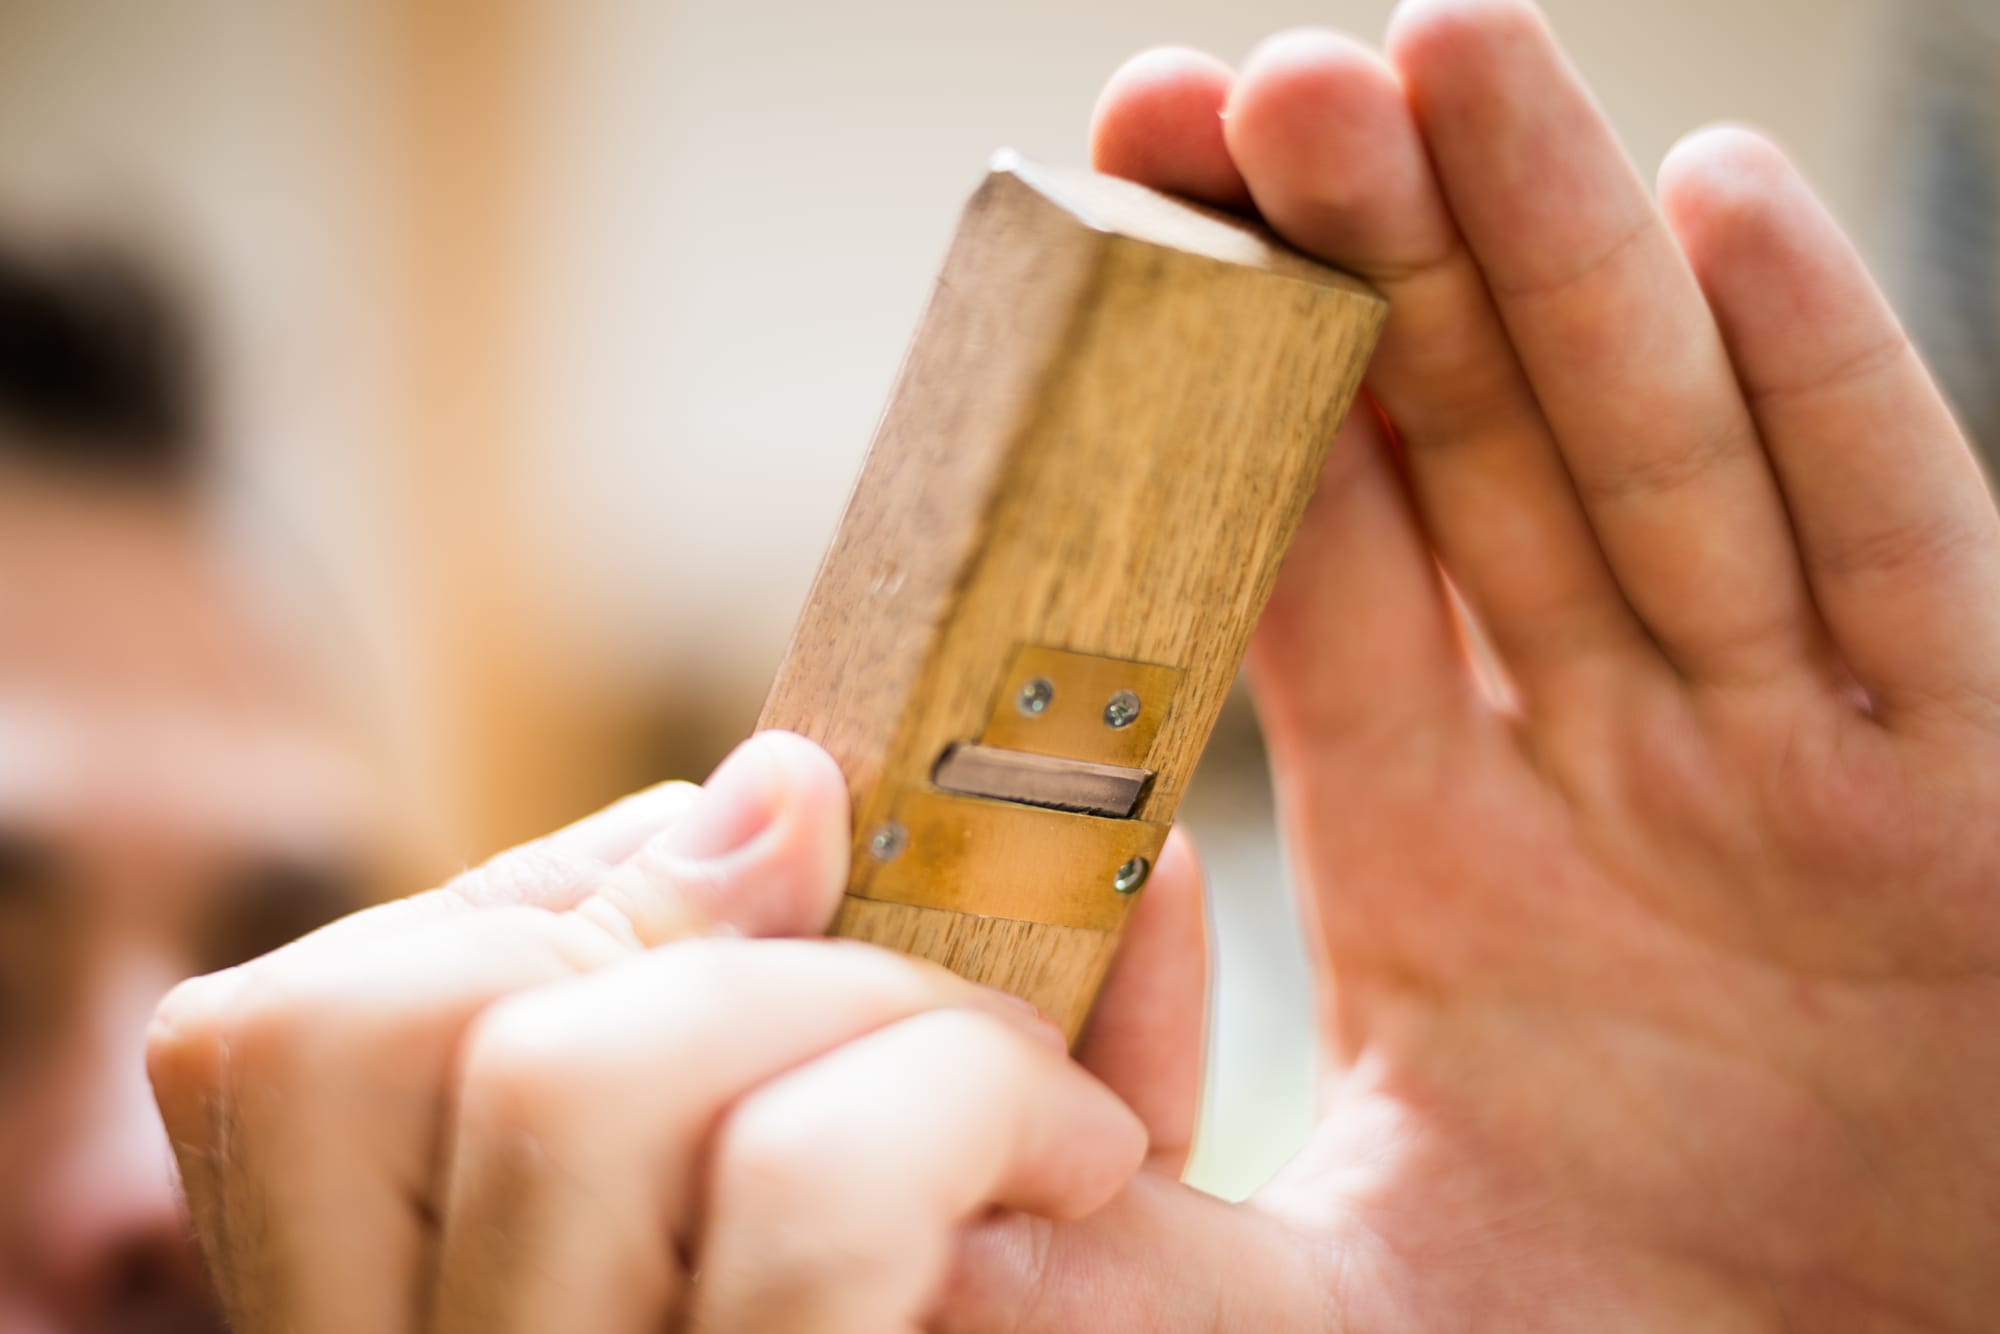
Tak-san gave him instructions on the side. When he was done, he told Alfred that he was the first student at the school able to complete one.
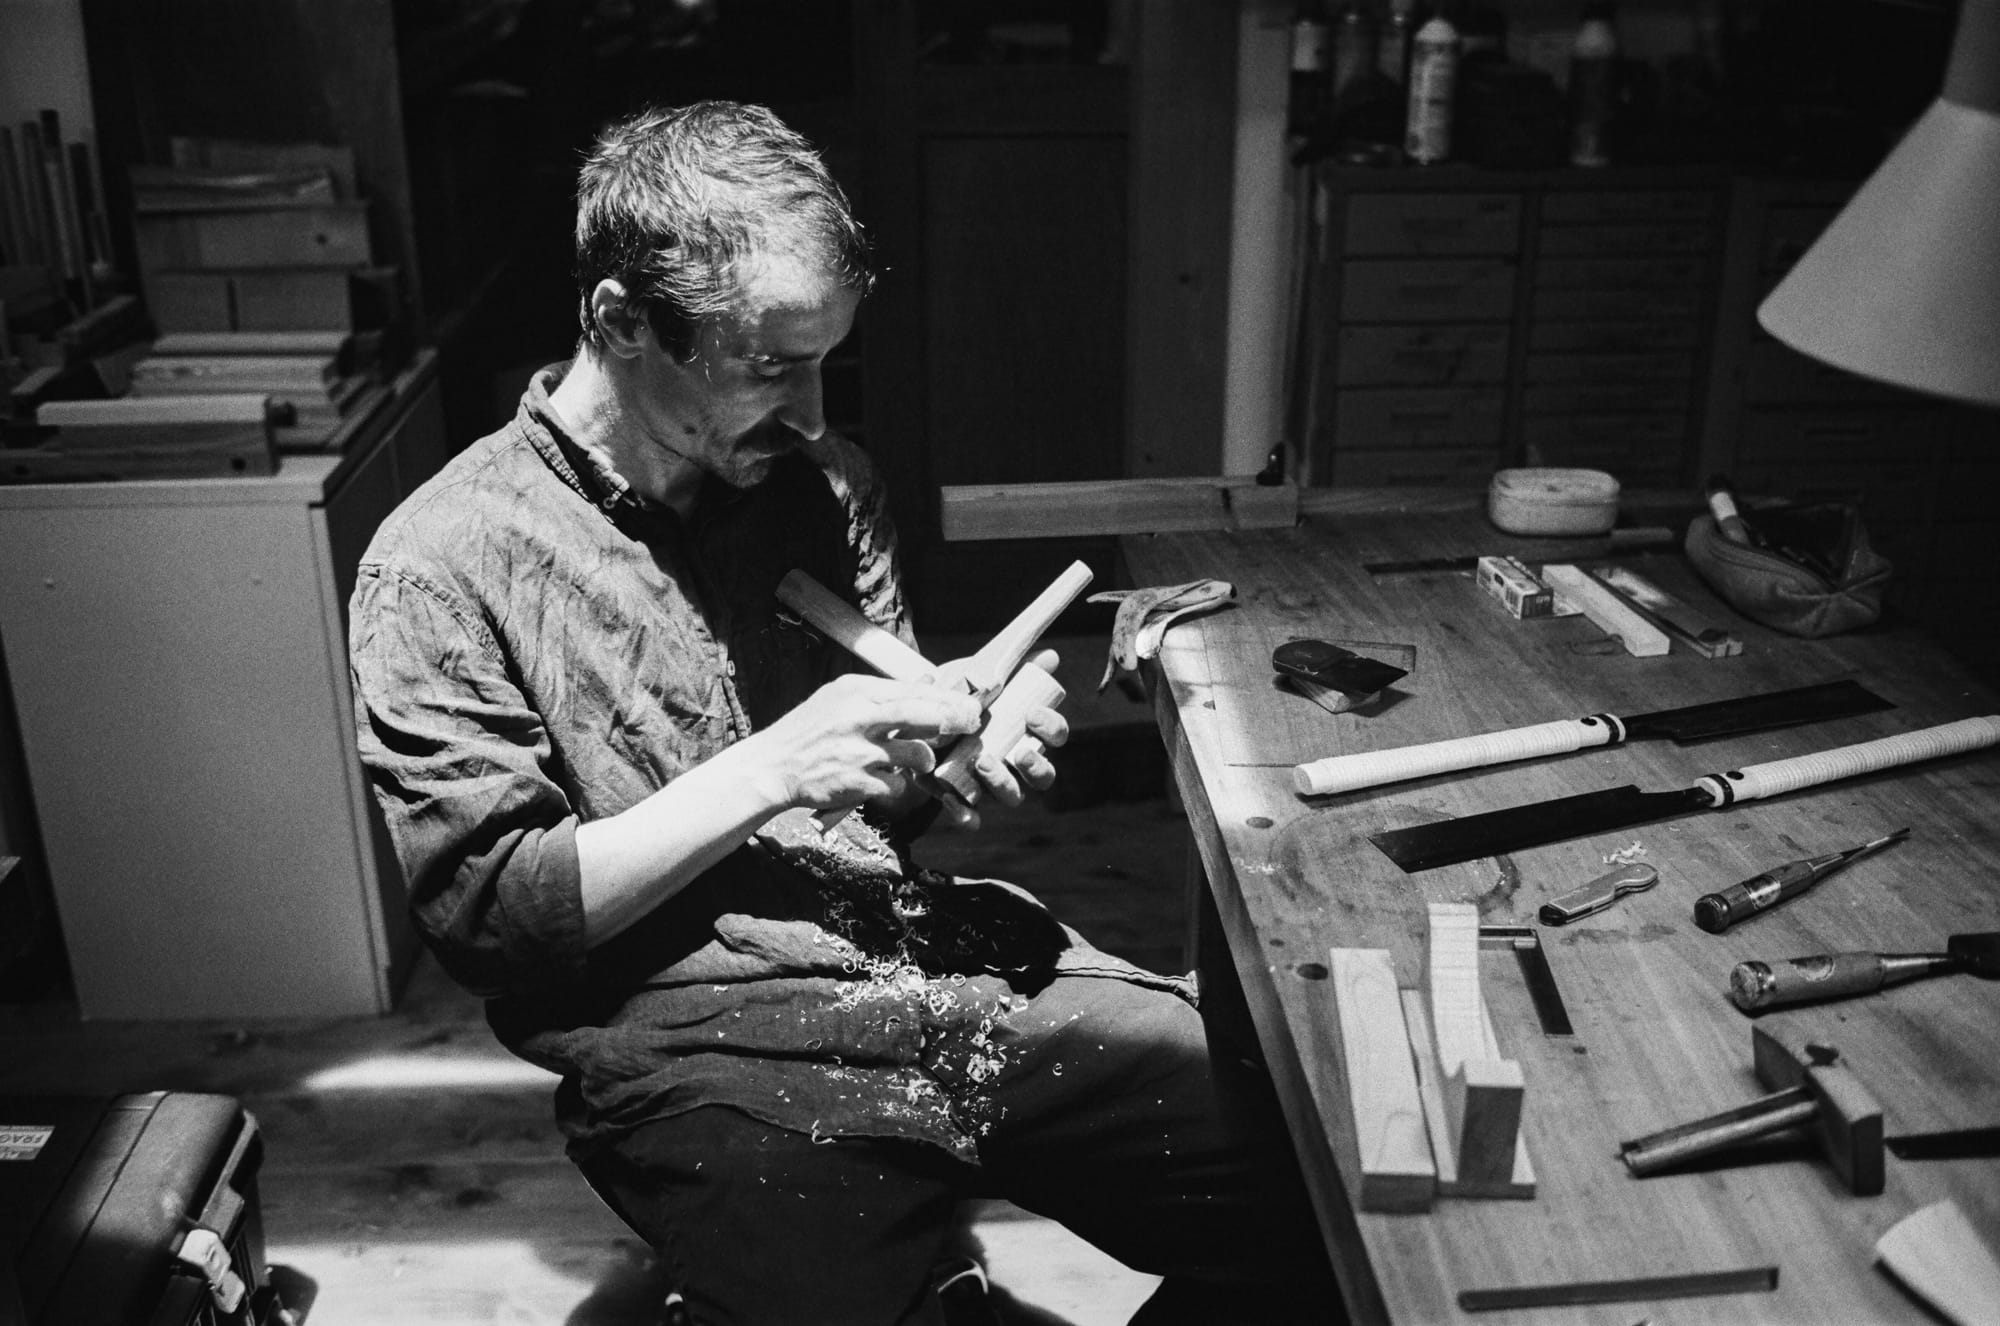
I was grateful to have Alfred as senpai in this program. A week or so before class, Alfred had injured a finger in a router table accident, which shattered some bone and removed a few millimeters of nail and tip. He emailed Togo immediately after the accident to apologize, but he couldn’t attend the program. But a few days later he decided to come anyhow. Despite having only nine fully functional fingers to depend on, Alfred was faster, cleaner, and smoother than every other student, in every assignment. I was having so much fun pushing myself to keep up with him and learning faster because of it. [7]
This was the beginning of my understanding of what it was like to work alongside other emerging craftspeople. Struggling together and feeling despondent and then victorious is a feeling I can't create alone. The motivation to keep going and catch up with your seniors is overwhelming.
I was inspired to study sashimono after seeing his work in the chair lab and learning he was the only apprentice of Suda Kenji, in his 20s. But that sentiment was cemented watching Tak-san demonstrate the cutting of a secret miter dovetail. It was one of the first times I could see him work at his own pace, and I will never forget his speed, accuracy, and technique.
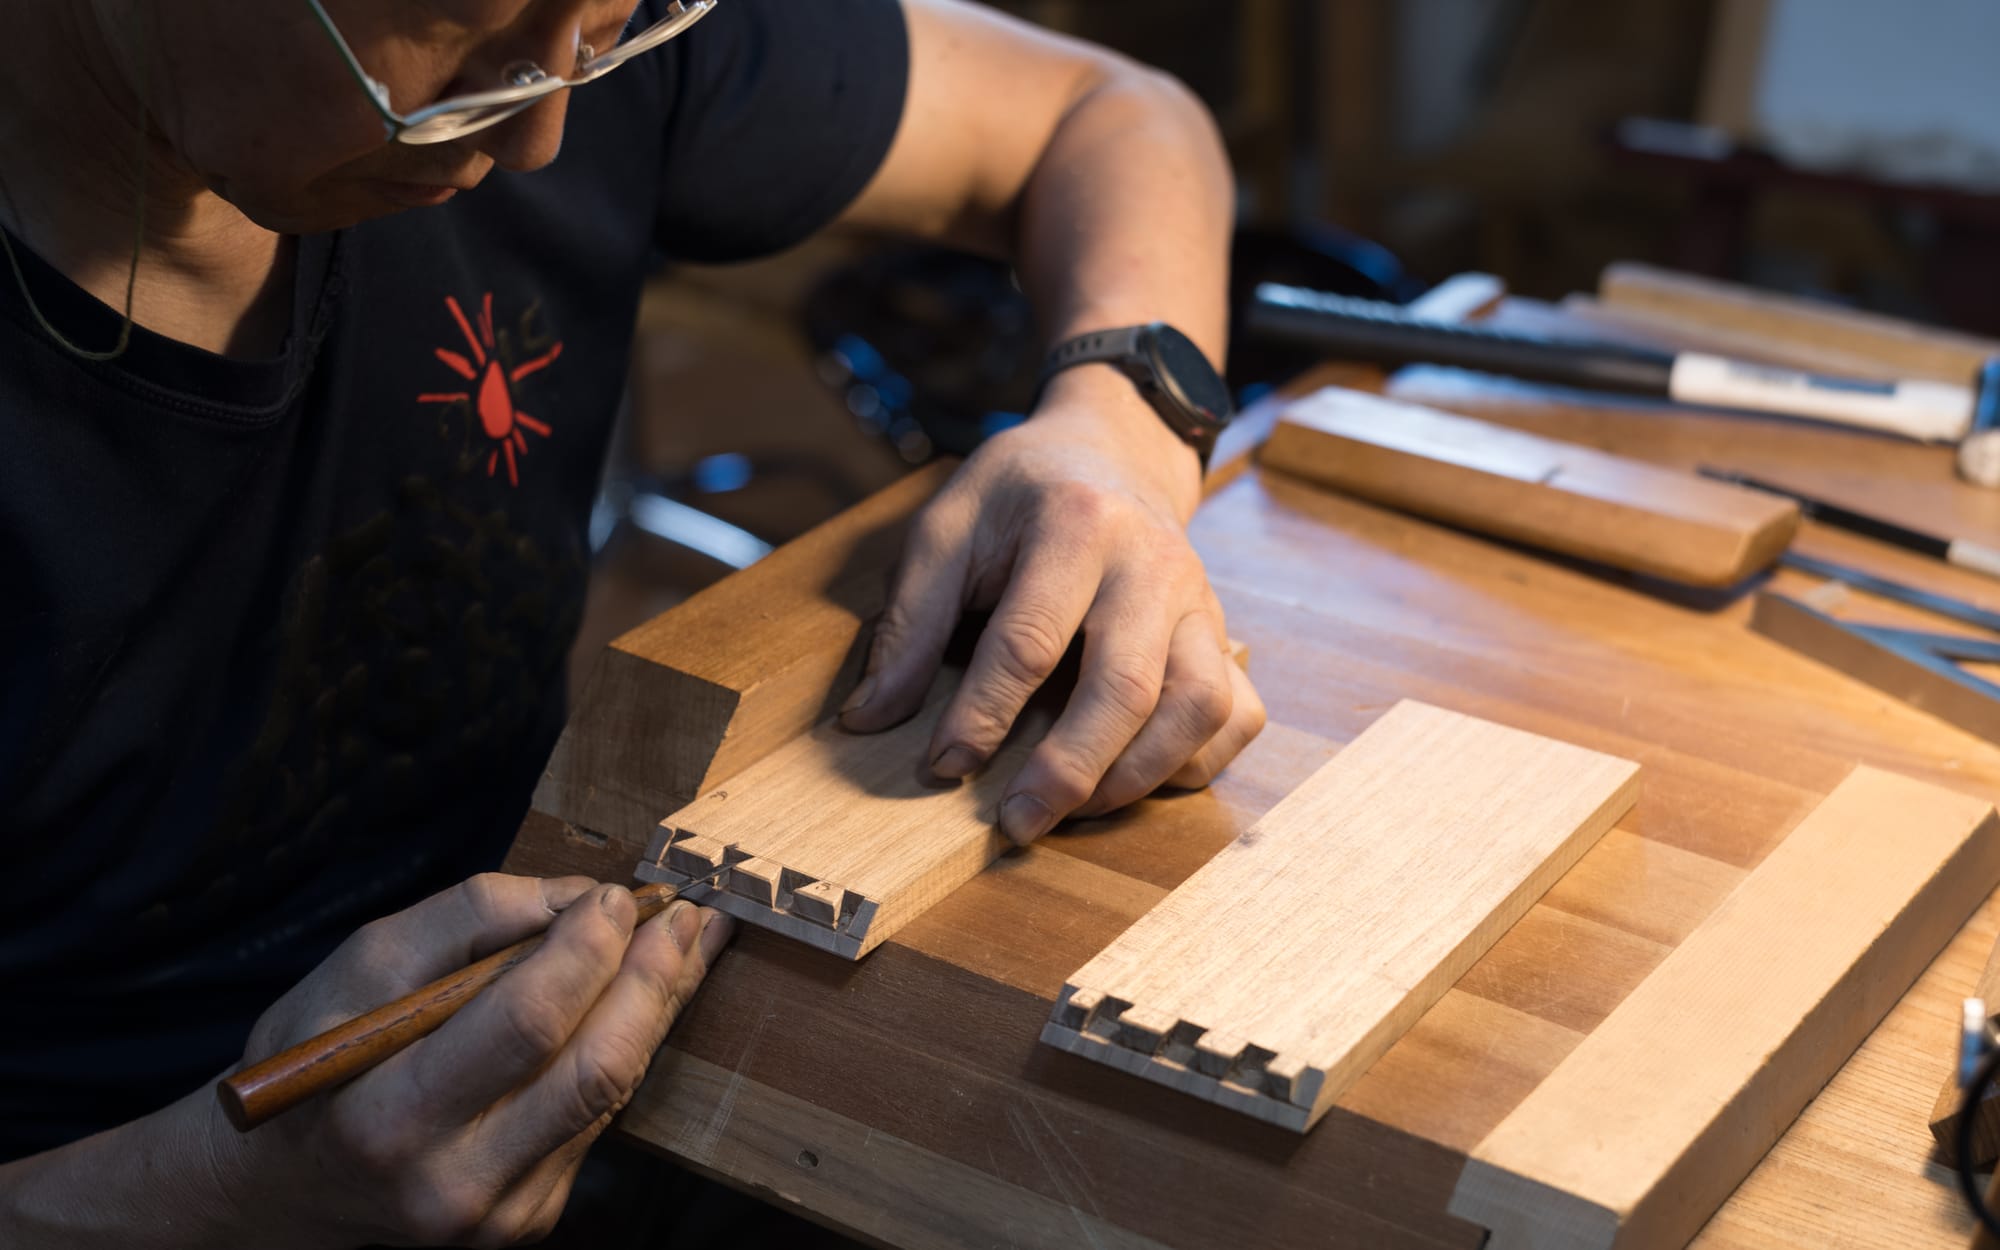
Secret mitered dovetails go by many names and aren't exclusive to Japanese work, but they are the classic high-end joint used in sashimono box and cabinet construction. The joint is as complex and strong as it is invisible and modest.
This is an excellent time to point out the use of shims.
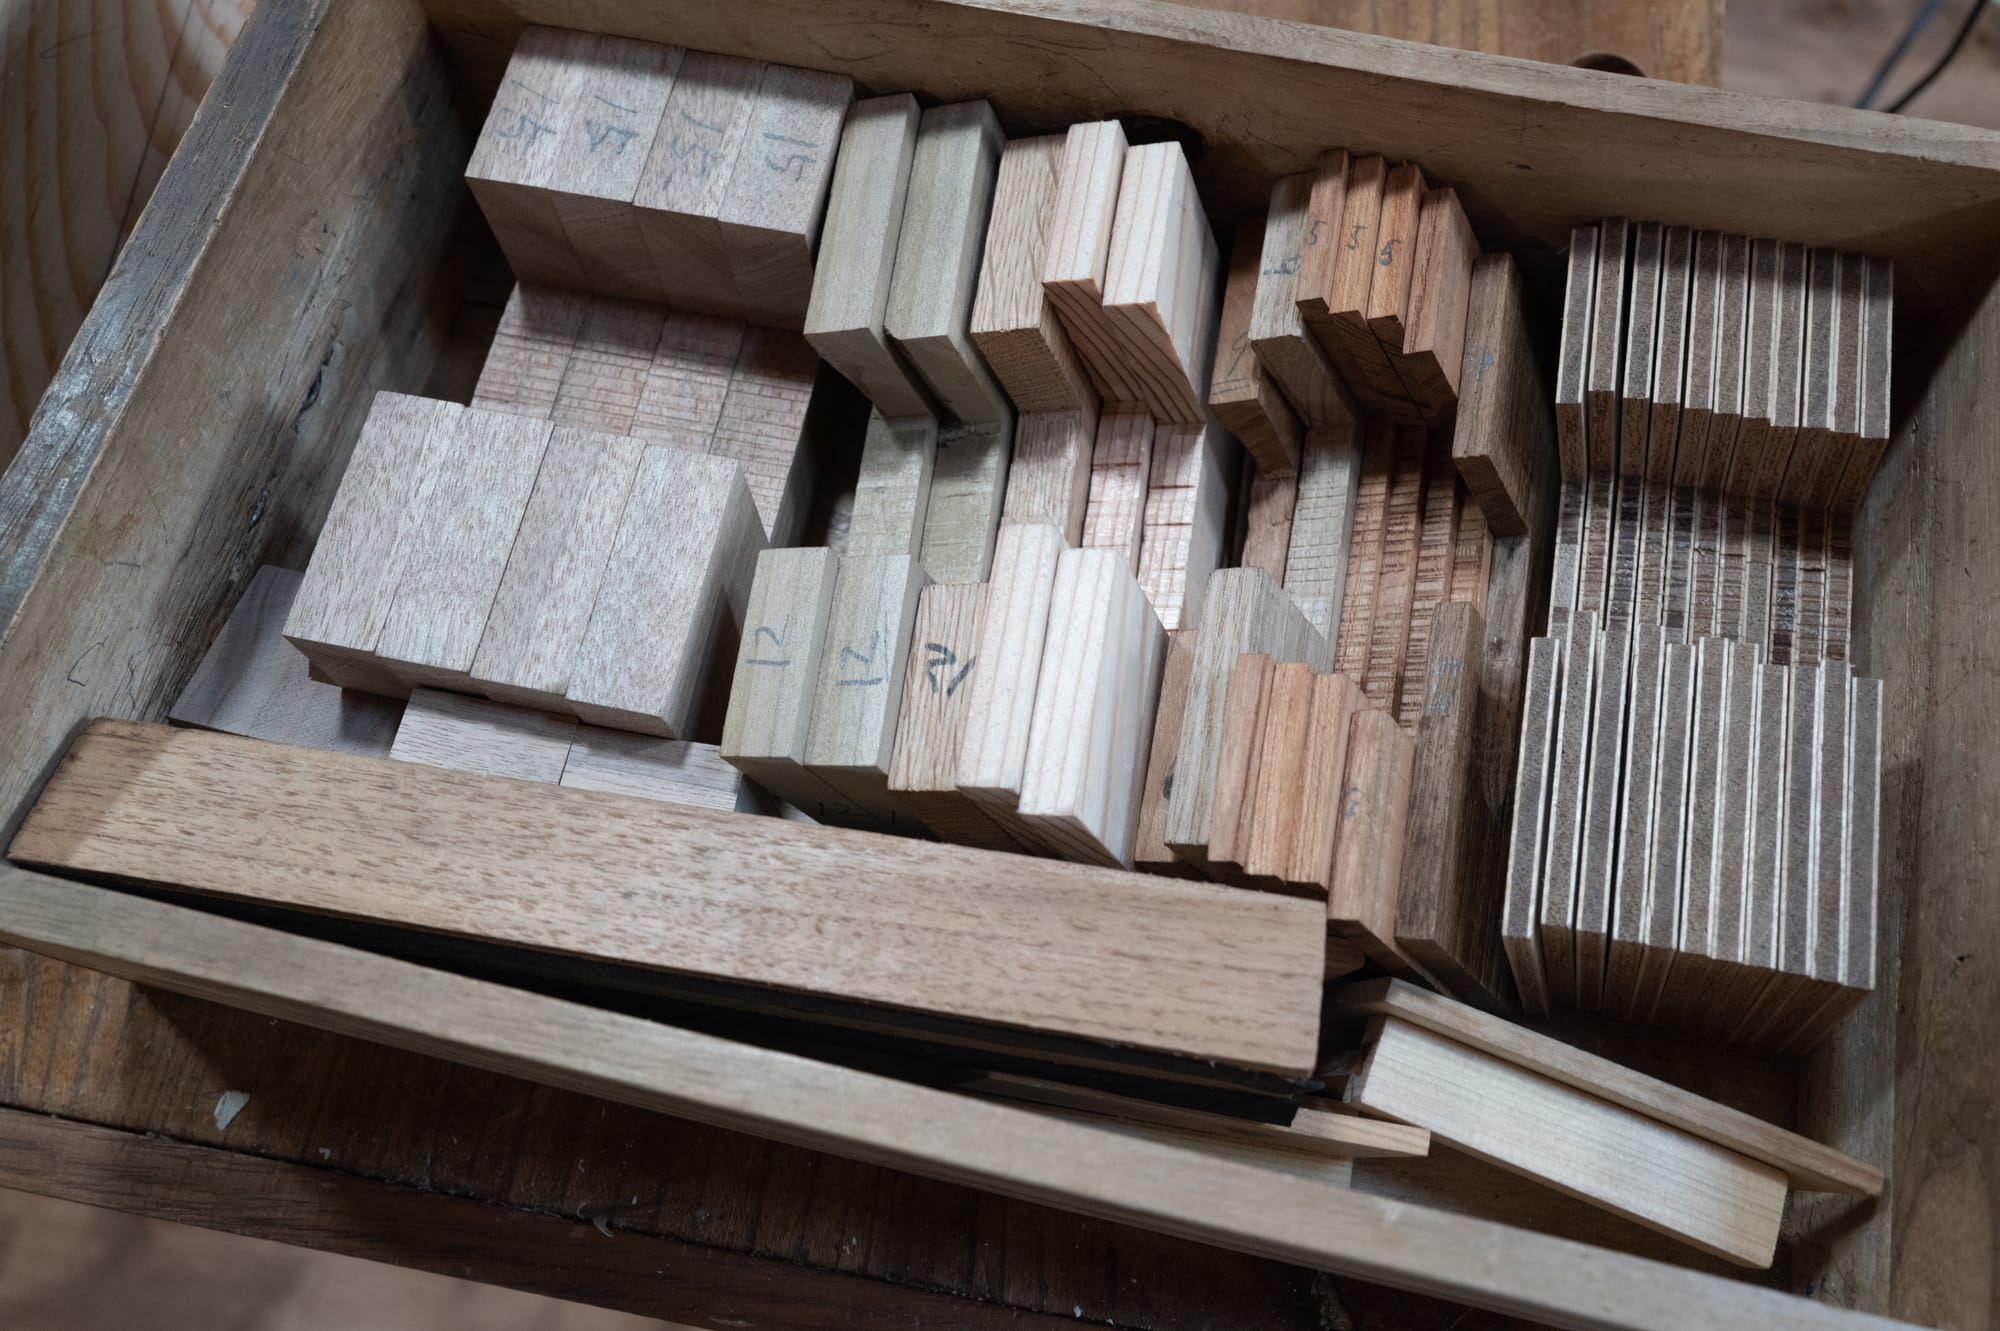
Some of my carpentry teachers would use kebiki (marking gauges) that would sit at various blade positions, and never be adjusted. Tak taught us to cut different box joints using a marking gauge set at the exact width of the box and then adjust the cutting position of various joints on a board by stacking different shims to adjust the blade position.
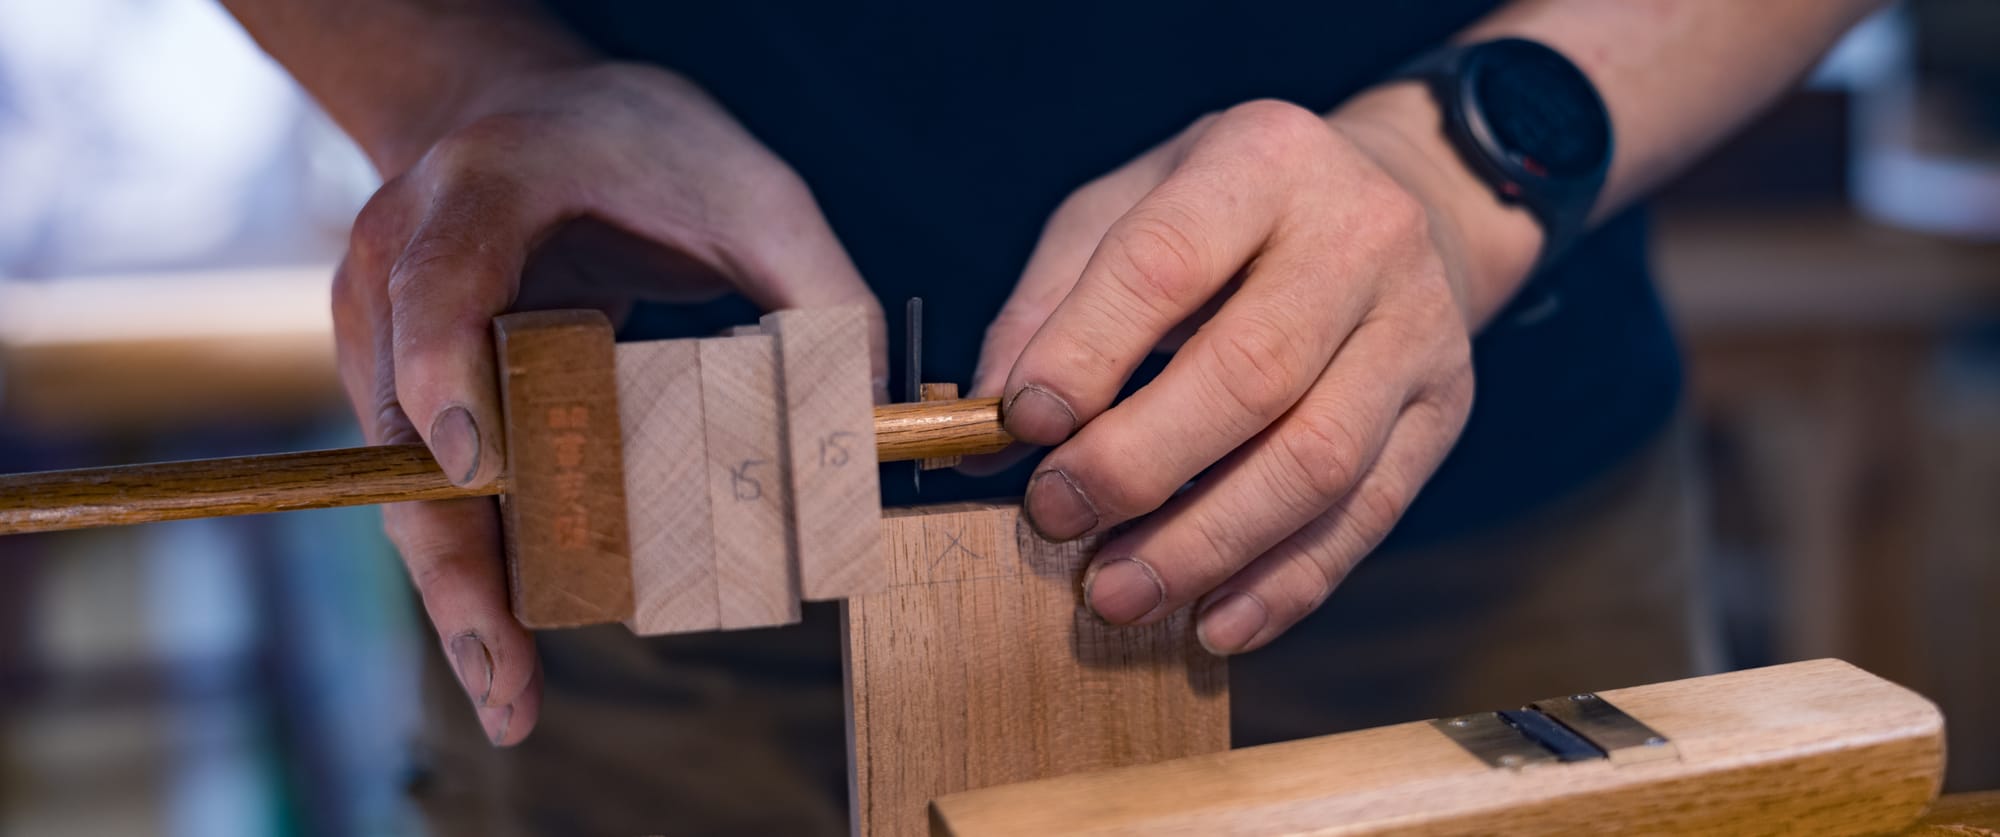
Tak san had boxes filled with multiple shims of various sizes. 30mm all the way down to 4mm. If you have a series of box joints set 12mm apart, the marking gauge can be set to the width of the board and walked back for different marks accurately using a series of stacked shims. Within reason, of course, as the shims become wobbly when stacked too deep. Shims are so fast and precise compared to resetting a gauge constantly. Never mind attempting to lay out repeatedly across several pieces with a story stick or ruler.
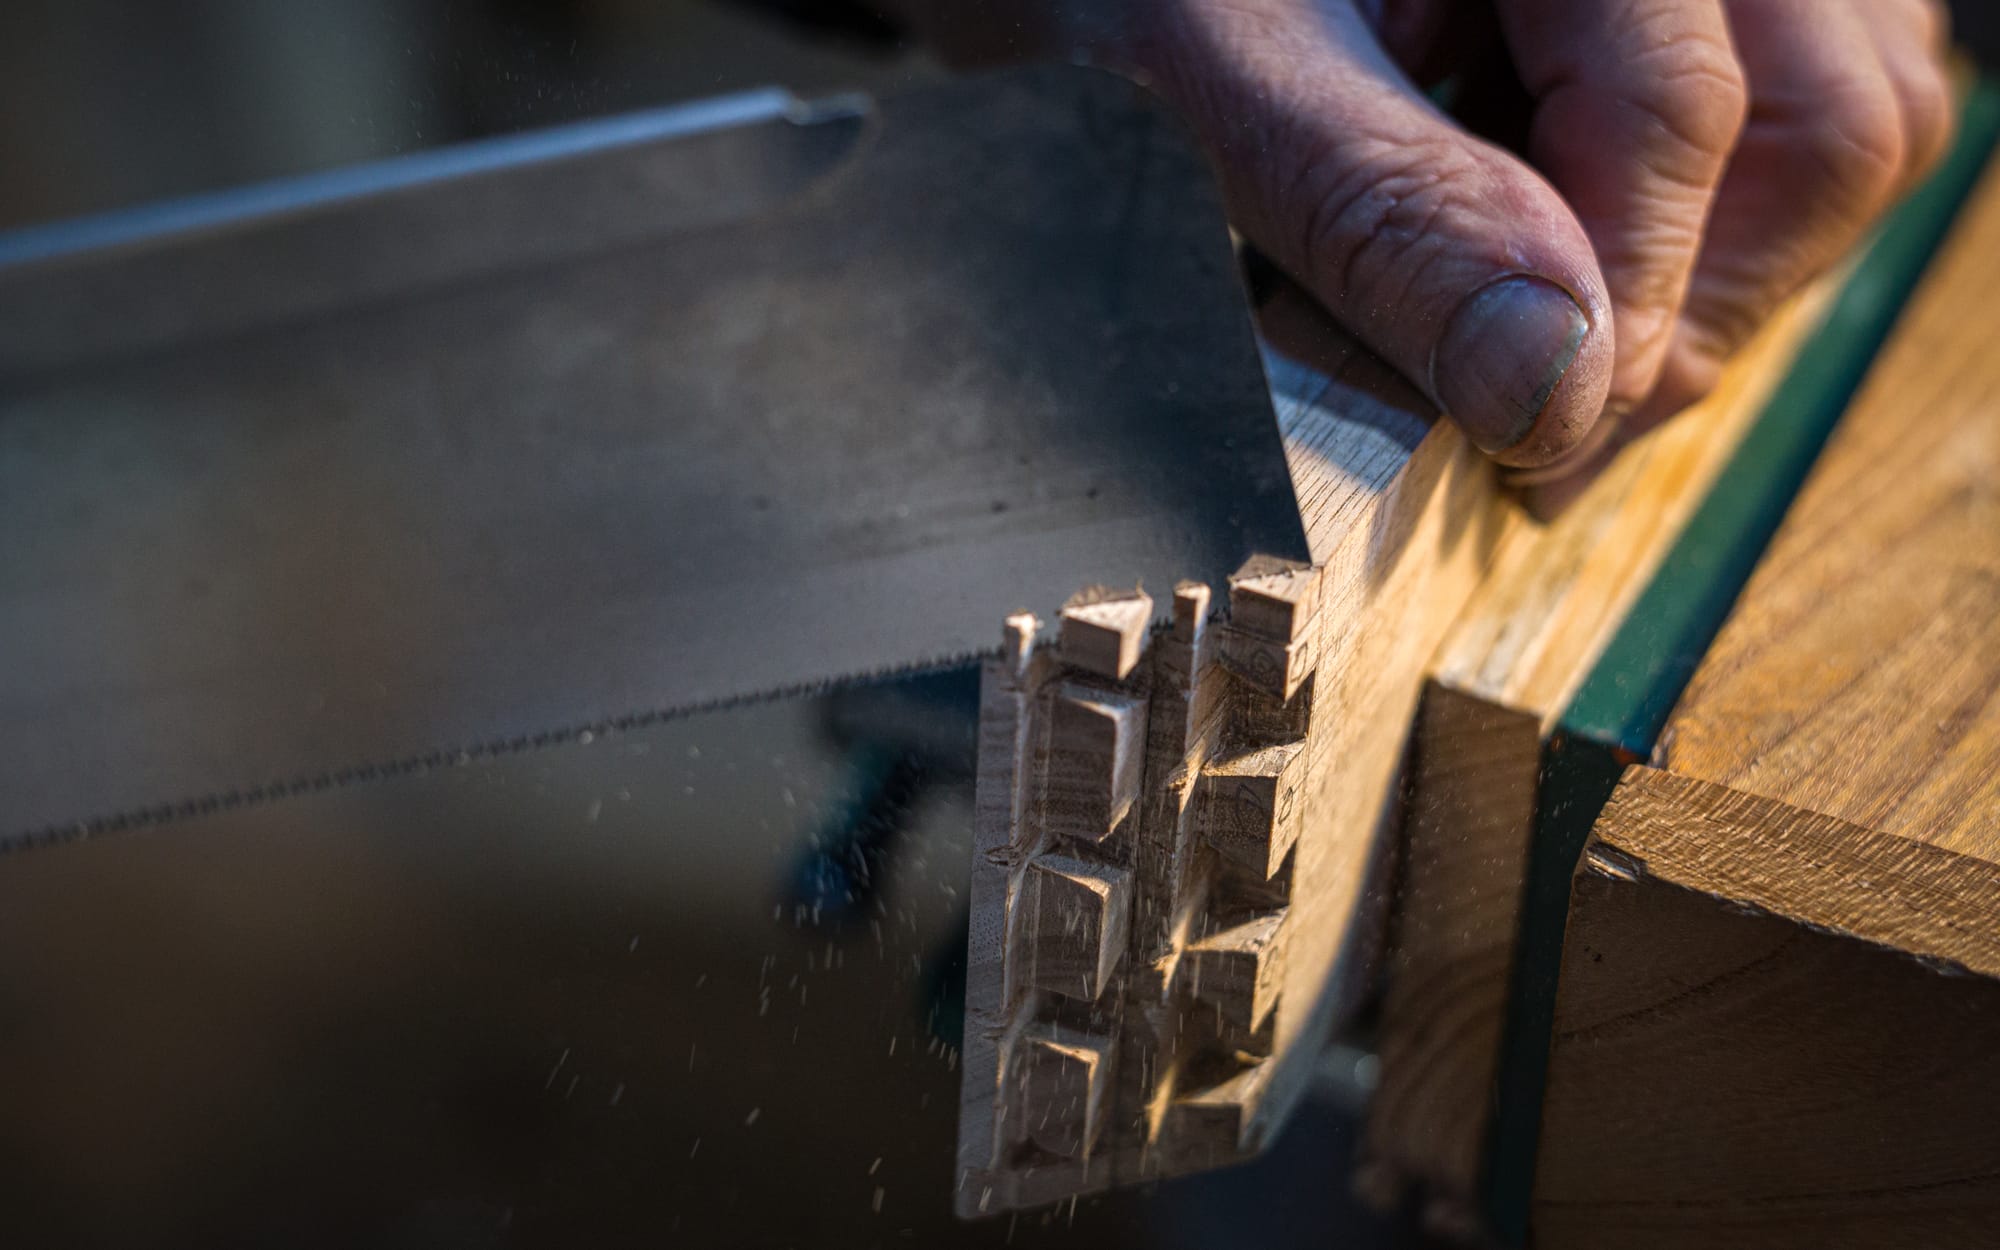
Back to the secret dovetail. After laying out the pins, he cut them using saws, chisels, and knives.
He then transferred the layout to the tail board using a knife and the rabbet of the ledge to align the boards.
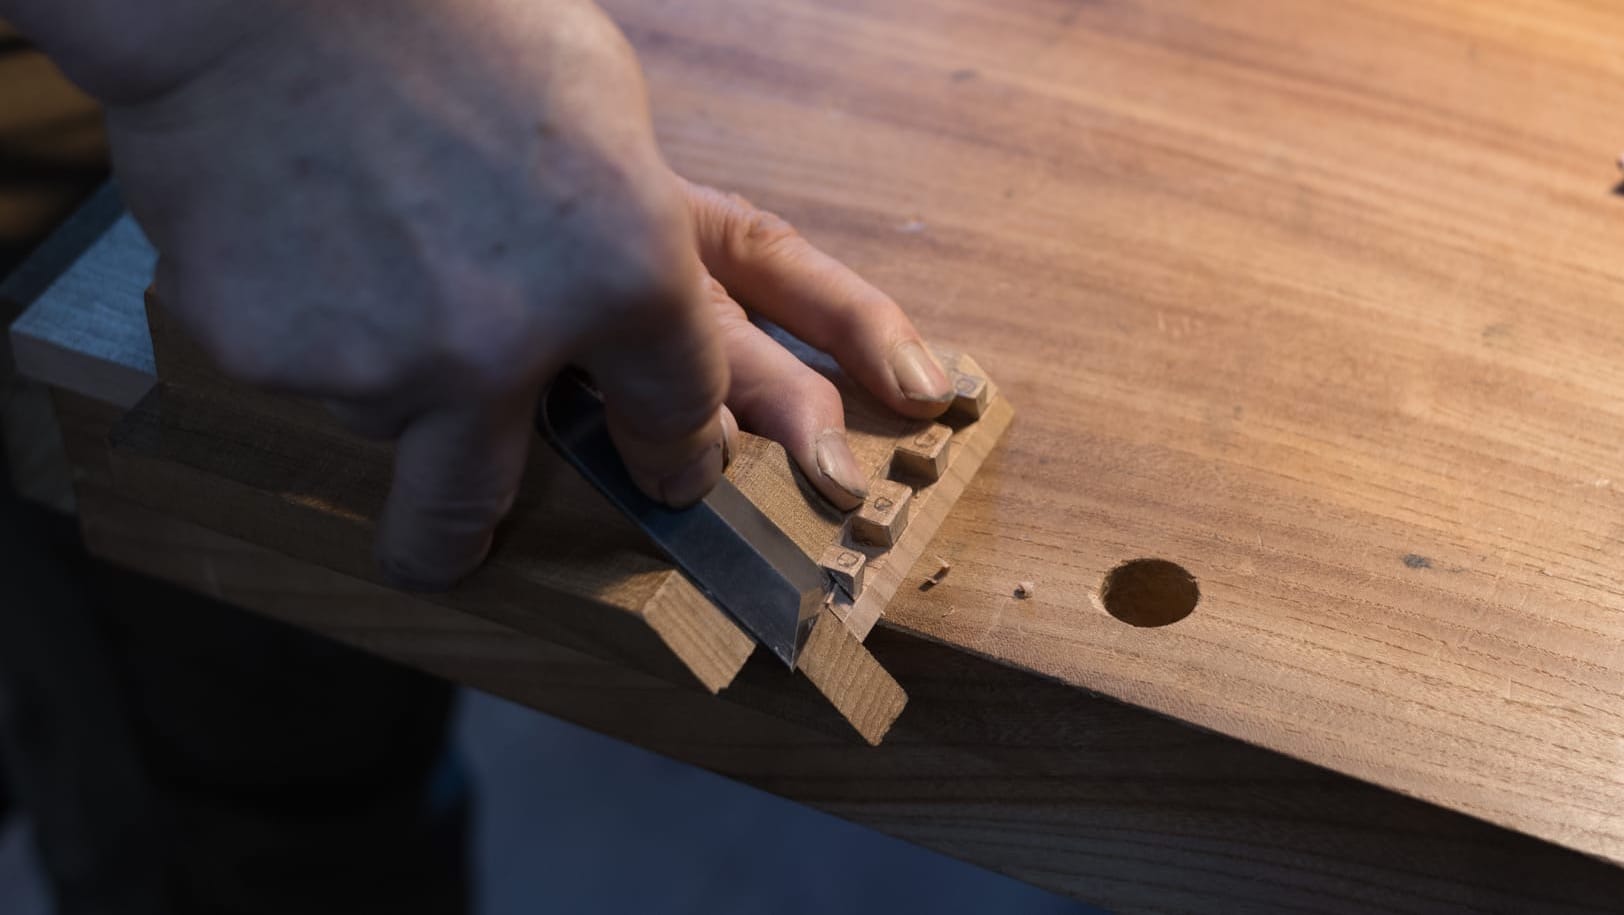
And two jigs, one for chiseling the edge miters. And one for planing the square ledge to meet the miter using a custom plane.
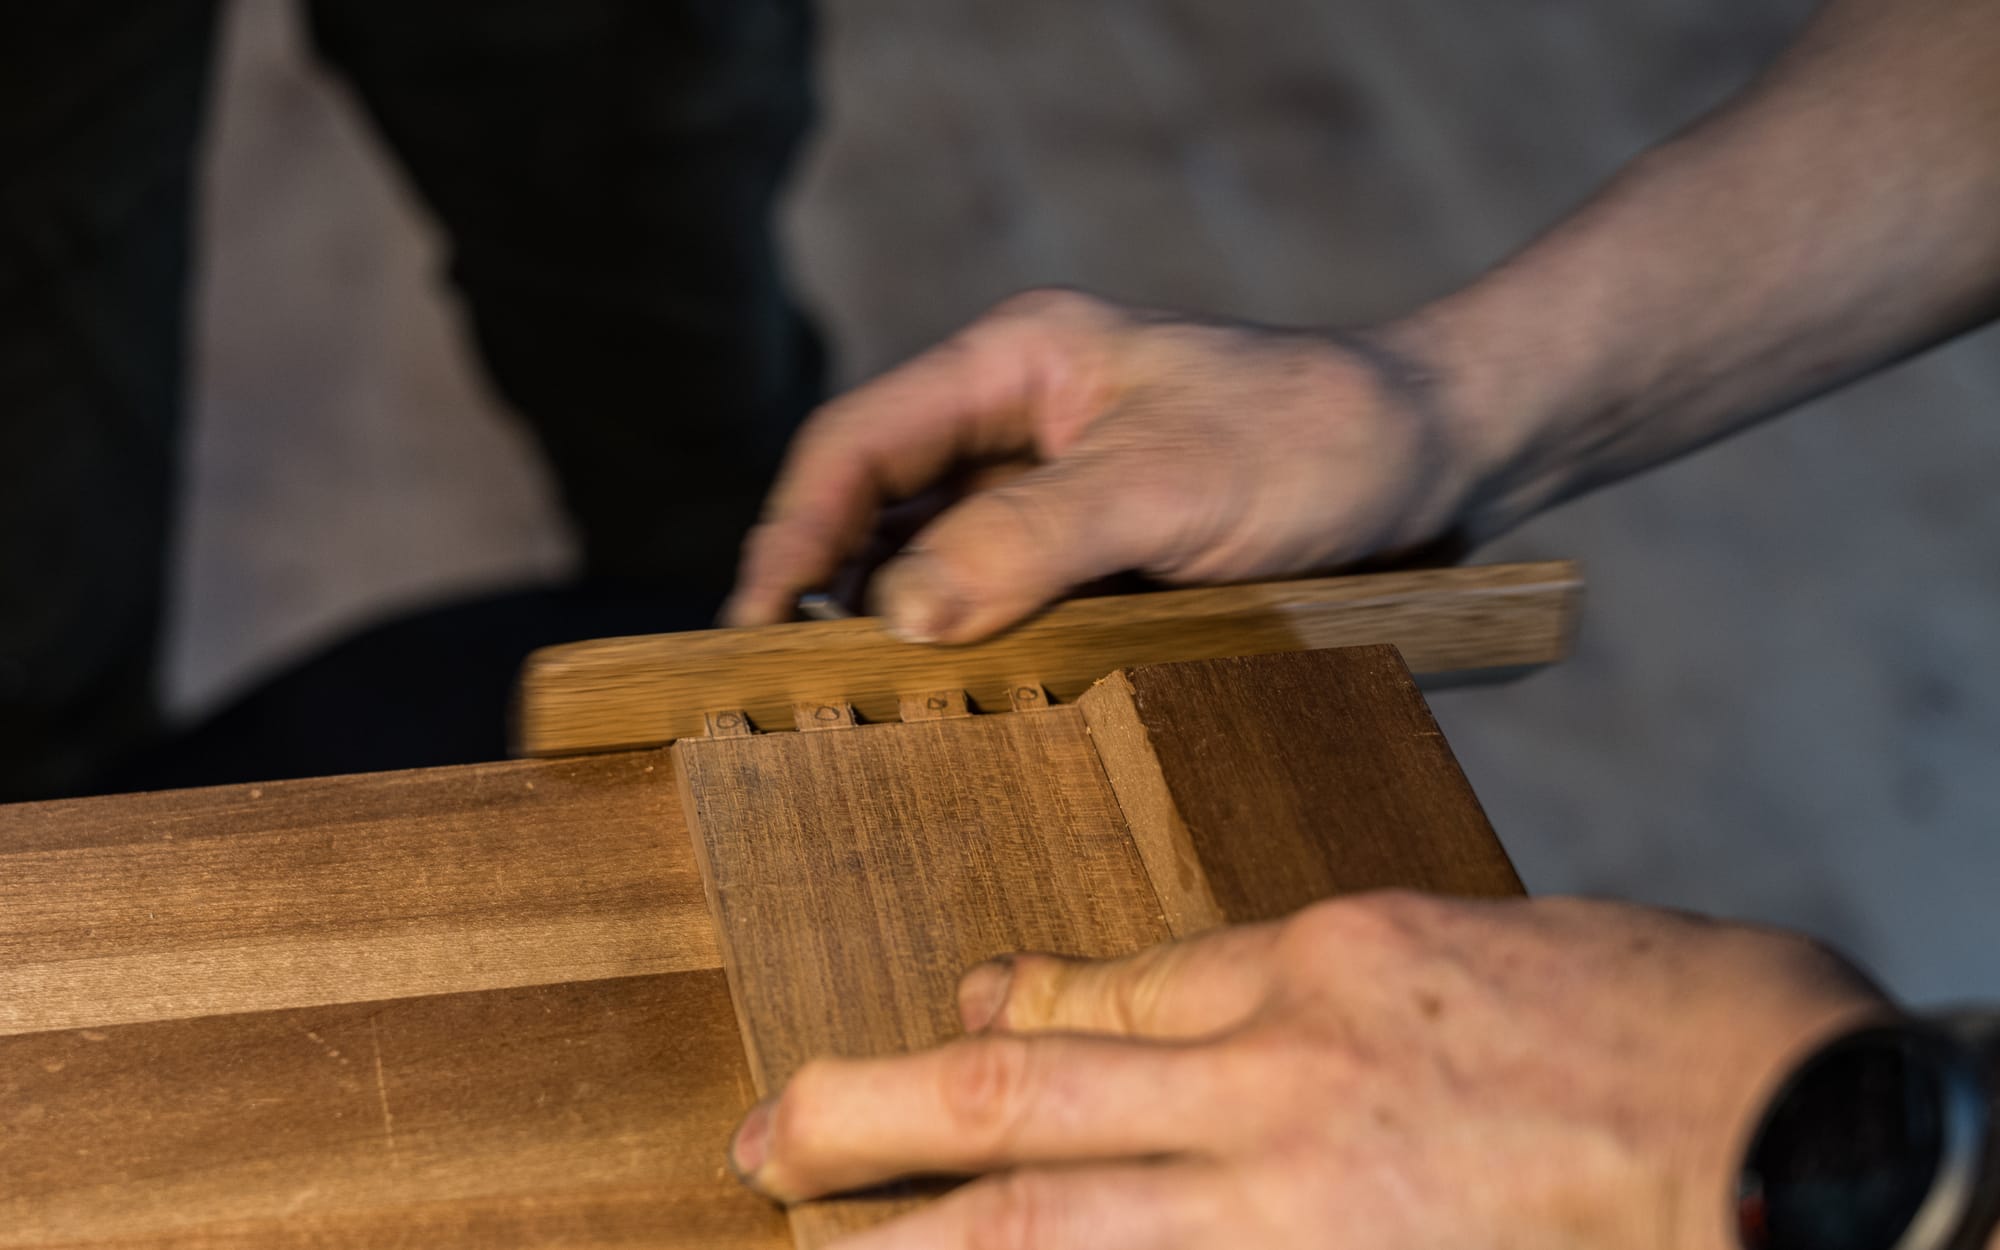
From start to finish, Tak finished his joint in under 30 minutes, working swiftly but never recklessly. When asked how long it should take to cut one by hand, Tak said a new apprentice might take half a day, a senior apprentice in an hour, and a master in 30 minutes.
That is for one corner. So, you can assume less than four times that for the corners in a box. (Layout will take less time because the same gauge settings and shims are utilized across several pieces.)
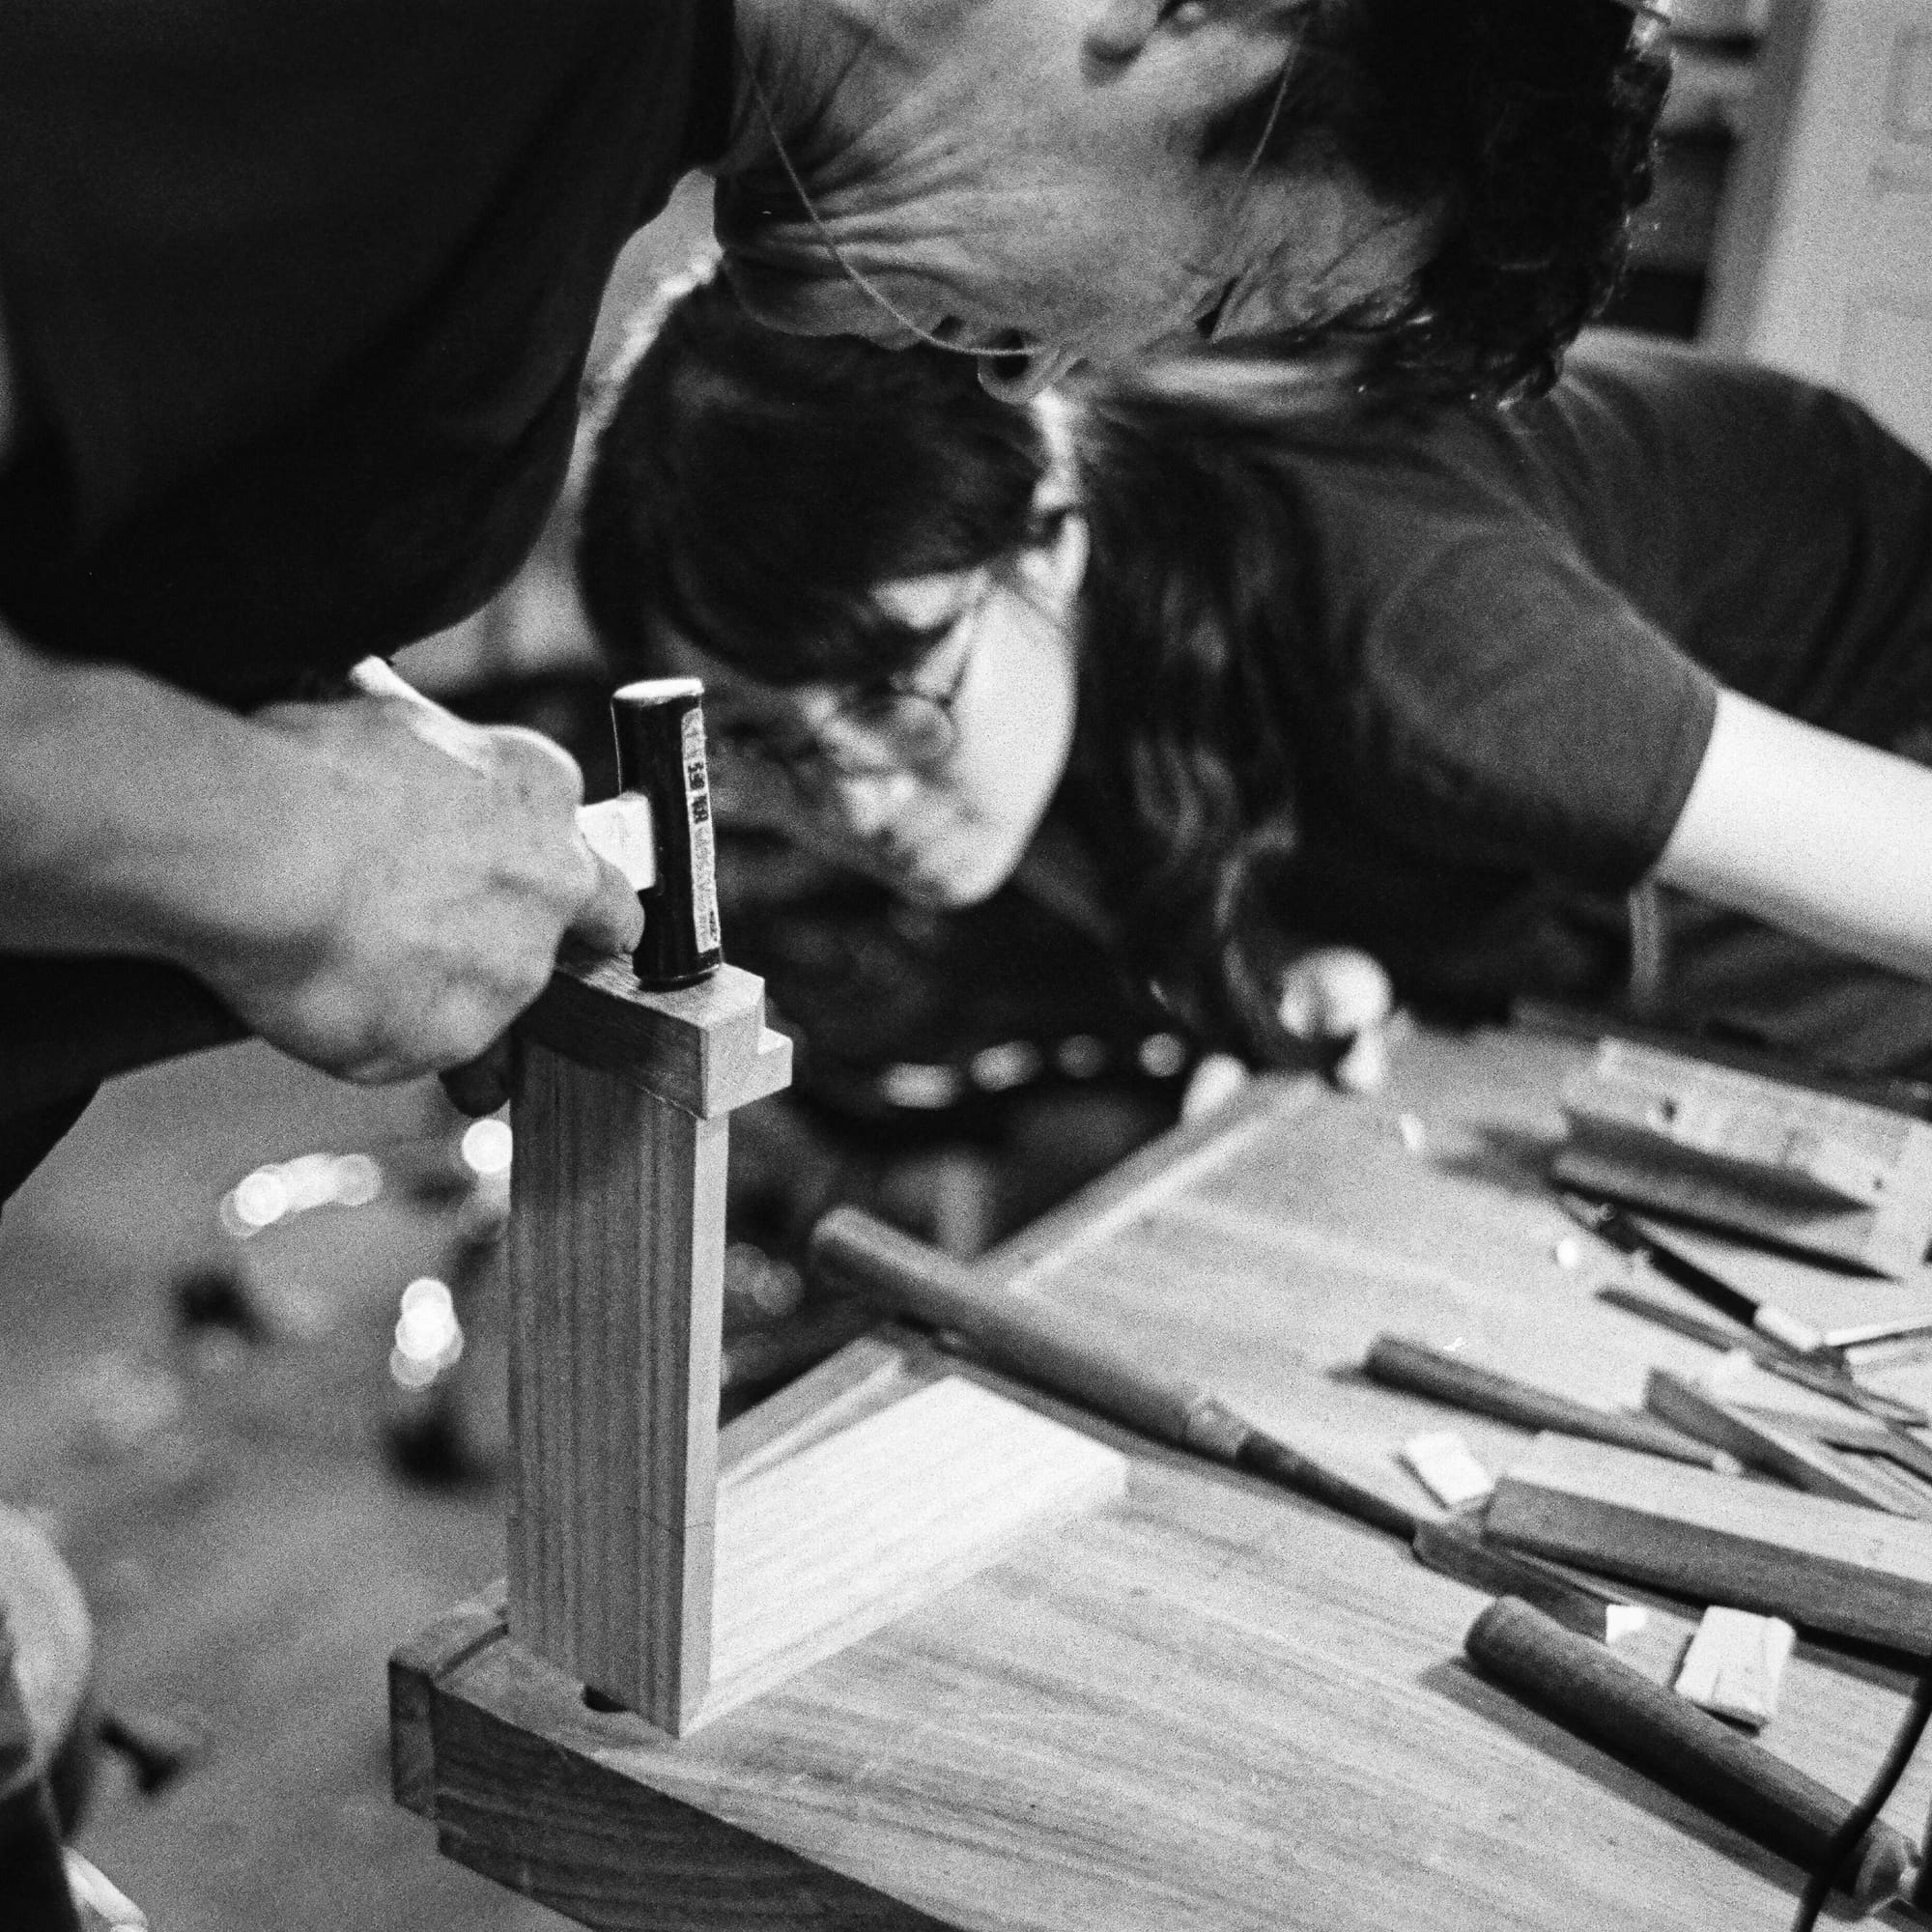
In just under 30 minutes, Tak was done.
After a week or so of joinery, Tak taught us a bit about his chair-making philosophy and his techniques for making seat bottoms using hand tools like gouges and adzes. He then walked us through his methods using angle grinders, power planers with custom curved bottoms, and a contraption called the swing jig. The swing jig was a cage that secured itself to a rip saw fitted with a custom blade that allowed a workpiece to hang and swing across the table saw blade for cove cuts. He developed the technique when he had a large order of chairs.
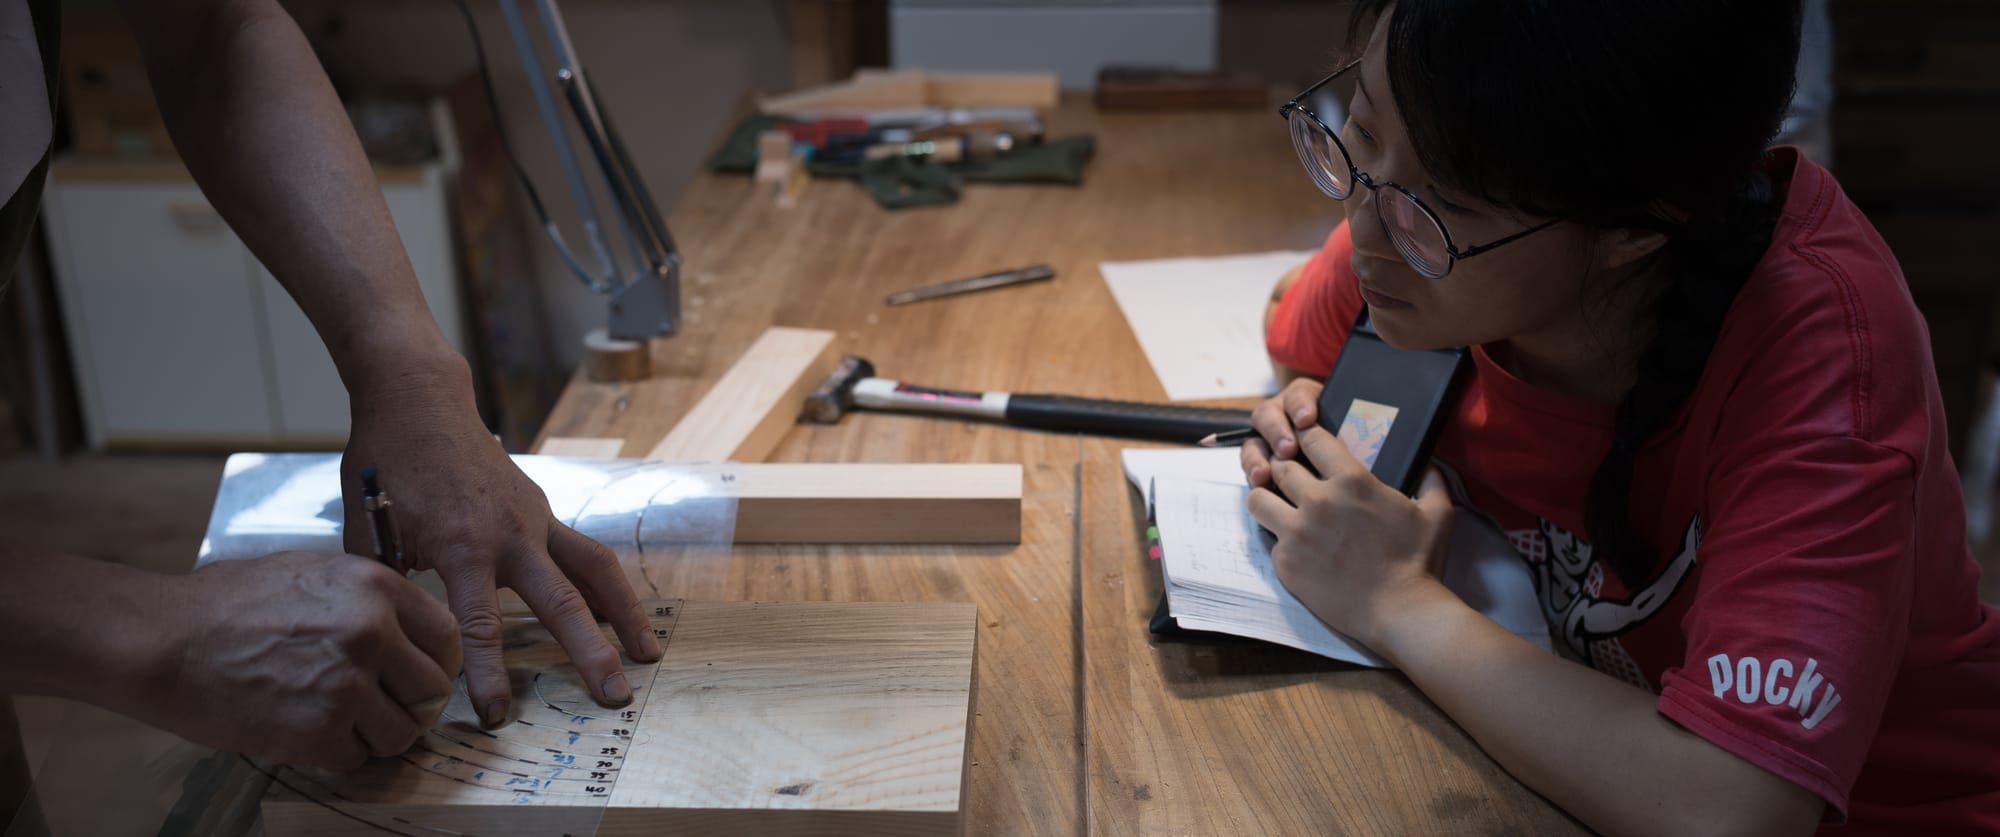
Yen-san, another student --the fairy-like person with large round glasses usually found peering observantly a few inches from Tak's busy tools--cajoled Tak to help her design and build a simple chair, which she finished a few days after class concluded. (This was a first for a student, I believe.) [9]
At some point, Tak sensed that a few more experienced students wanted to go beyond the curriculum. He pulled out a camphor slab for us to plane. Tak also designed some nesting boxes for us to try and build with joinery of our choice.
Something happened inside me when he drew up those plans. Of course, I wanted to do this box with secret dovetails. But I felt like a wave of seriousness came over me when we no longer focused on things I knew I could do, like sharpen, saw, and make simple joints. I didn't know if I could do two nested boxes with secret dovetails on each. But I wanted to try.
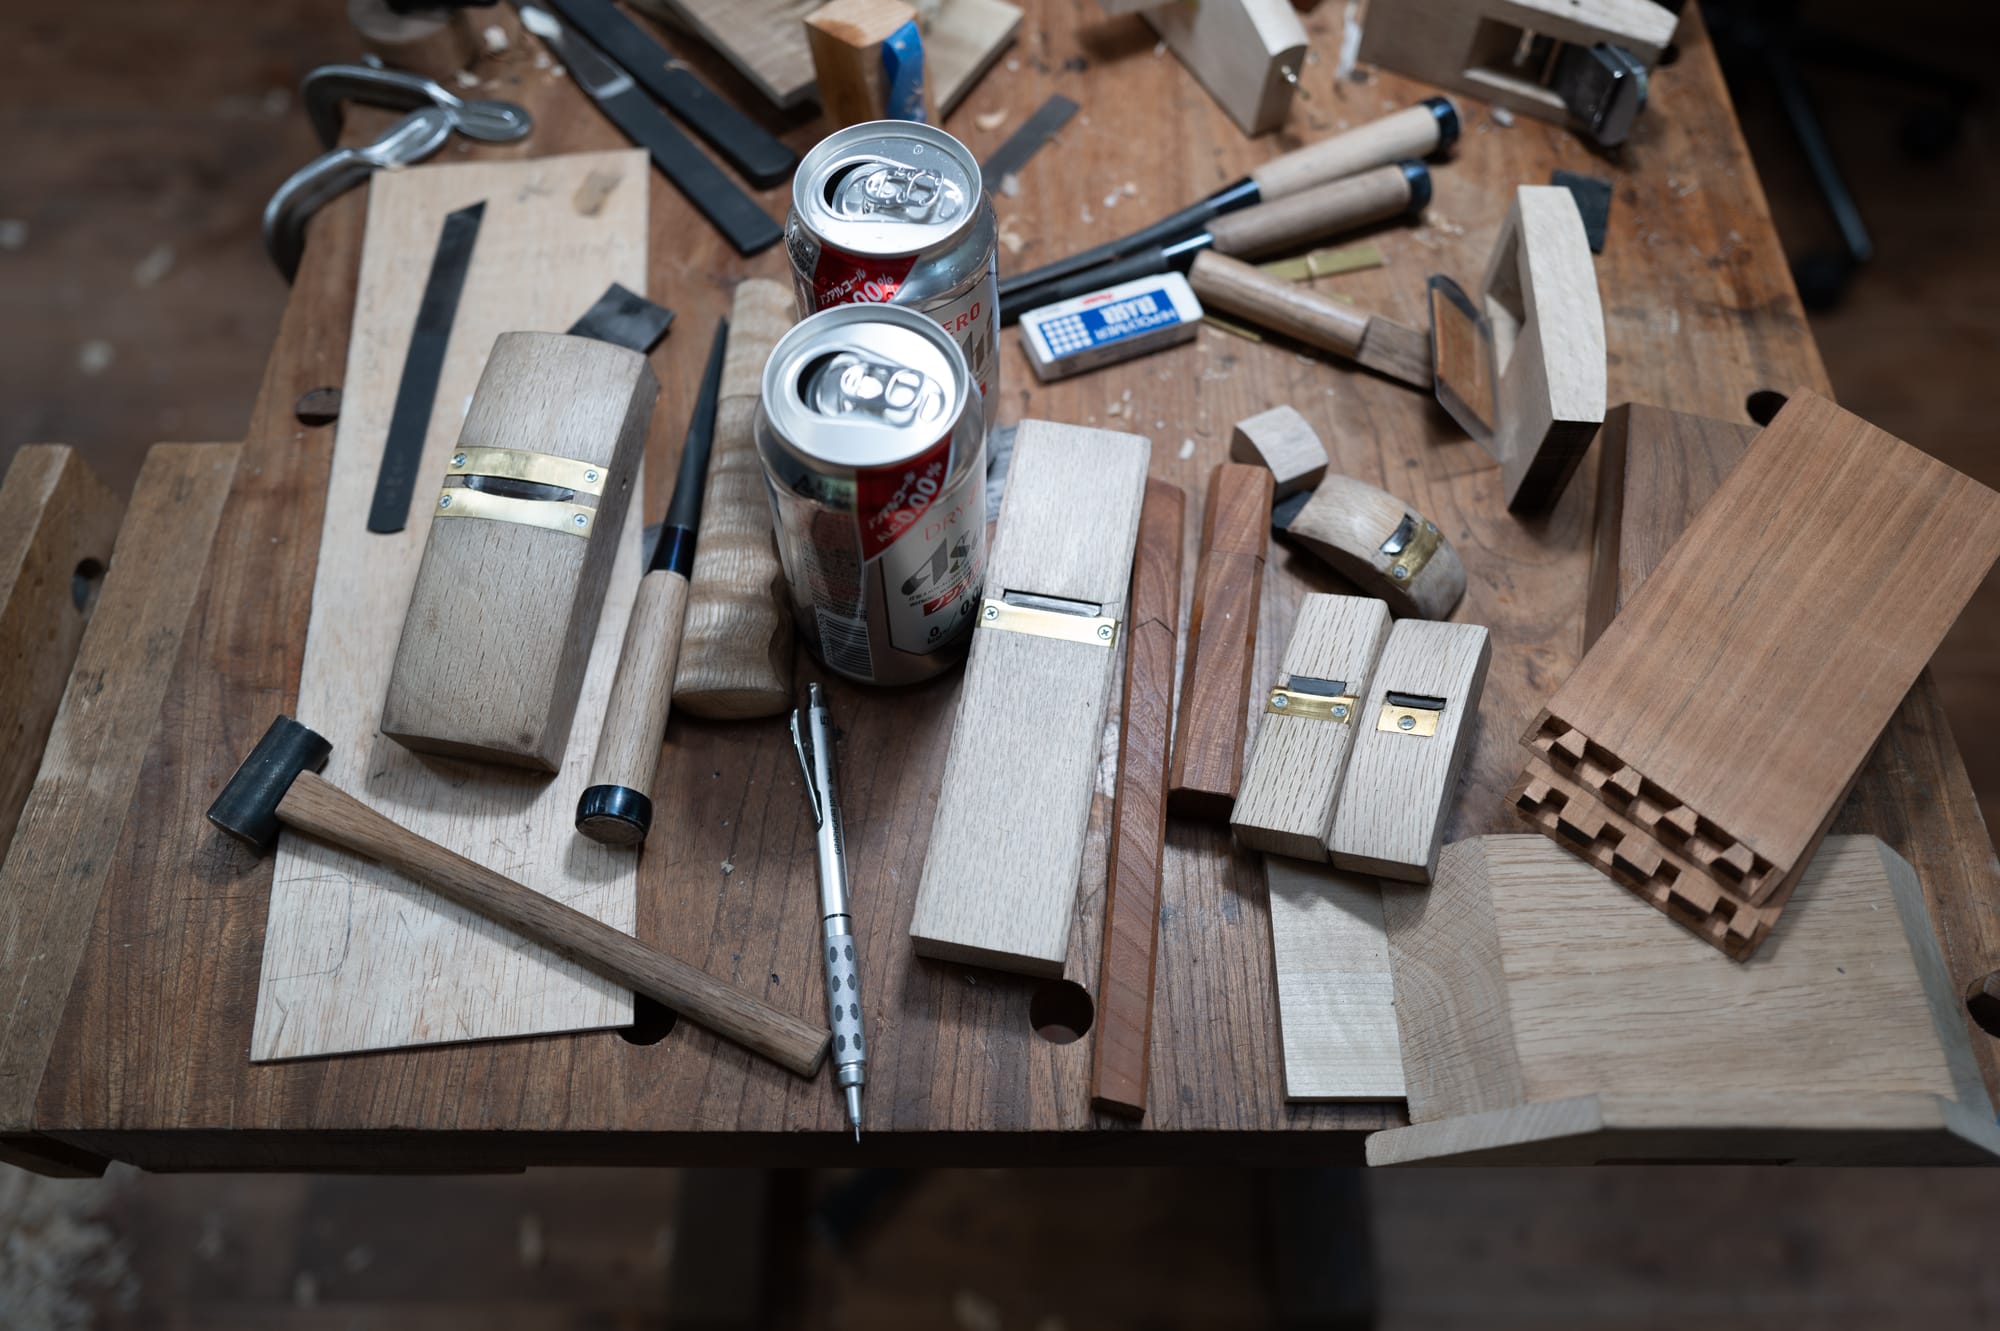
Despite these feelings, I never planed the slab, and we never finished the boxes. Usually, when I get a little overwhelmed, I cope with it by finding productive tasks to procrastinate. Like building more brass planes.
After making a plane or two each, Tak told us both that it was a great use of our time to learn how to make planes while there: flat, curved, and of course, brass-mouthed. All of them small, some of them even tiny. So from then on, Alfred and I would work as fast as possible to buy time to set up more planes.
Even the bleating of the sheep started to sound like the word BRASSSSSSS to us.
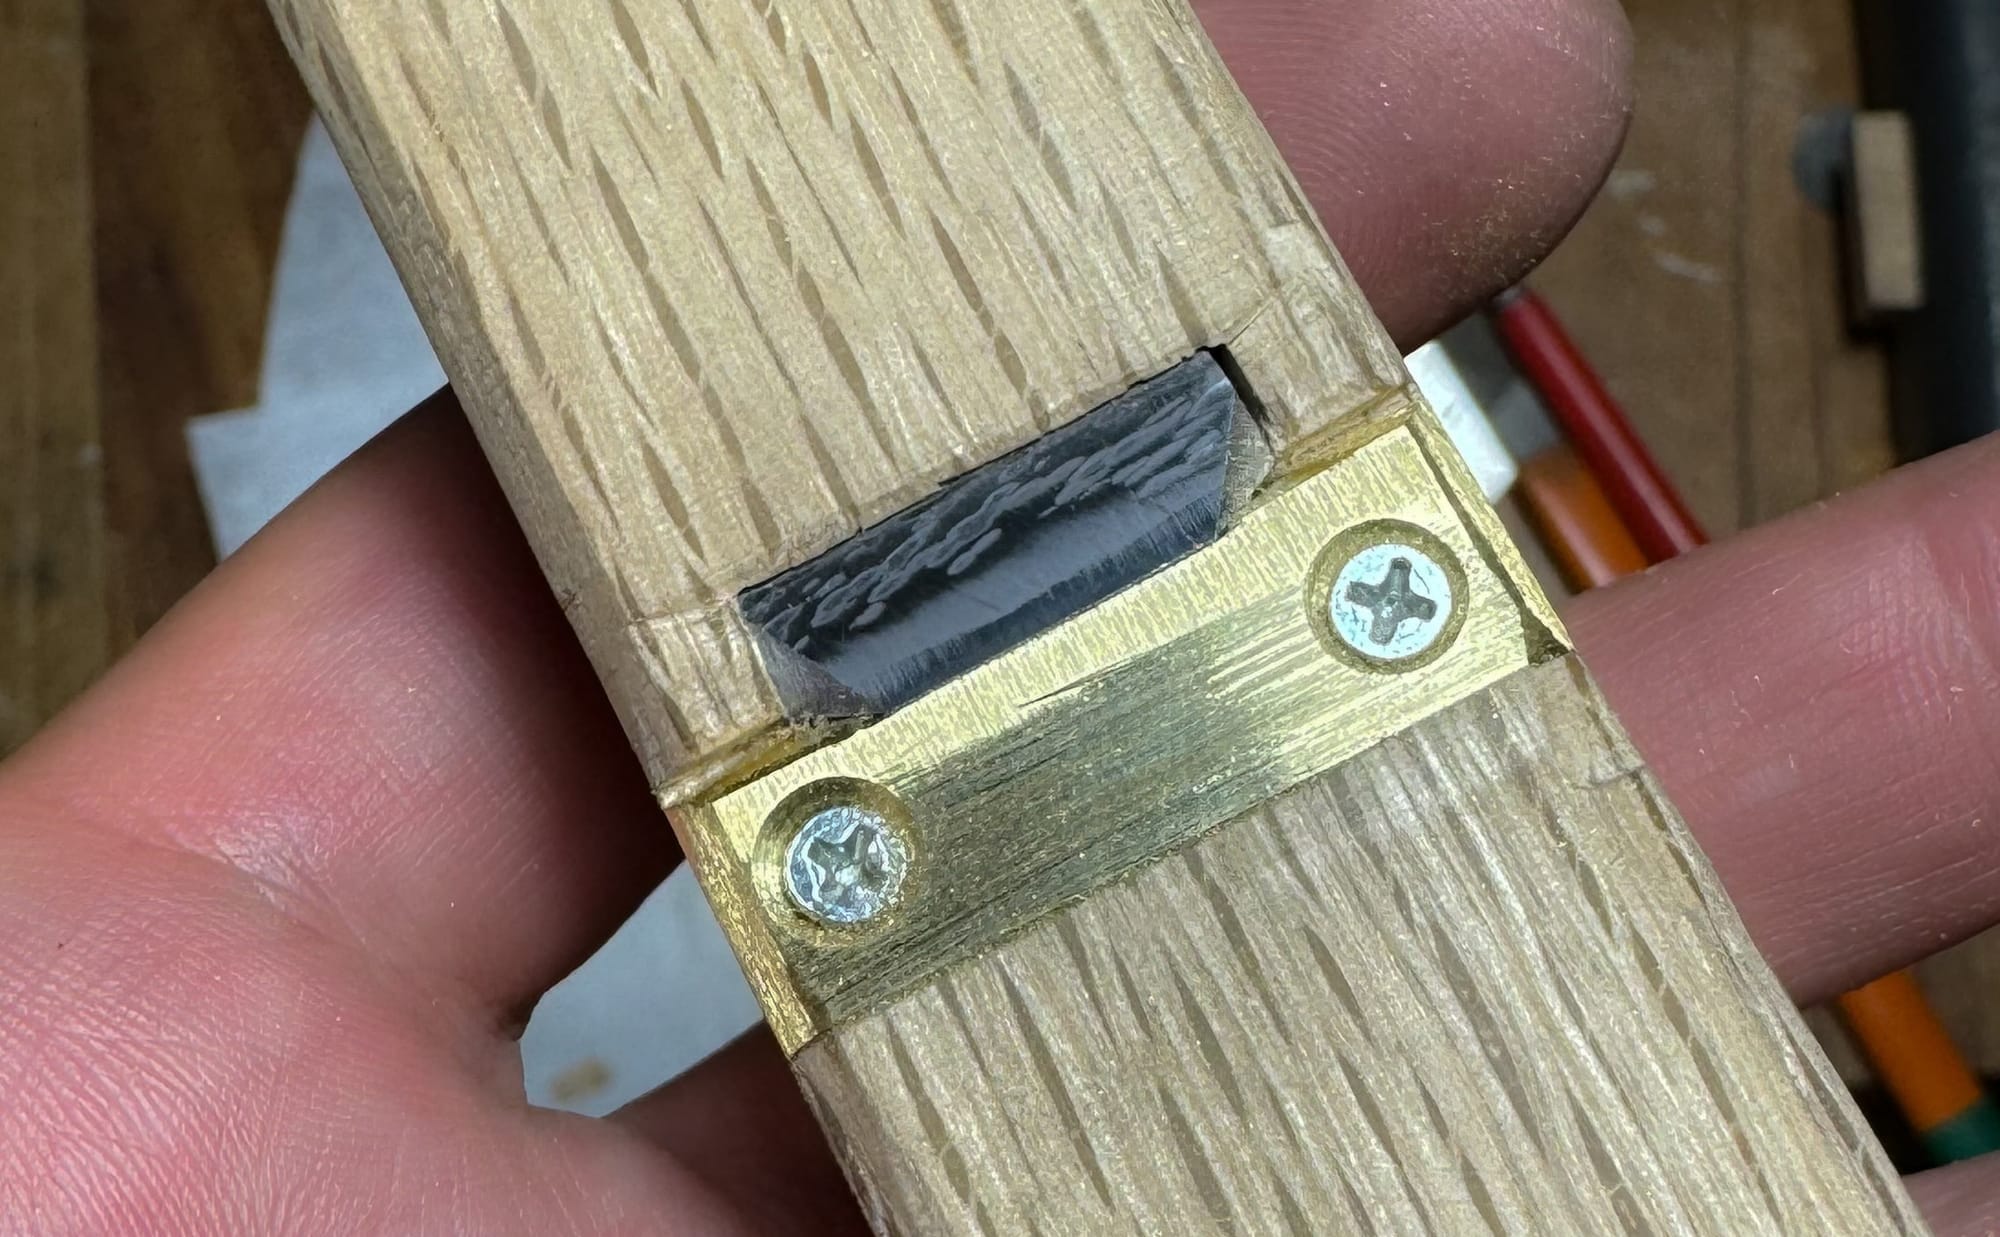
I ended up building a more more, including 18mm and 24mm flat blades, as well as a 42mm high speed steel blade.
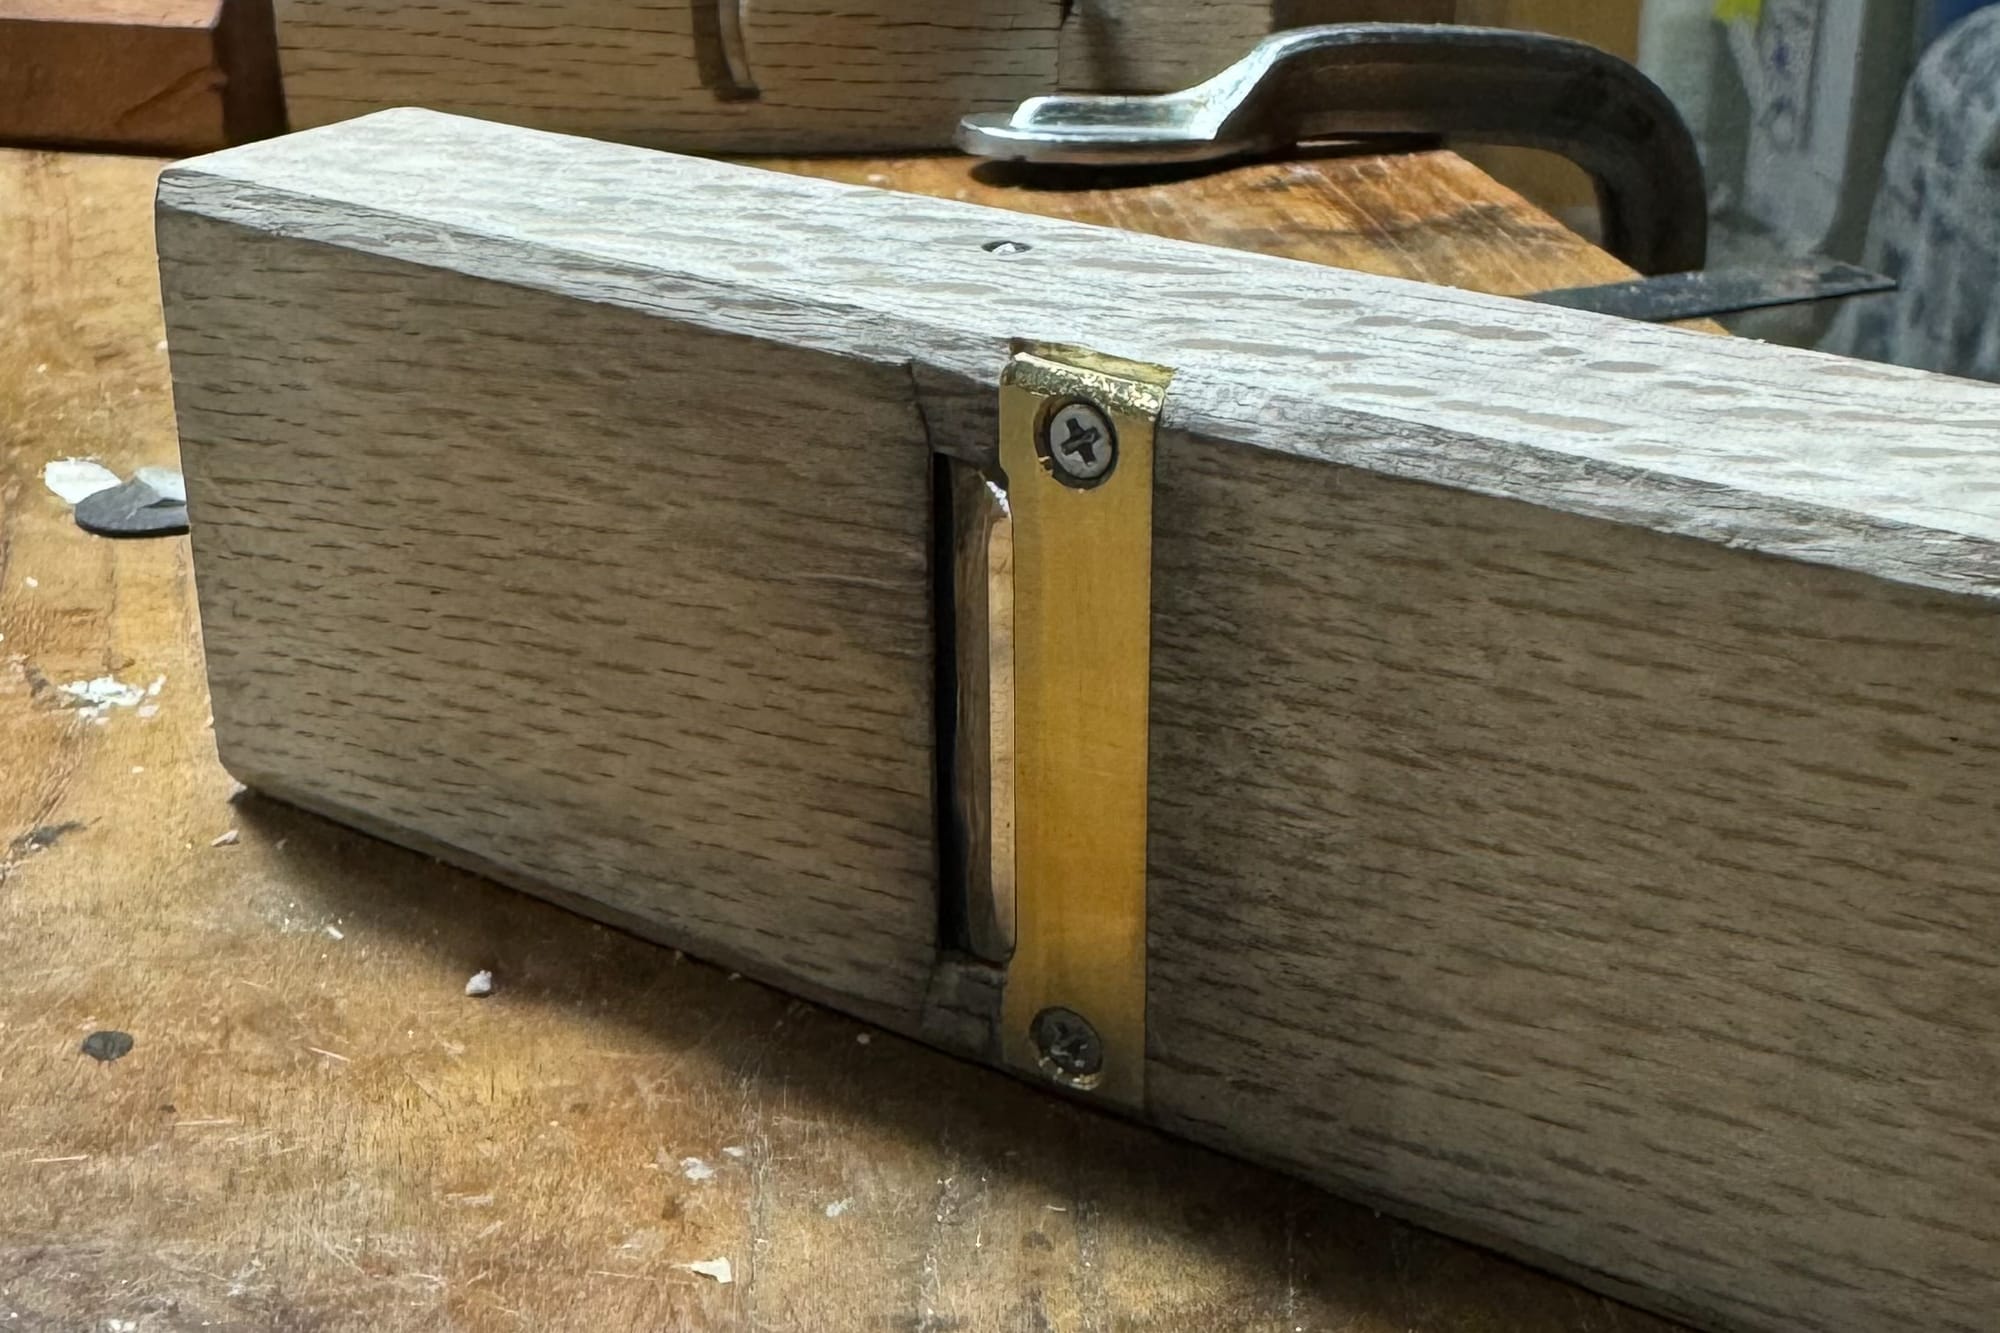
Then came the curved and double curved (spoon) planes. [8]
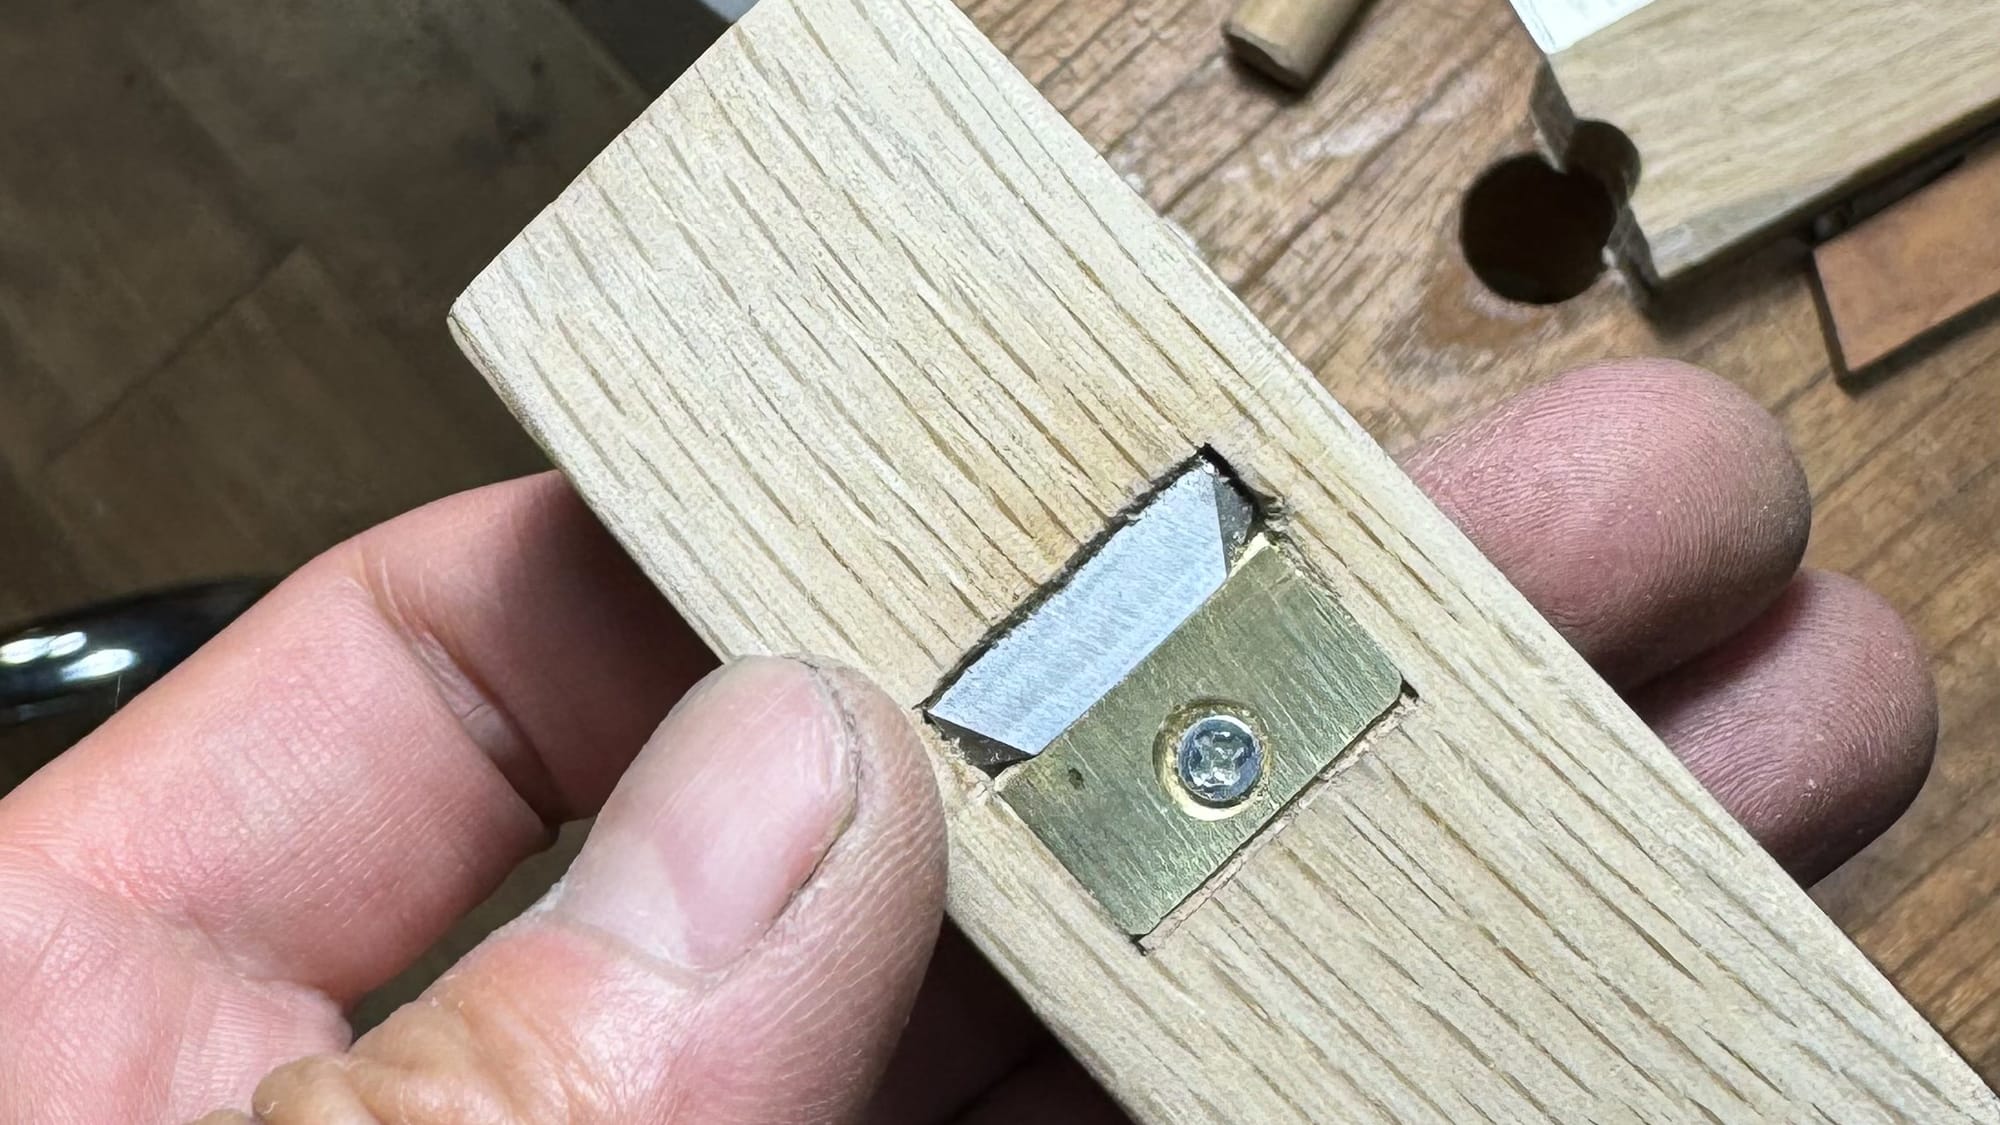
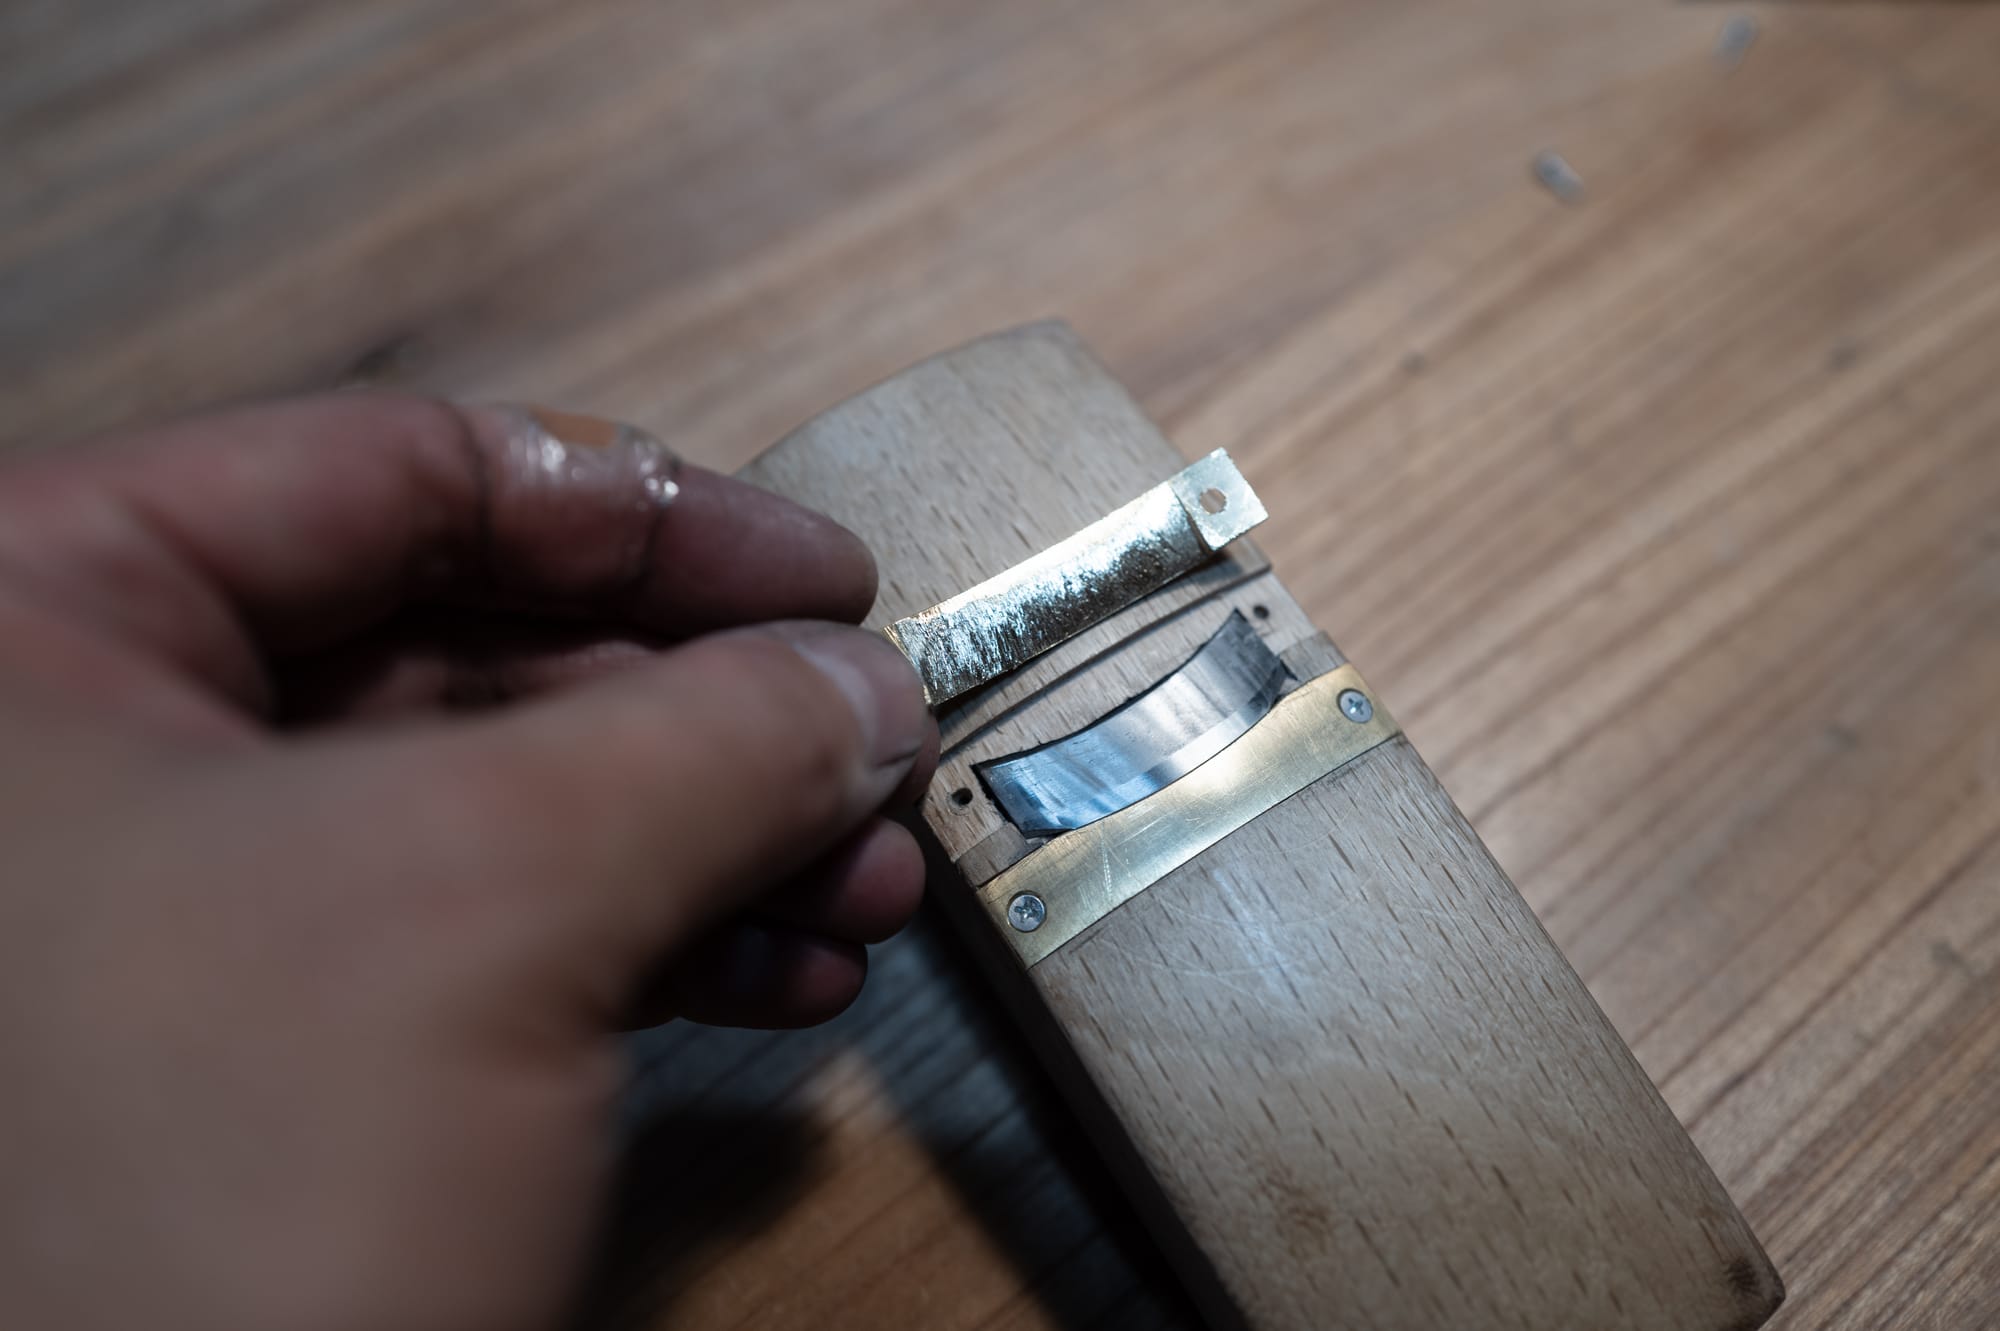
This little ugly bug seemed like it would be useful at some point--deep and narrow--for roughing. It's blade looked like a robot's hang nail.
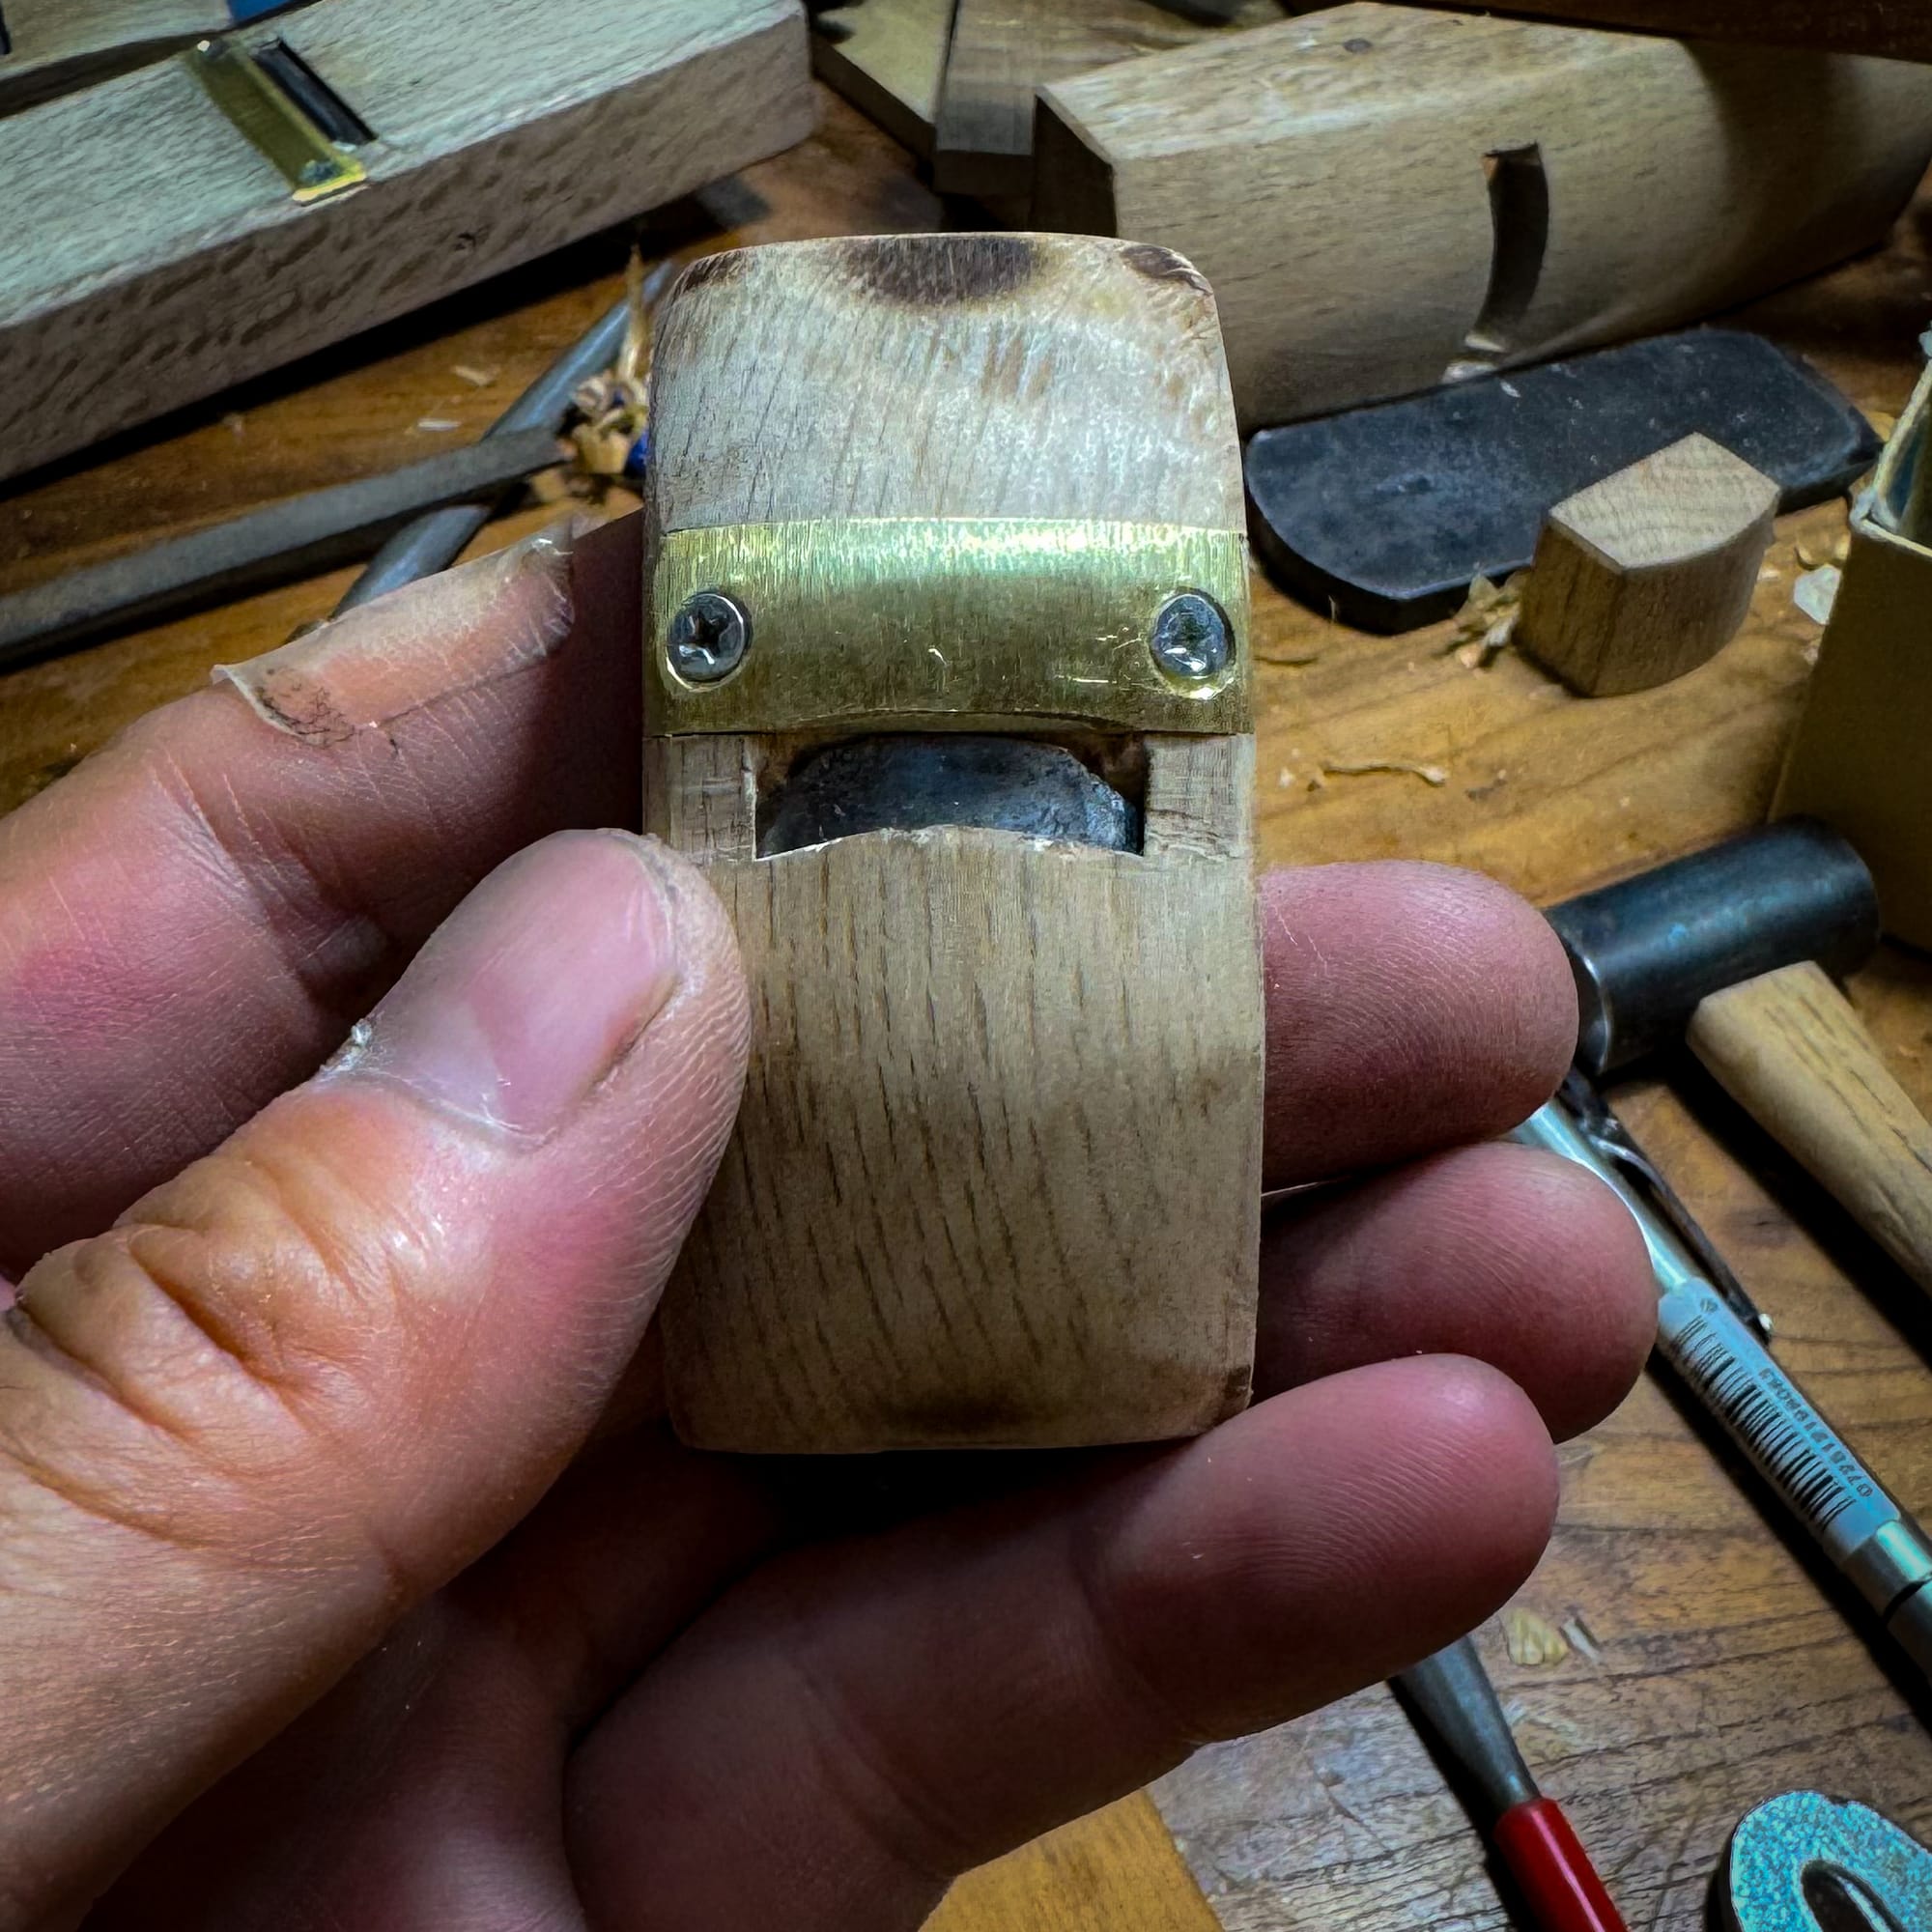
At some point I ran out of tools to brass, but there was more tooling. Aside from a few Aisuke handles, I did snap a poor chisel in half. The shank housed in a keyaki lipstick sized handle gave the blade a new purpose, as a half way tool between a chisel and aisuke. I named it little stabby.
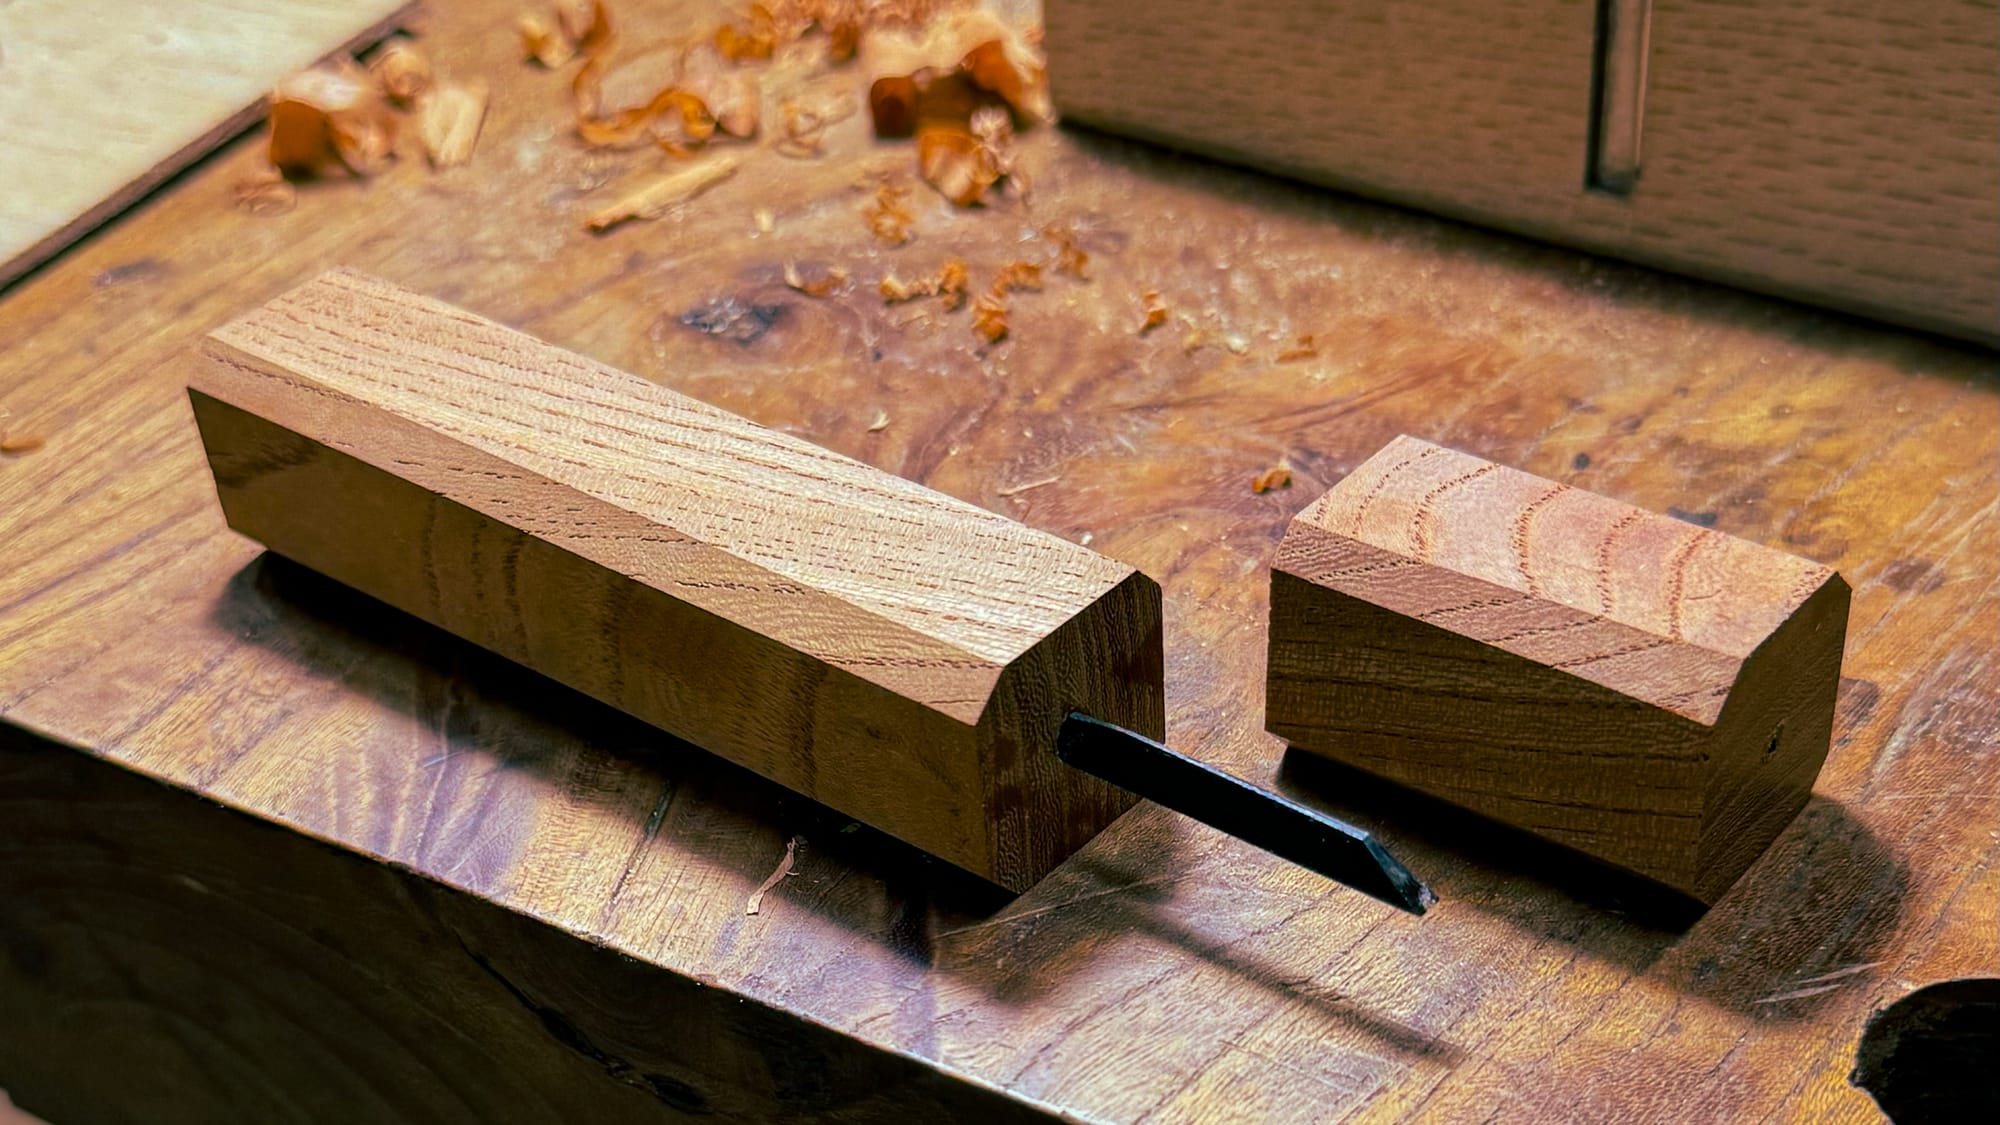
Before starting on the box Tak drew, I dreamed of becoming fluent at secret dovetails. Or at least cutting just one.
Before his demonstration, I had already started to study a sample of the joint that sat on the shop's window, among myriad other types. I was halfway done laying mine out, and his demonstration gave me what I needed to cut it in 4 hours, fast and sloppy, using a chisel to cut the long miter since I did not have a plane of my own to cut the miter. But it felt meaningful to have cut this joint for the first time.
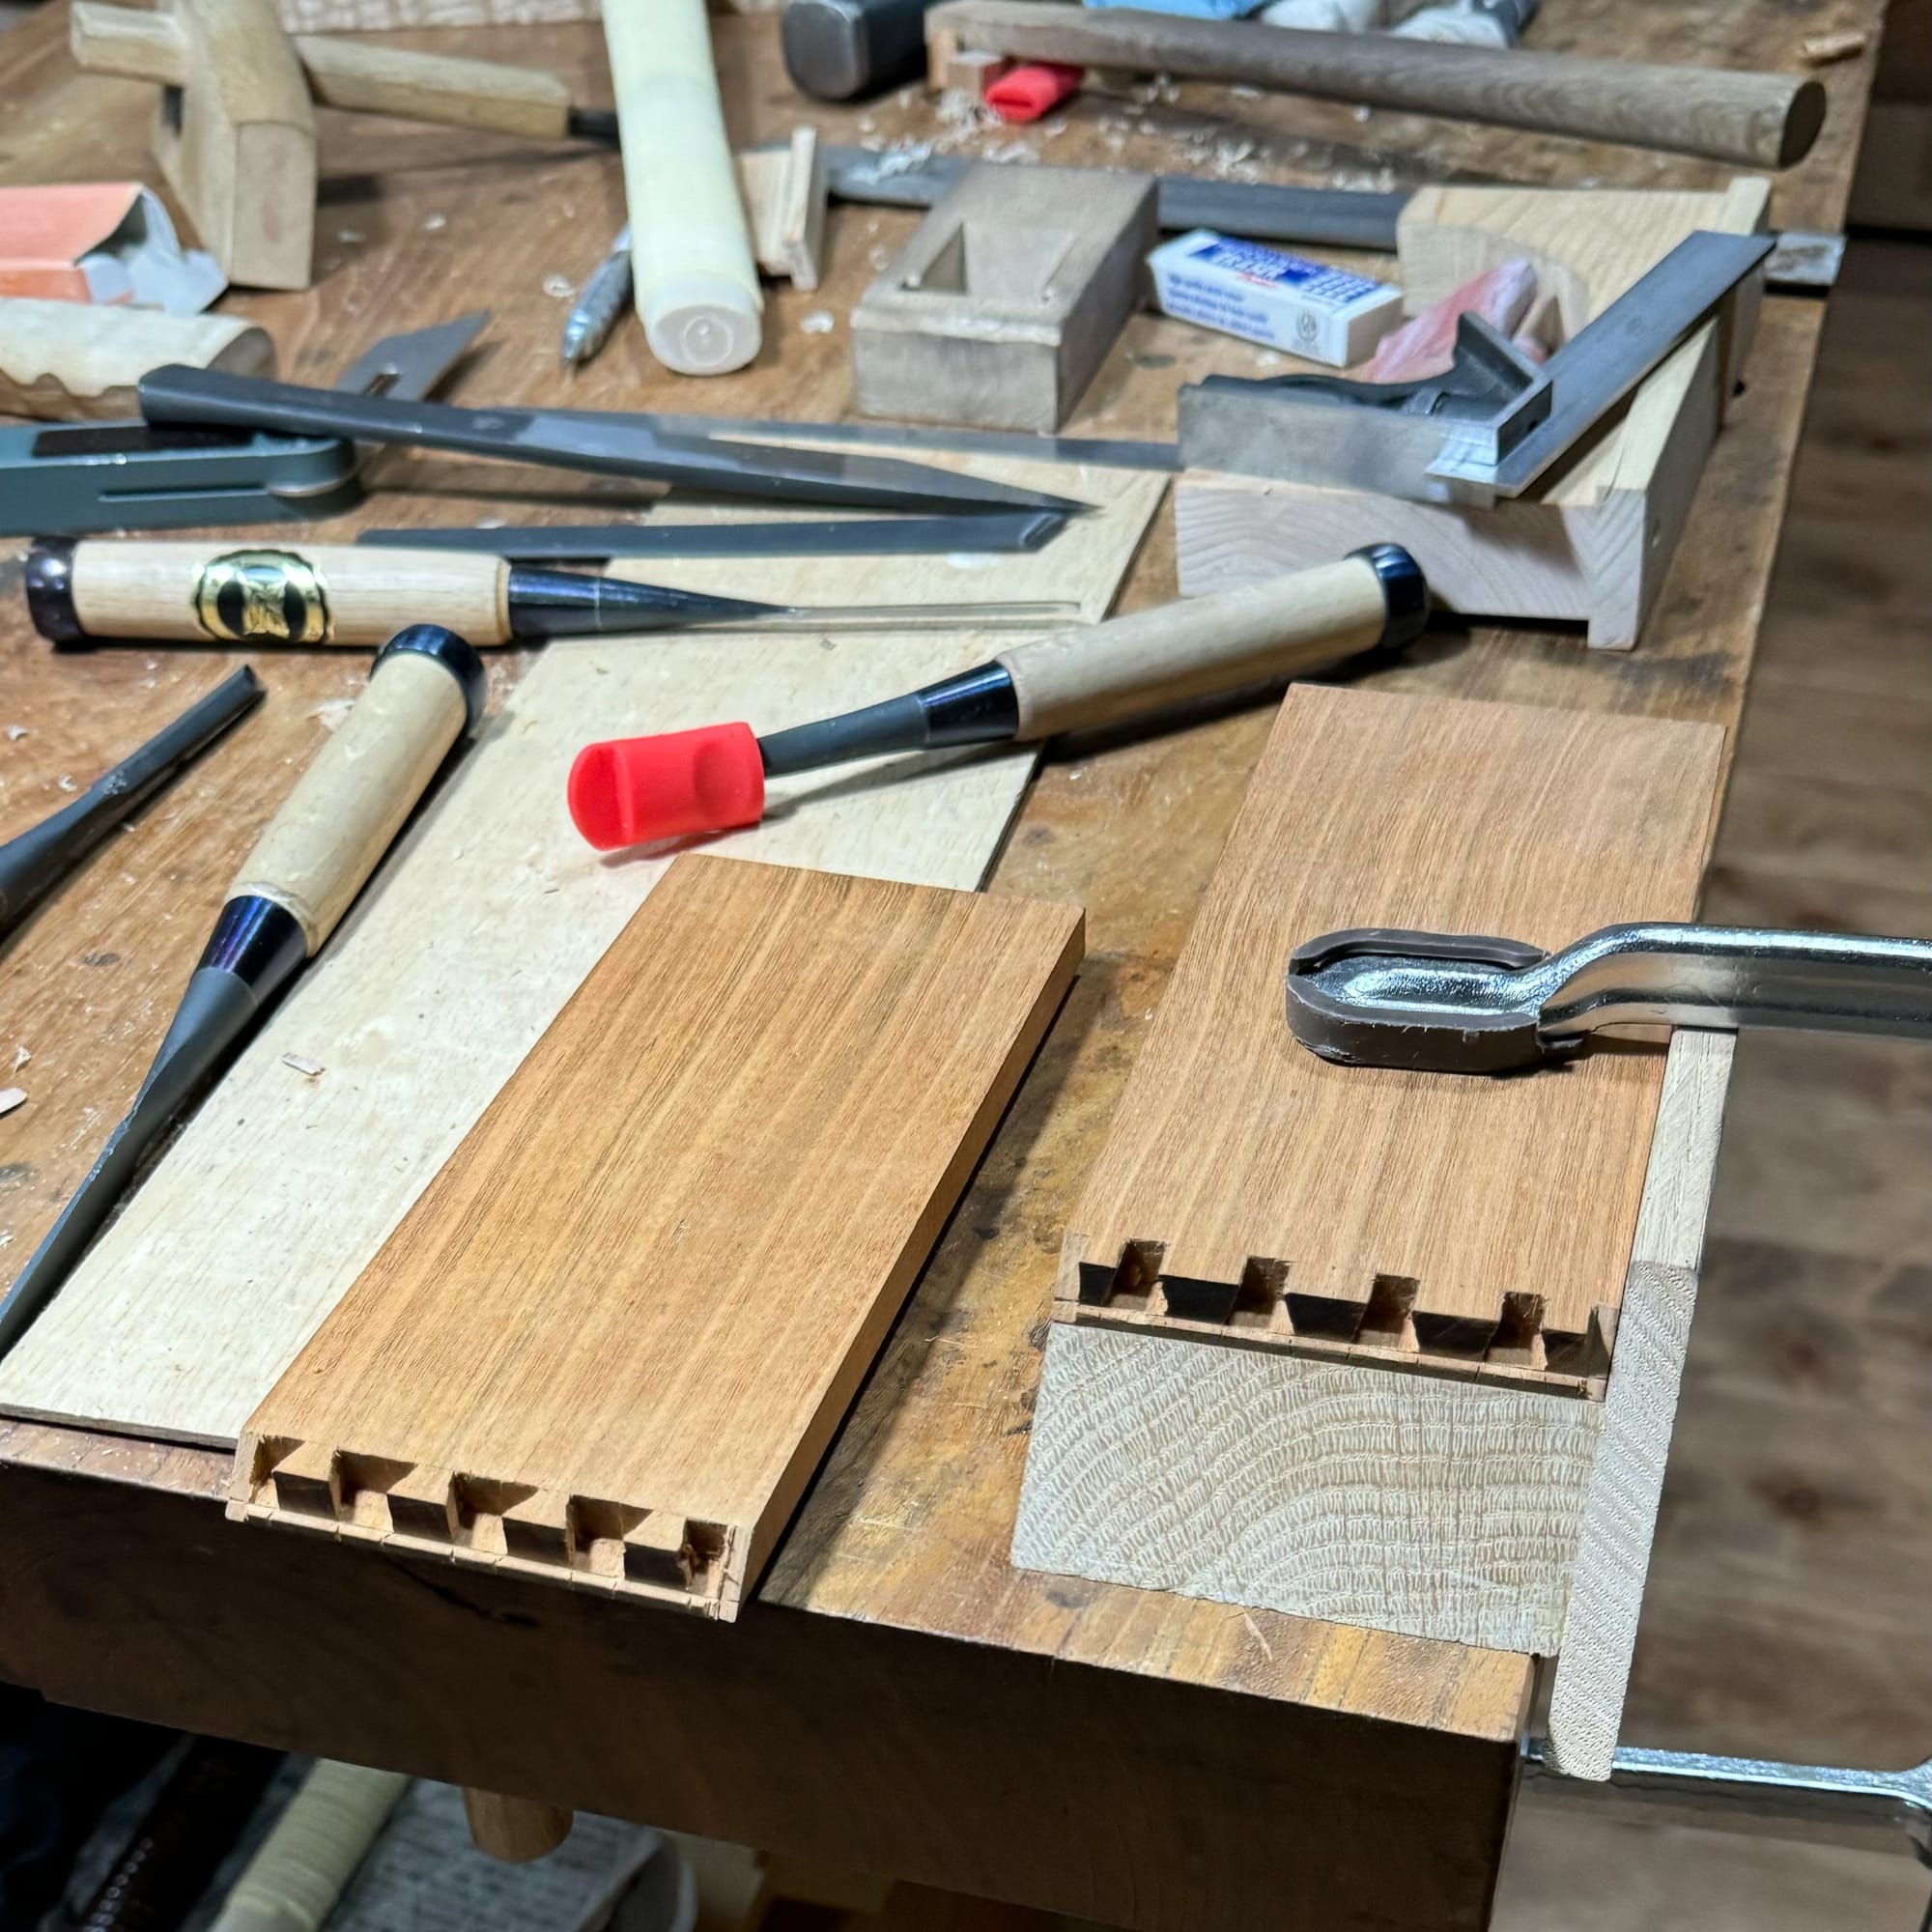
Tak mentioned to Alfred and me that he hoped one day a student could enter the same craft show he entered his curved tray and cabinets when he was 28.
Between all the joinery work, there were wonderful excursions to Tokyo to see craft exhibitions at museums, eat at places like Togo’s family’s soba or favorite unagi restaurant, and tool shops.
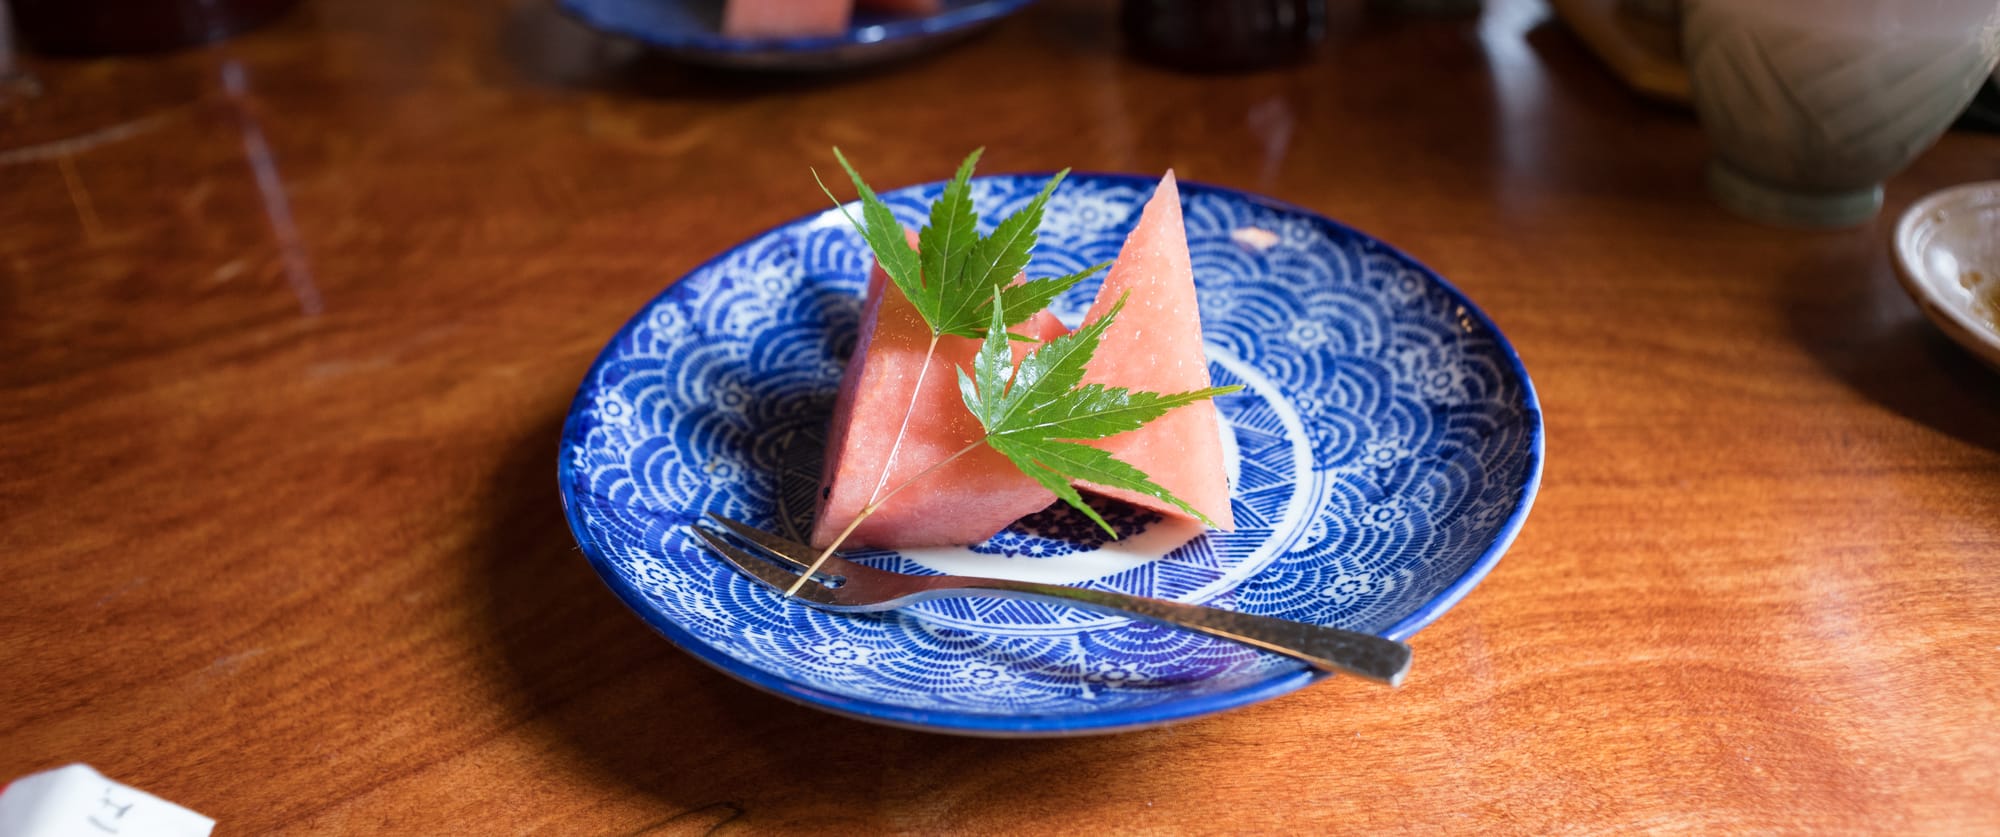
Every class seems to have a different adventure. One class even went to listen to Tak's son play Jazz in Tokyo.
A few days later, I tried to make another box, this time with secret dovetails. This time in thinner stock.
Layout, with shims, went smoothly and unbelievably fast. Cutting dovetails went ok, too, with little stabby and the aisuke doing their jobs exceedingly well. But the miters would always be the part that would be trickiest.
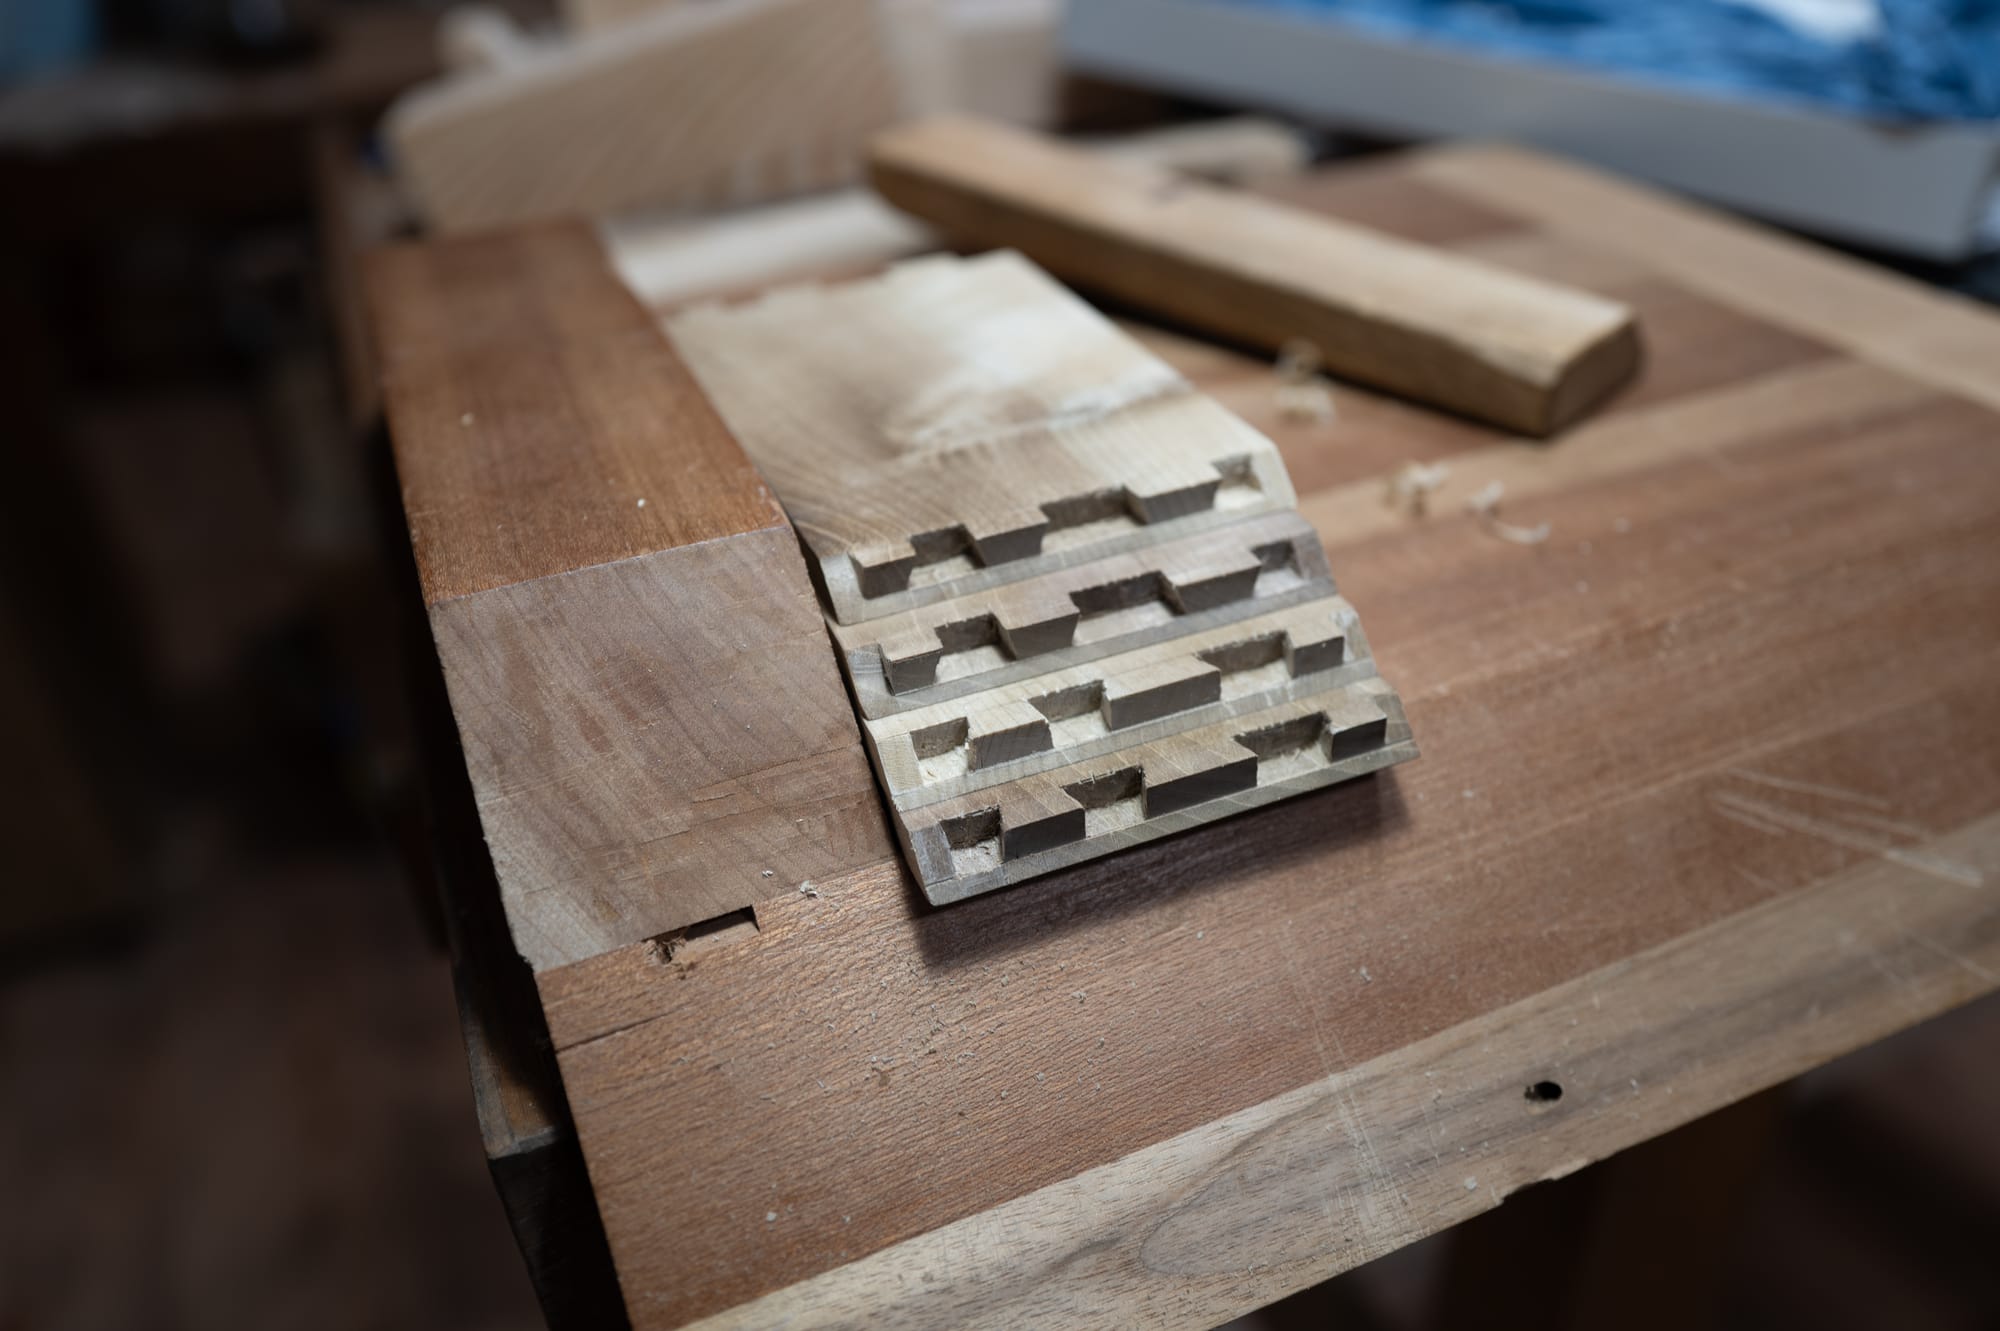
Struggling to trim the miters at the ends of the boards, holding the jig and piece in one hand and the chisel in another, Tak stopped to advise me to make nearly imperceptible changes to the position of the jig by tapping it with the end of the chisel.
"I still remember the sound of my master's chisel tapping," said Tak-san, referring to Suda Kenji.
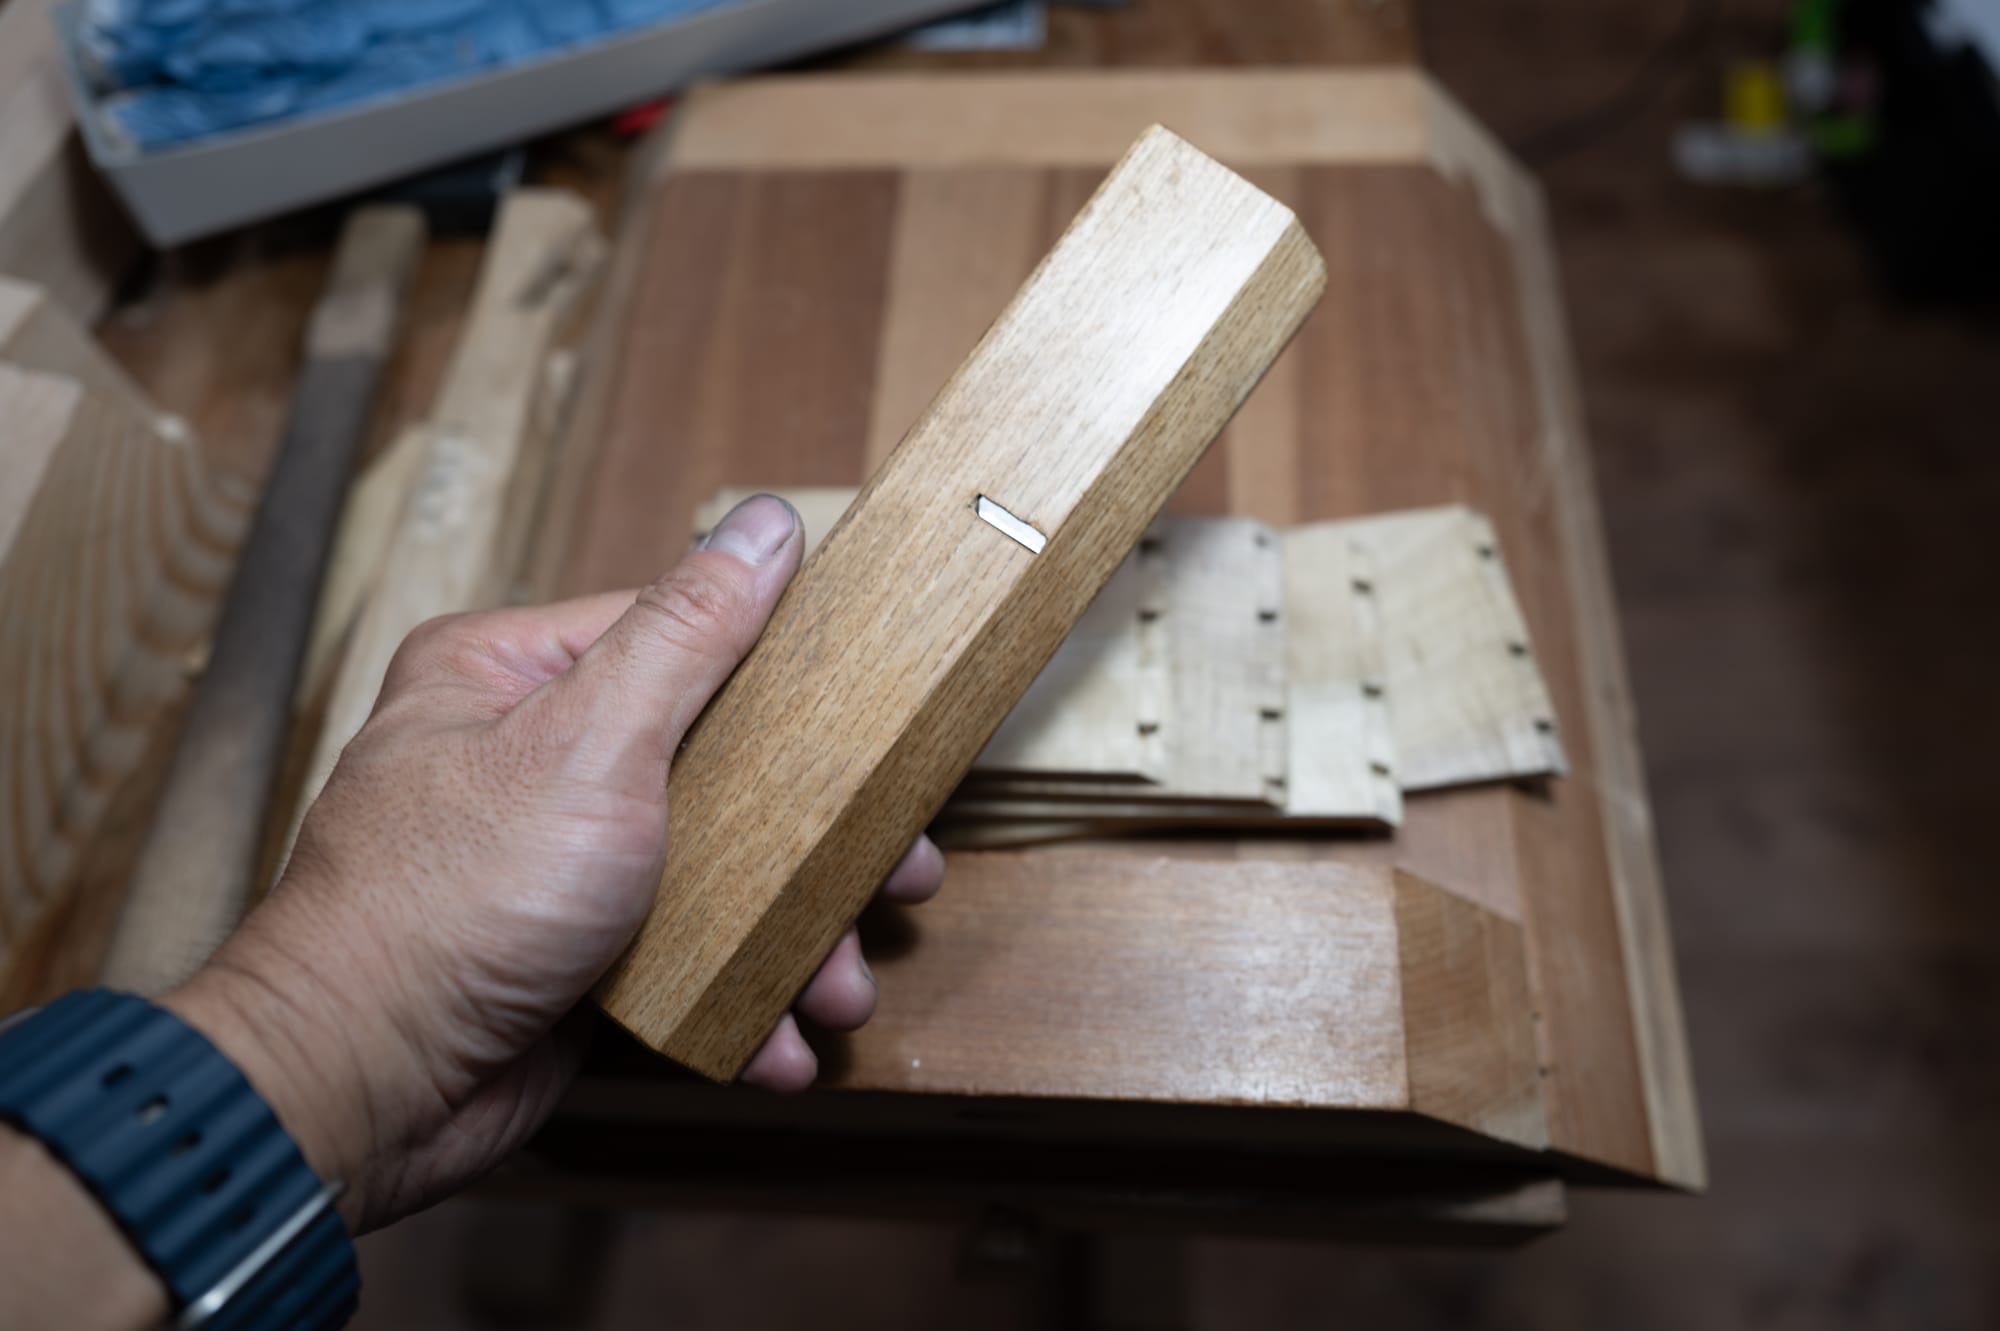
Rather than trimming miters by chisel as before, I used Tak's hand-built miter plane and sled since I did not have my own. In haste, the plane cut a curved path as I let the body of the plane drop on the ends of the cut, without using the sled to support the plane properly. This caused the box to show moderately sized gaps at the corners.
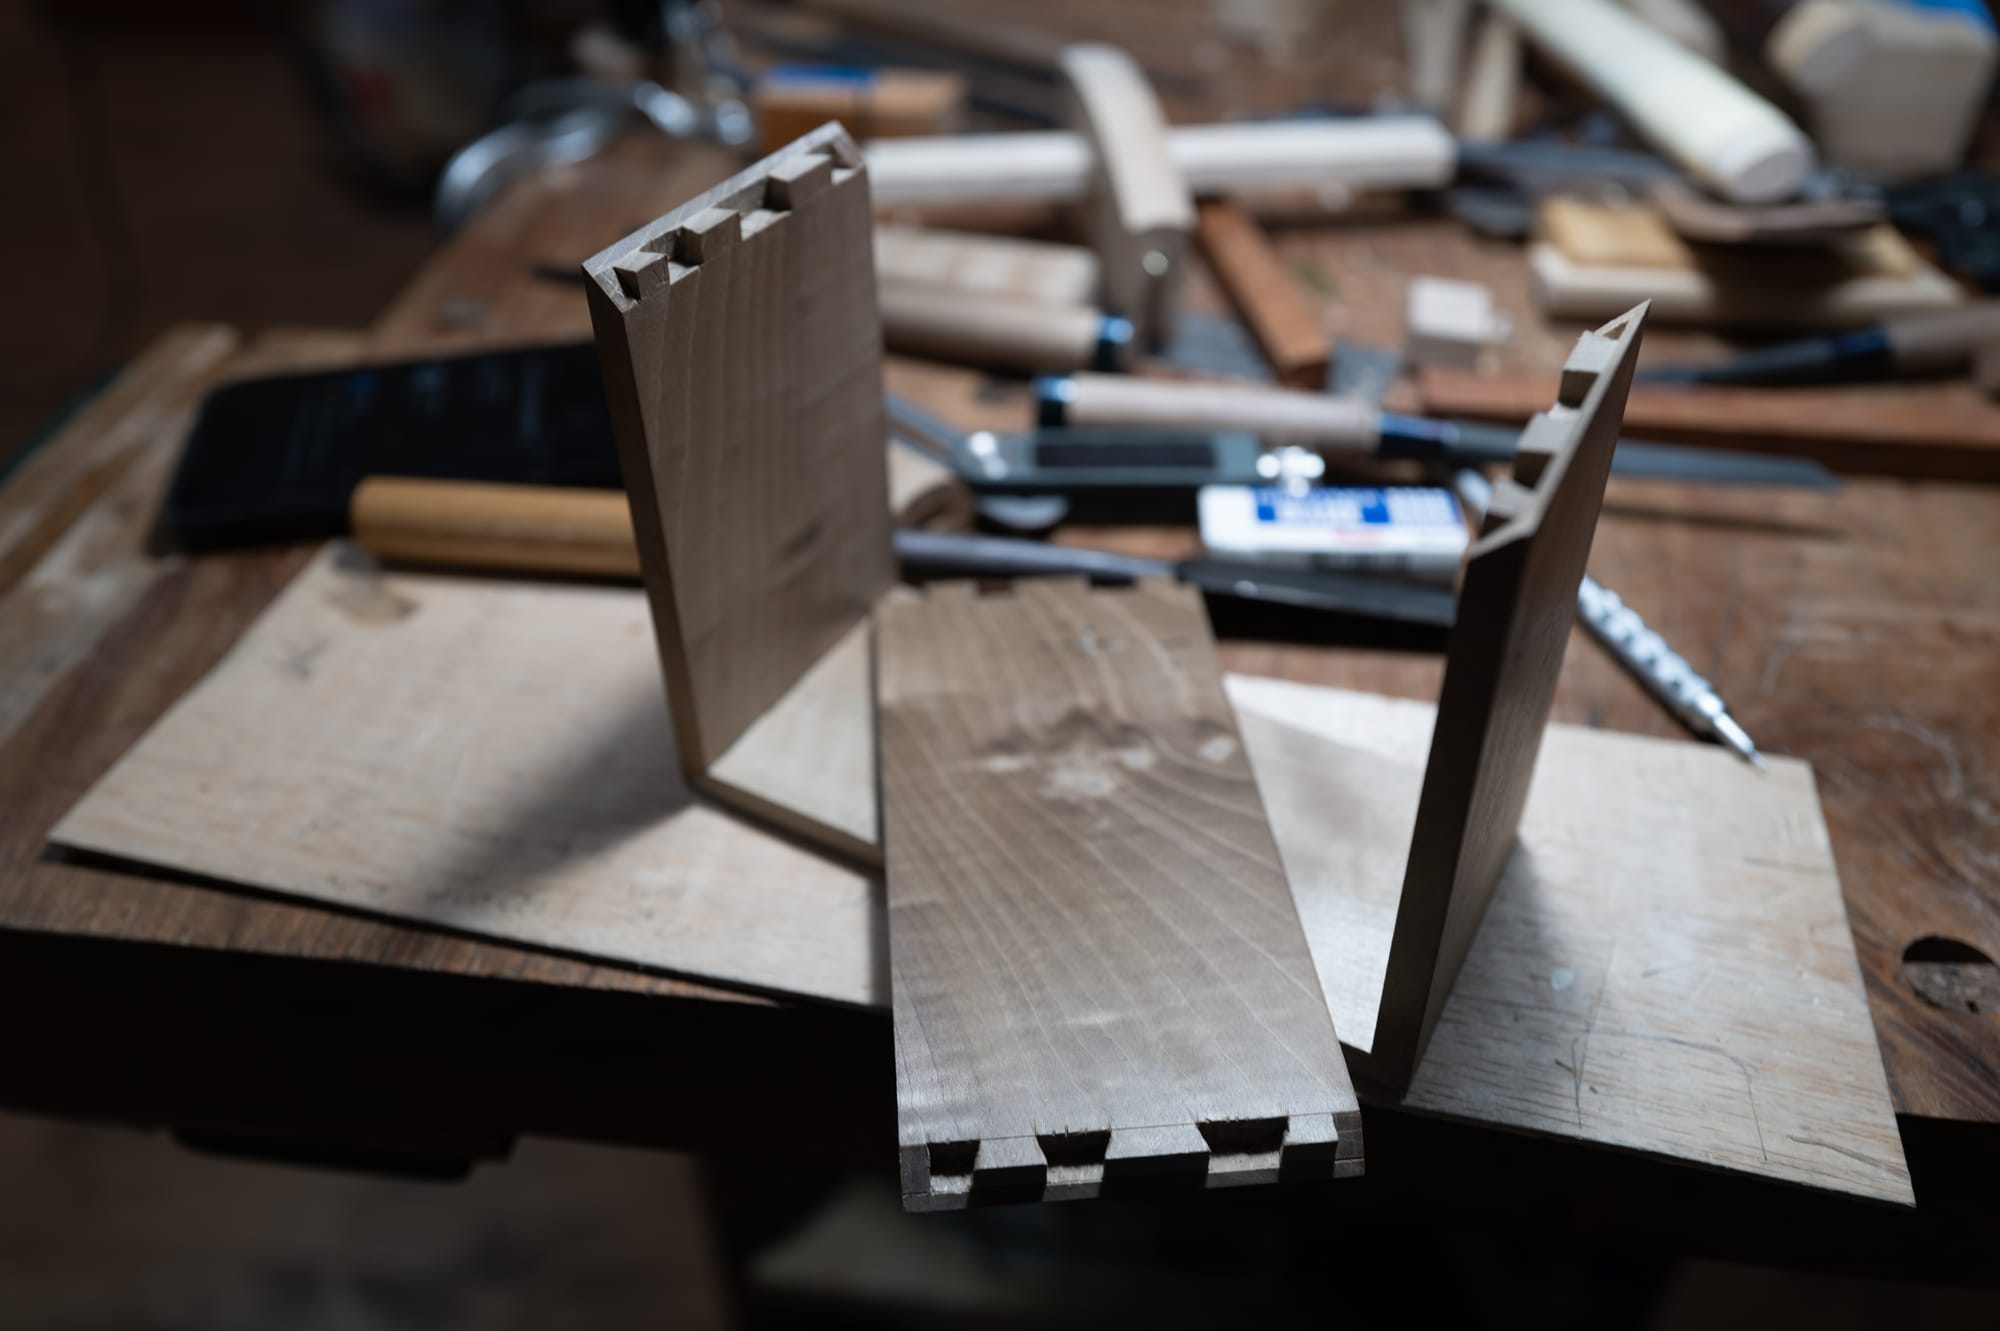
It took 6 hours to cut the entire box—a little slower than a senior apprentice would. I finished just in time to show up late for a final dinner party the staff had thrown for the students. It hardly counted as finished work, full of problems. But it was done, and in a few days, it would be time to go home.
I envisioned making dozens of boxes in my home shop, until I could make perfect secret dovetail boxes without a second thought and at the speed of a master. The thing about being home is that life catches up with you. My family, the always demanding house, this newsletter, dealing with life itself in all its mundane distractions—there was no reason to build those boxes, so I never did.
Within a few days of being back, I put together a craft CV and applied for the artist-in-residence program. I would spend three weeks in the fall finishing that box that Tak had drawn and practicing cutting as many secret dovetails as I could.
More photos and details for supporters, below:


