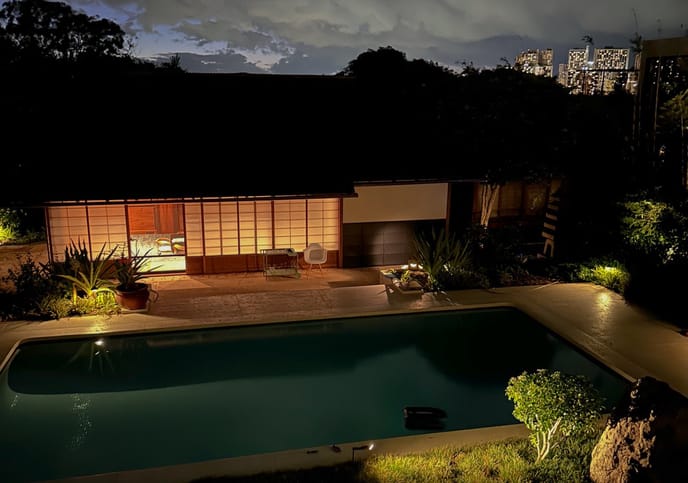
I’m taking a pause writing about Mt Fuji Wood Culture Society to write about the project I just spent two weeks finishing at my own home in Honolulu.
(I’ll write a proper introduction to the overall house project soon. The restoration took 5 years to complete with over a dozen contractors, designers and architects and was my main focus while under non compete with the NYT.)
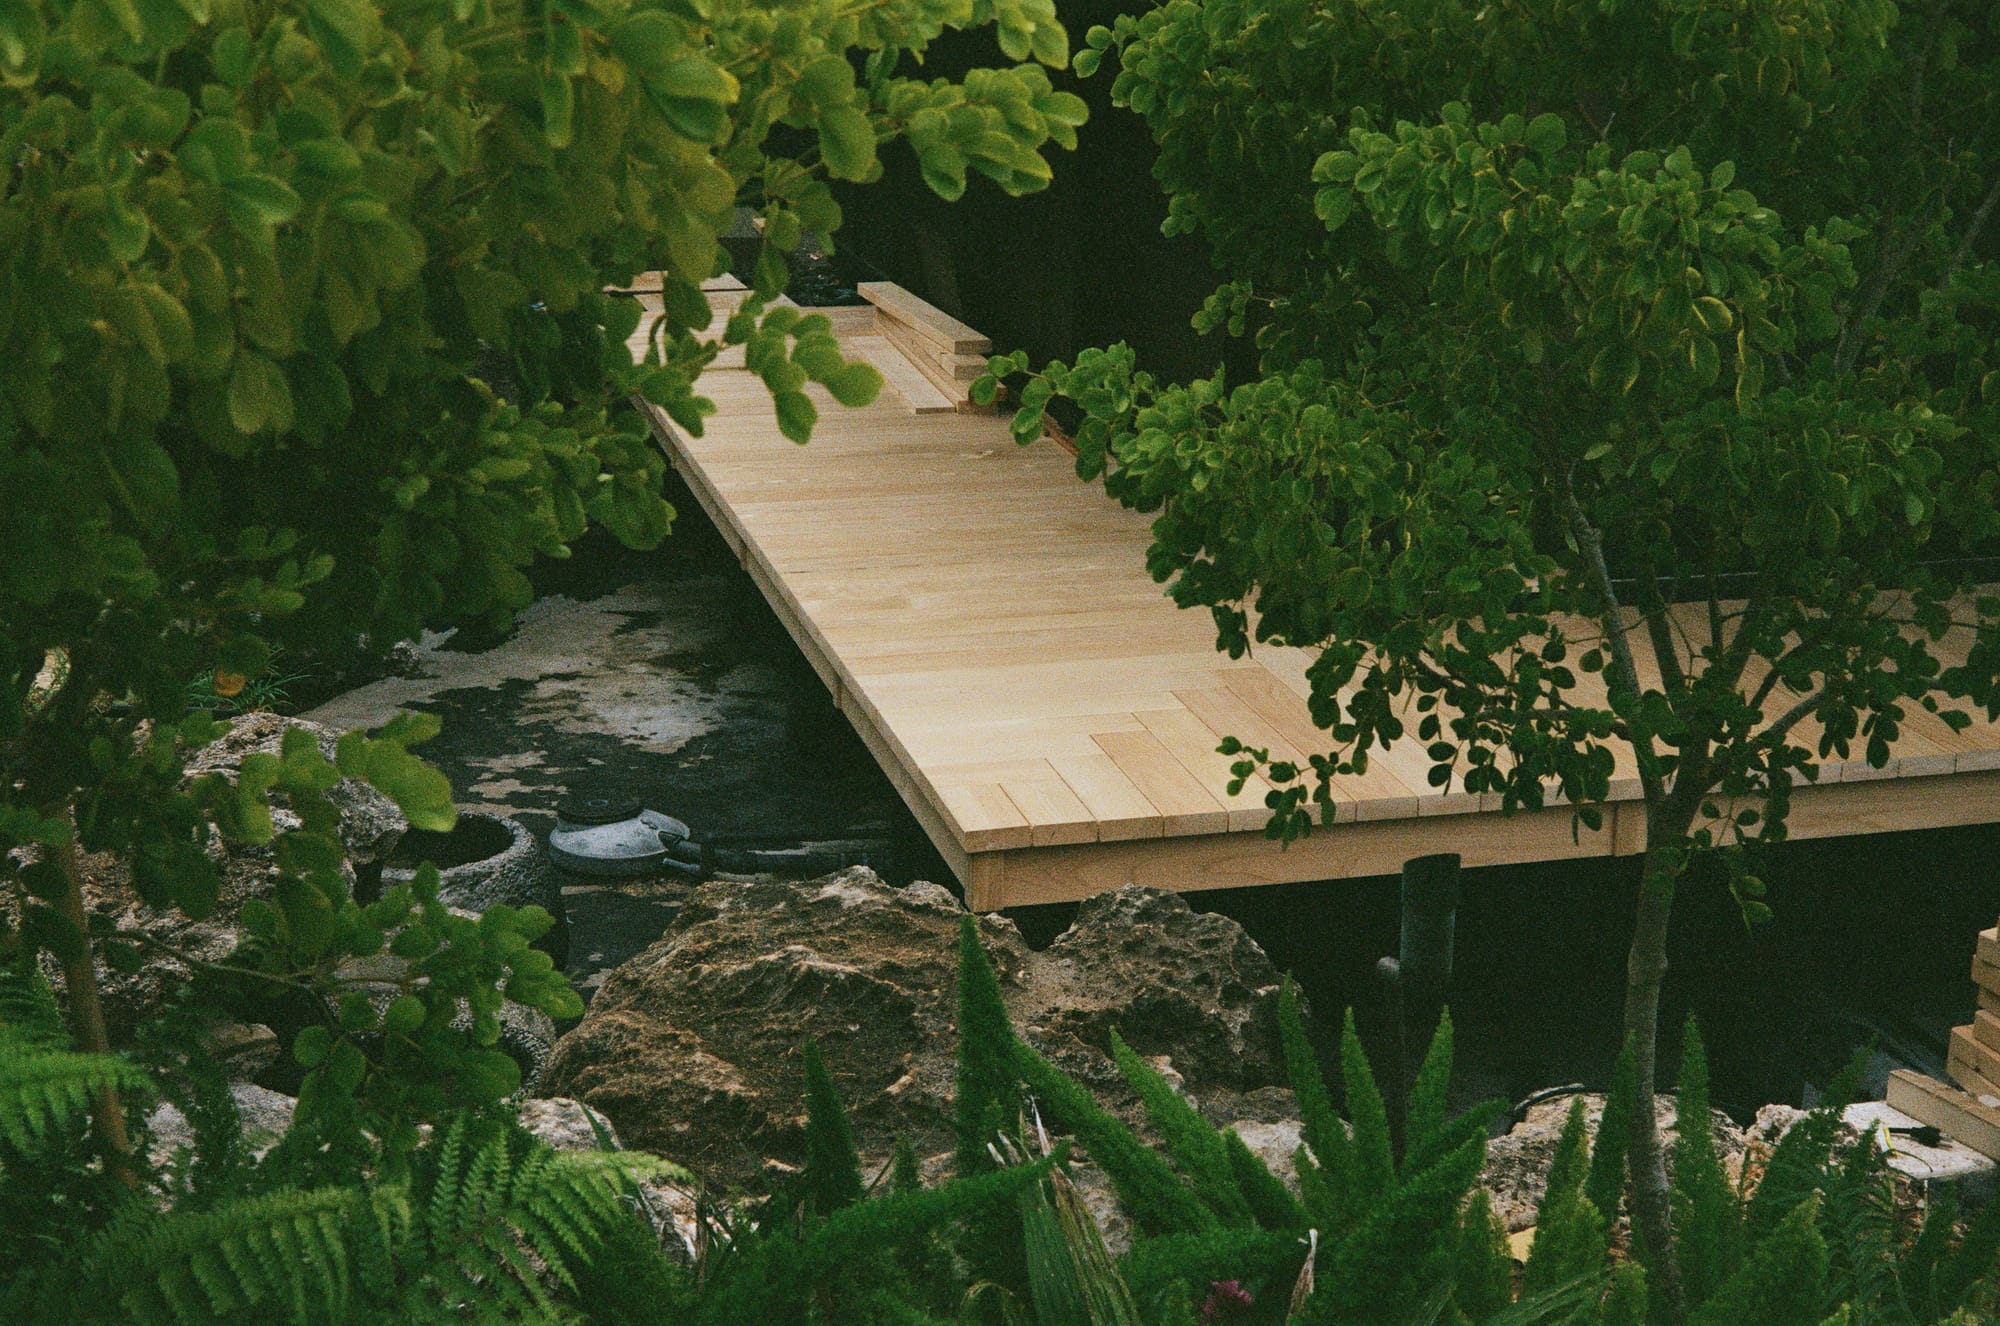
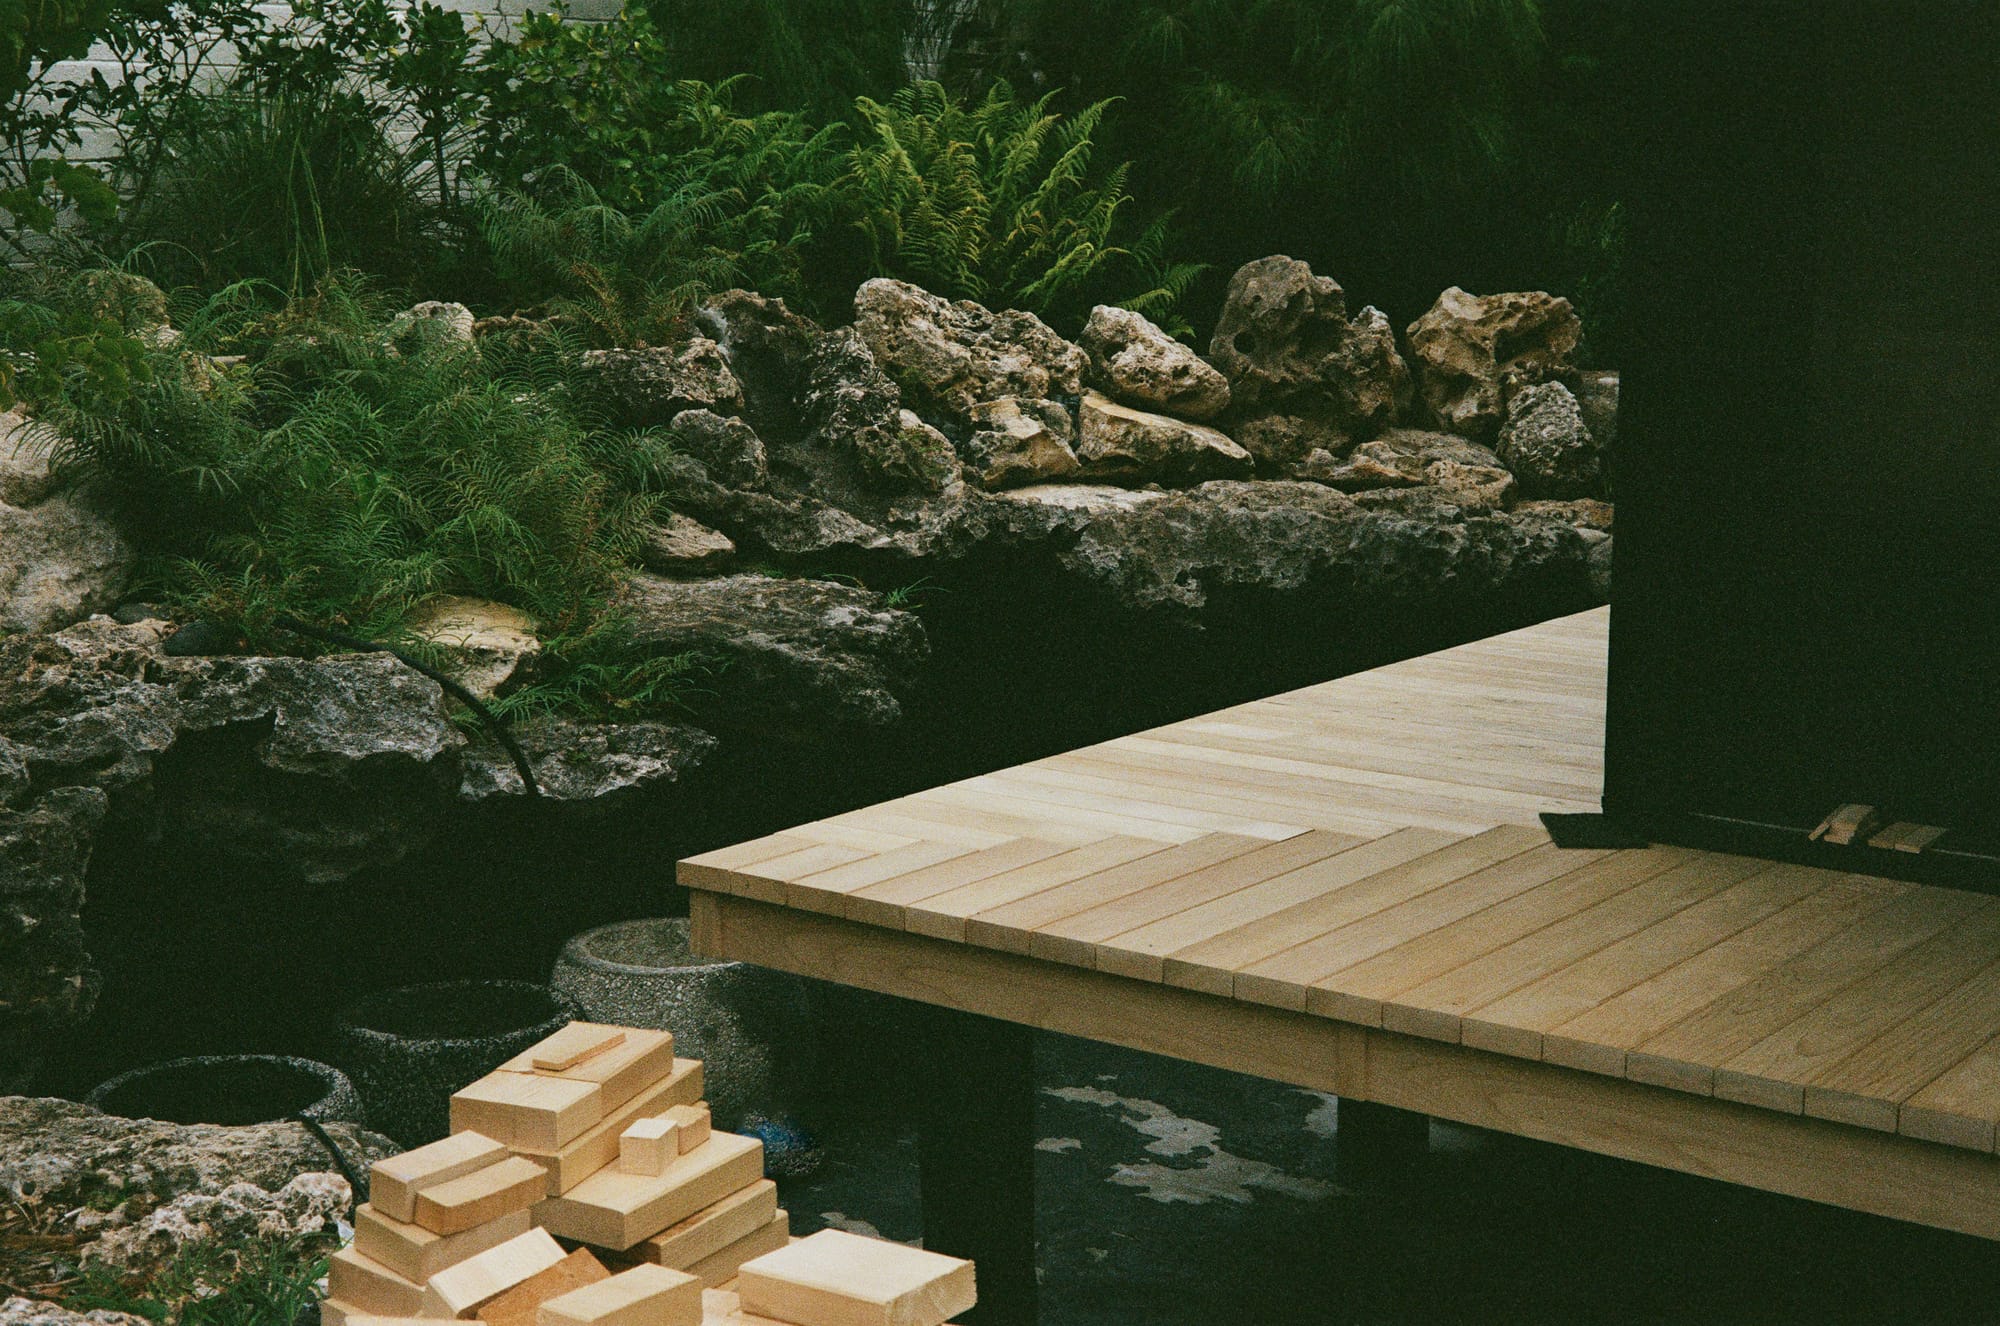
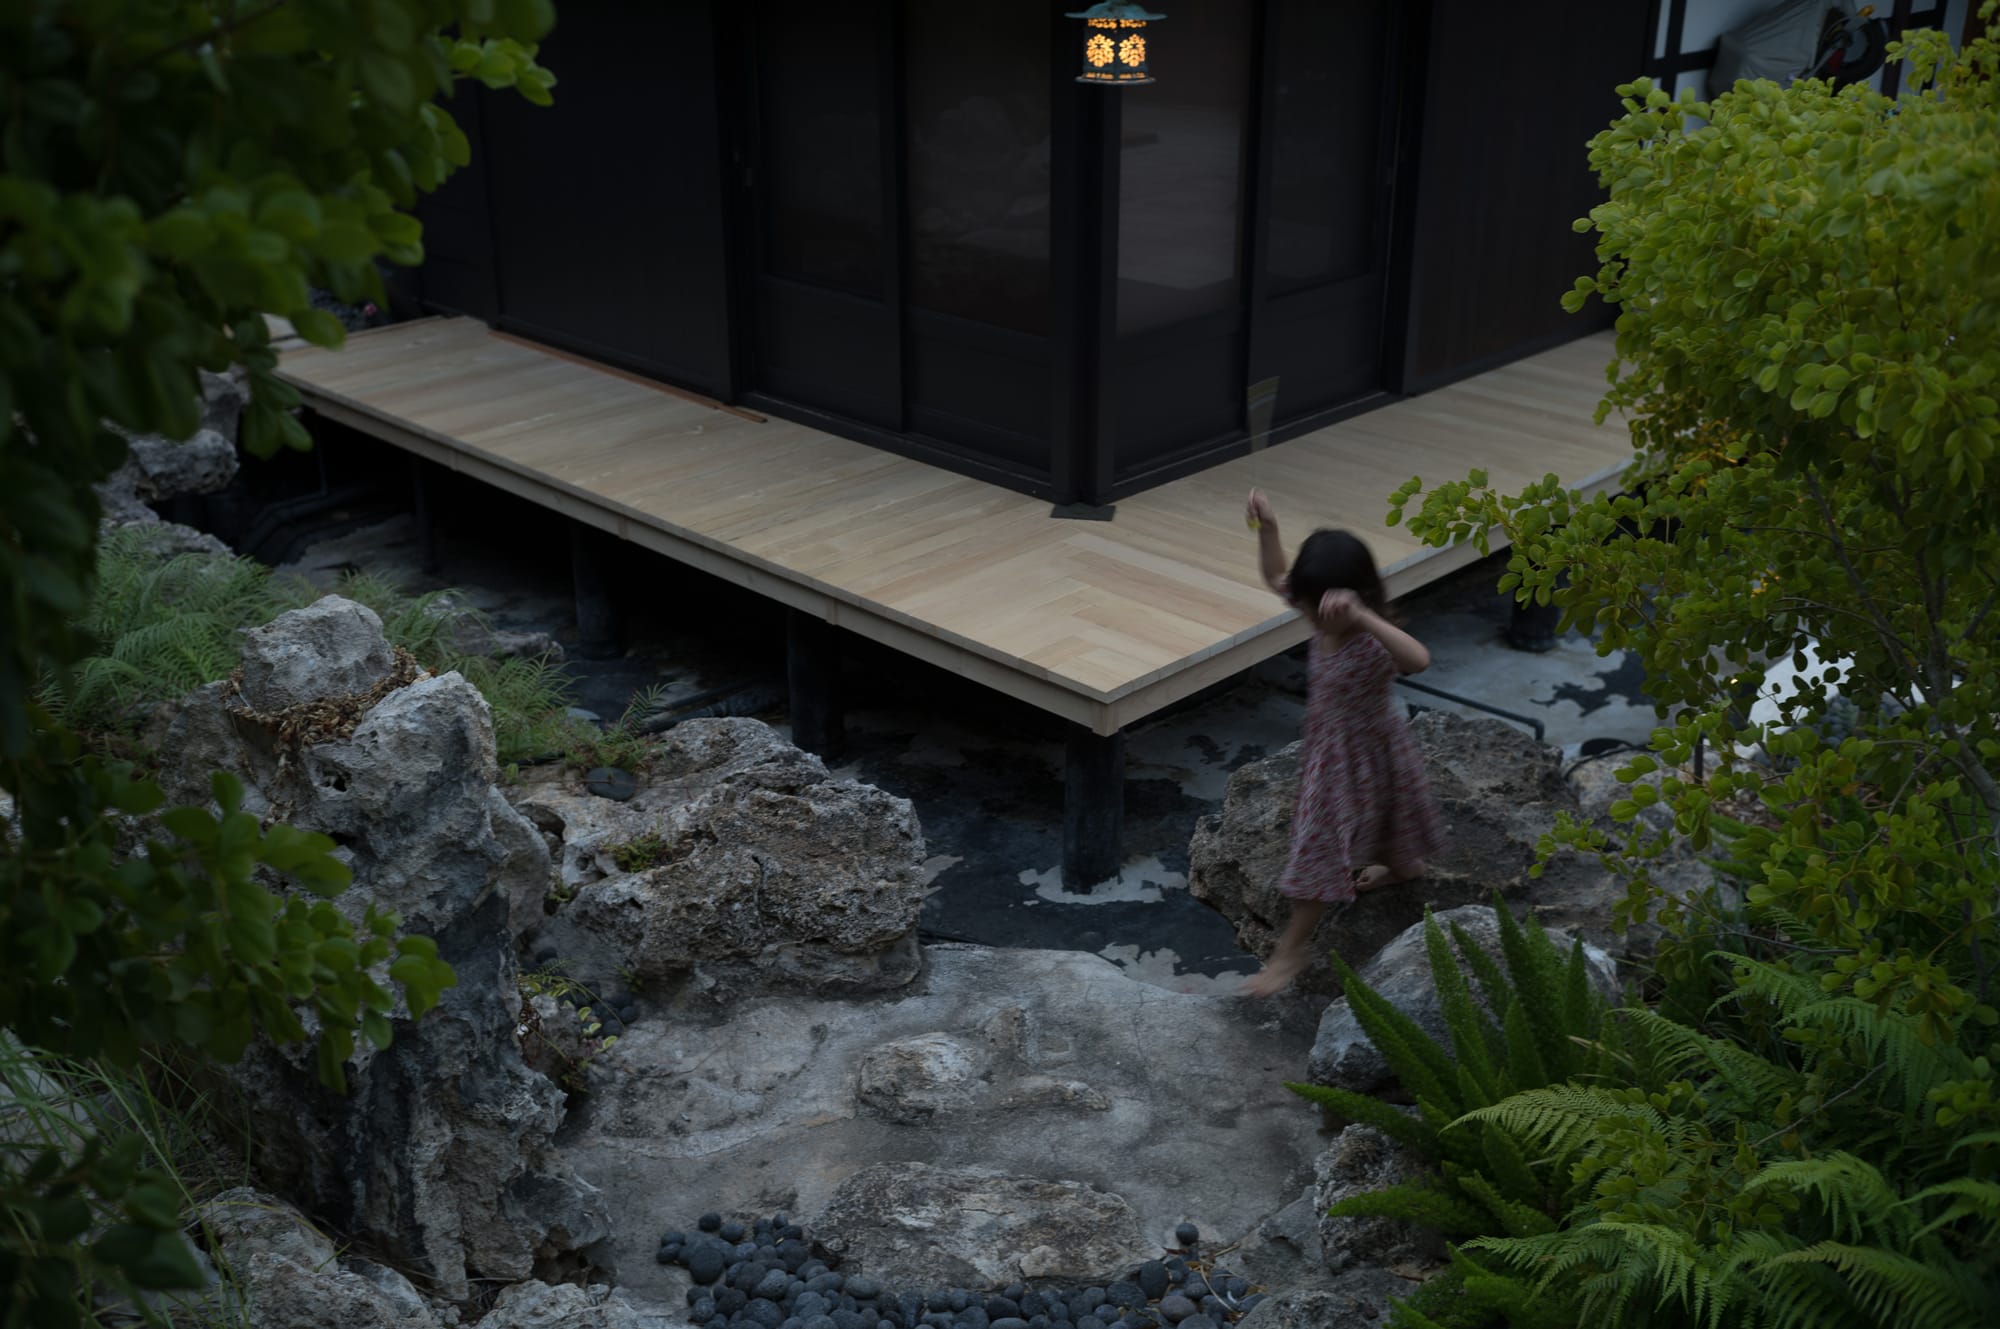
The project is a walkway[1] that passes over a coral boulder lined koi pond, milled from rough sawn port orford cedar[2]. Originally, it was not connected to the courtyard, but free standing and accessible only from the bedroom or by leaping across the pond.
There little hand saw or chisel work in this project—basically no joinery. But I did get to finish the surface of the walkway entirely by Japanese hand plane. This kind of task is typical for a Japanese carpenter, but a rare treat for an amateur who has to be greedy for a real scale and quantity of experience. By the end of the project, I estimate there was over a mile of linear planing done.
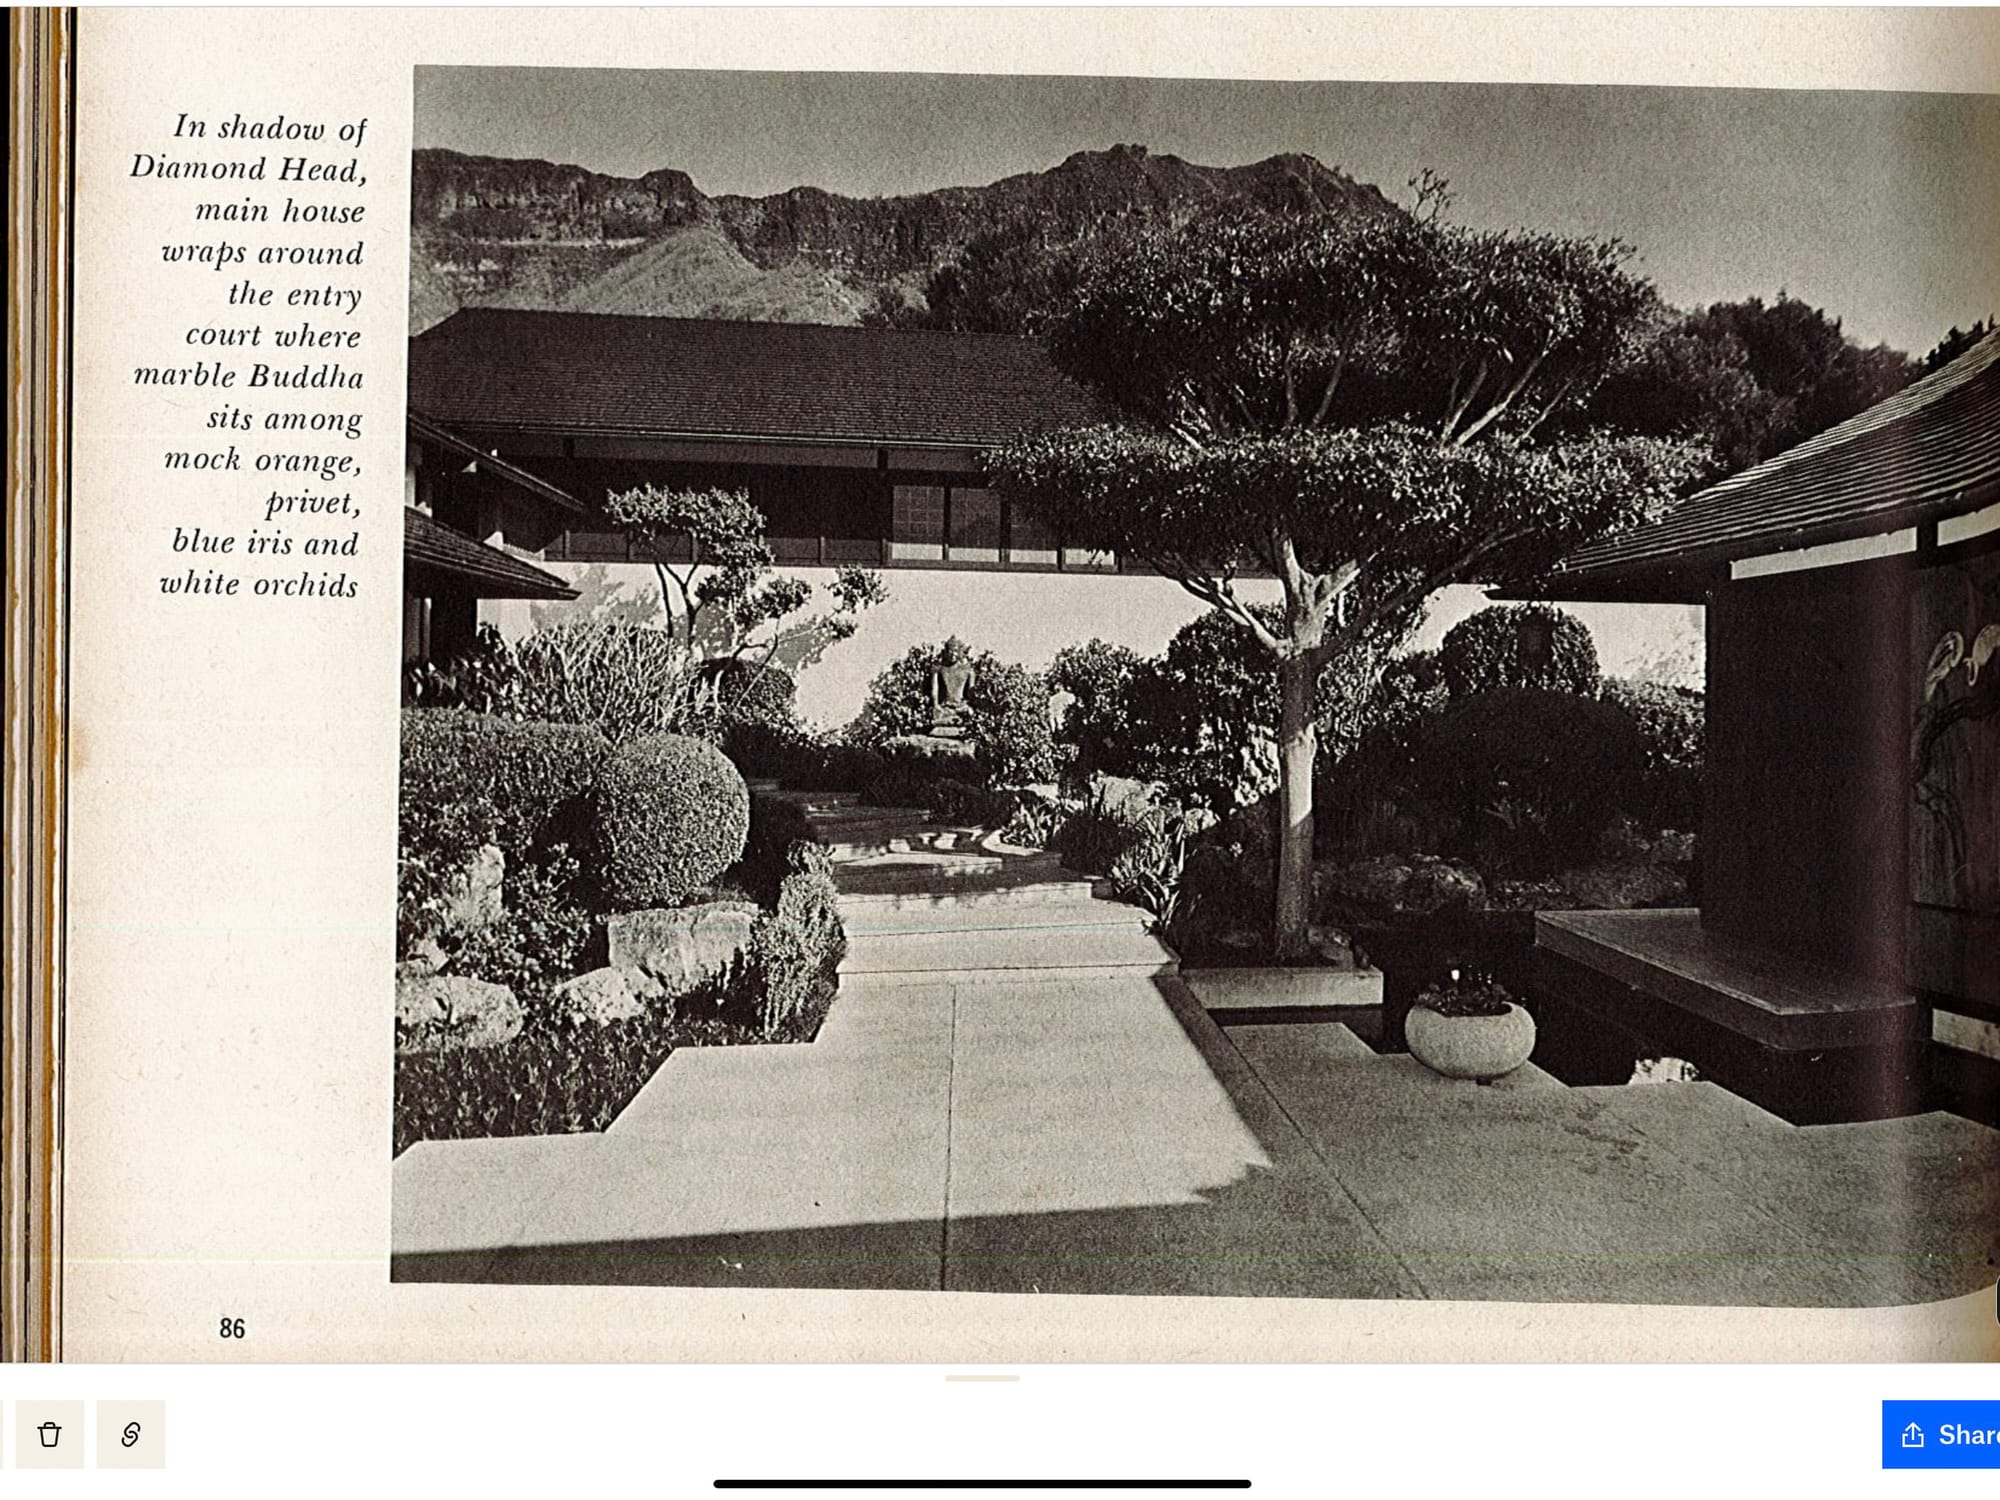
Karl, my carpenter friend who gave me my first Japanese tools, worked on the bedroom doors above the deck and sent me these photos from about 30 years ago. The landscaping looks a lot nicer than it does now.
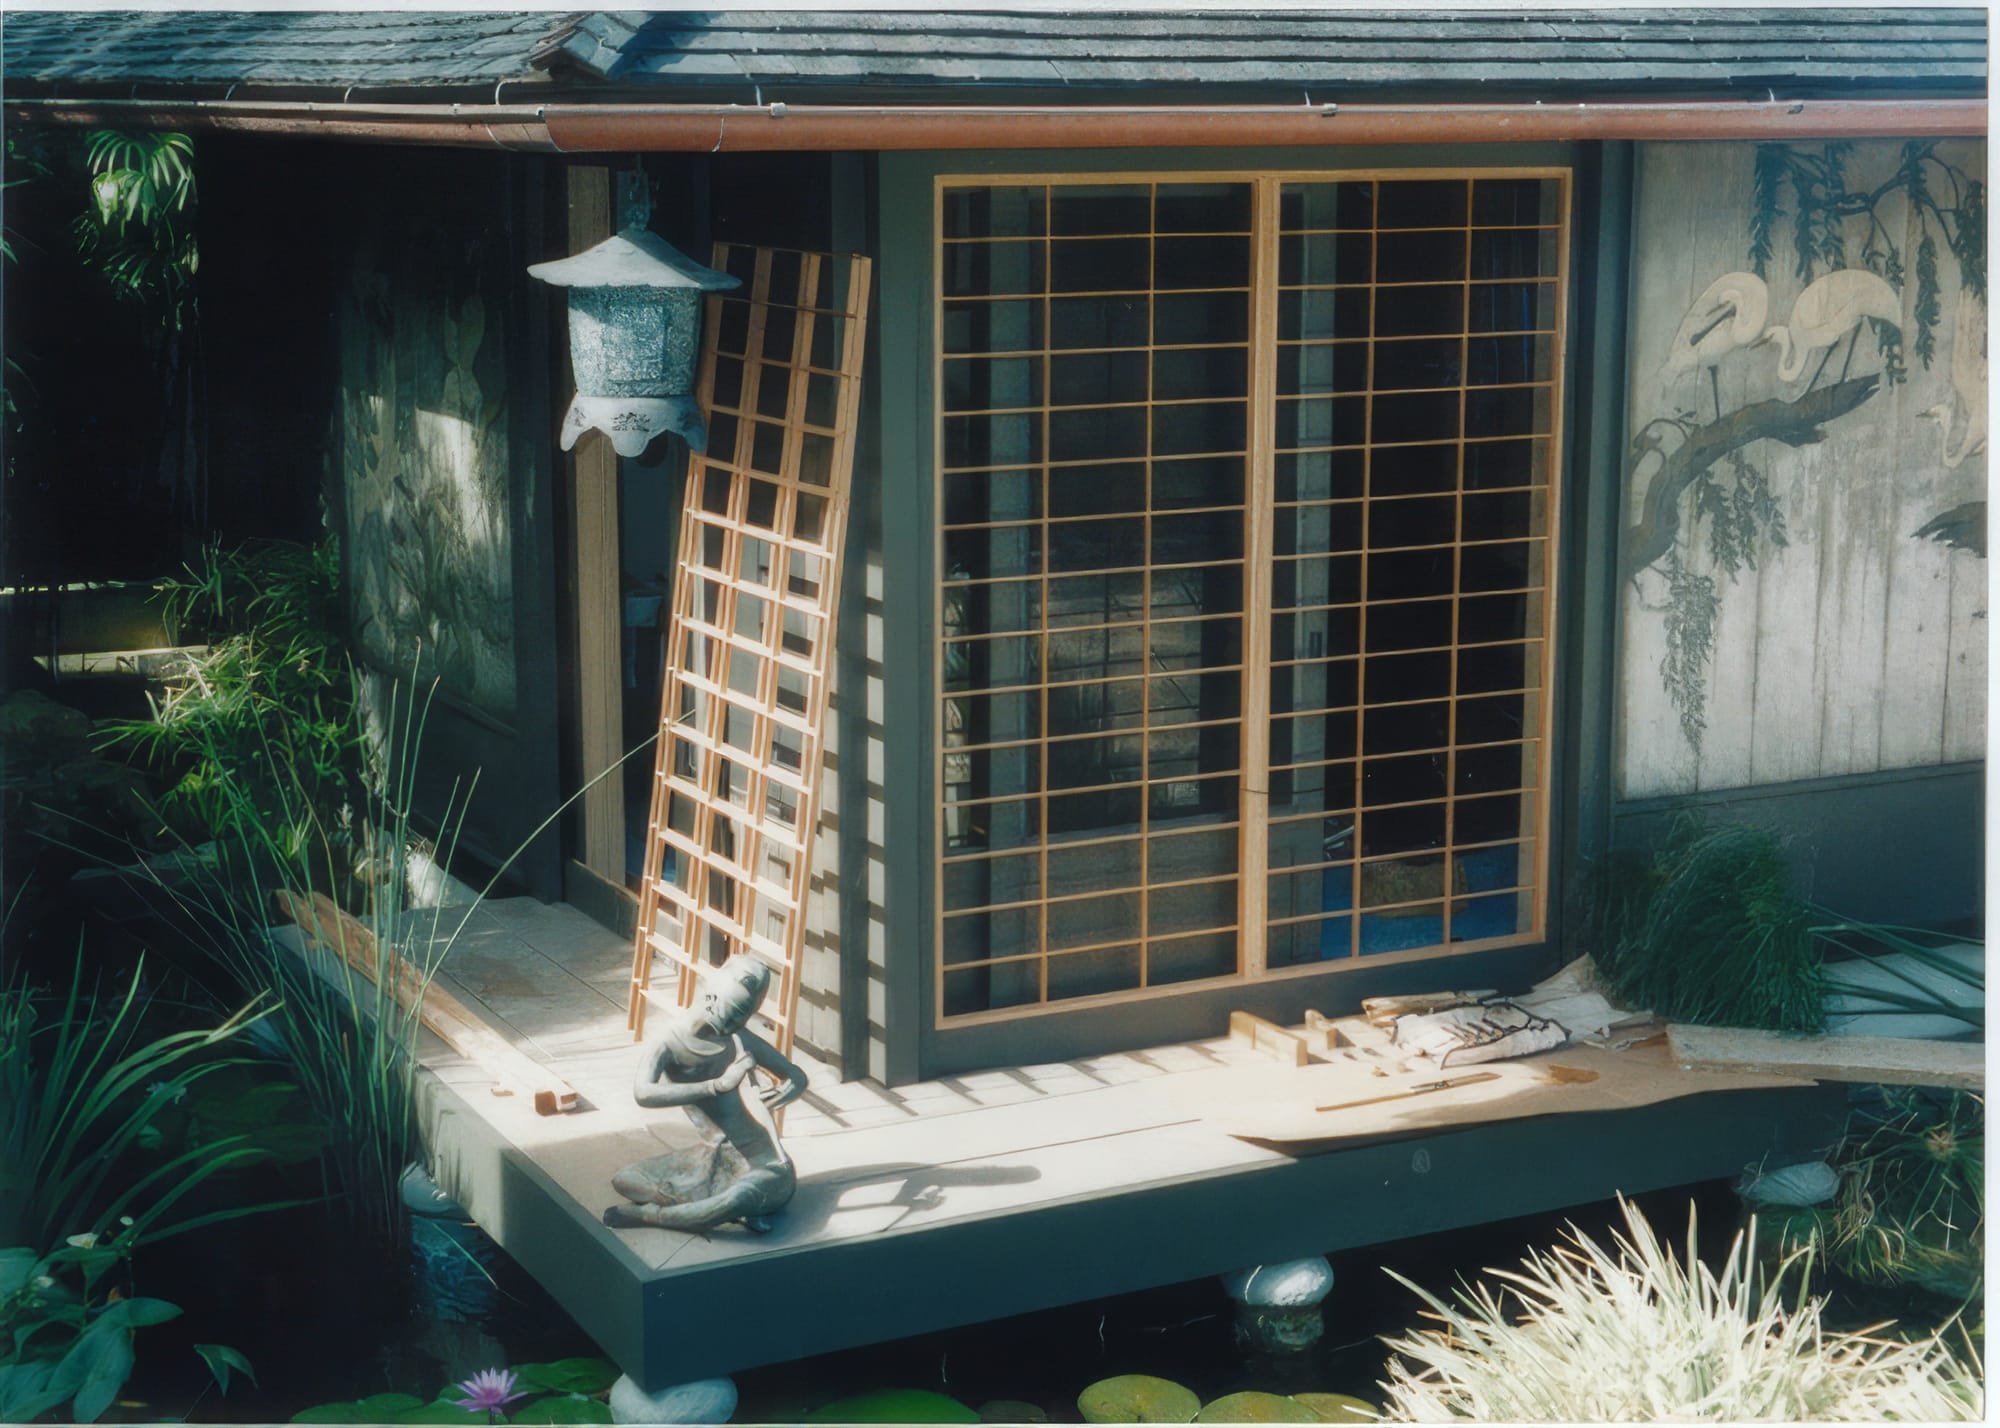
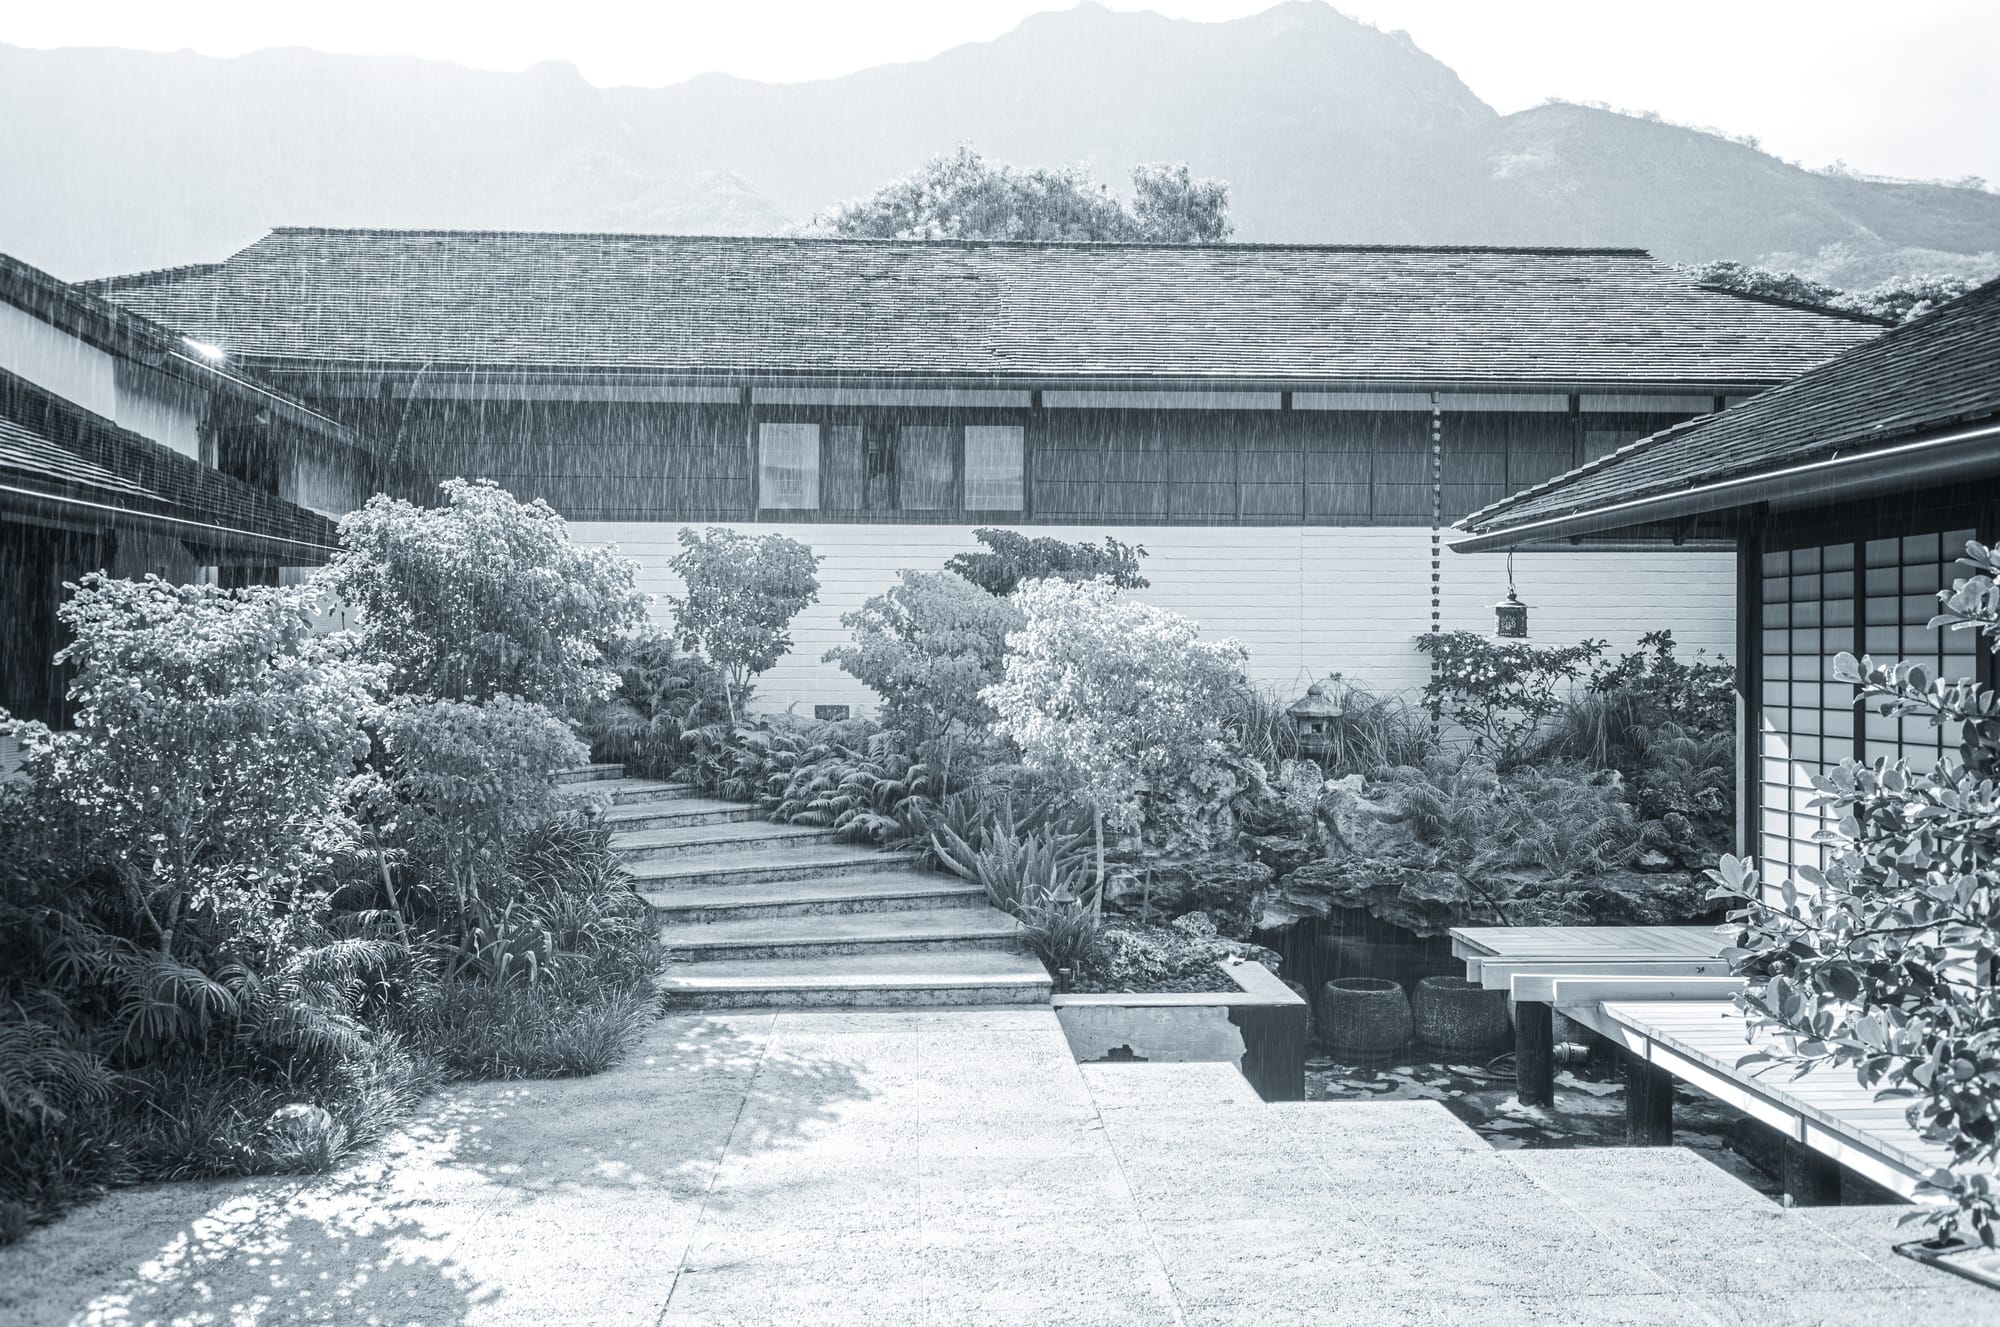
By the time I took over the dilapidated property, it looked somewhat like this. The outer most boards were redwood but the board that doubled as a threshold for the pocketed sliding storm doors were 2 inch by 12 inch pieces of solid koa. The entire property had been painted a funky brown by a boat painter, who also coated much of the house in a boat varnish that turned white washed surfaces a sickly yellow as the UV inhibitors reacted to the sun.
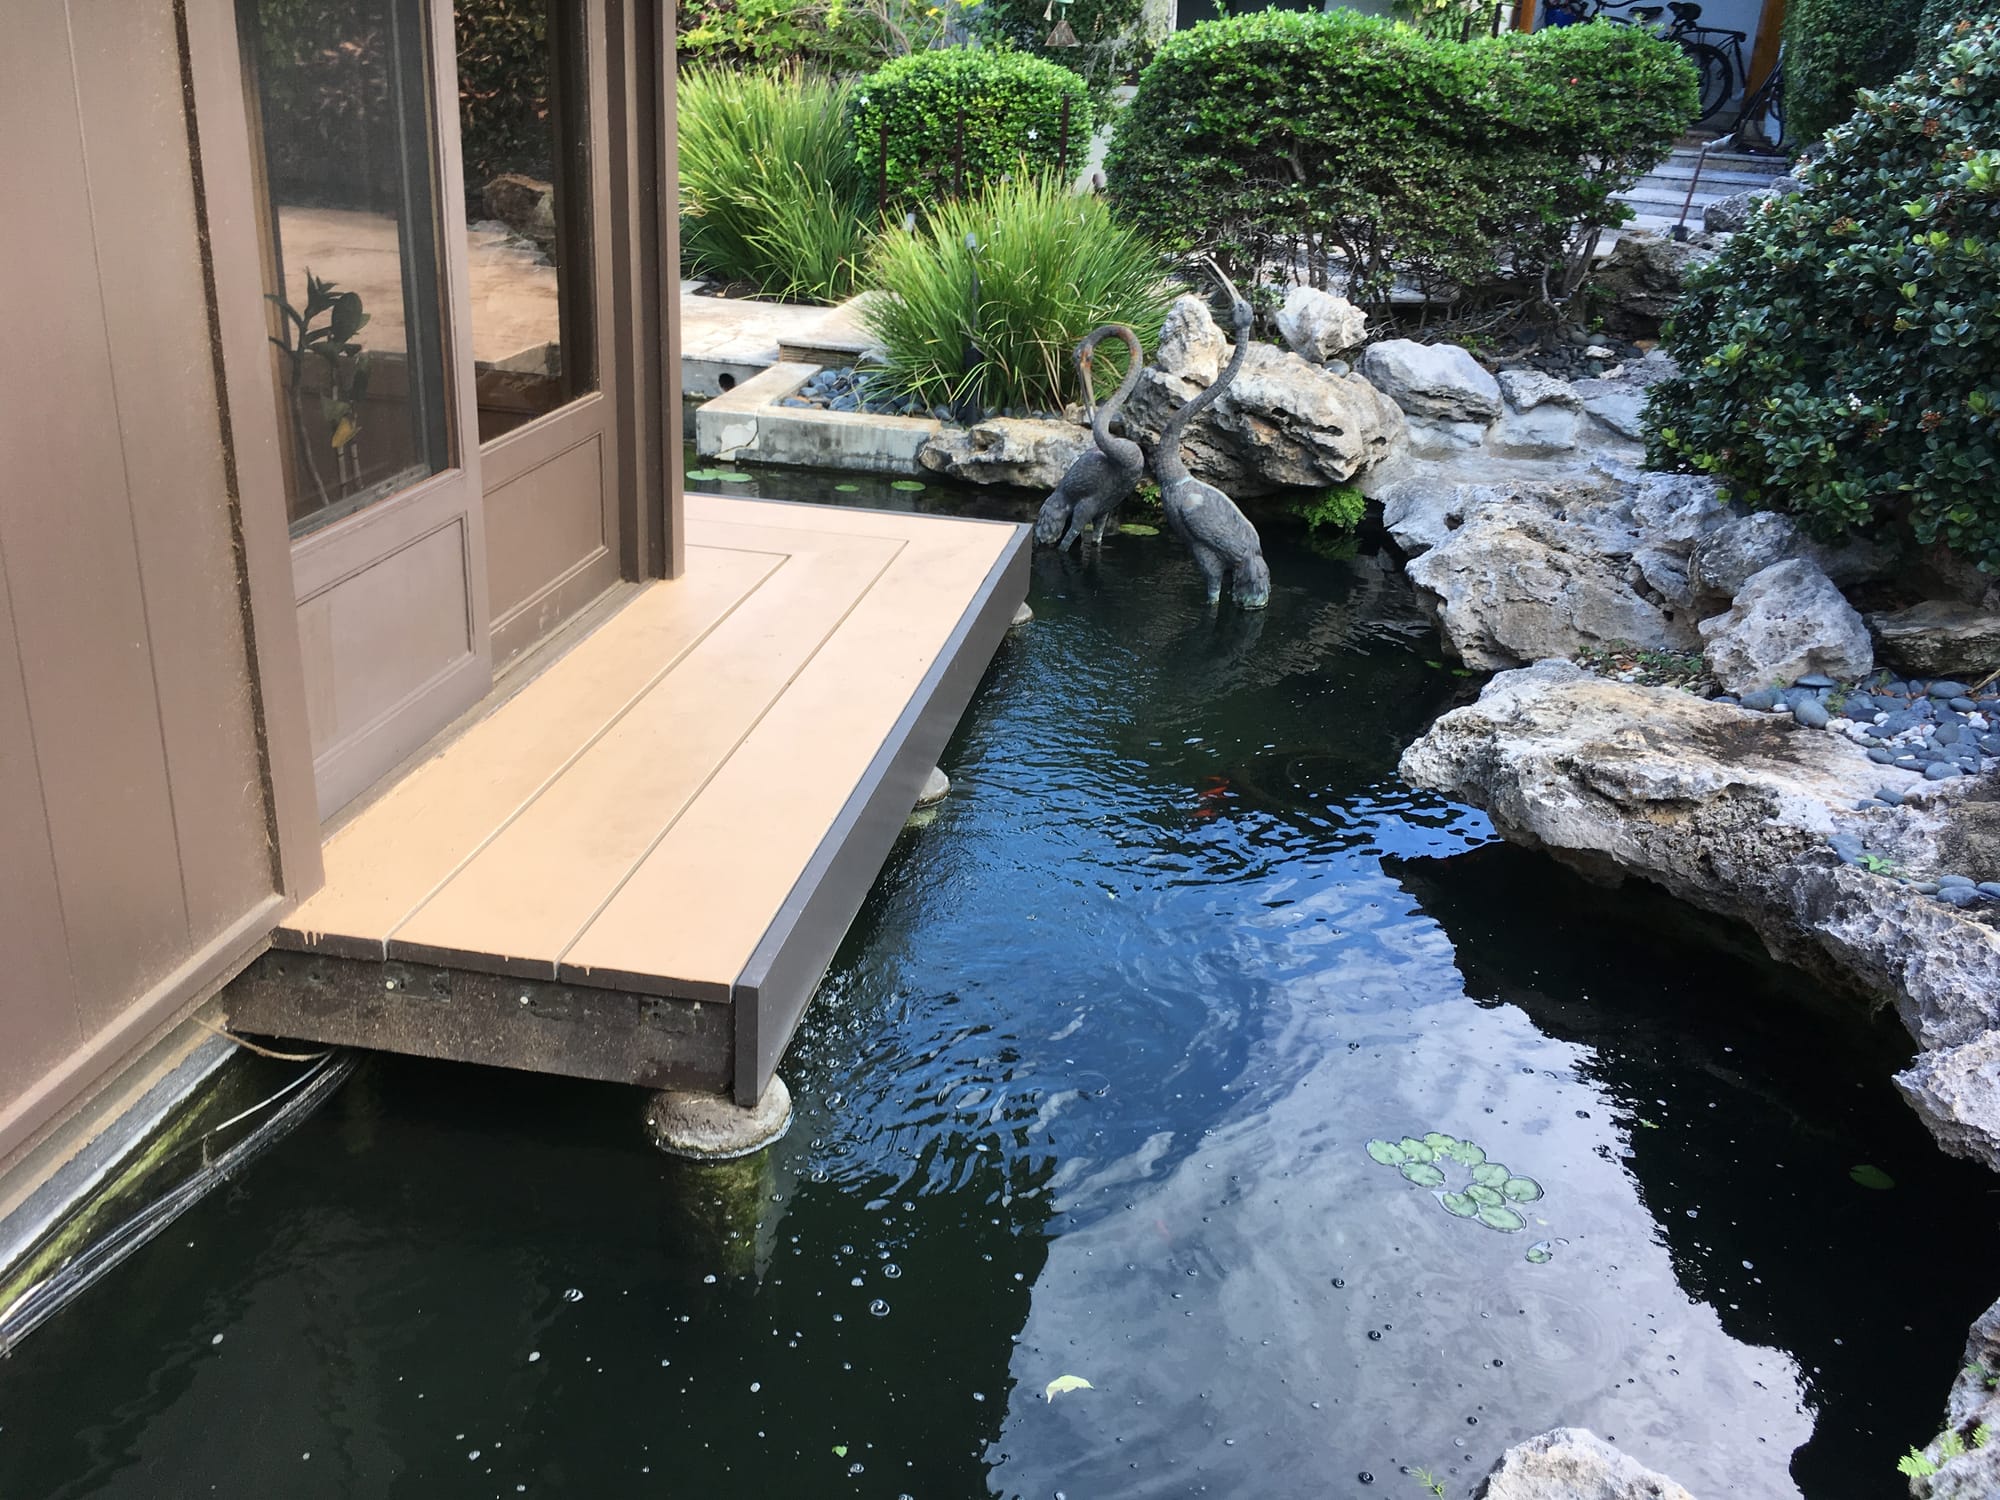
Through the project, we repaired the cracks in the koi pond (caused by the decision by a former owner to try and bonsai a banyan tree next to it) and recoated the inside walls and floor. The job required hauling out several concrete planters weighing over 100 pounds each, which the masons were able to do gracefully with ramps. The house received a stainless steel flashing, not wanting to introduce copper runoff into a koi pond with fish and plants.
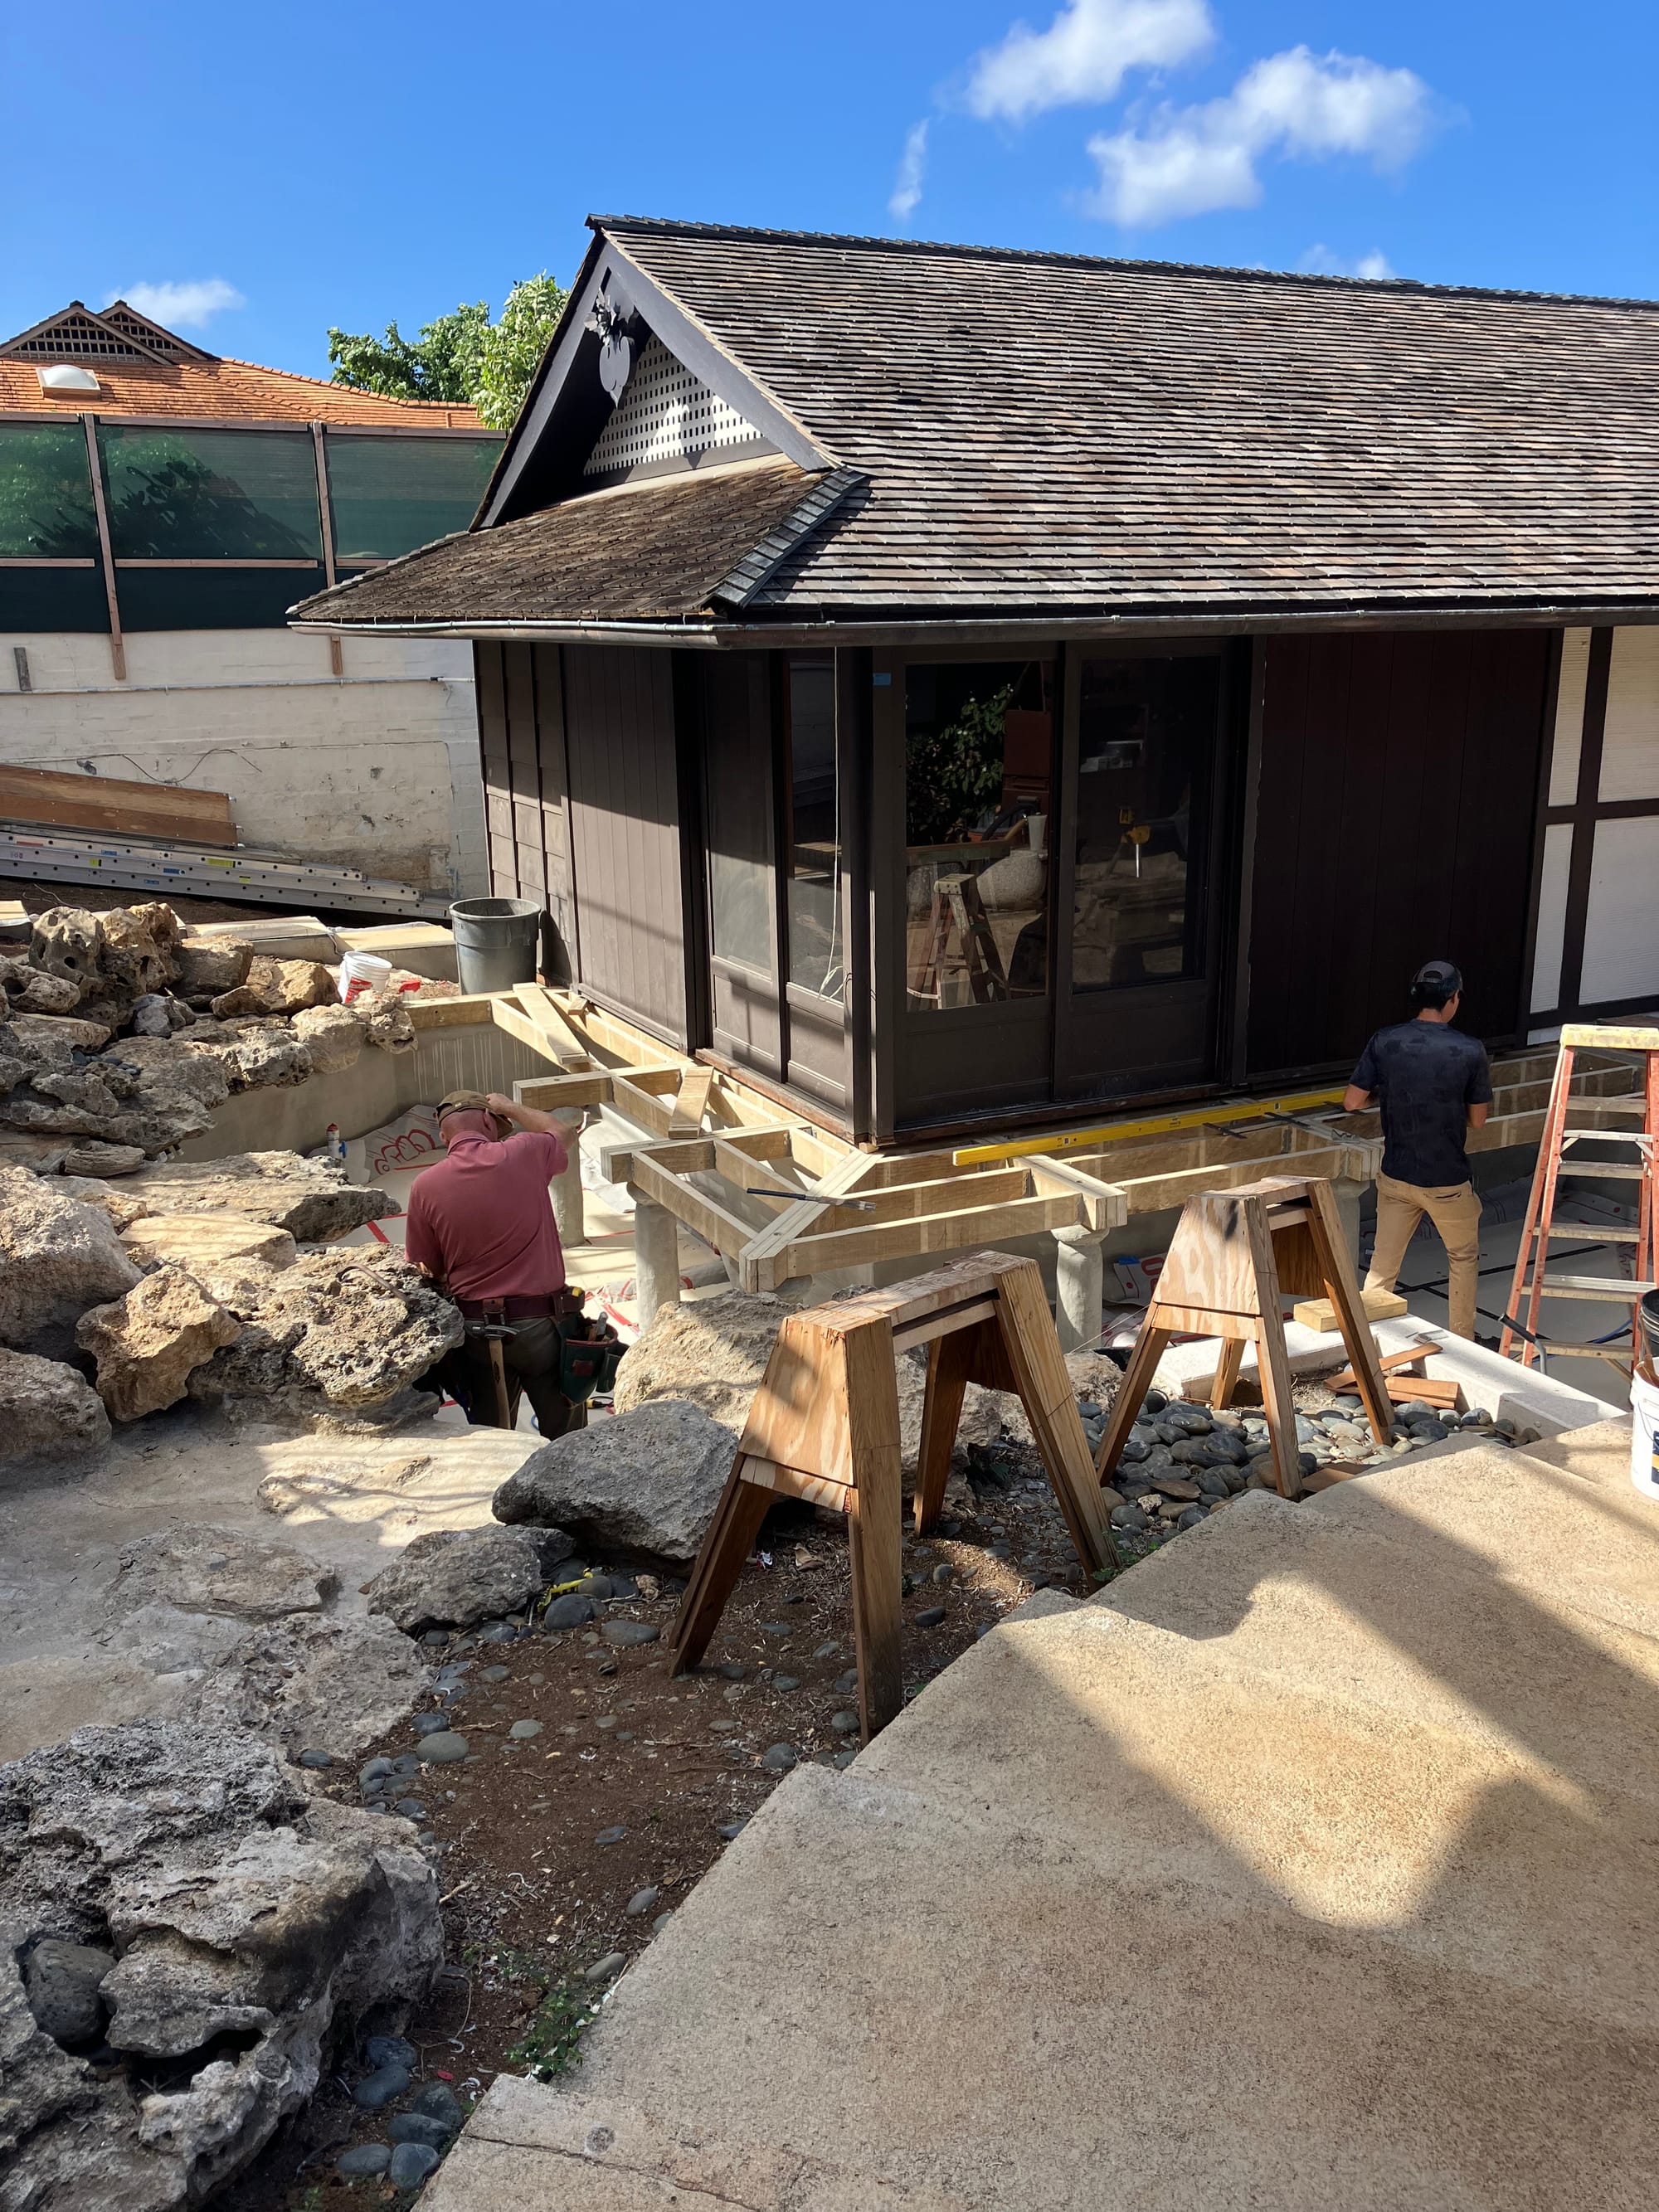
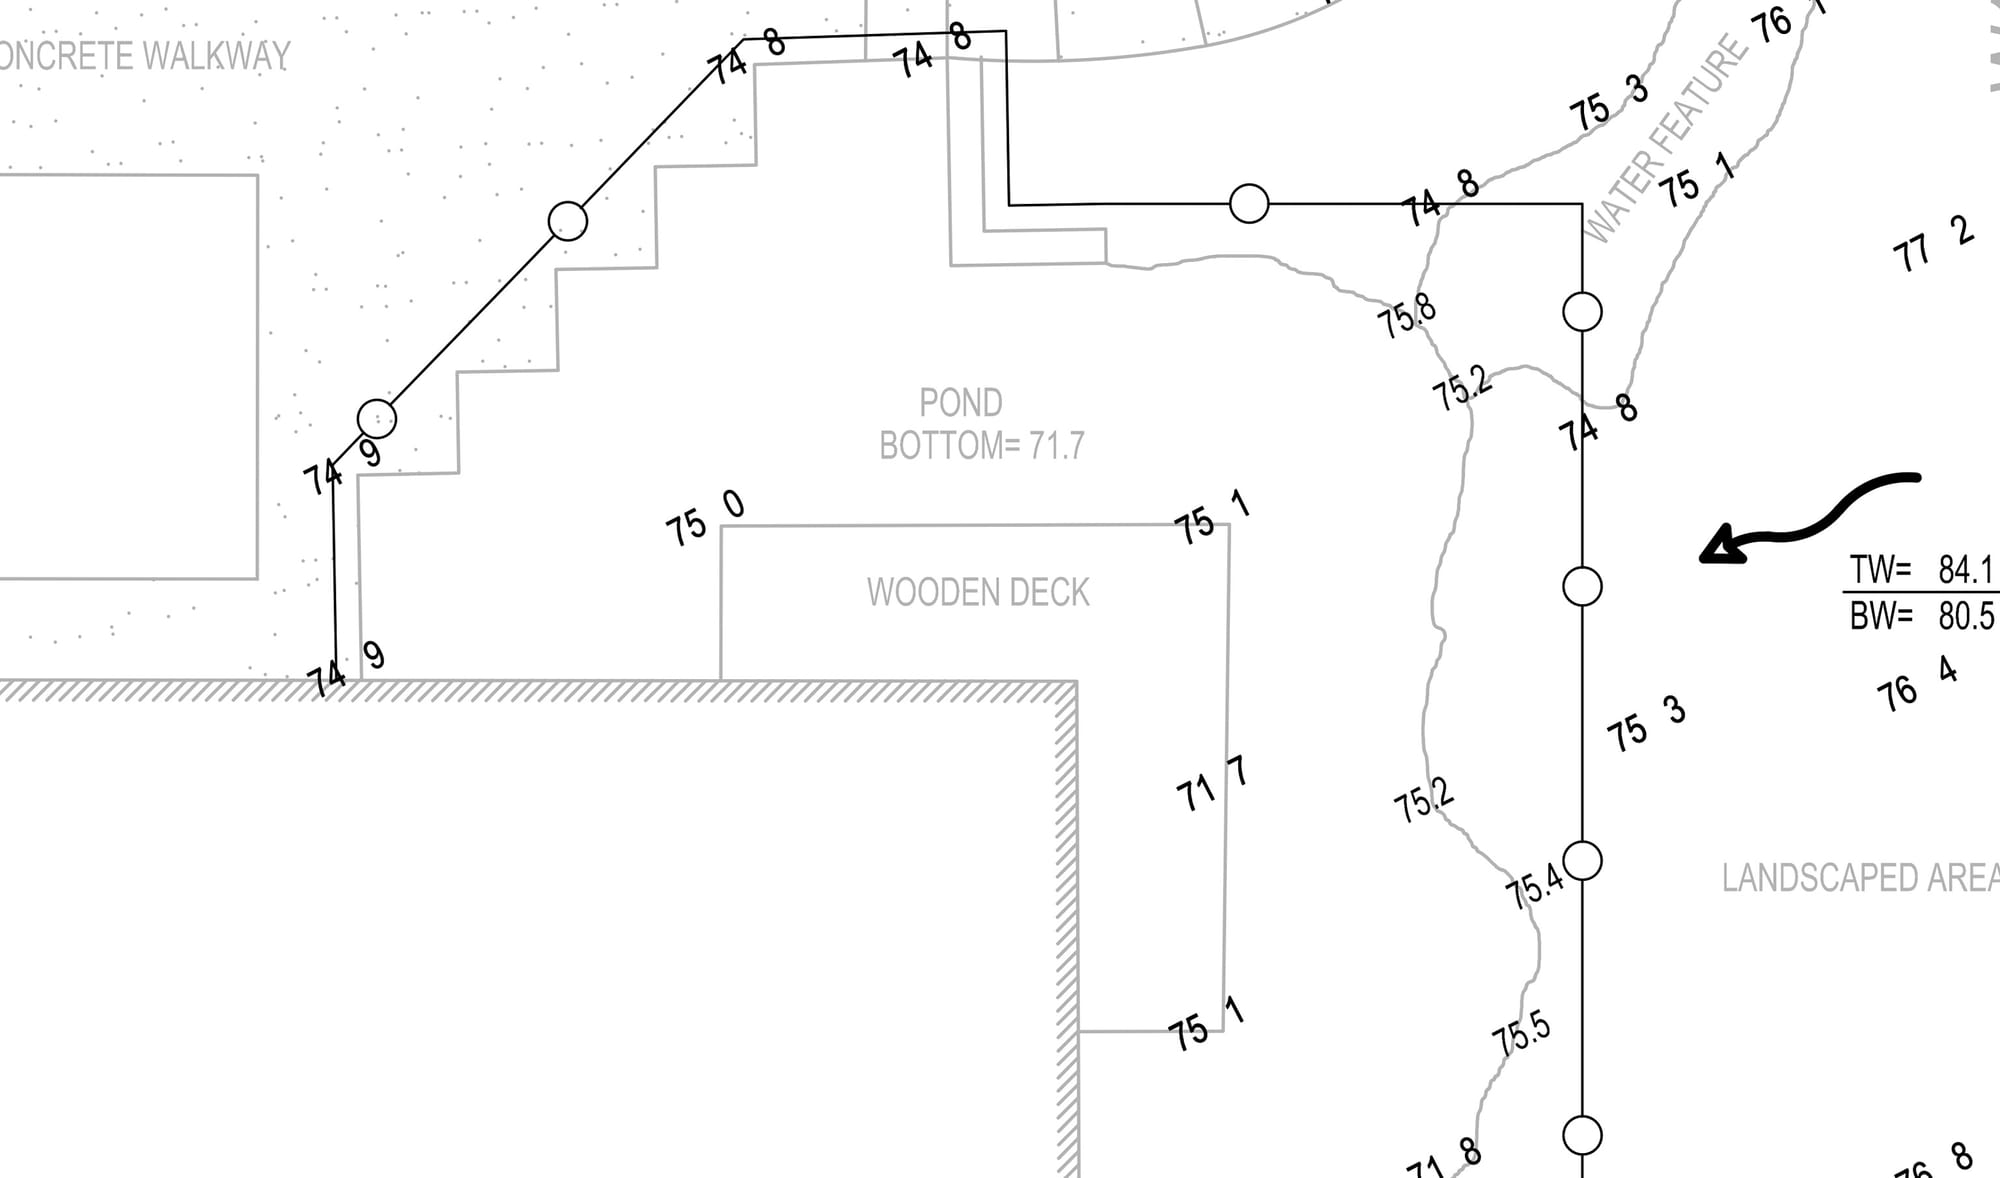
The framing for the future walkway was established and covered with ply. After cleaning and coating the pond, we filled it. I soon after evacuated the water into a drainage system to test how it would eventually distribute the rich pond water through a grove of fruit trees in the yard (A system we designed with the help of storm water system and permaculture designers.) When the pond was emptied, the coating started failing immediately. We still have no idea why, despite our best efforts. As you might know, warranty work only covers materials, so it will be consequential to try again.
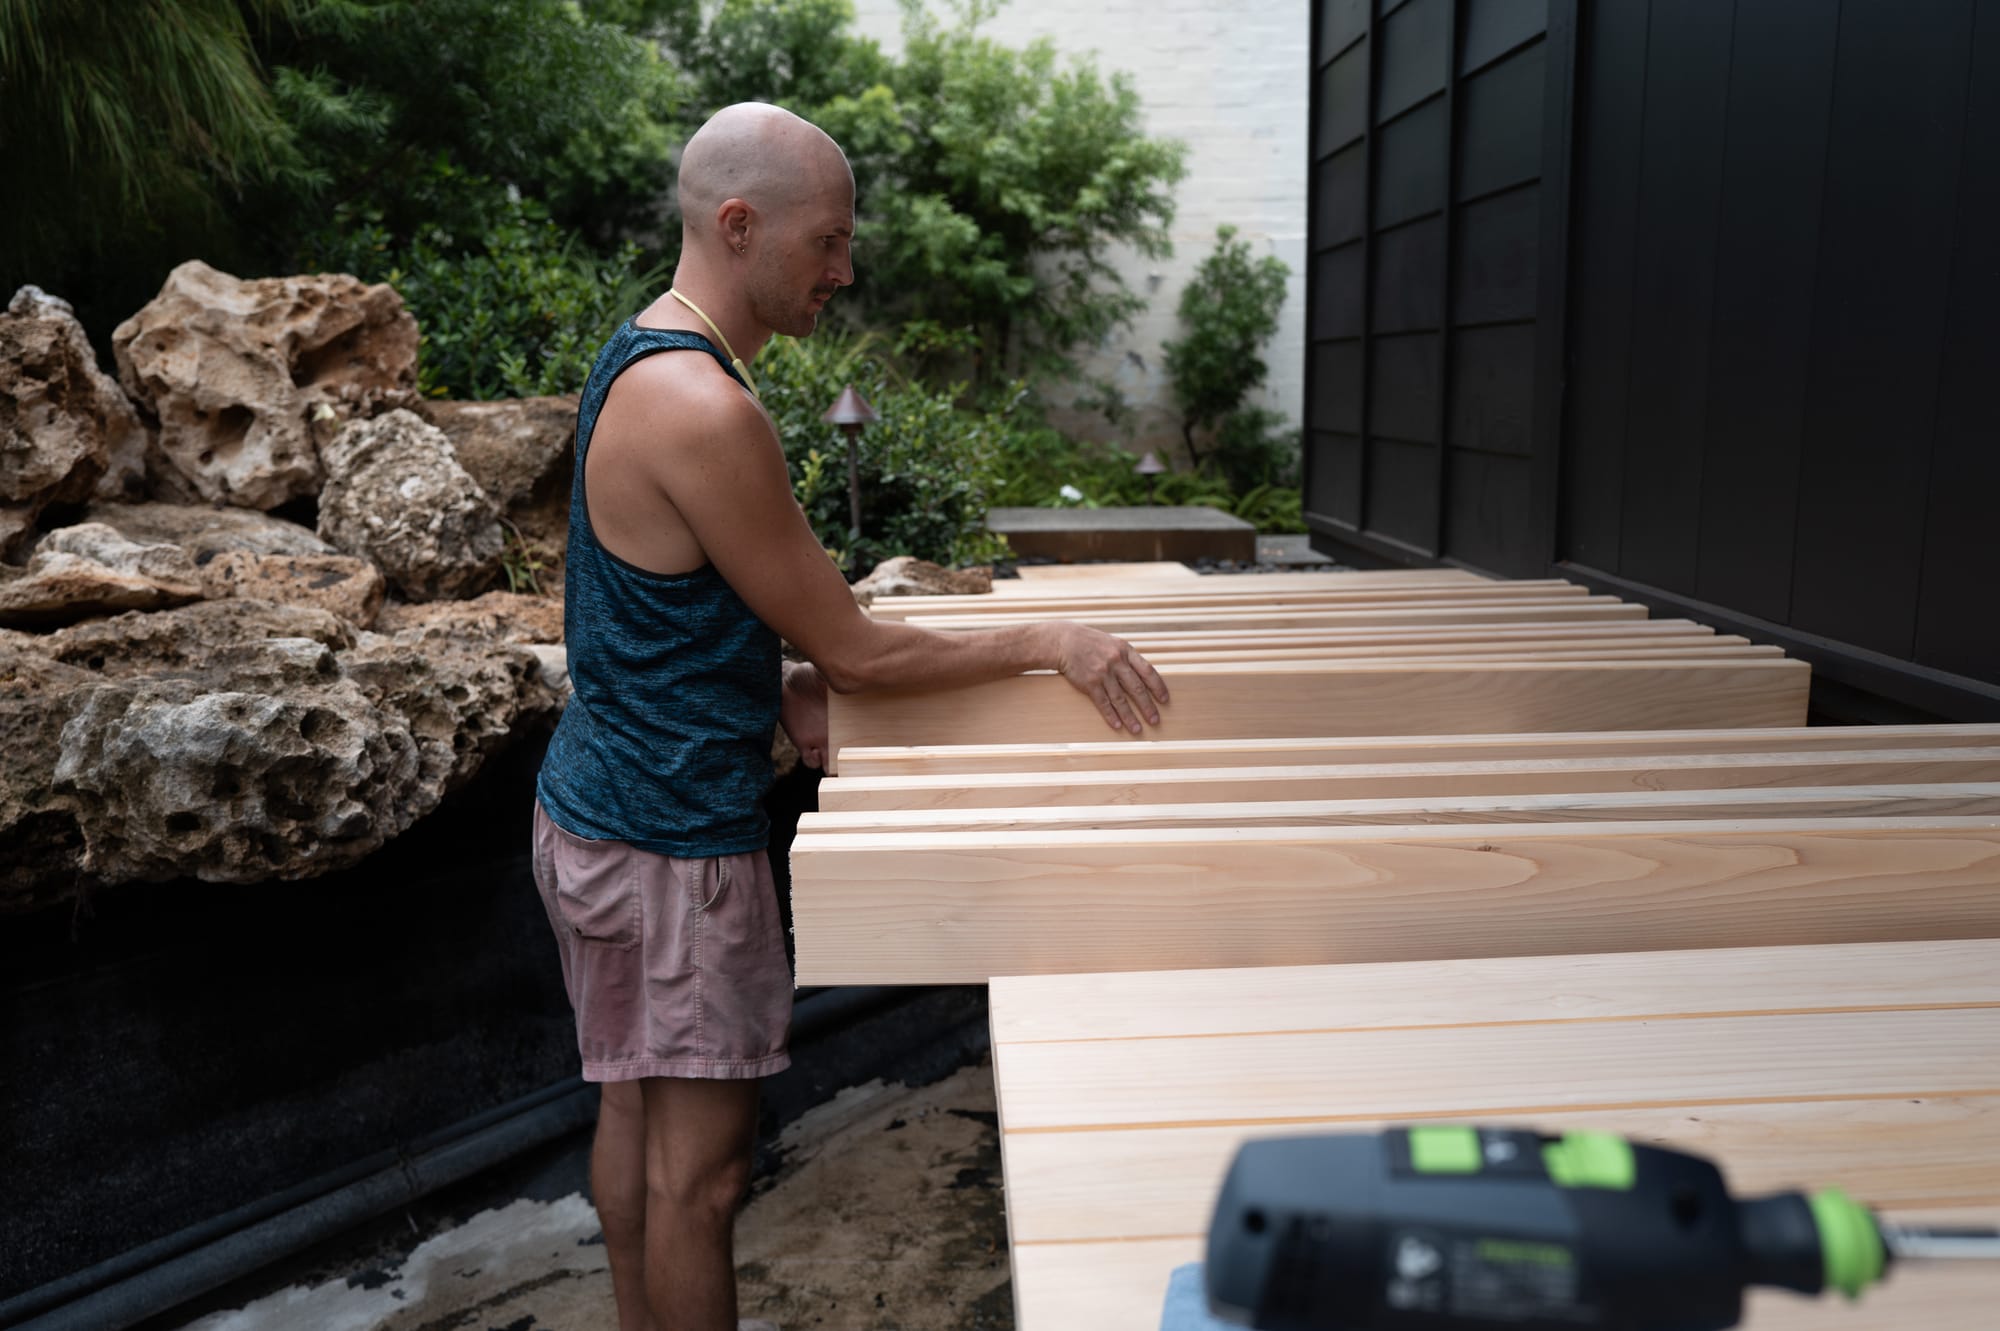
Before we moved back in to the house, I ordered lumber from Oregon, with about 40-50% overage as Yann taught me. This is done to ensure ample high quality and matching grain pieces to choose from. Unfortunately, when trusting others to select wood for you from across the ocean, that number might need to be even higher as we nearly ran out of high quality material. The cargo was freighted over and unloaded and stacked in the driveway, 30 feet from the koi pond. We sealed grain, stacked everything with stickers (spacers) for even breathing, and covered it with a large white tarp strapped down, with a few boards standing on edge to provide a tenting effect.
I took a long break after that. And after 18 months of setting up shop, recovering from construction burn out, and waiting for my favorite carpenter to be free to help, I began with the help of my teachers and friends.
Before milling, calculations were made and resulted in a 120mm board with 3mm spacing (and a 3mm chamfer) to reach the inside corner from the start of the courtyard side of the walkway. That spacing looks good with the 3mm chamfer, but could end up swelling (from the pond) or shrinking (because we are in a dry area). We will see!
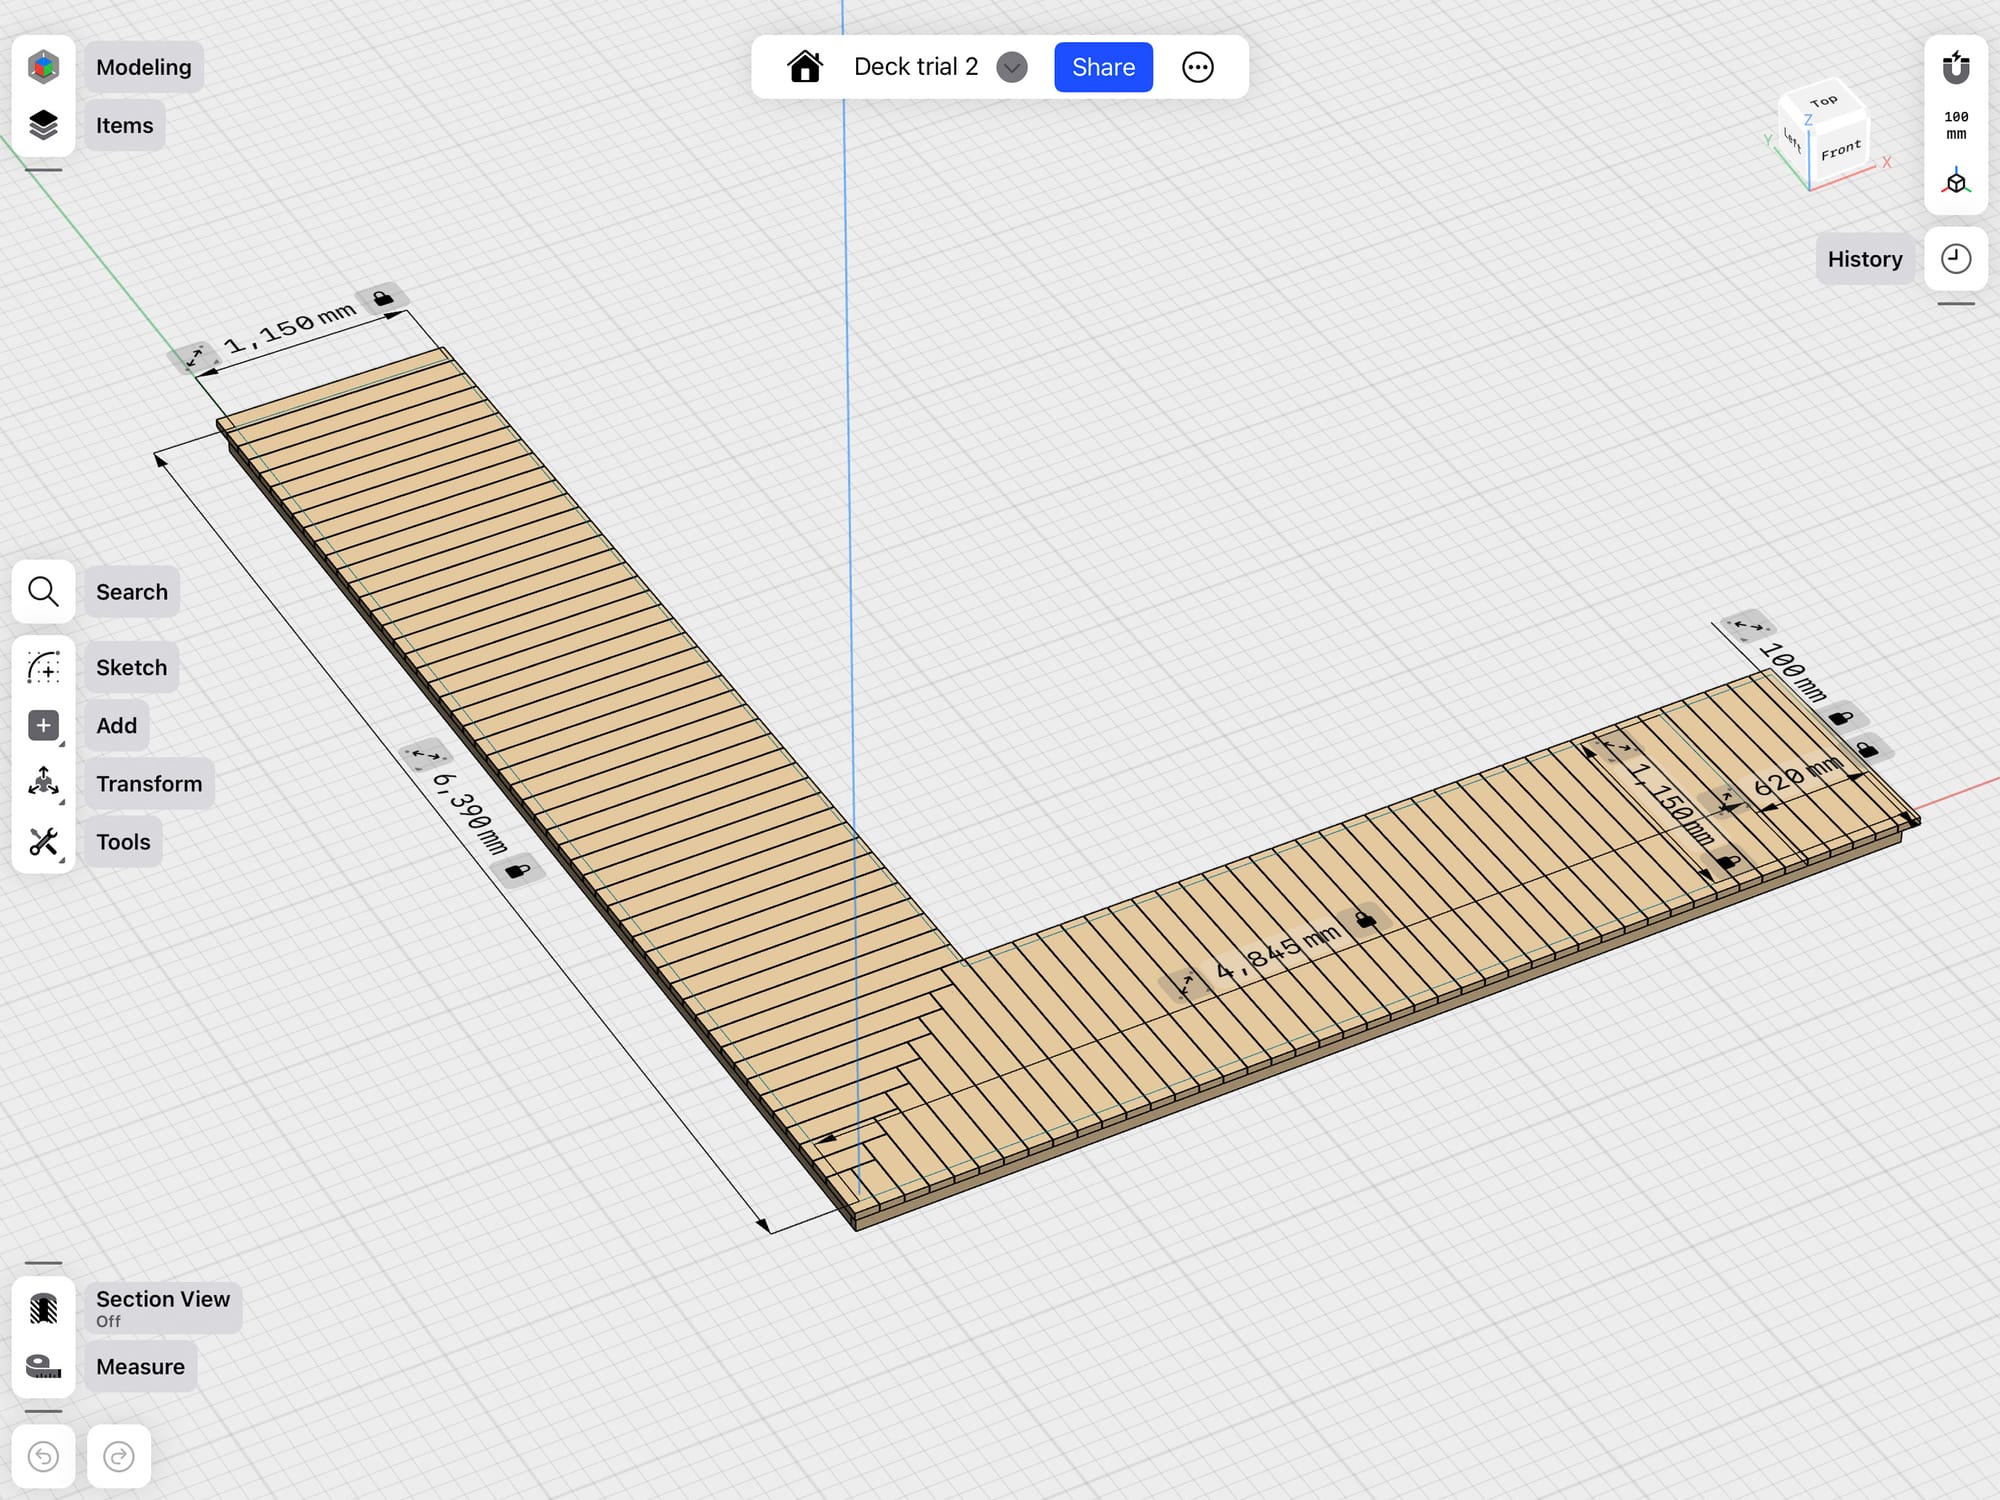
Milling went fine, starting with taking the 10 foot boards and chopping them in half. When a piece was only usable in the center, I took off the ends and settled for one piece from a 10 foot length.
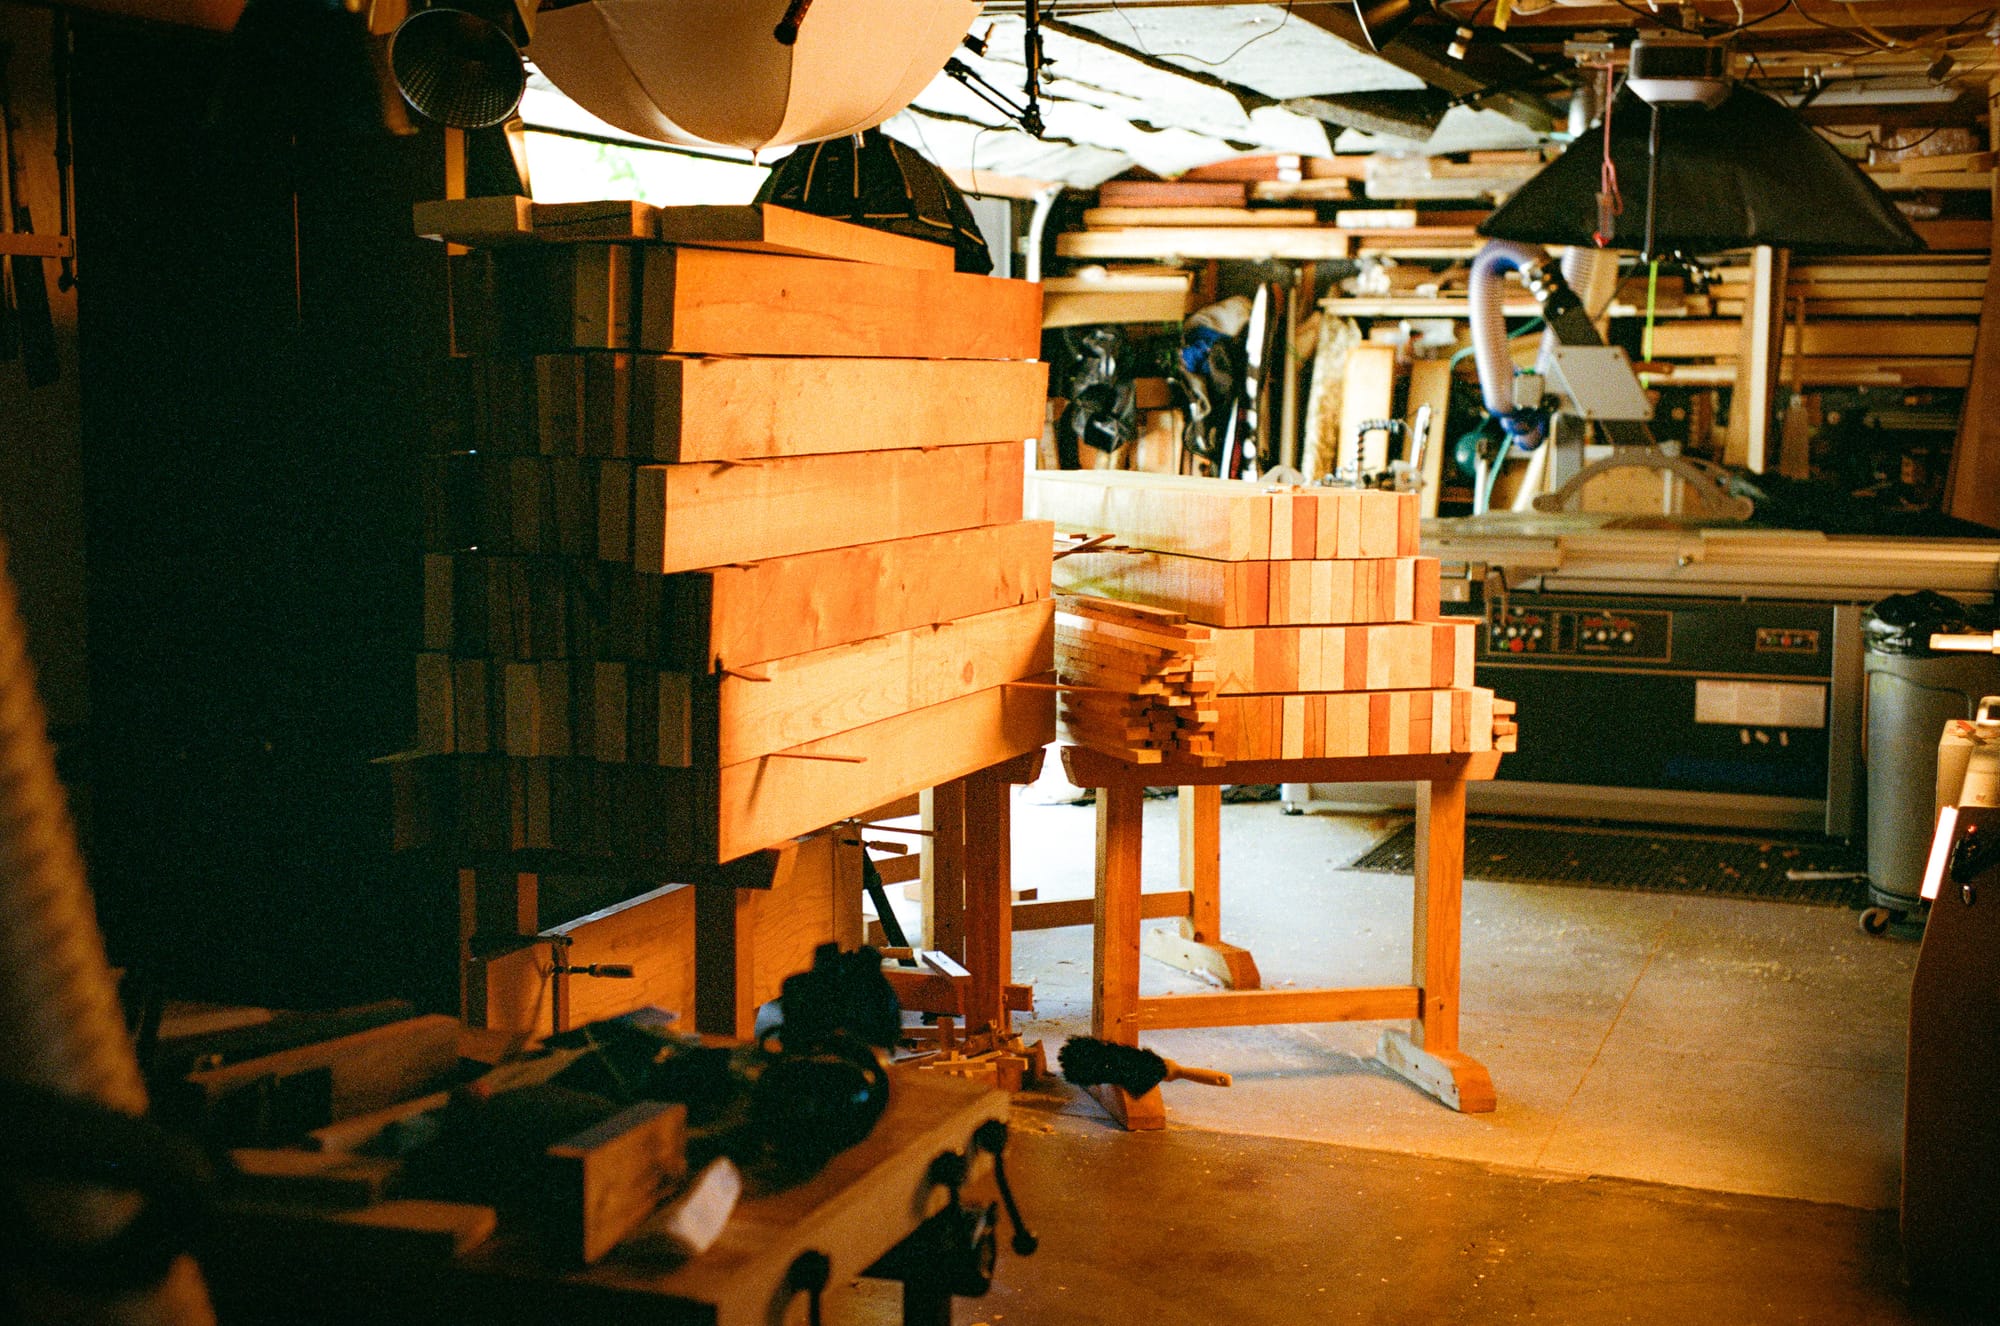
I plan to do a shop tour at some point, but key equipment in this project is a 10hp (3 phase) jointer/planer to dimension boards, and a 5hp 21” bandsaw with a light duty power feeder. The power feeder was critical, allowing me to take jointed boards of various width and thickness and get them to all match at 122mm, allowing me to send 100 boards through the planer in one pass to get to 120mm of width and 40mm of height. Despite that milling process avoiding roughing out large volumes of width on the planer, the chips produced were enormous by my standards—probably about 350 gallons worth. After that, I used the router table to put a rough chamfer on the boards, and selected the best for hand planing with a number of my favorite working planes all sharp and ready to go.
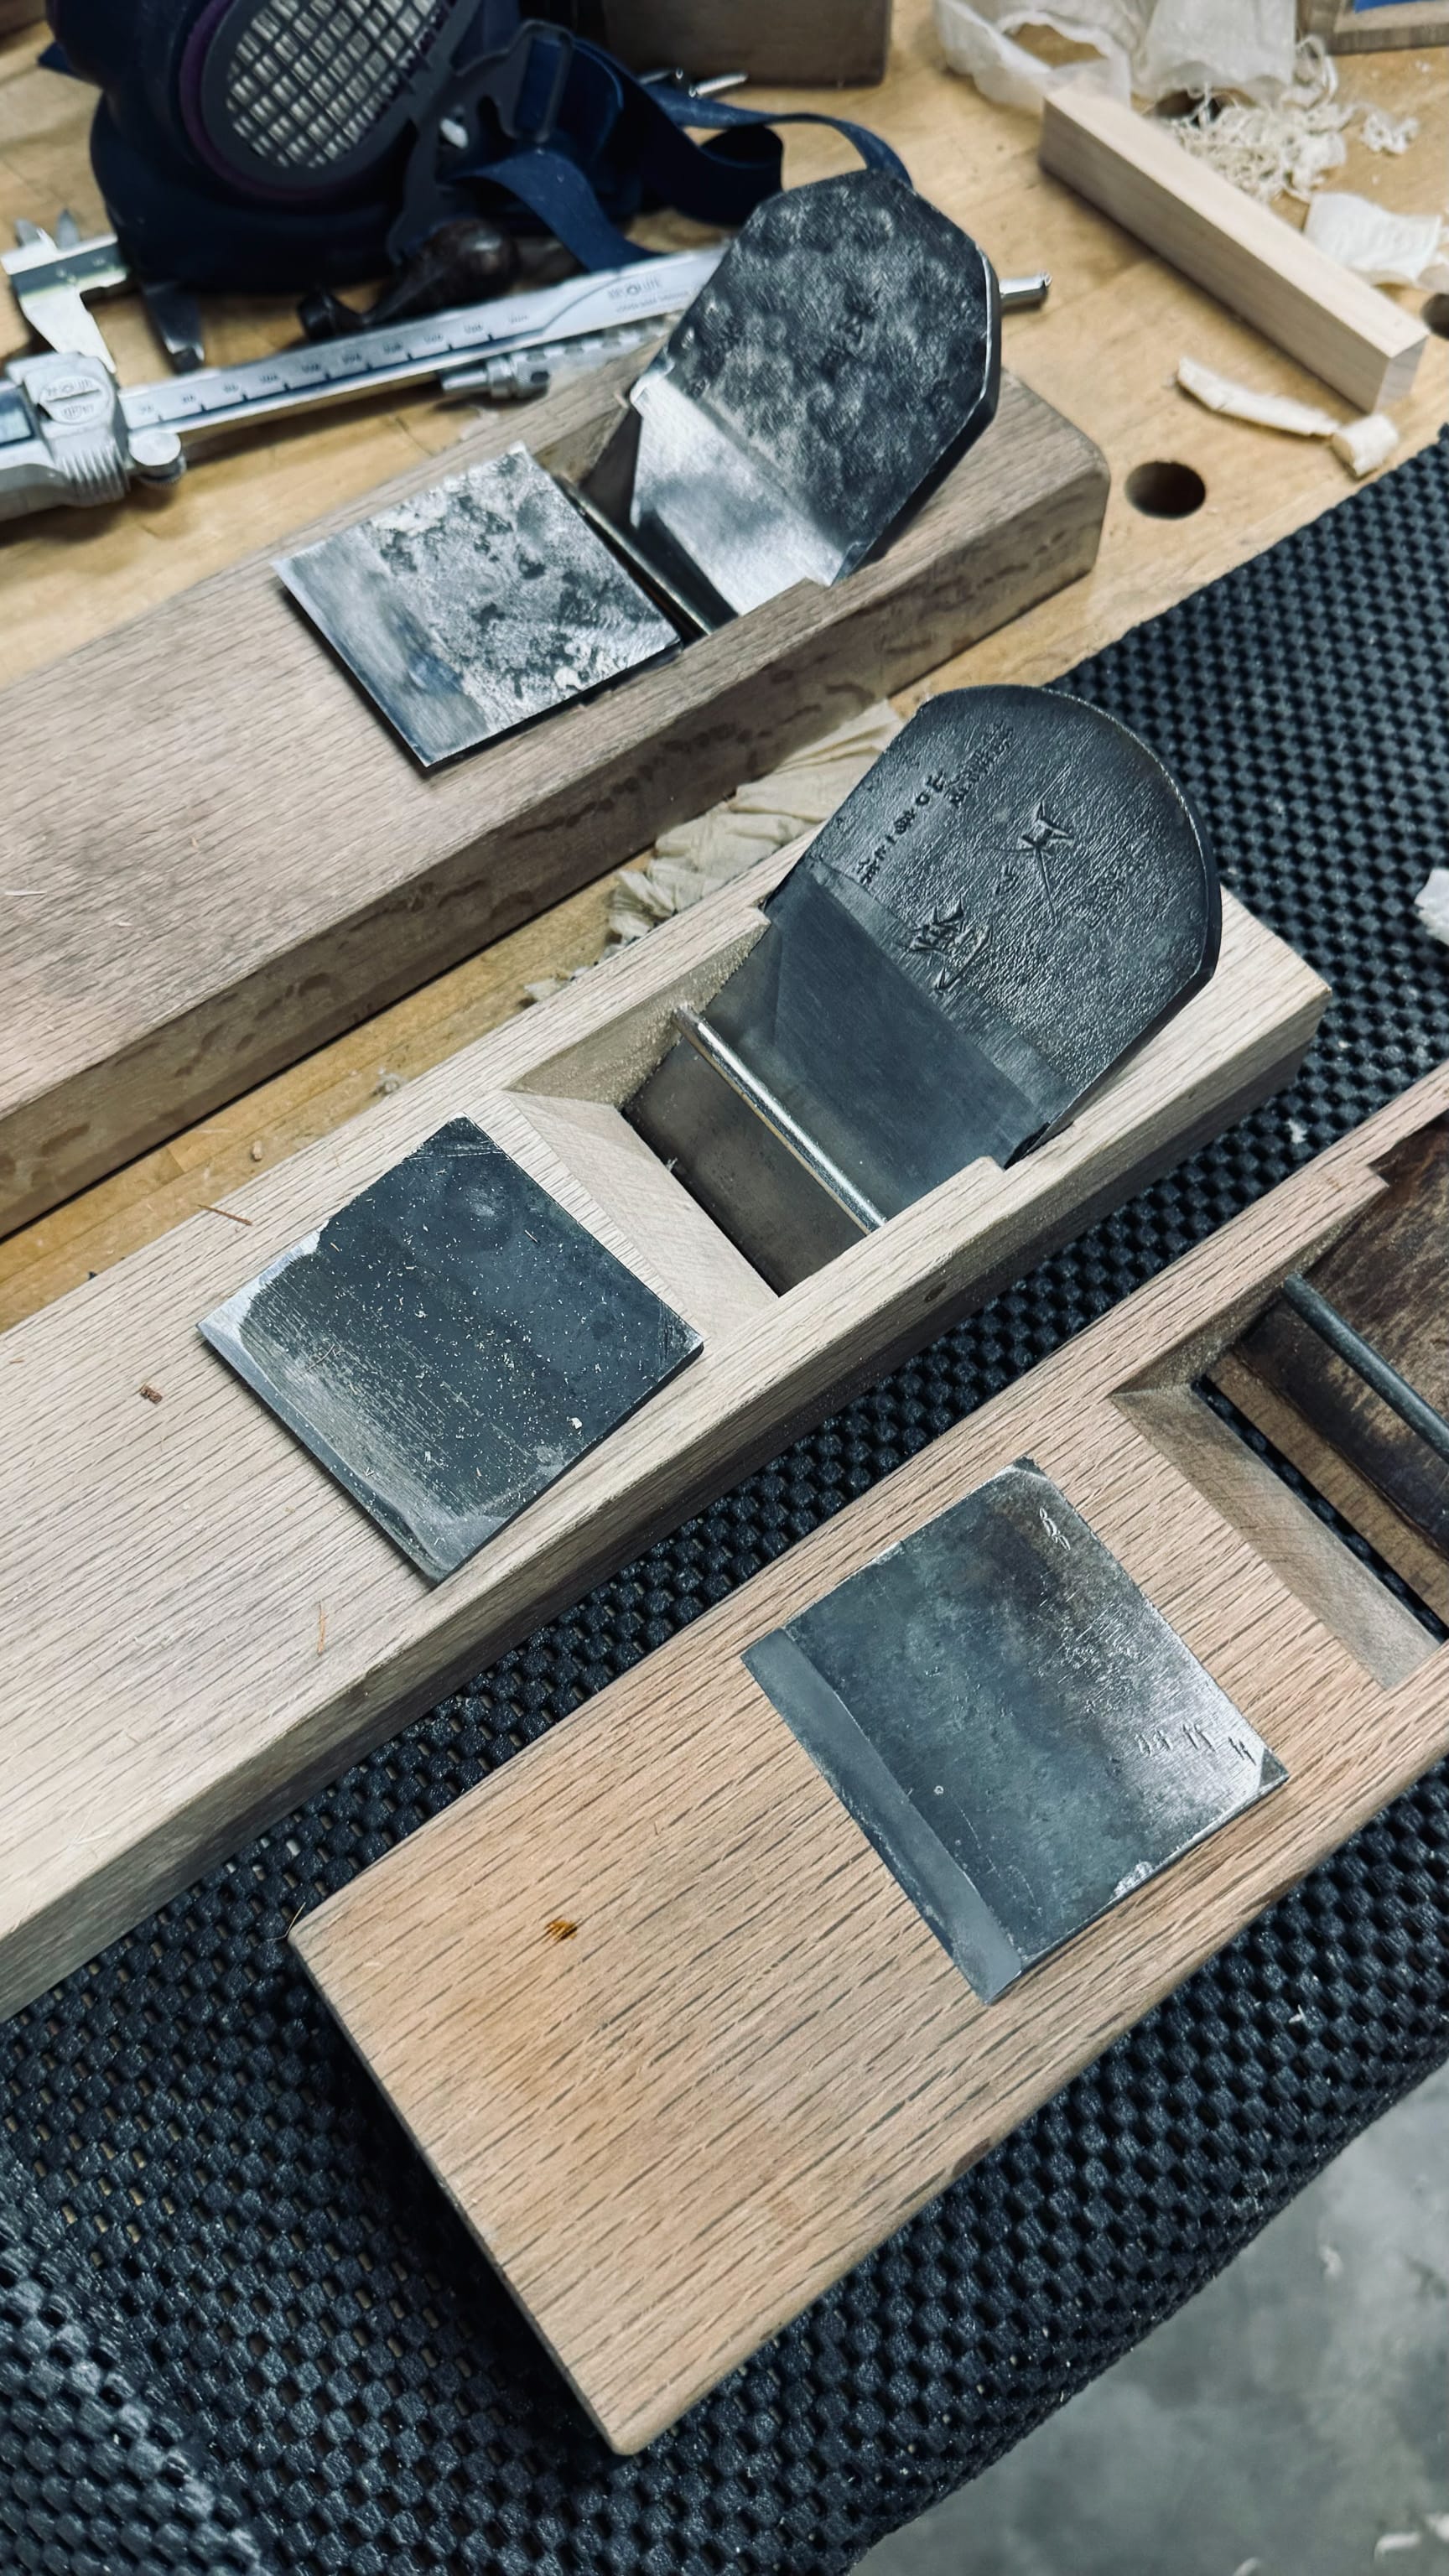
I selected hand planes for this project that I thought would give me a good amount of endurance and fine cutting ability. I prepared some kanna with high speed steel and super-blue alloys for first passes, and finished with carbon steels. Off the machines, I could have put regular blue and carbon white/swedish into rotation but I don’t have many high quality blue planes set up right now, having given away or sold most of my earlier and lower grade tools. The white steel plane I used was a plane I had brought to Idaho to build a bell tower with my teacher from Japan, Kohei Yamamoto. He had modified it in his own style, and the echos of his sharpening and tuning efforts could be felt in the way it cut so well.
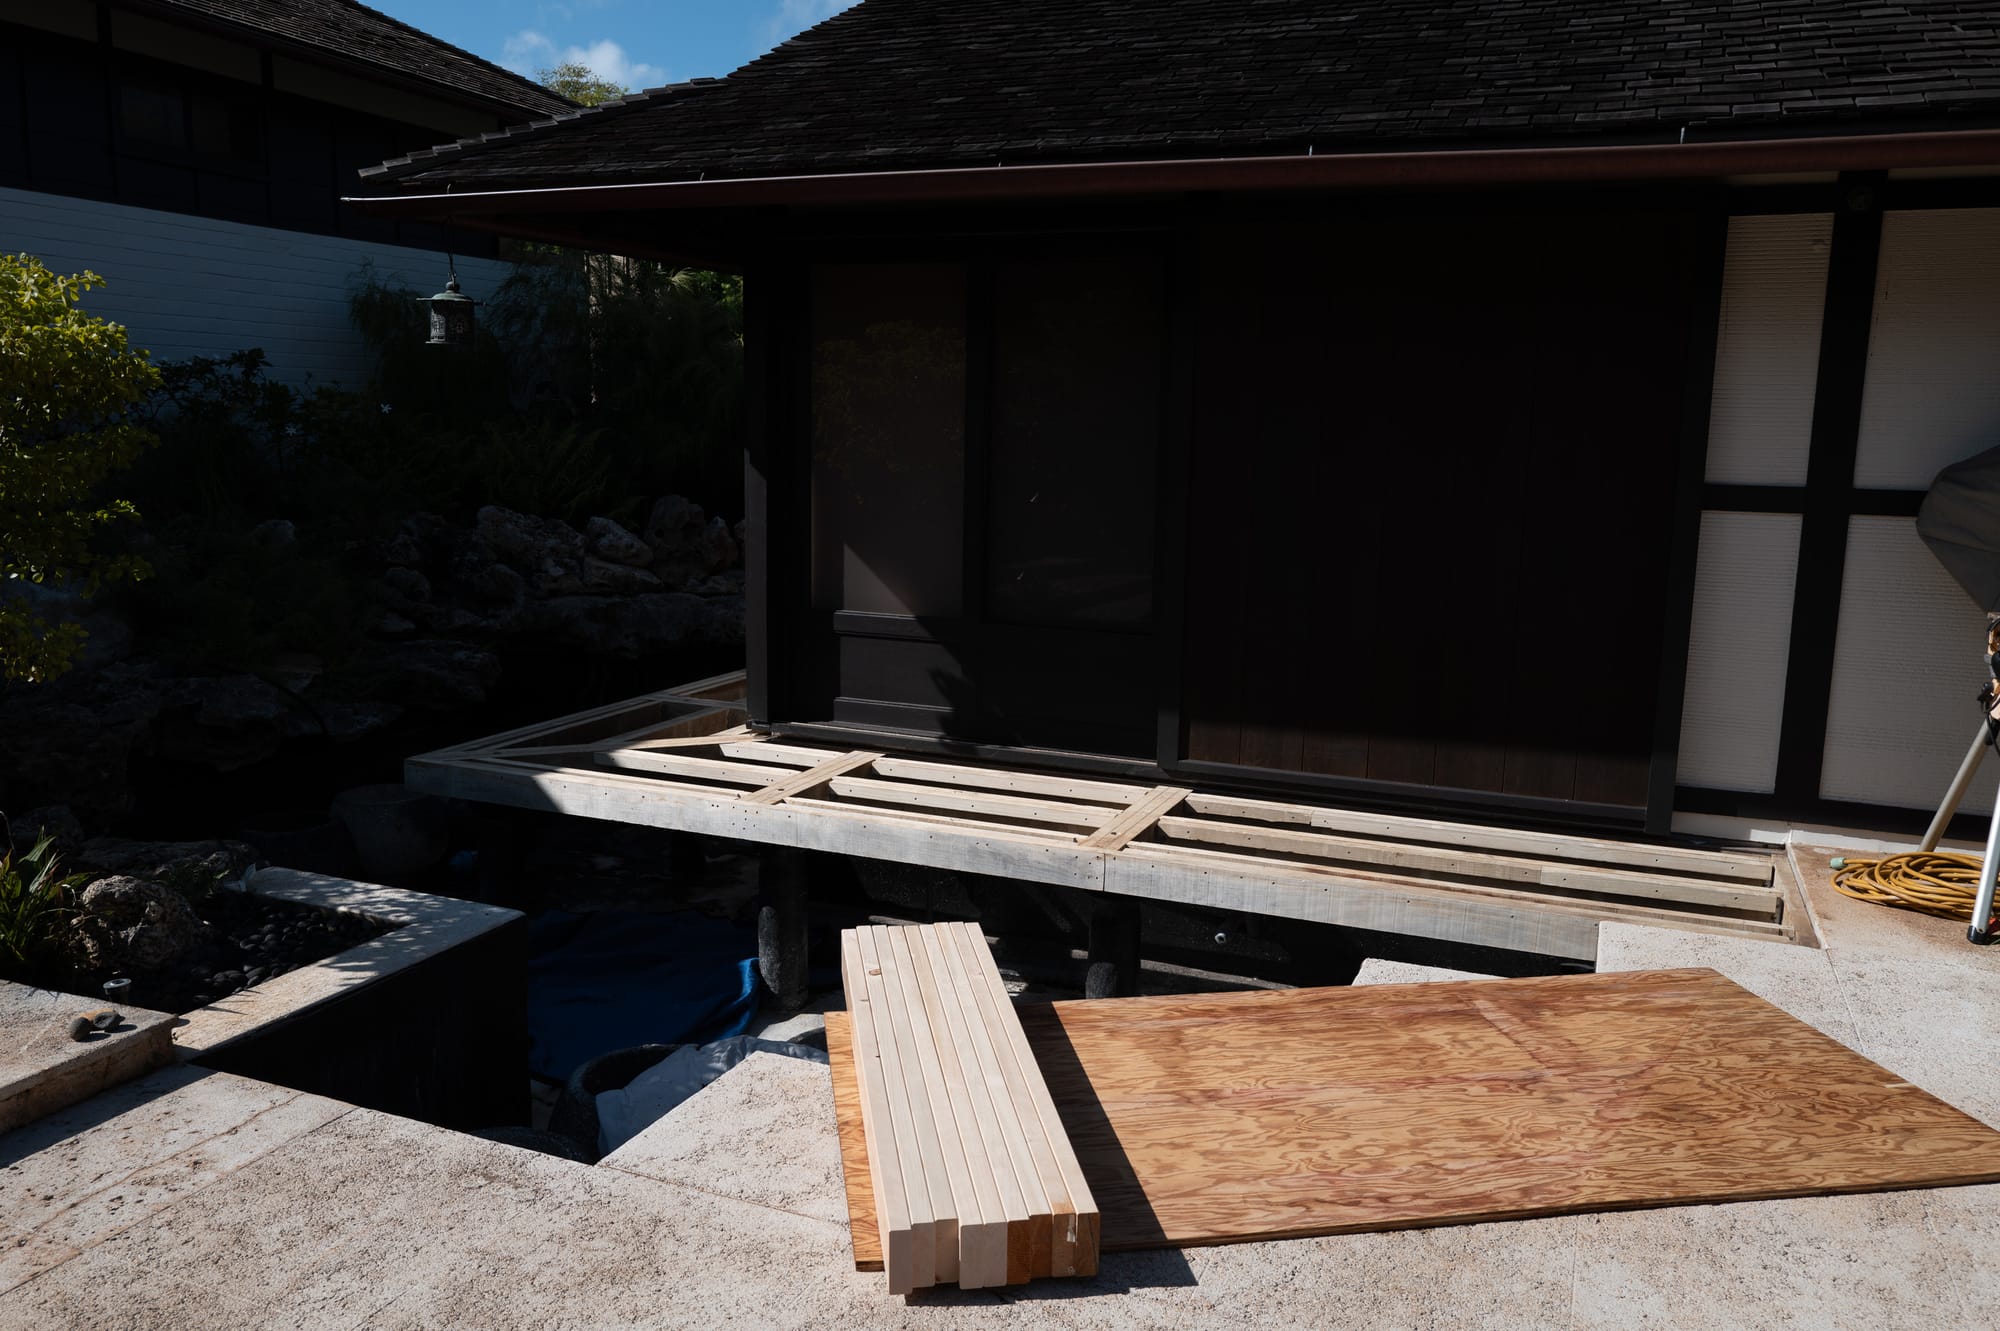
Since the carpenters were finishing adding cleats to the accoya[3] framing as I finished milling, I basically had an afternoon and morning to plane everything in order to keep them busy and on site.
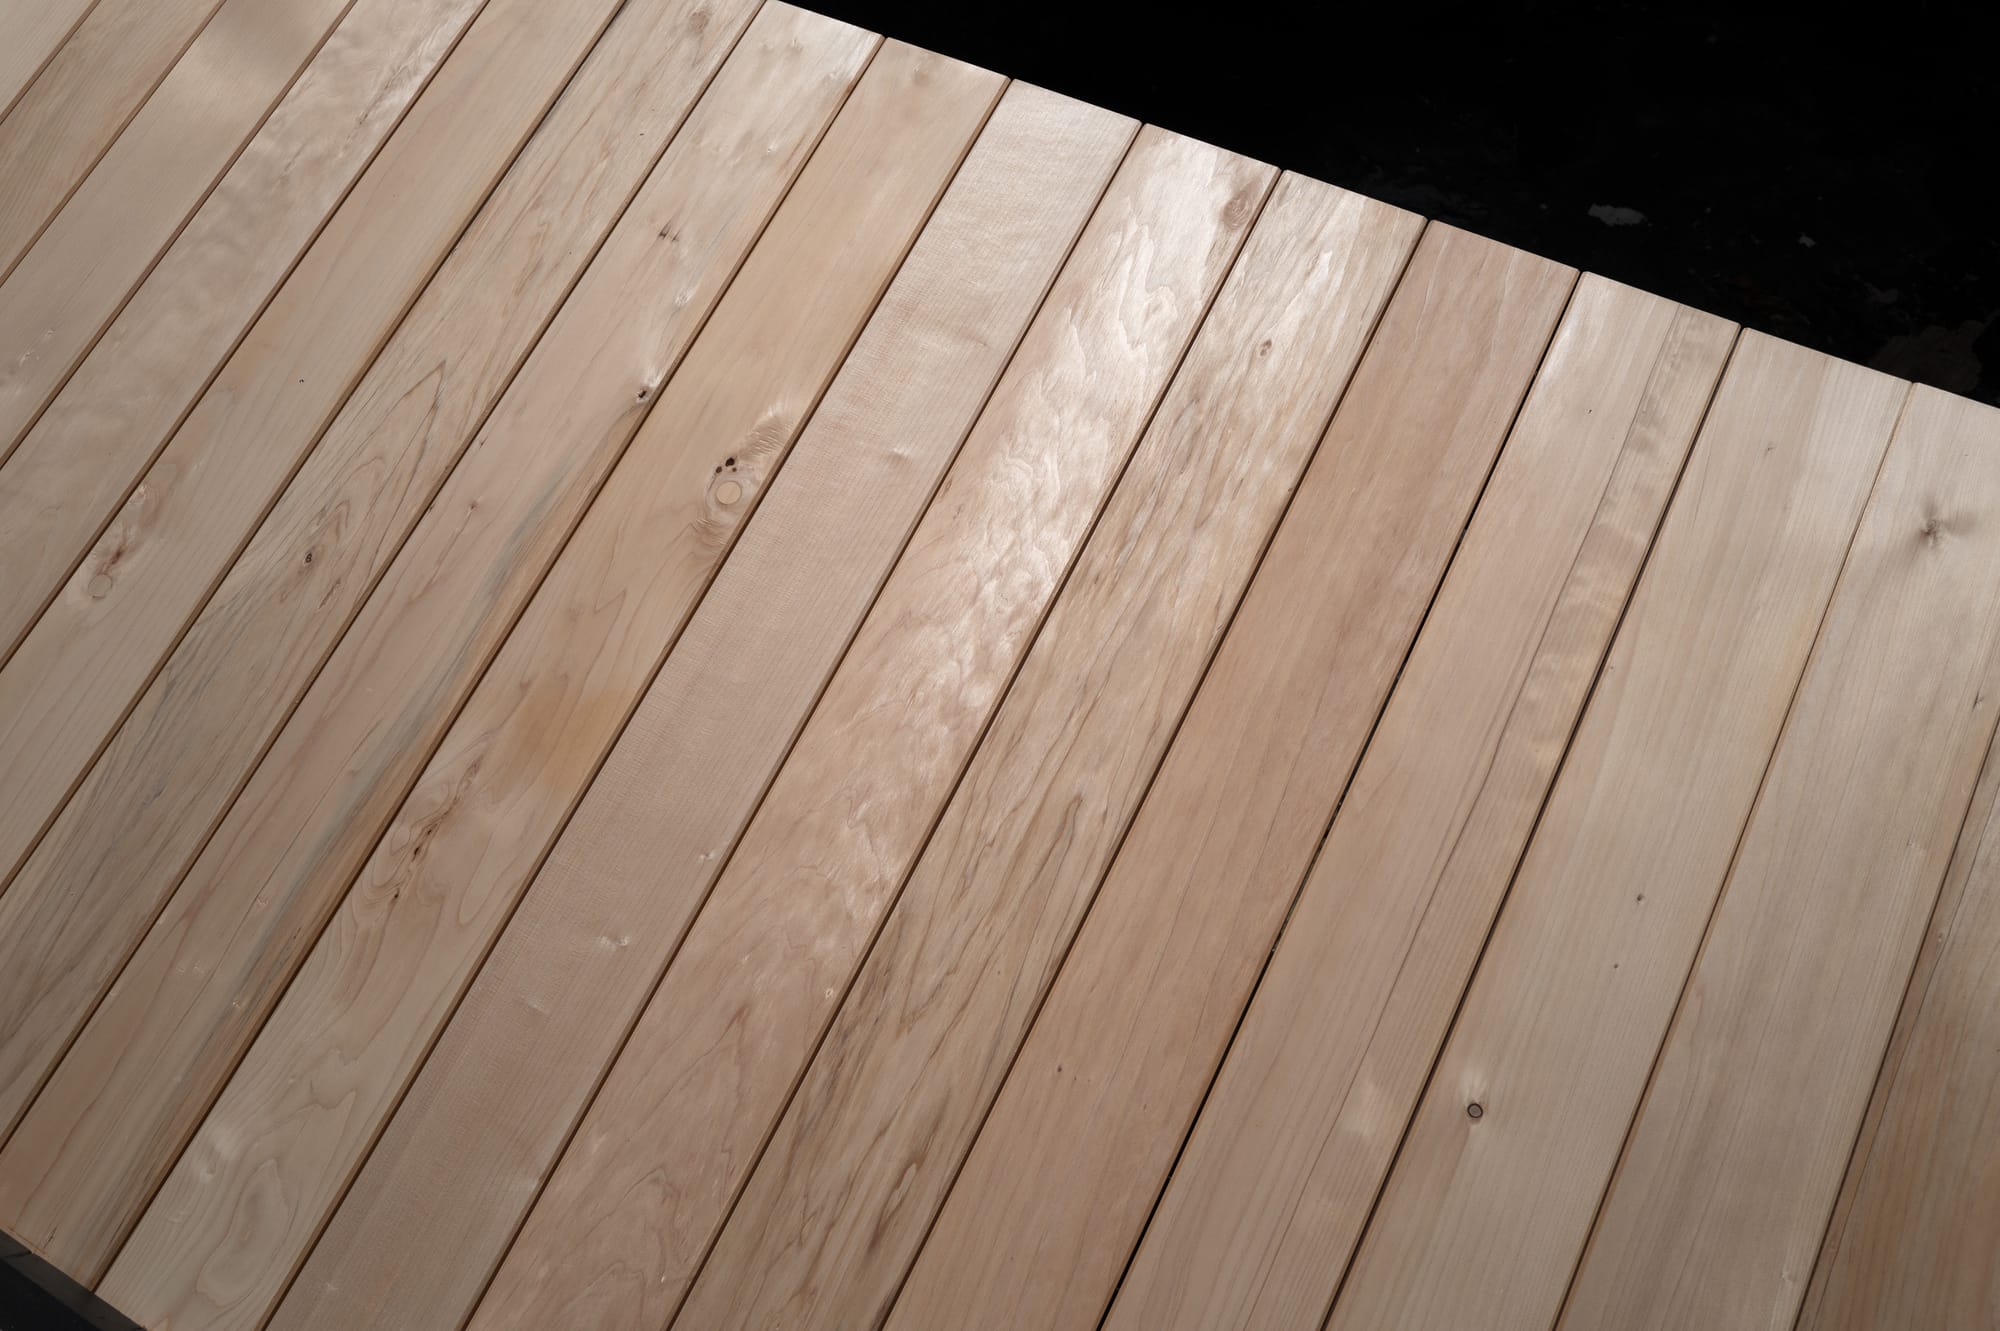
Because my machines are accurate and surfaces were precise, each board needed only 3-8 strokes to be finished, plus some use of small planes to plane the chamfers. I did not plane the sides or bottoms. Chamfers were planed by a small 18mm plane, rather than an actual chamfer plane, for speed and practice in hand control.
Planing was a joy with this species, in mostly clear wood, with fine blades and fine machines providing very flat surfaces to work with.
Work went quickly. 2 planes were set aside because they needed deeper tuning or maintenances, 3-4 were working fine, and 2 were working incredibly well, depending on how they matched the shape of the board (in terms of variation of a few tenths of a mm; a more concave board might not be effectively planed by a tool that is taking very thin shavings.)
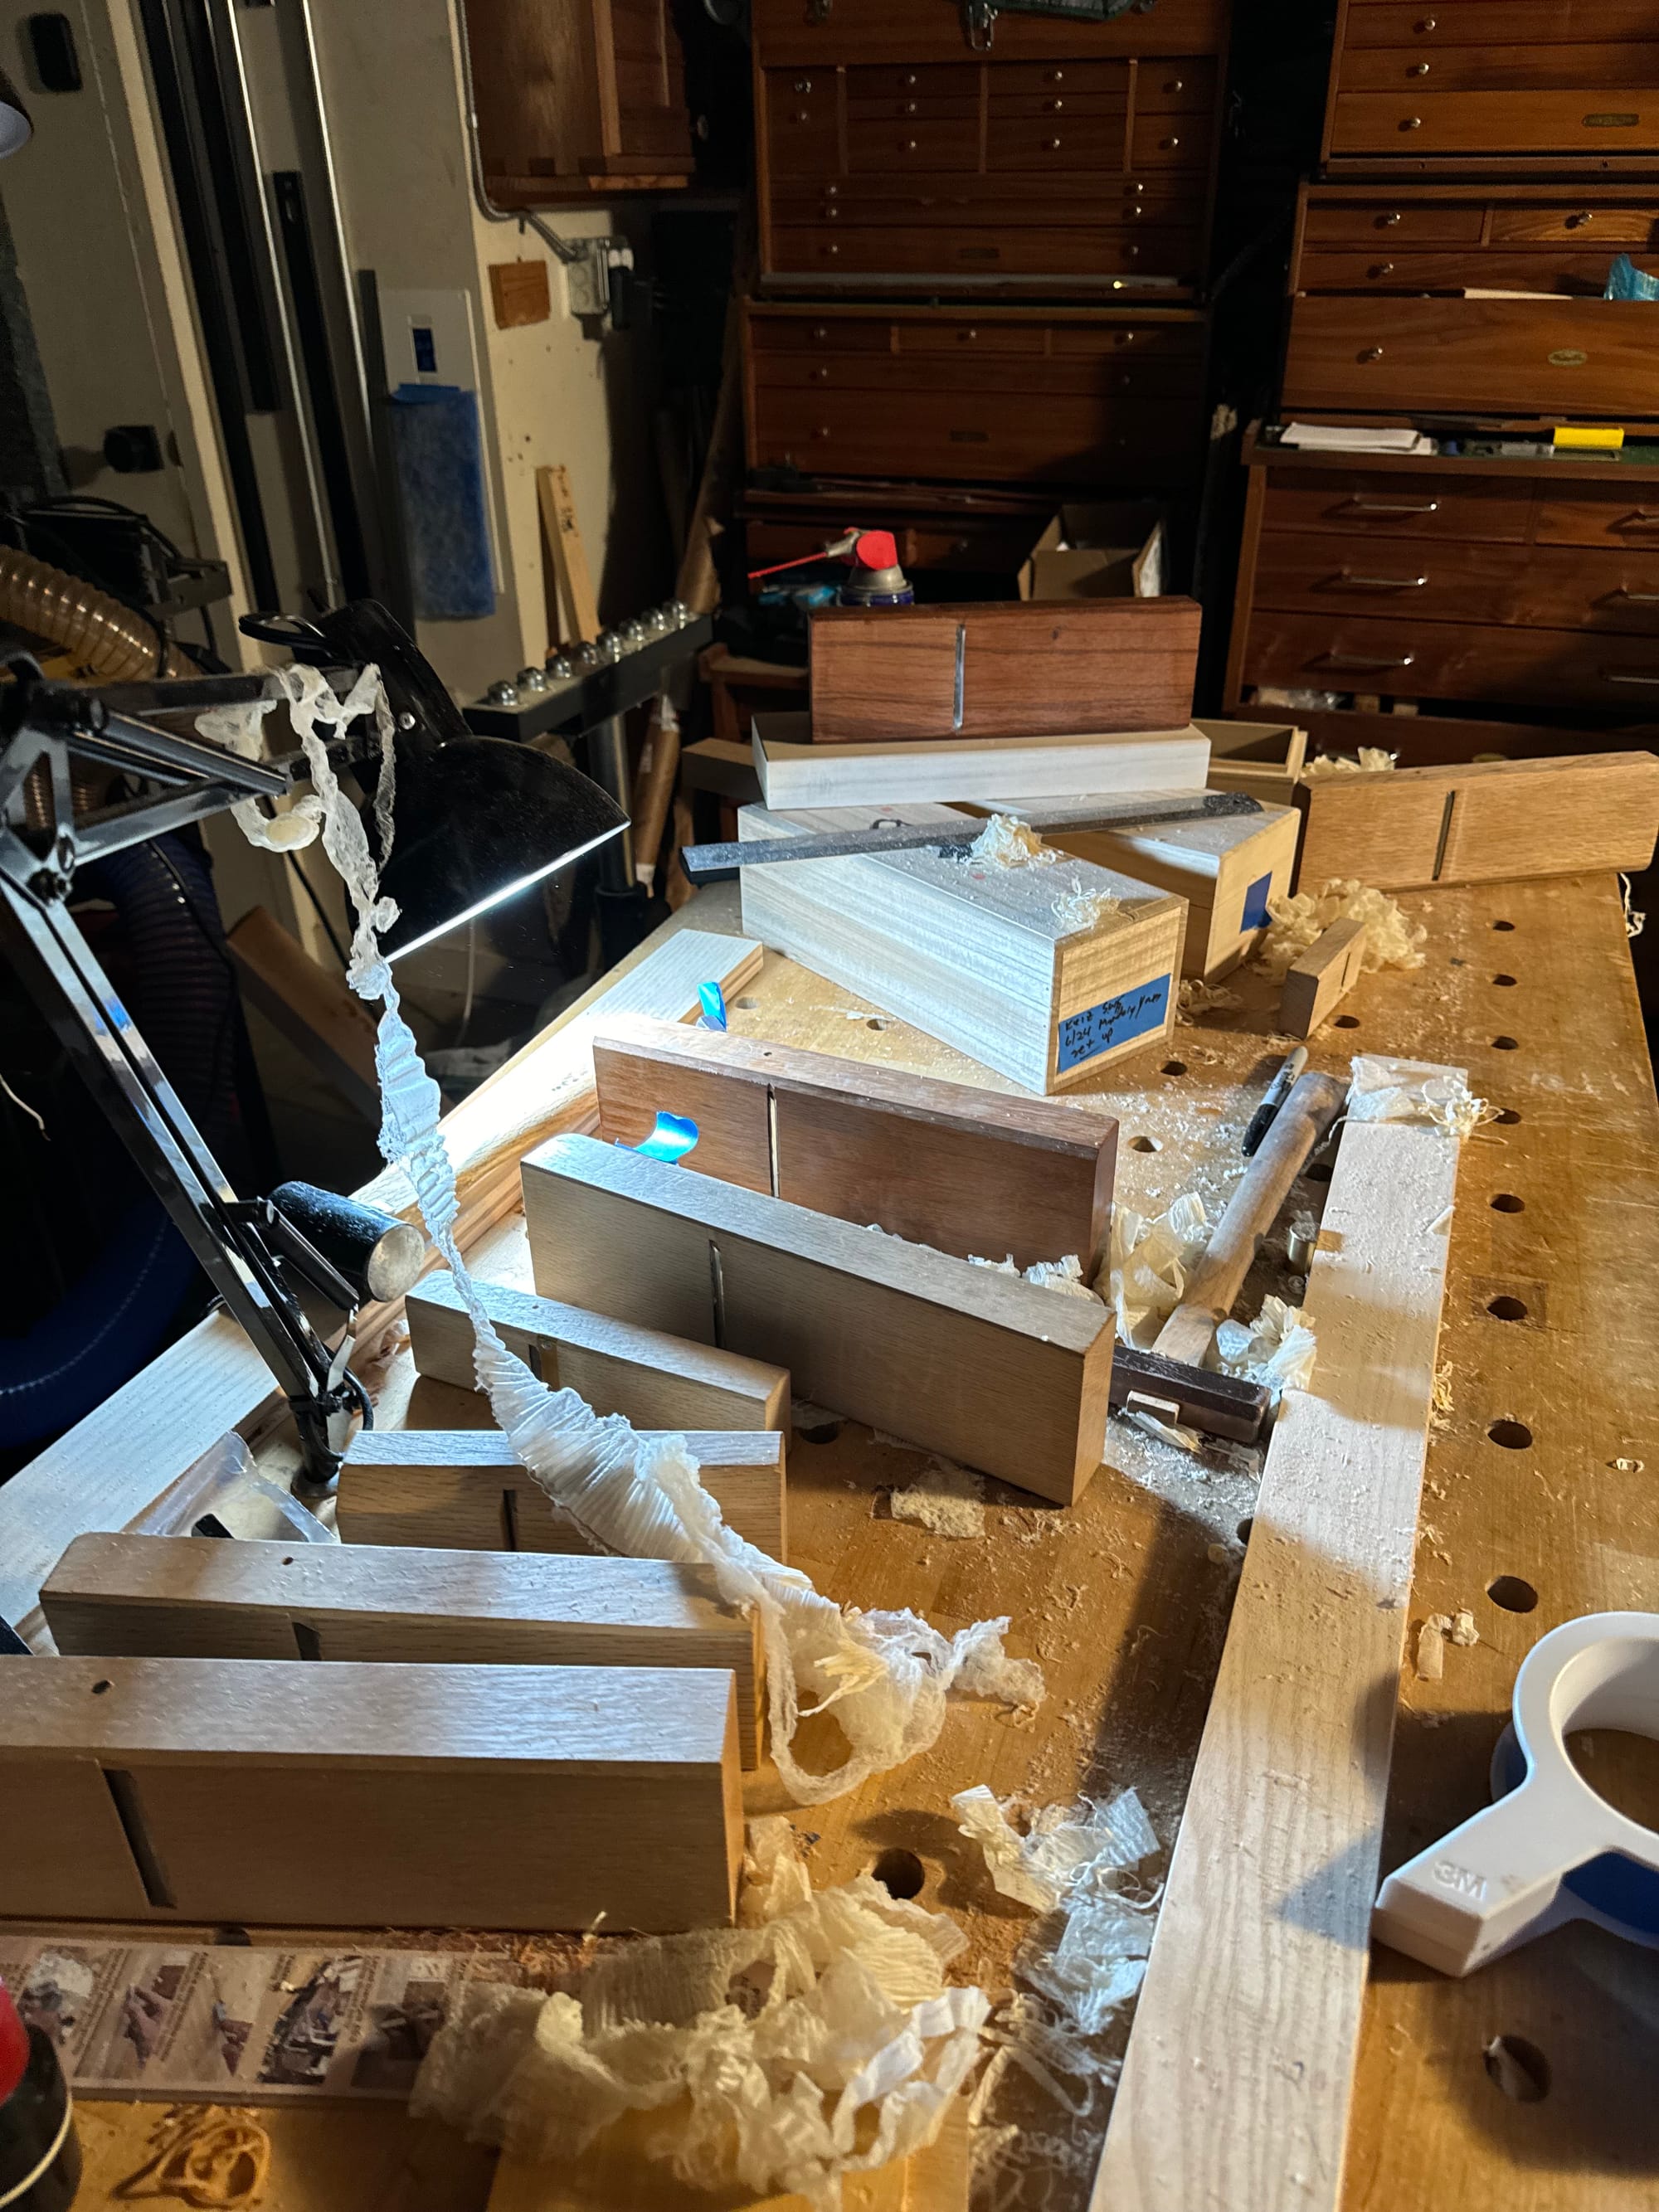
Under severe raking light provided by a drywall inspection light or a simple architect’s style desk lamp that is aimed across the work piece, a surface can easily be checked for flaws, and even the finest machine marks can be seen as not entirely uniform.
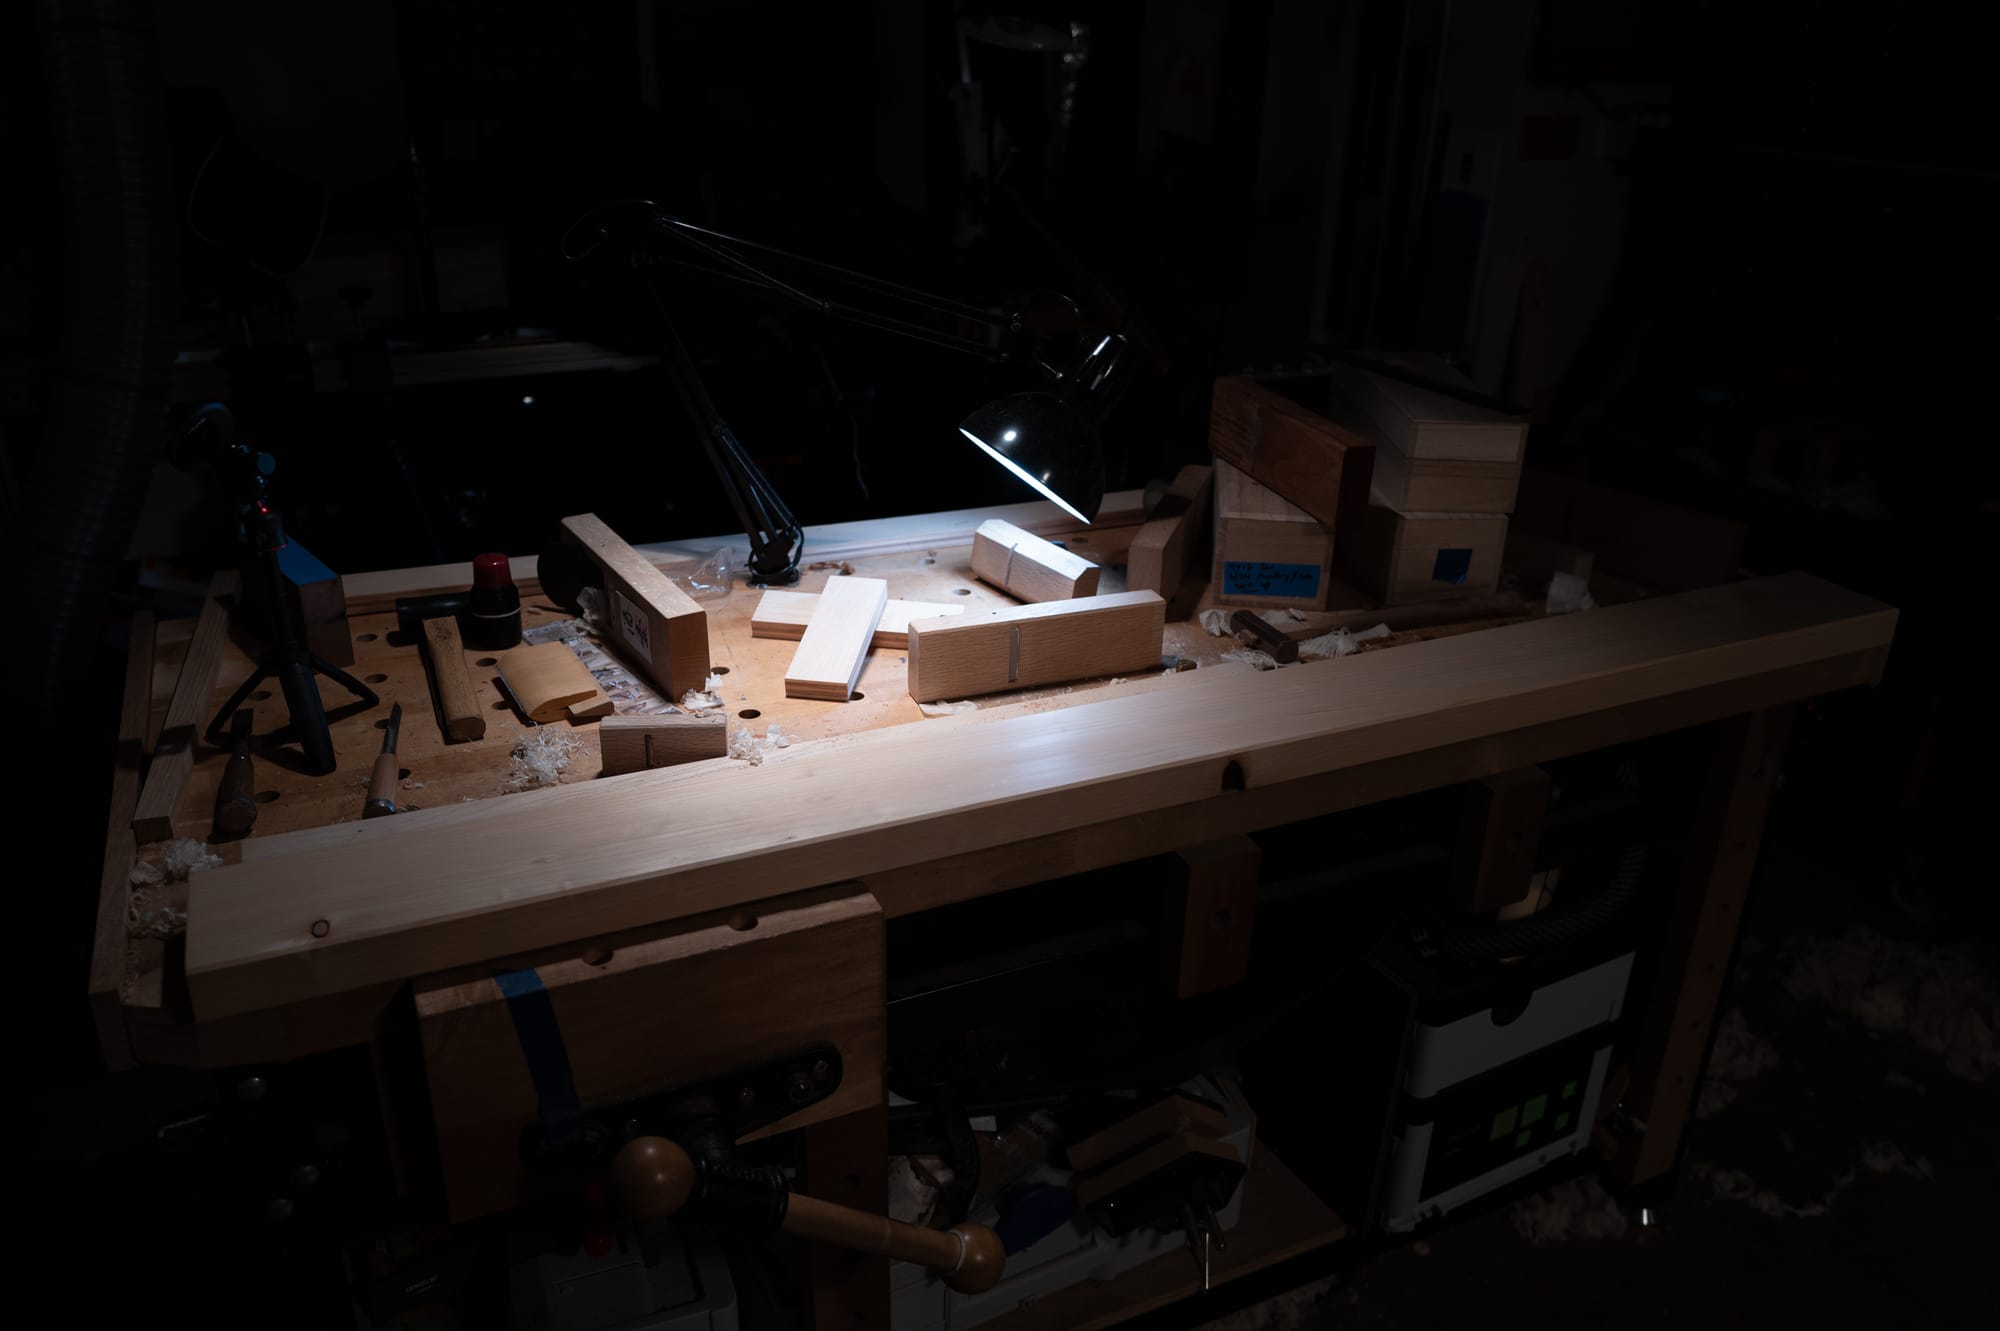
For western style work, the finish off the machine is suitable with fresh HSS blades running at a slow feed rate. But the difference between Japanese hand planes and machine or even western plane blade finishes is drastic.
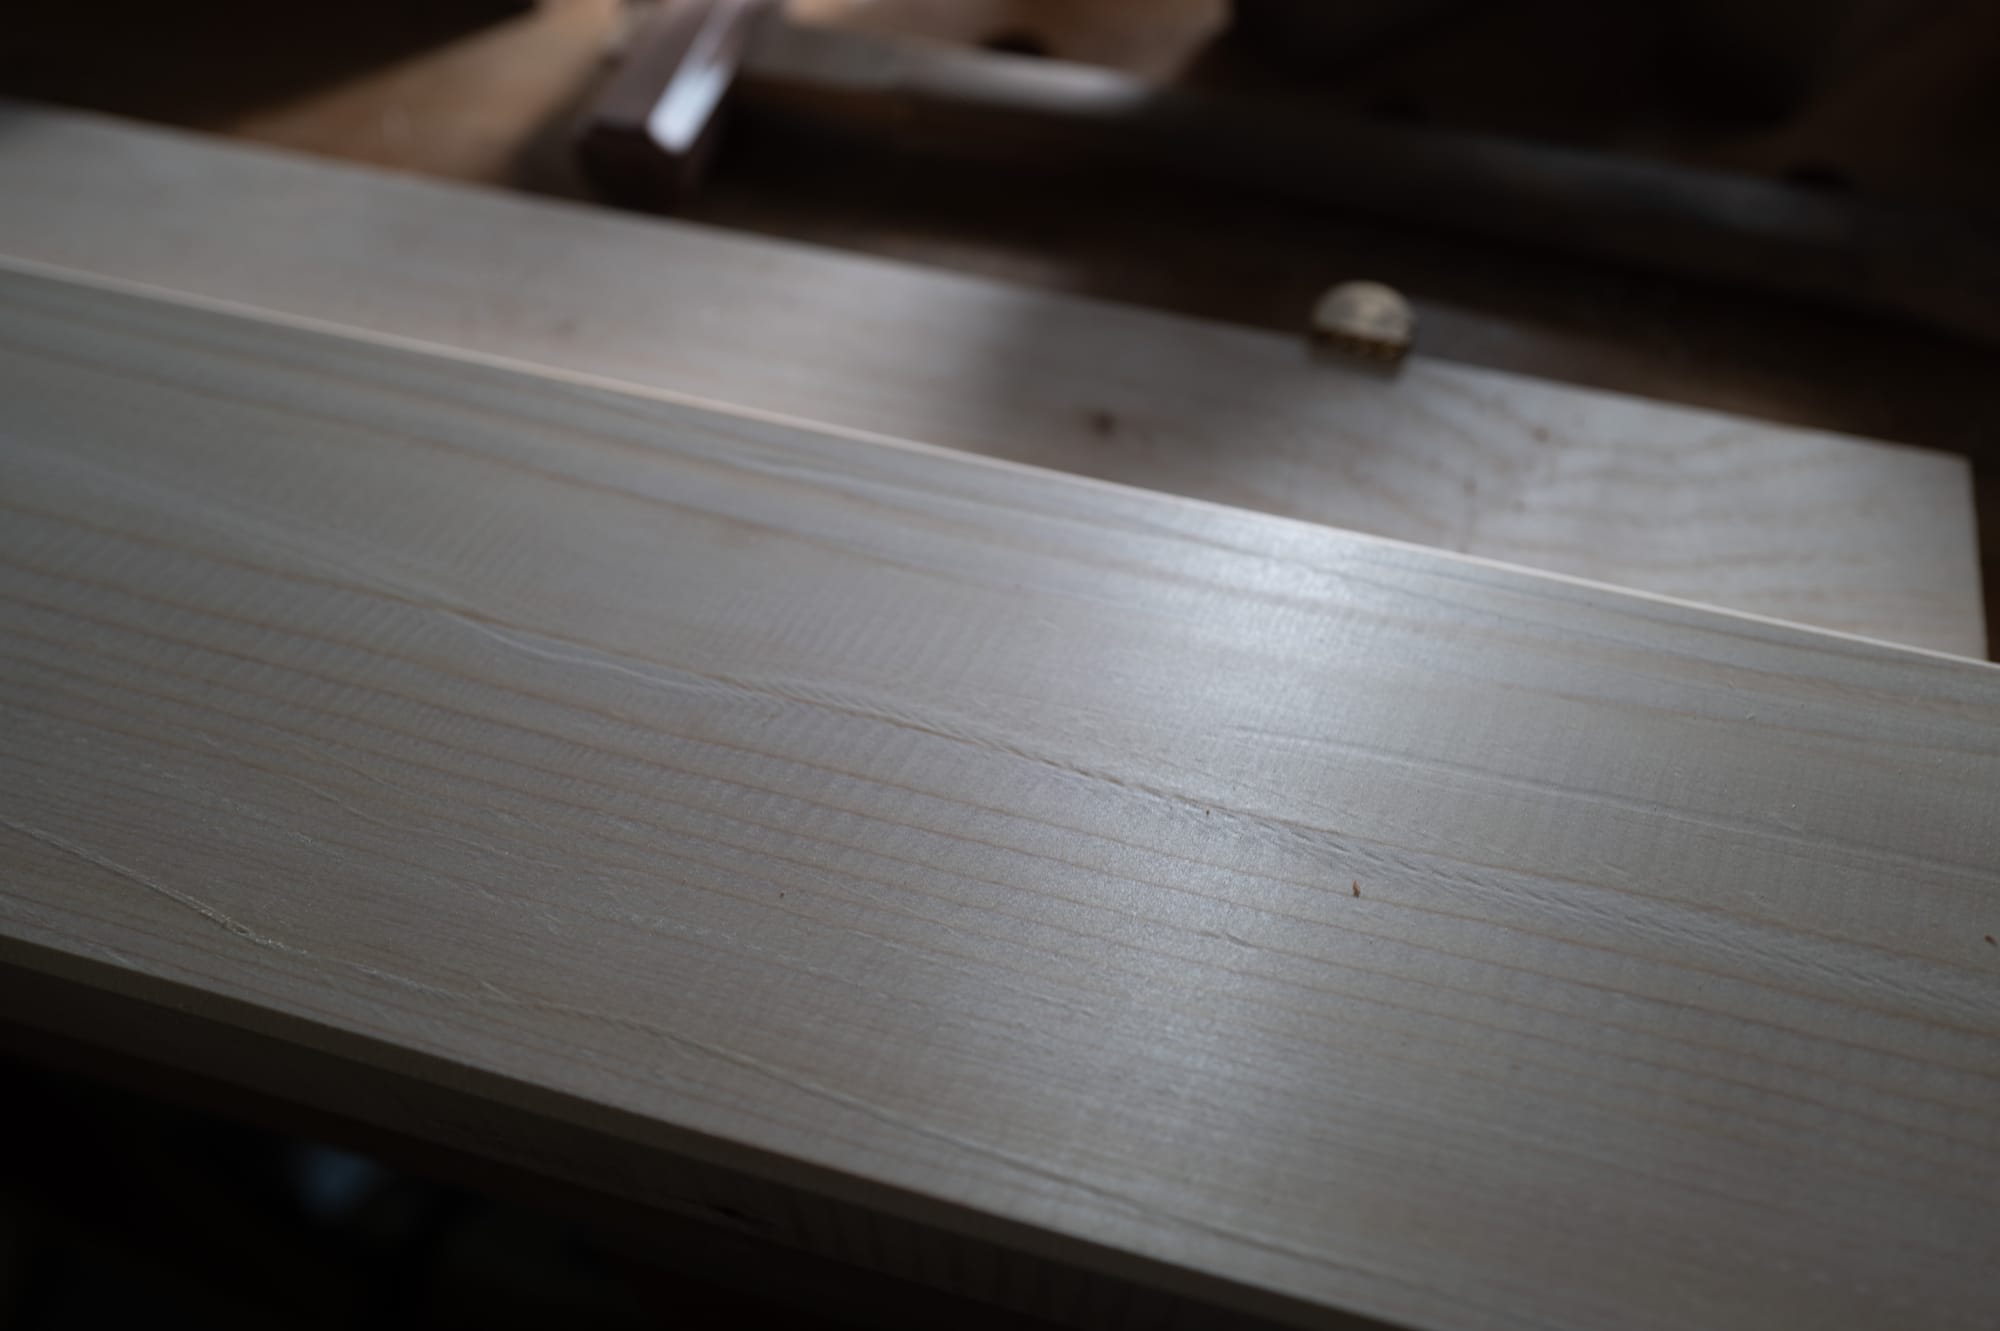
Why go to all this trouble? The images speak for themselves, but planing is not strictly aesthetic.
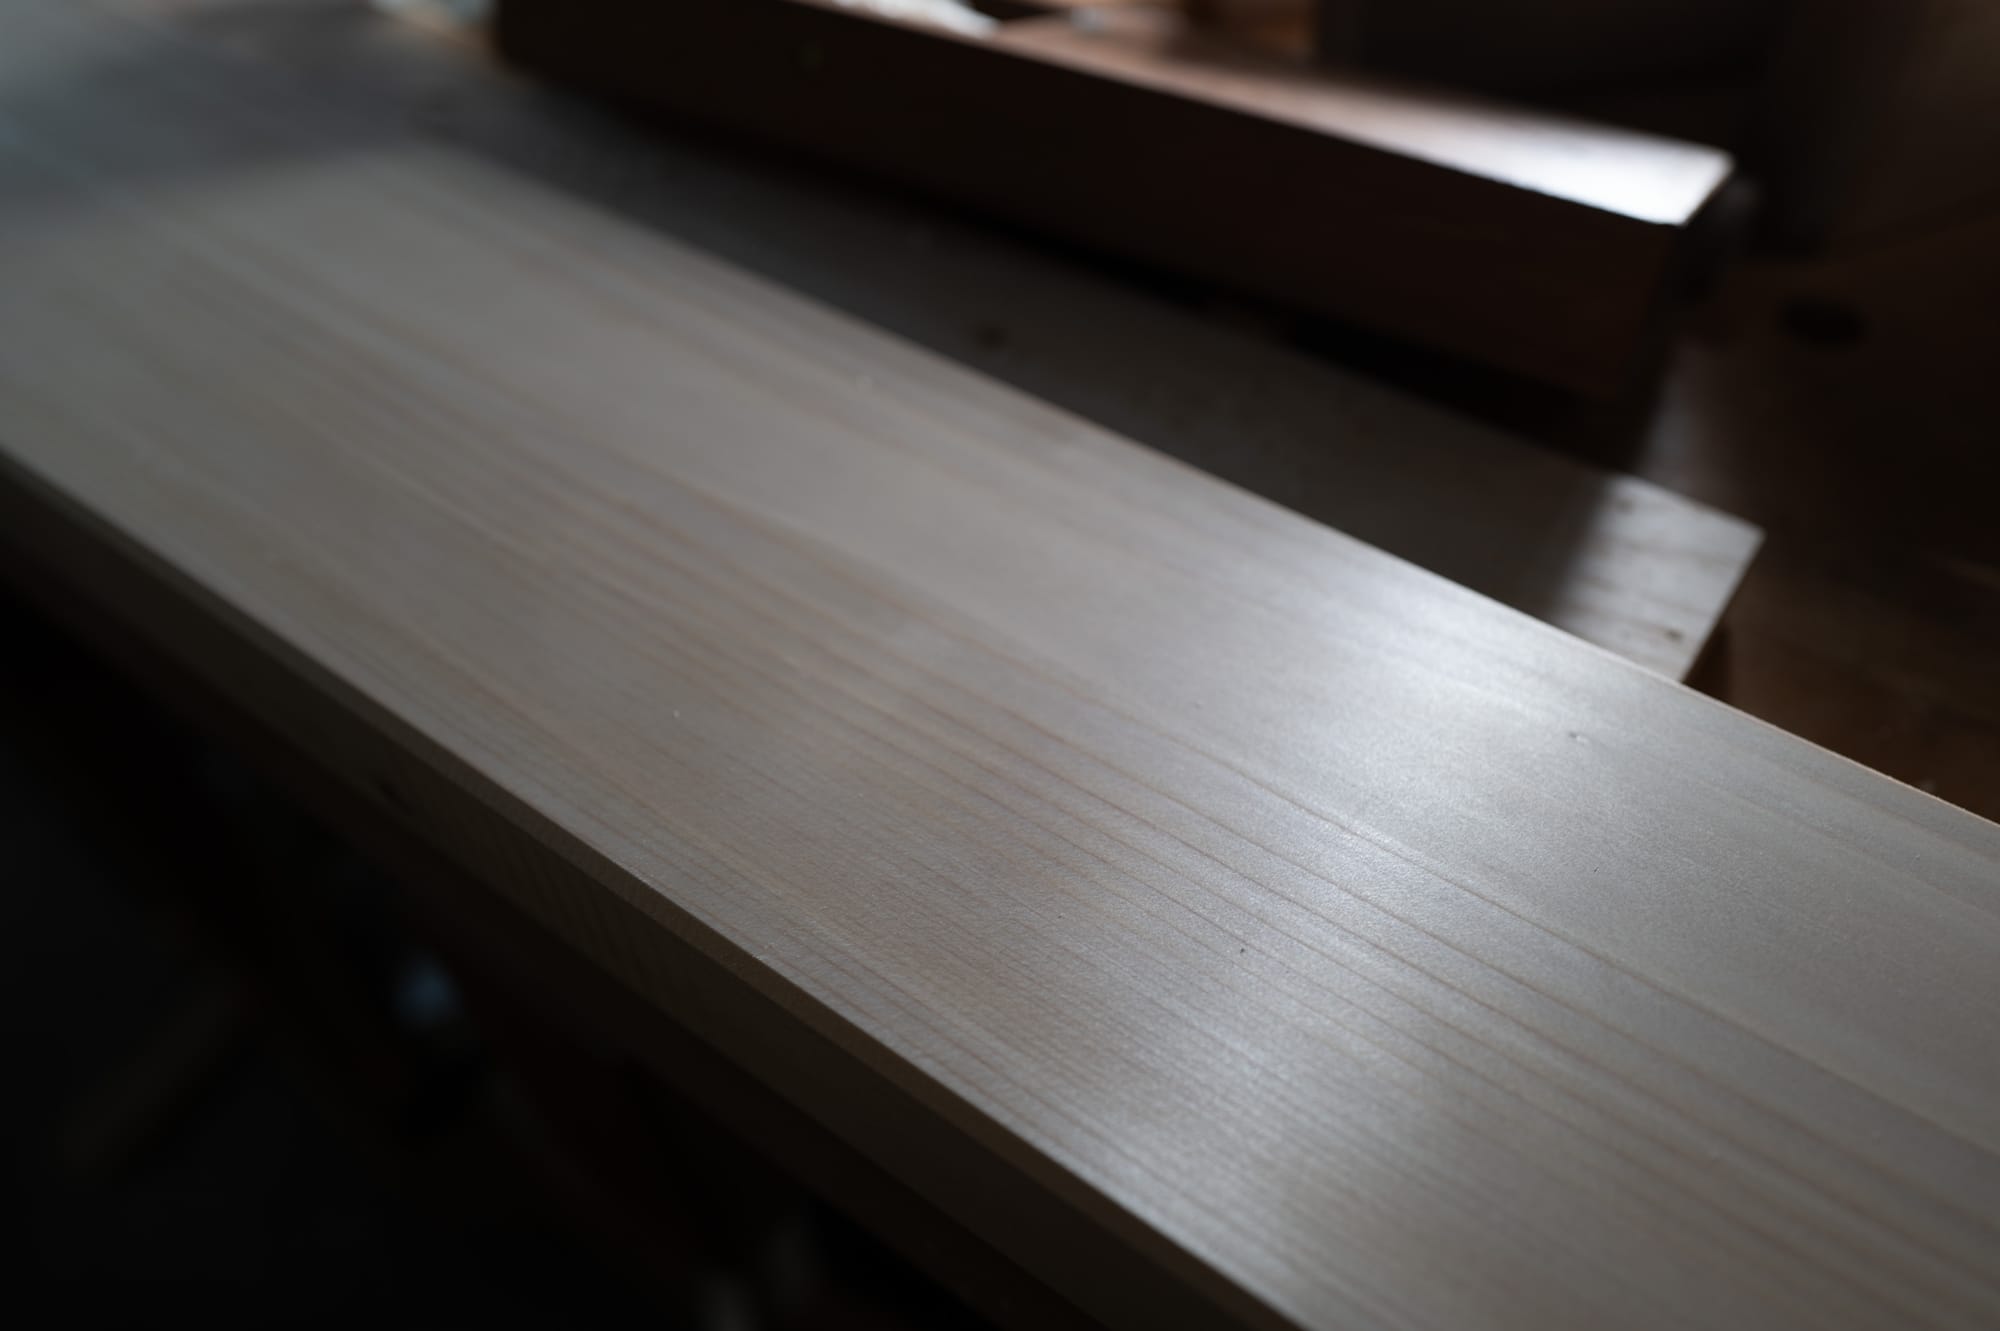
According to professionals in the community, a Japanese hand planed finish will resist water and dirt better than a sanded finish over time. In my own tests, solid hand planing can give you a finish uncannily flat that is on par with and beyond 1000 grit. In Hawai’i, that has rarely been tested outdoors (to my knowledge) and I don’t know what to expect to be honest. What I do know is that this method works well in japan and in California contexts, especially when the surfaces are protected by an overhang such as this one would be. Because the koi pond would complicate the reapplication of any finishes or pest treatments, I opted for a decent species of wood in terms of rot and insect resistance. In some contexts, a non film forming oil based finish is used to protect surfaces, but I don’t know enough to speak about this.
I planed from 2 til about 11pm that night, and needed to finish milling the second half of the boards before I could continue. But I estimated I could finish milling and planing the second half while the American carpenters were starting to install.
The collision between American carpentry and Japanese carpentry is something I have some experience with from working on my own house. It’s not always easy to manage, for me.
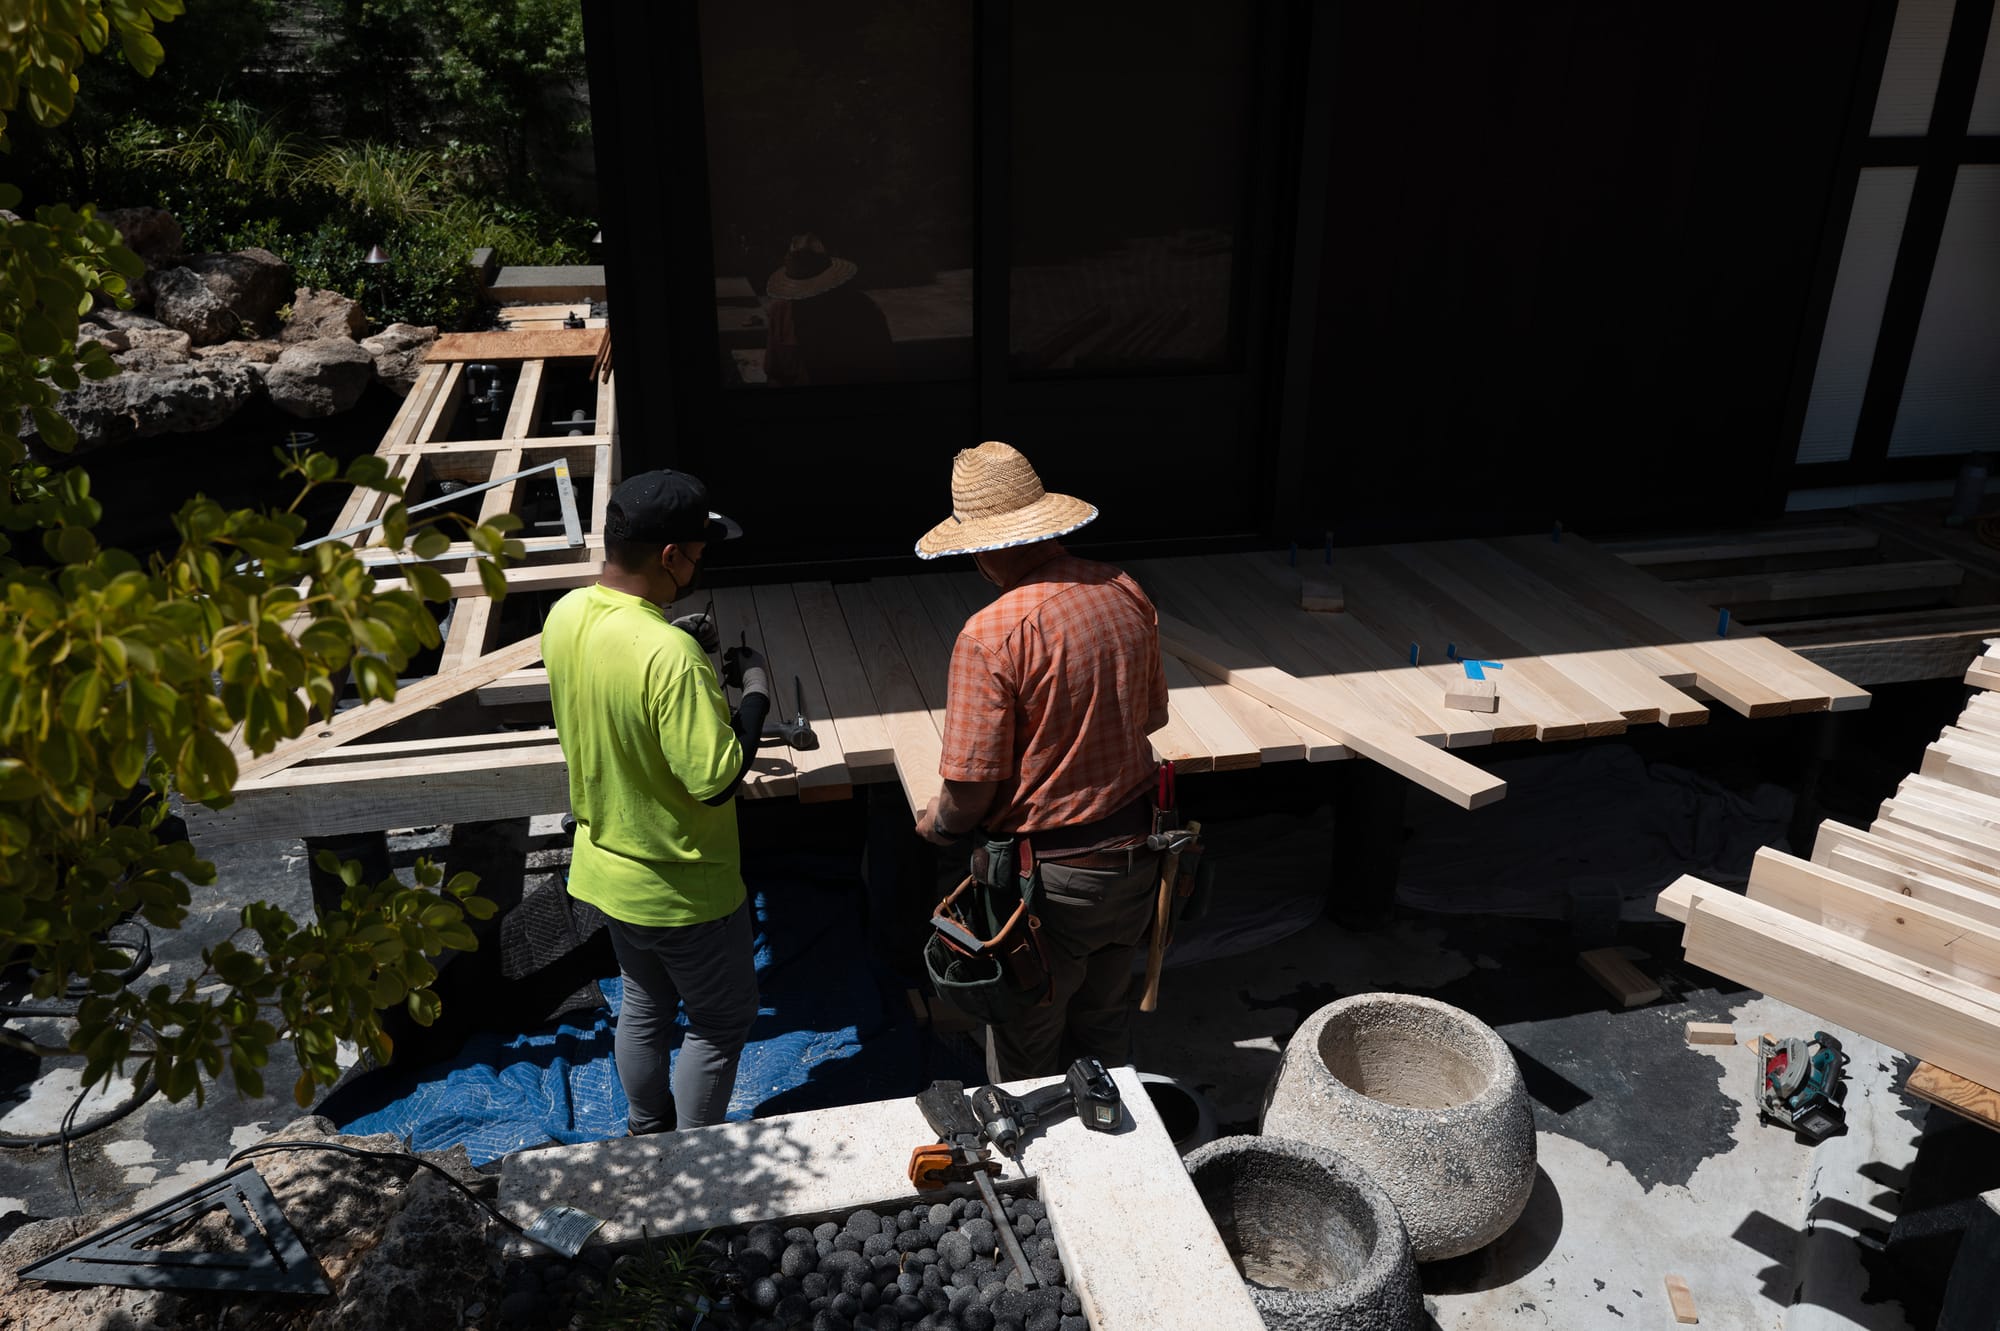
The next morning, I began milling and planing. I looked up from the second batch and realized I had not been specific enough around guidelines on installation of boards, and that the American style carpenters were placing boards and screwing them down without mapping out the orientation of the boards or which board should go where. I had asked for boards to be placed heart side down bar any terrible knots but it was not really understood that it was possible to put the top of the trees away from the building. There was also some mismatch of grain and color on the first few boards.
No problem. We paused and reshuffled some boards in a few minutes, and made some additional guidelines . Any pieces with rift or vertical grain would be used for the corner detail, where shorter boards would be less stable but also get more exposure.
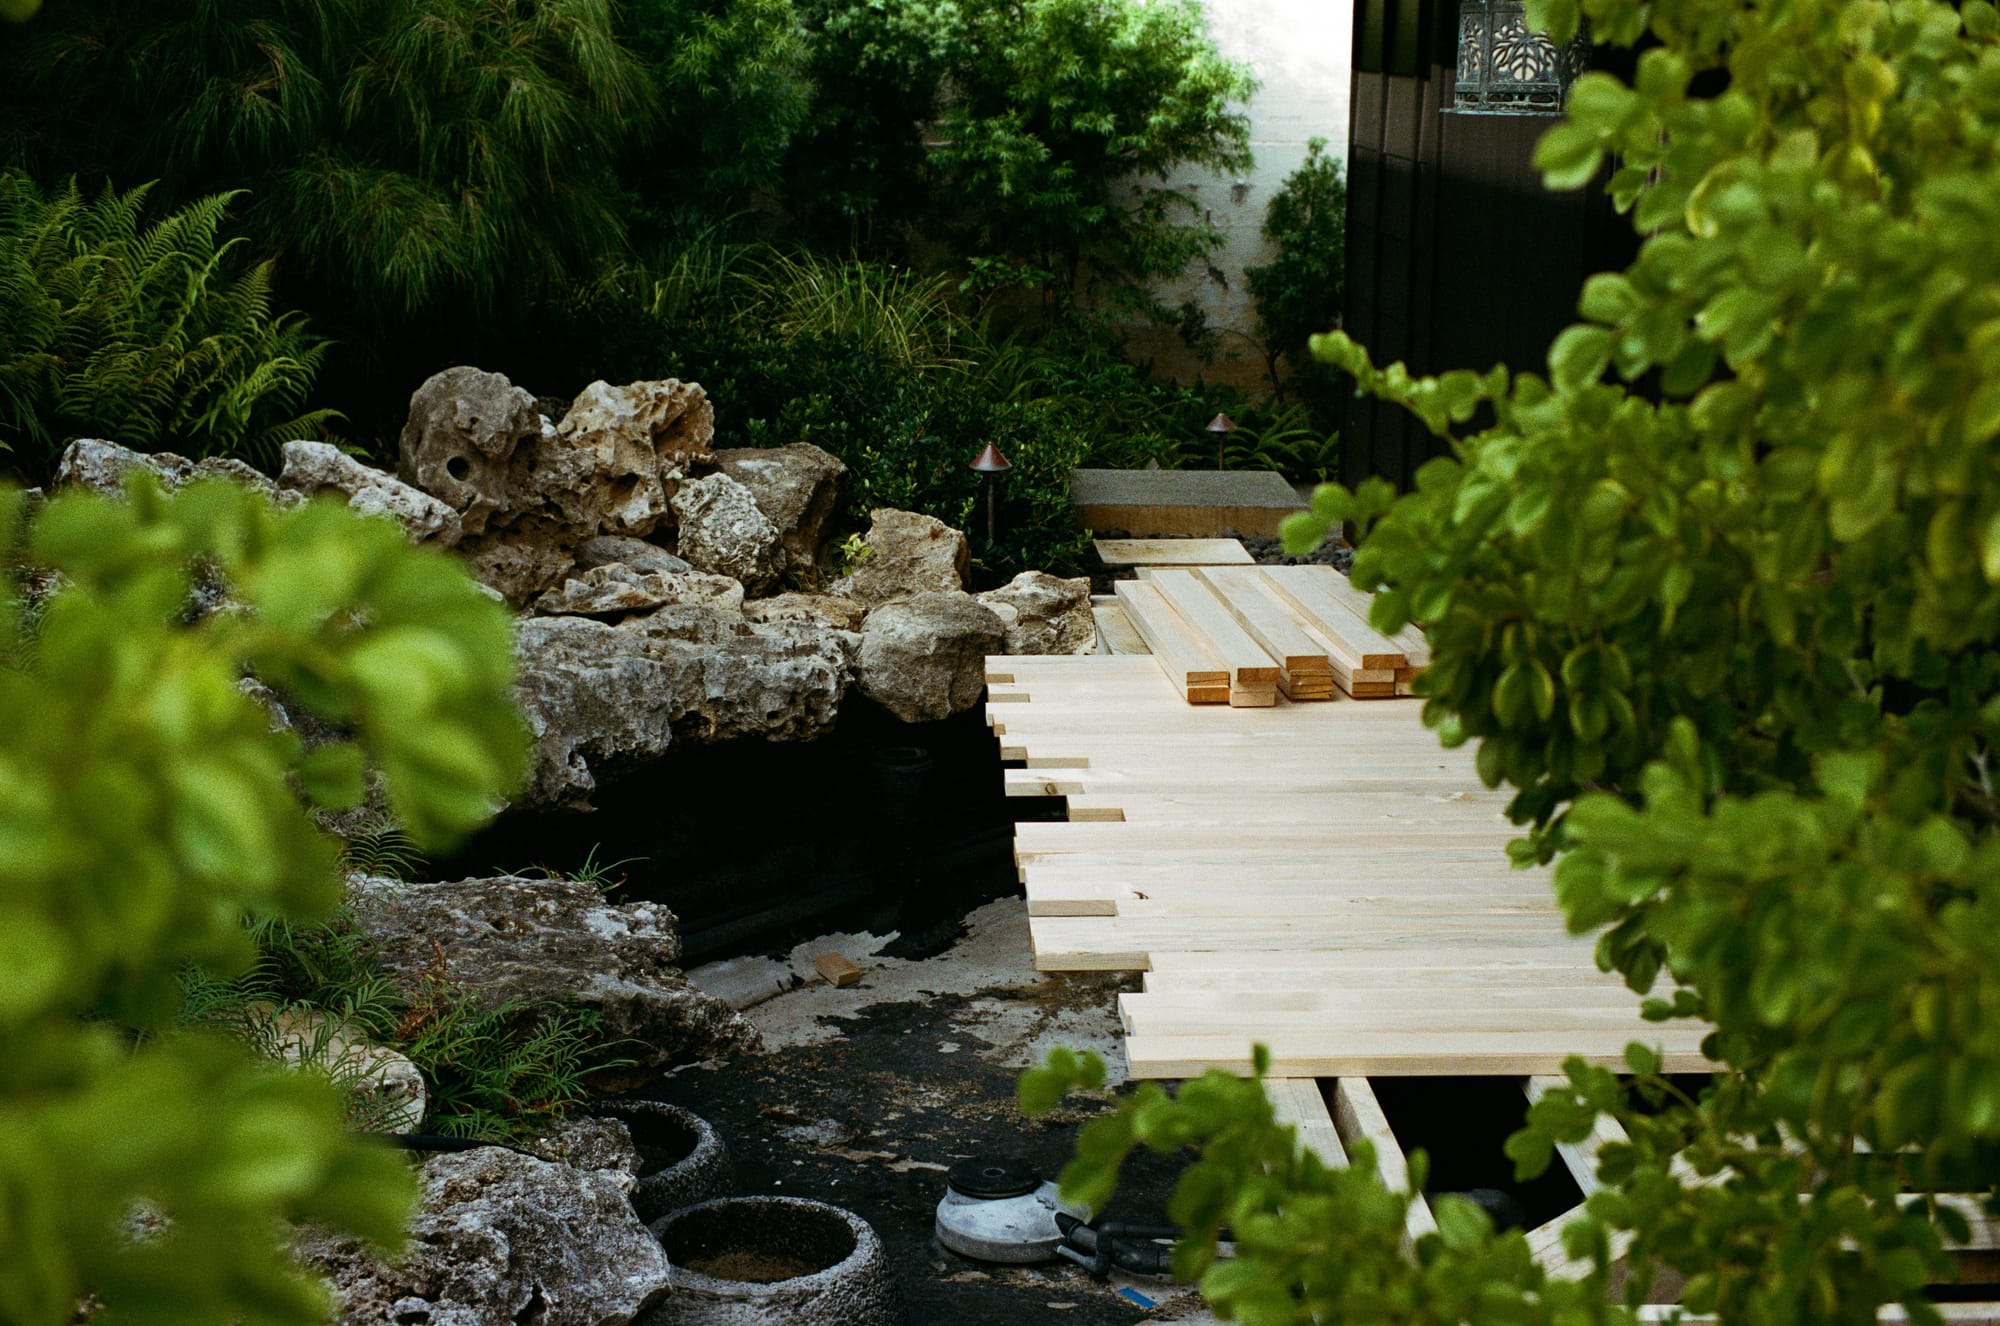
The master carpenter, my friend, cast some doubt he would be able to tell the top and bottom of the piece of wood, as it was grown. Actually, he told me I was crazy. But I showed him some tricks my teachers have shown me, and he later looked it up and verified it was possible to see this variation in grain. Working with him for over 5 years, I taught him how to sharpen and he taught me everything I know about western framing and finish work.
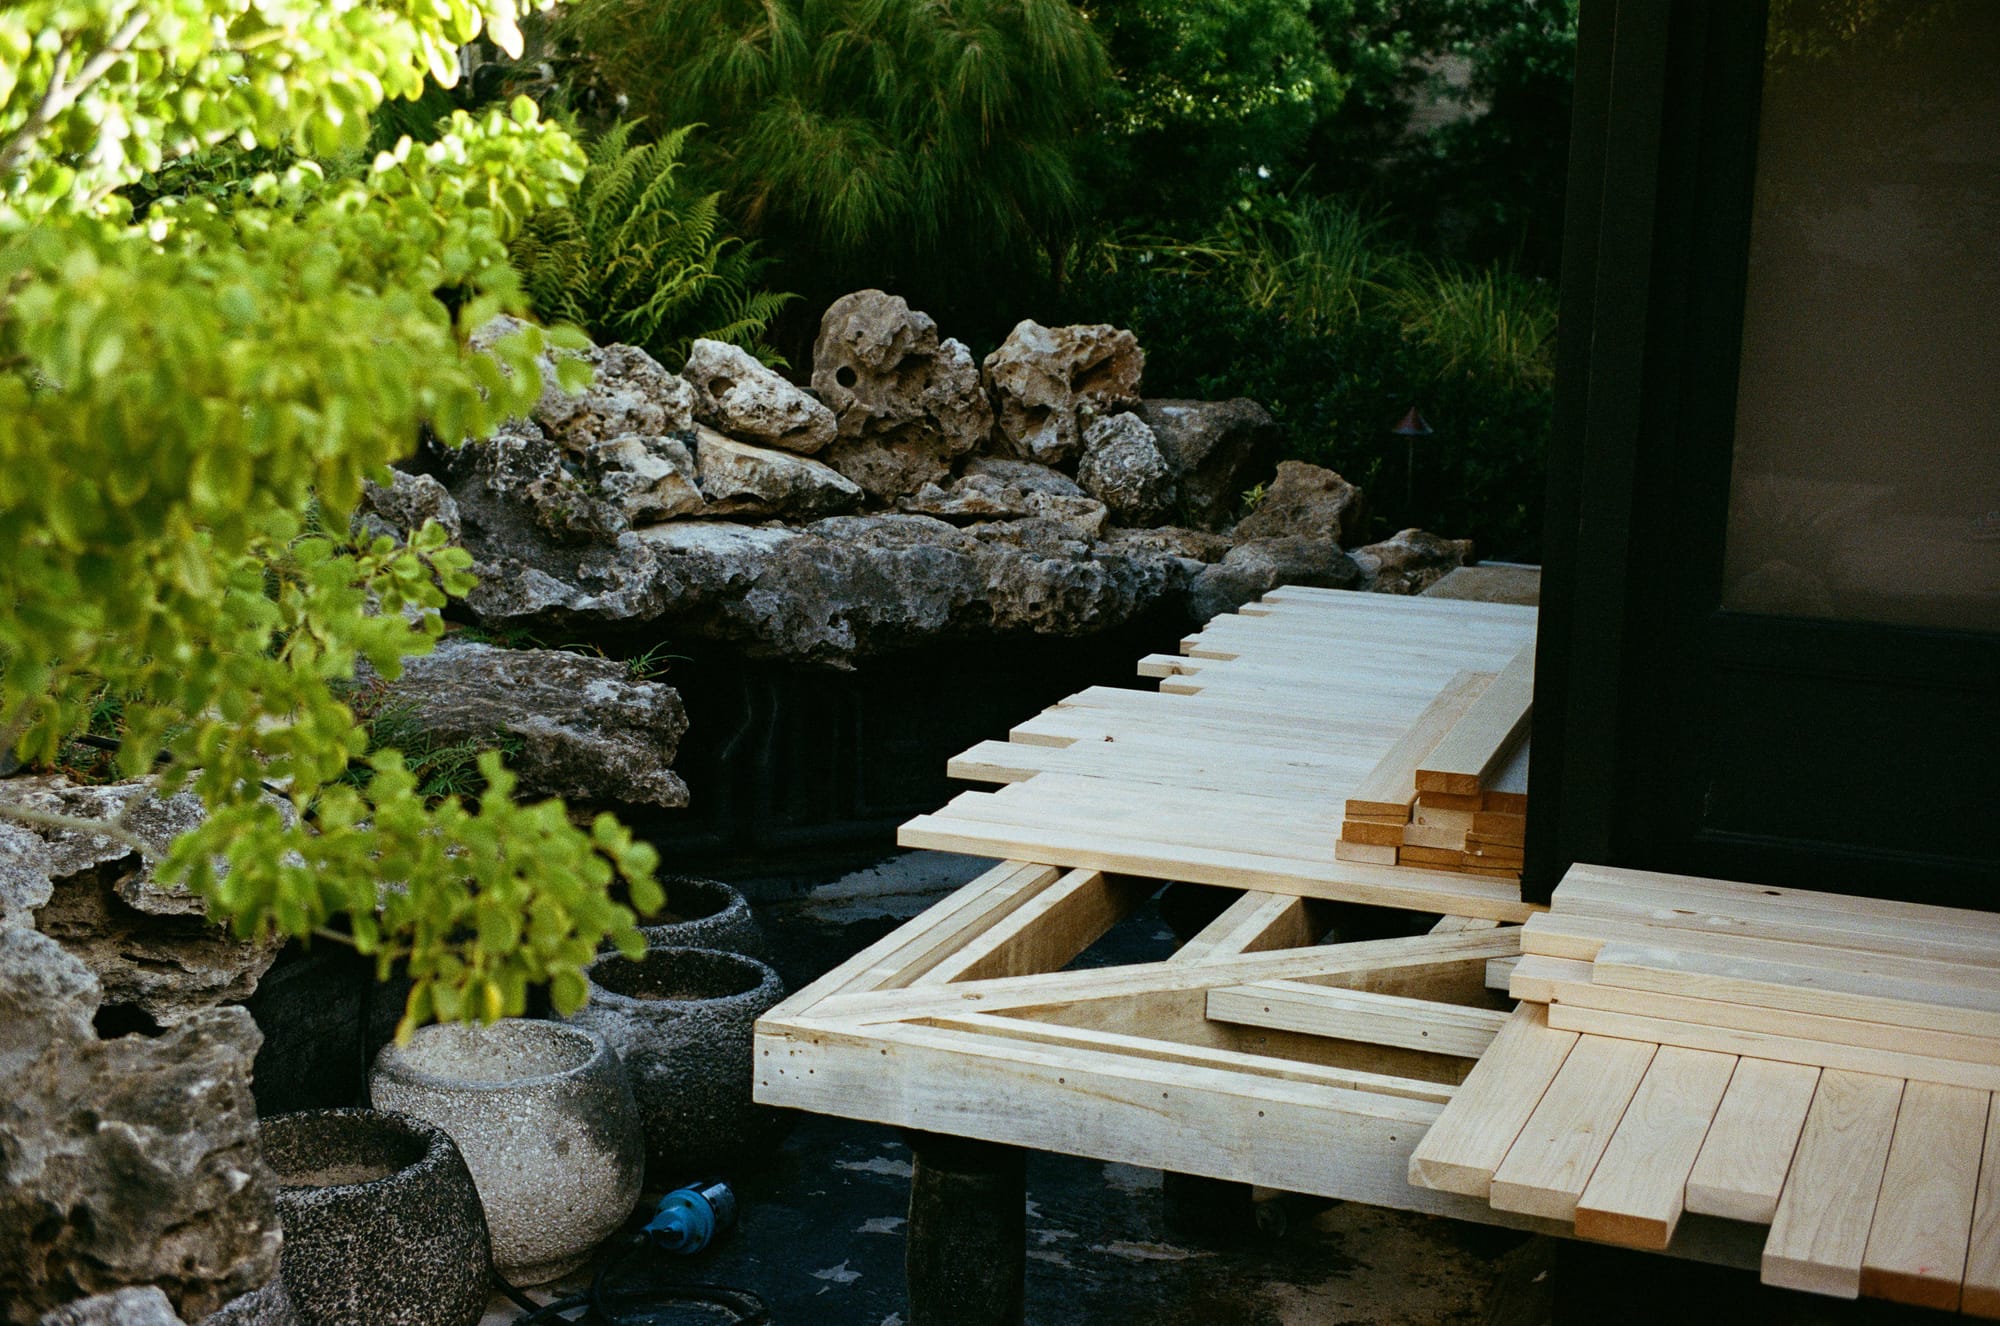
This rule is not just aesthetic. It is related to the idea that heart wood, particularly at the bottom of the tree, is often the part of the tree that is the least stable and smooth. It has runout, being near the part of the tree that grows wider and transforms into roots. It makes sense given how a young tree bends more than it resists wind and any other natural forces that might uproot a sapling.
If I could do it again, I would have chosen the position of each and every board before installation started, but I was still busy planing the second half of the stack when install began. The only way to create better conditions for board selection would have been to have let the carpenters sit for a bit or to mill everything well ahead of time.
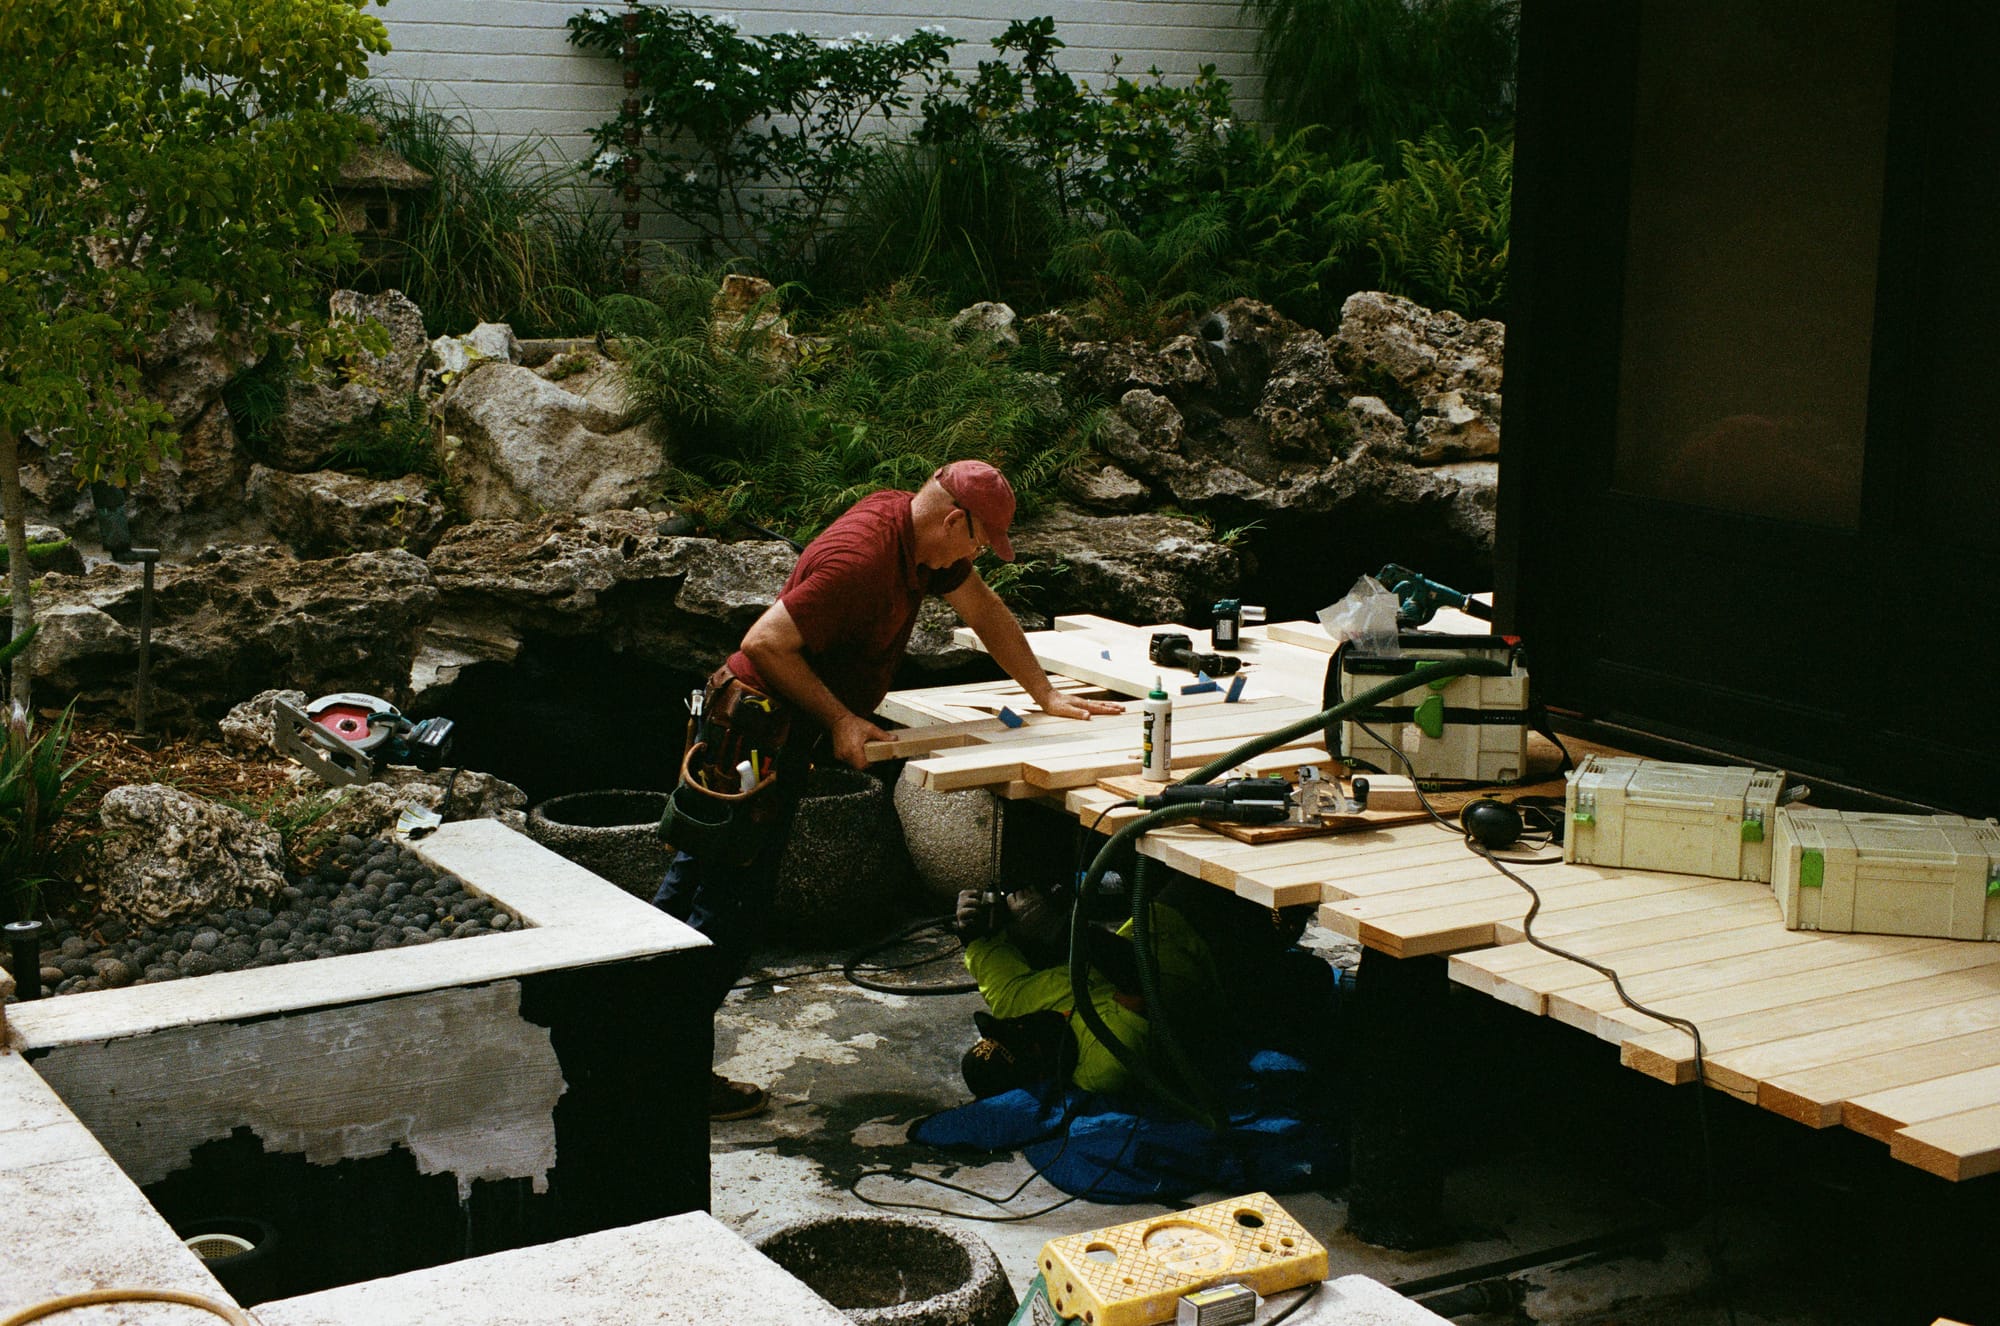
These rules on wood orientation are really some of the most precious gifts my first teacher, Yann Giguere has given me. I’m not spelling everything out in this post, because the knowledge is still not mine to give away. Training with him or others with his experience is the only way to learn it because the rules are contextualized and are different depending on each situation. I have spent over a month with him just studying wood selection, through the years. And I still have a lot to learn in this regard. But in general, Americans learn very little of this in construction these days.
All in all, planing 100 boards probably took about 12 hours, about 20% of that time spent resharpening.[4]
Back to the walkway. The corner detail was secured by stainless screws through cleats (like the rest of the path) but for extra strength, floating tenons (dominos) were employed to connect adjacent boards. A good plan but I felt a little uneasy as removal for maintenance would be tricky.
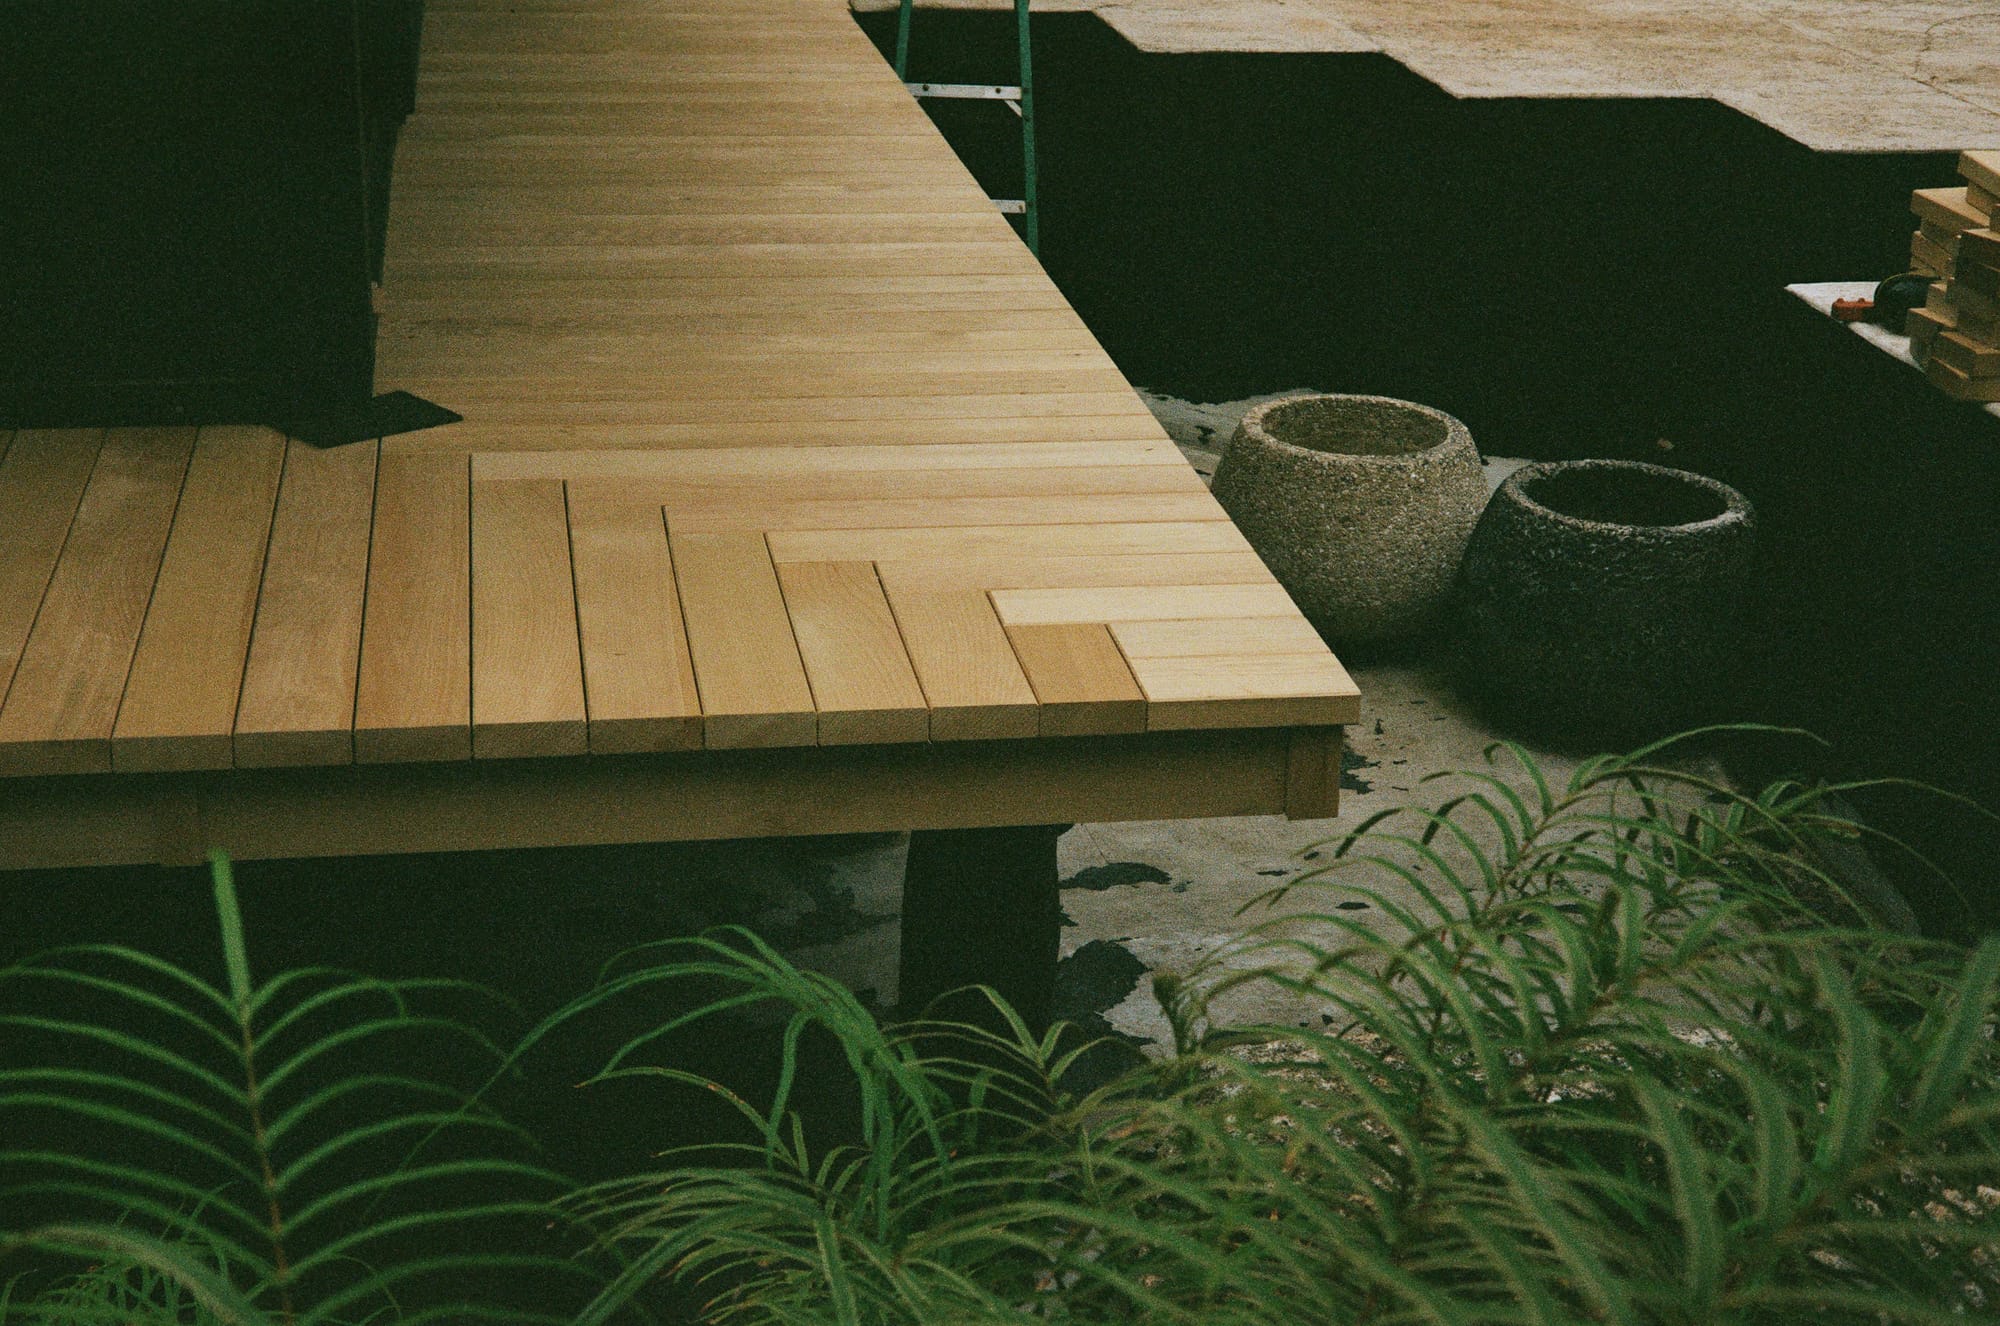
The other mistake I made was in thinking that a planed surface would be treated as a finished surface, which is not typical for an American deck.
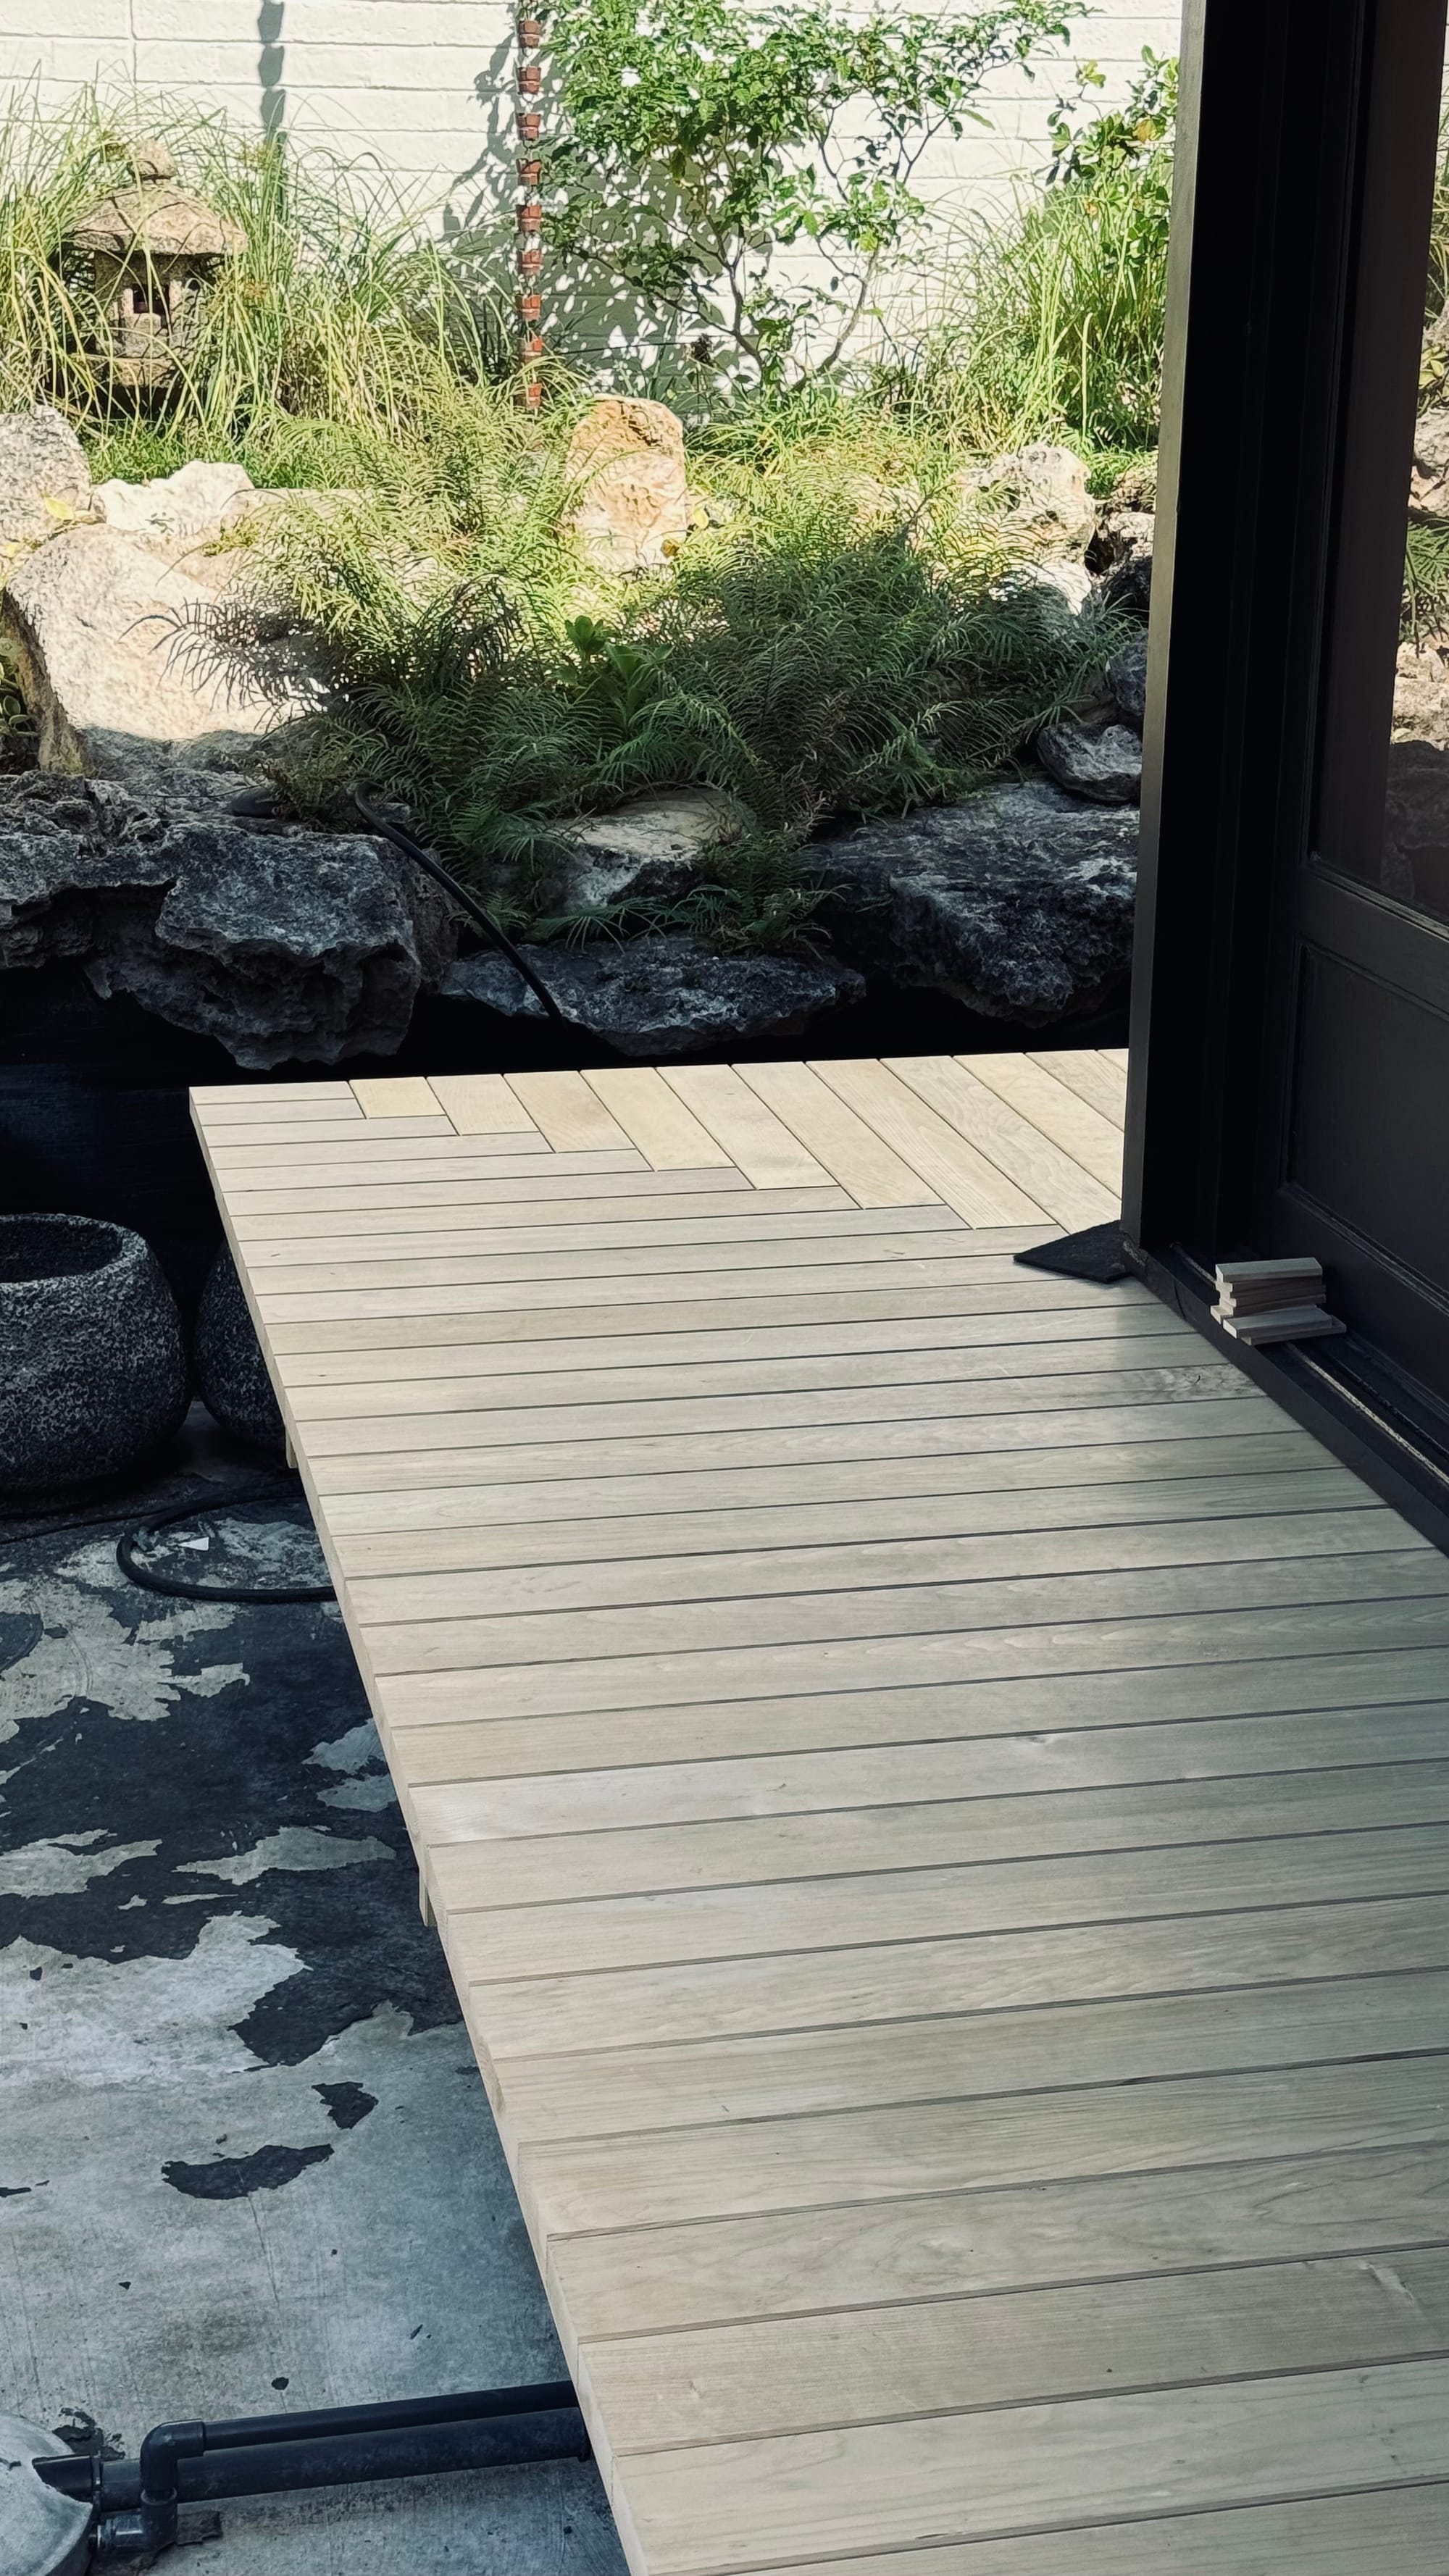
The junior carpenter’s boots were leaving scuffs, which I honestly felt ok about since sooner or later shoes would be all over this surface. The sheen of the hand planed surfaces could still be seen, especially when reflecting the black paint of the building. If I could do it again, I would ask carpenters to not walk on the surface, and to use socks or slippers or covers on their boots expressly for walking on the boards.
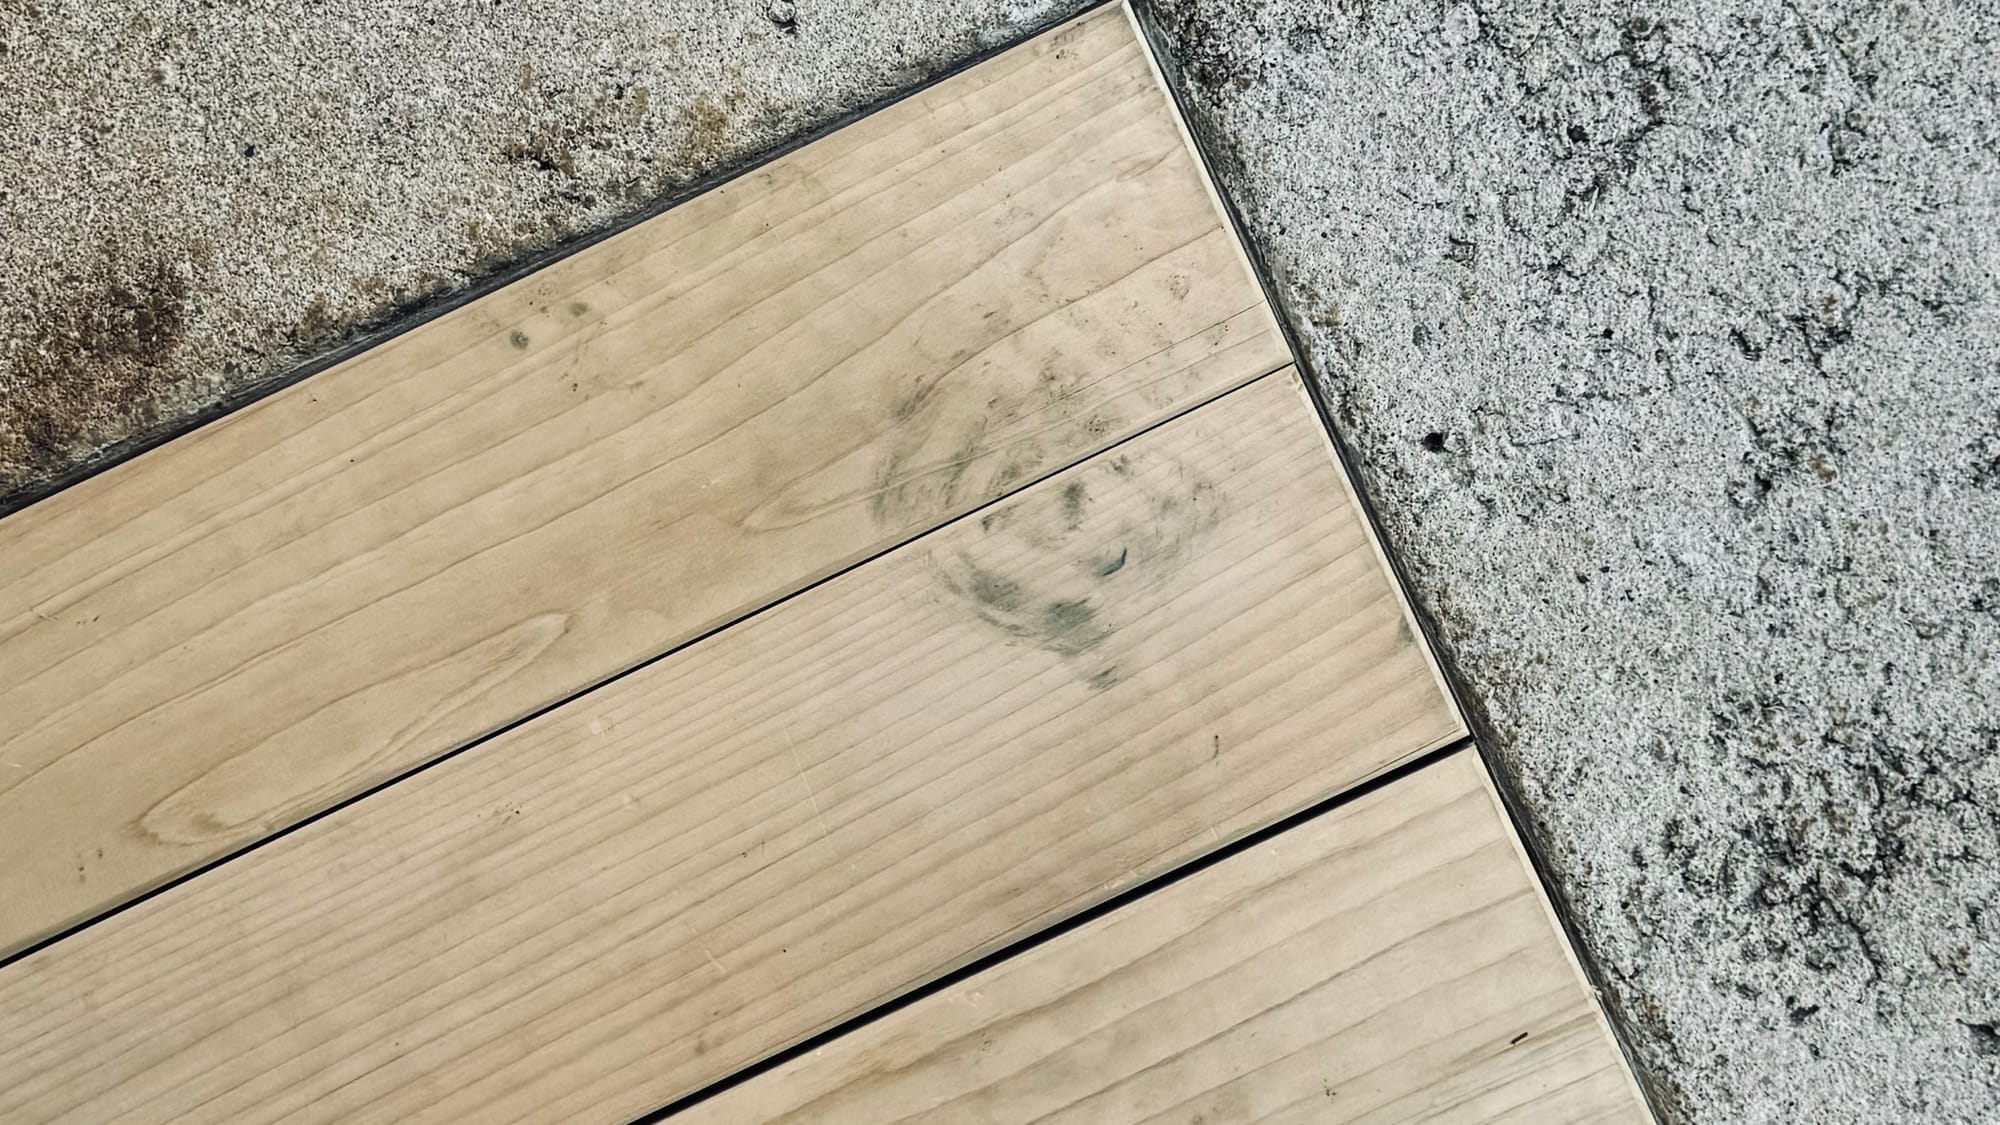
At the start of the walkway, there is a rock that protrudes into the path—I gladly took on the scribe work. The board that needed to receive the scribe wouldn’t fit between the rock and the building, so I used a transfer board to draw scribes from the rock to the board and then to the final piece. Using a jigsaw to rough, and a 15mm timber chisel to chunk out the angled profile of the rock, I finished a few boards in a few minutes.
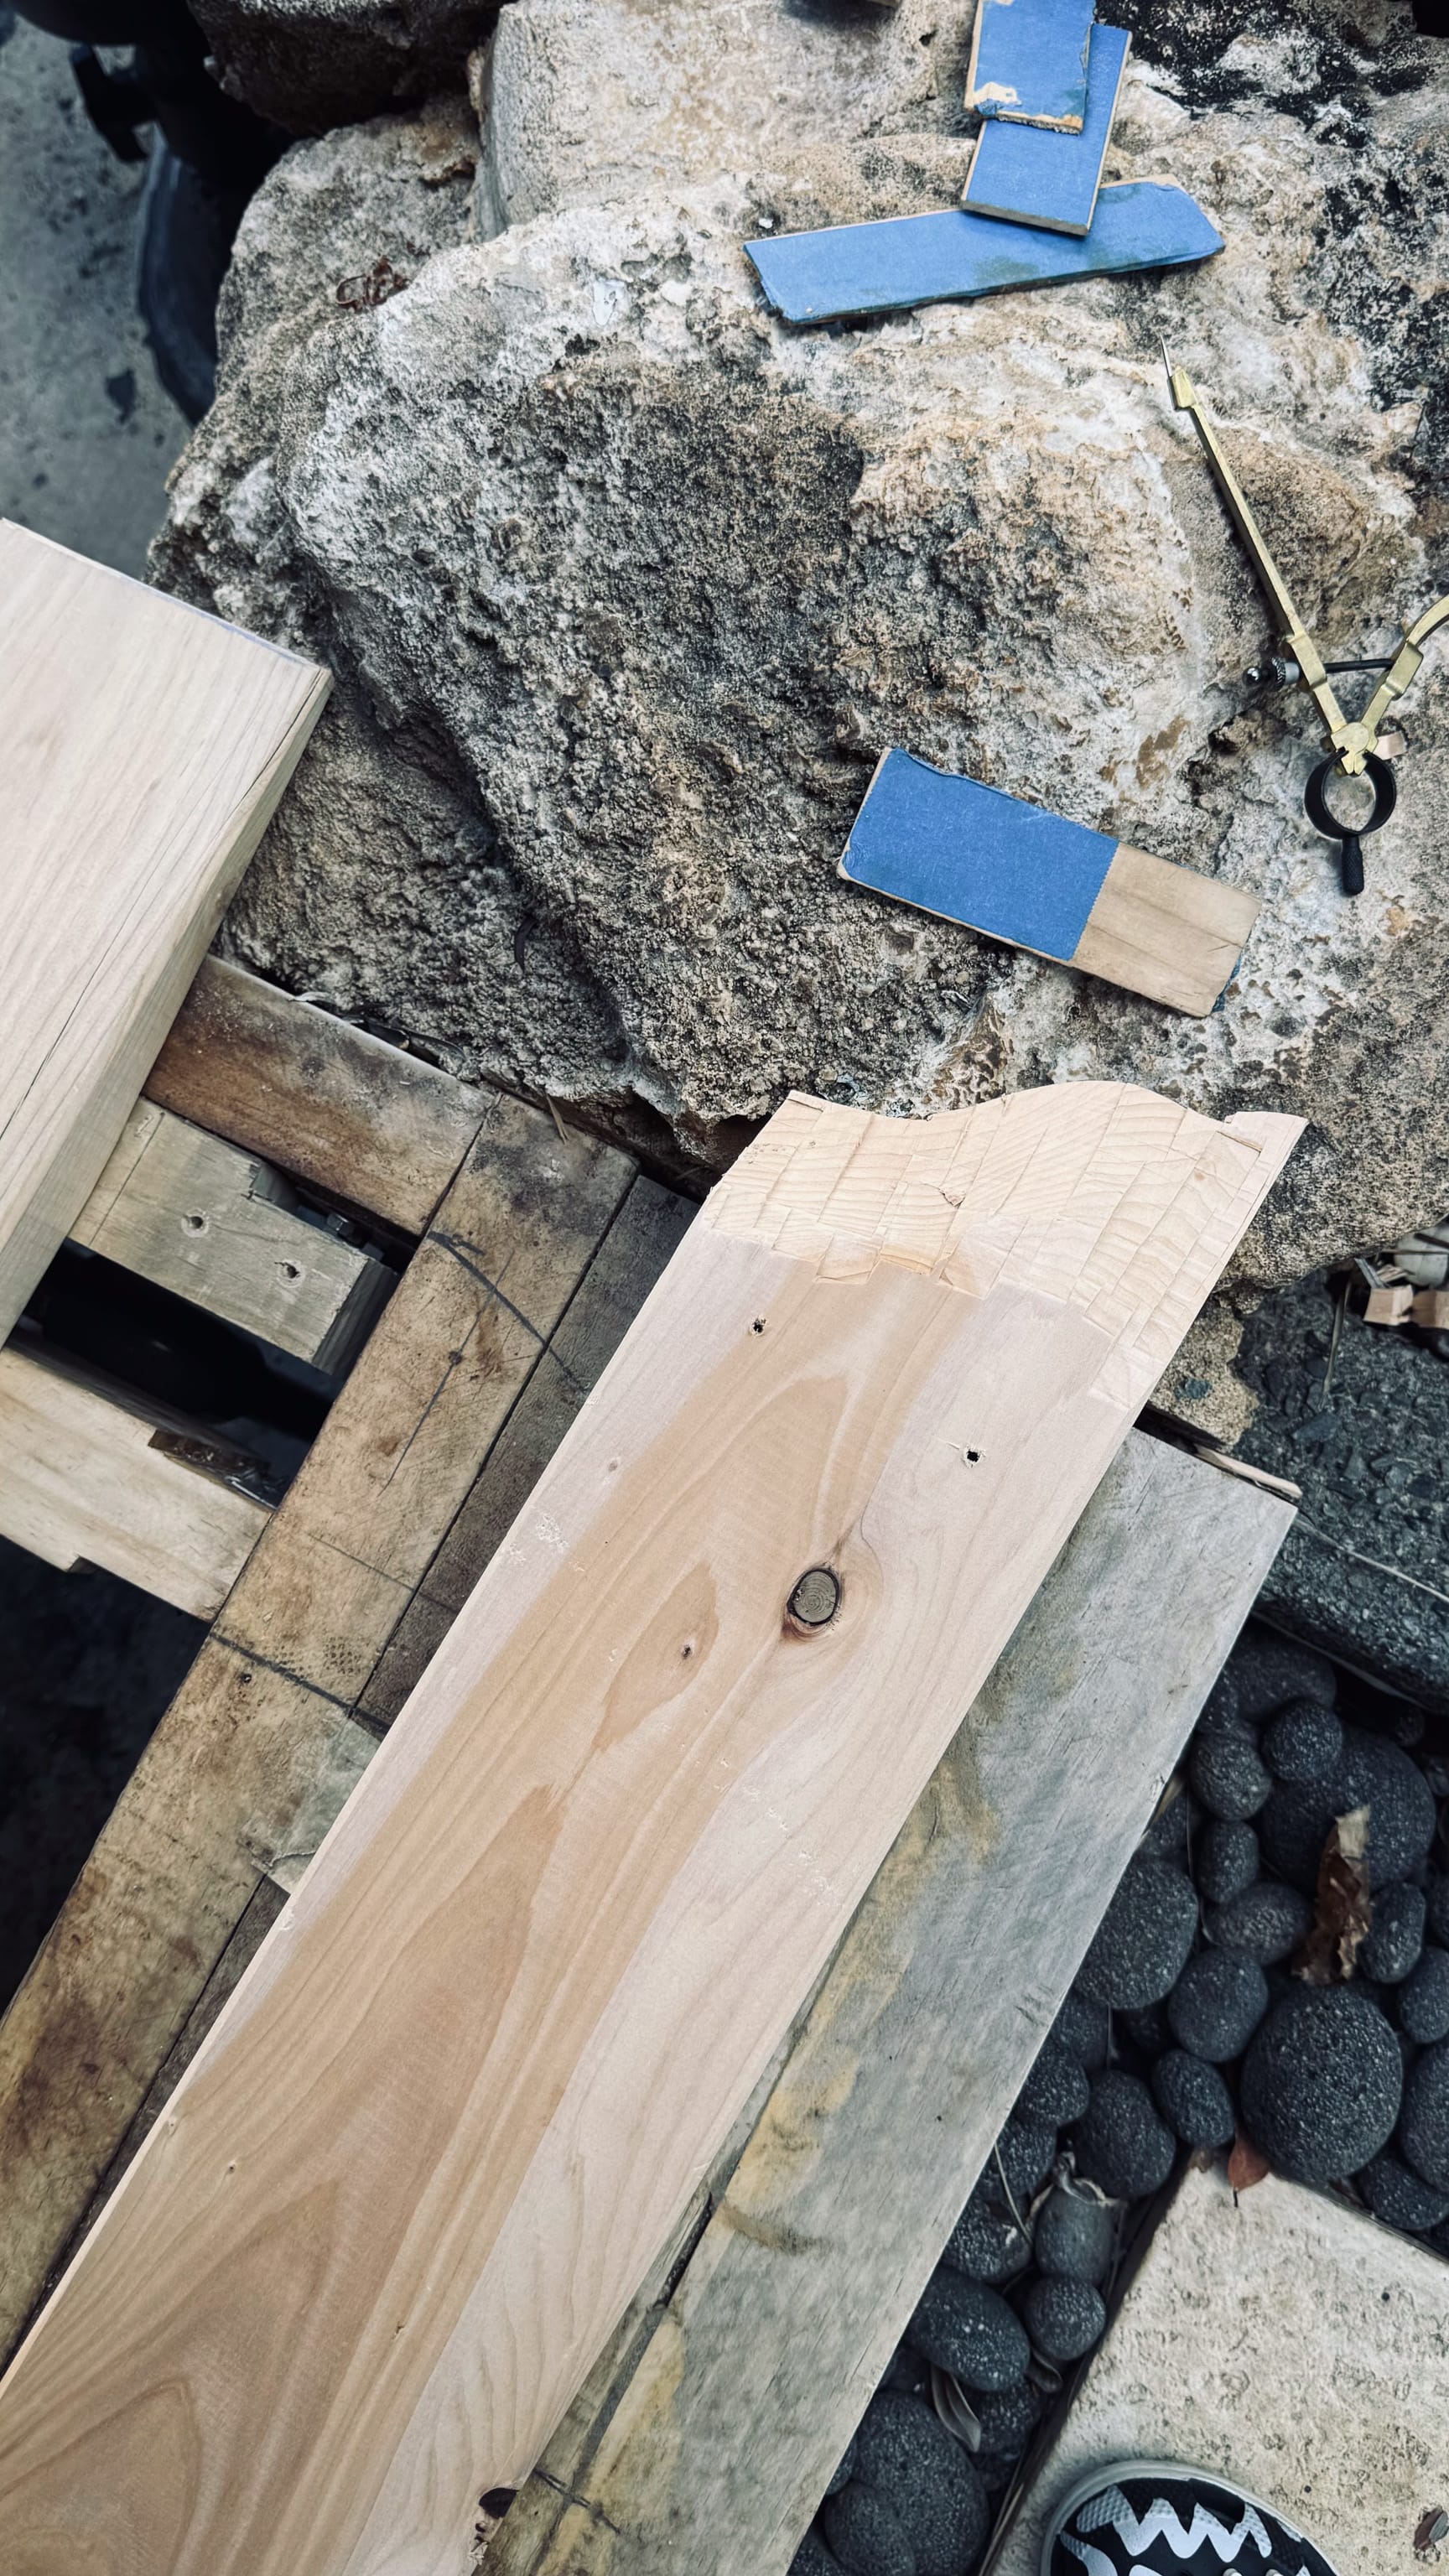
Fascia boards were cut from 4 foot lengths with a chamfered batten attached with finish nails to the framing.
We were just about done.
That evening, I took a few photos of my daughter skipping across coral boulders that line the pond.
The next day, the guys were cleaning up, helping me sort off cuts to save for future projects, and vacuuming up debris in the pond. I went to lunch with my father who was in town.
When I came back, I was surprised to see the entire hand planed finish glad been cleaned with a random orbital sander. The reflective sheen was gone.
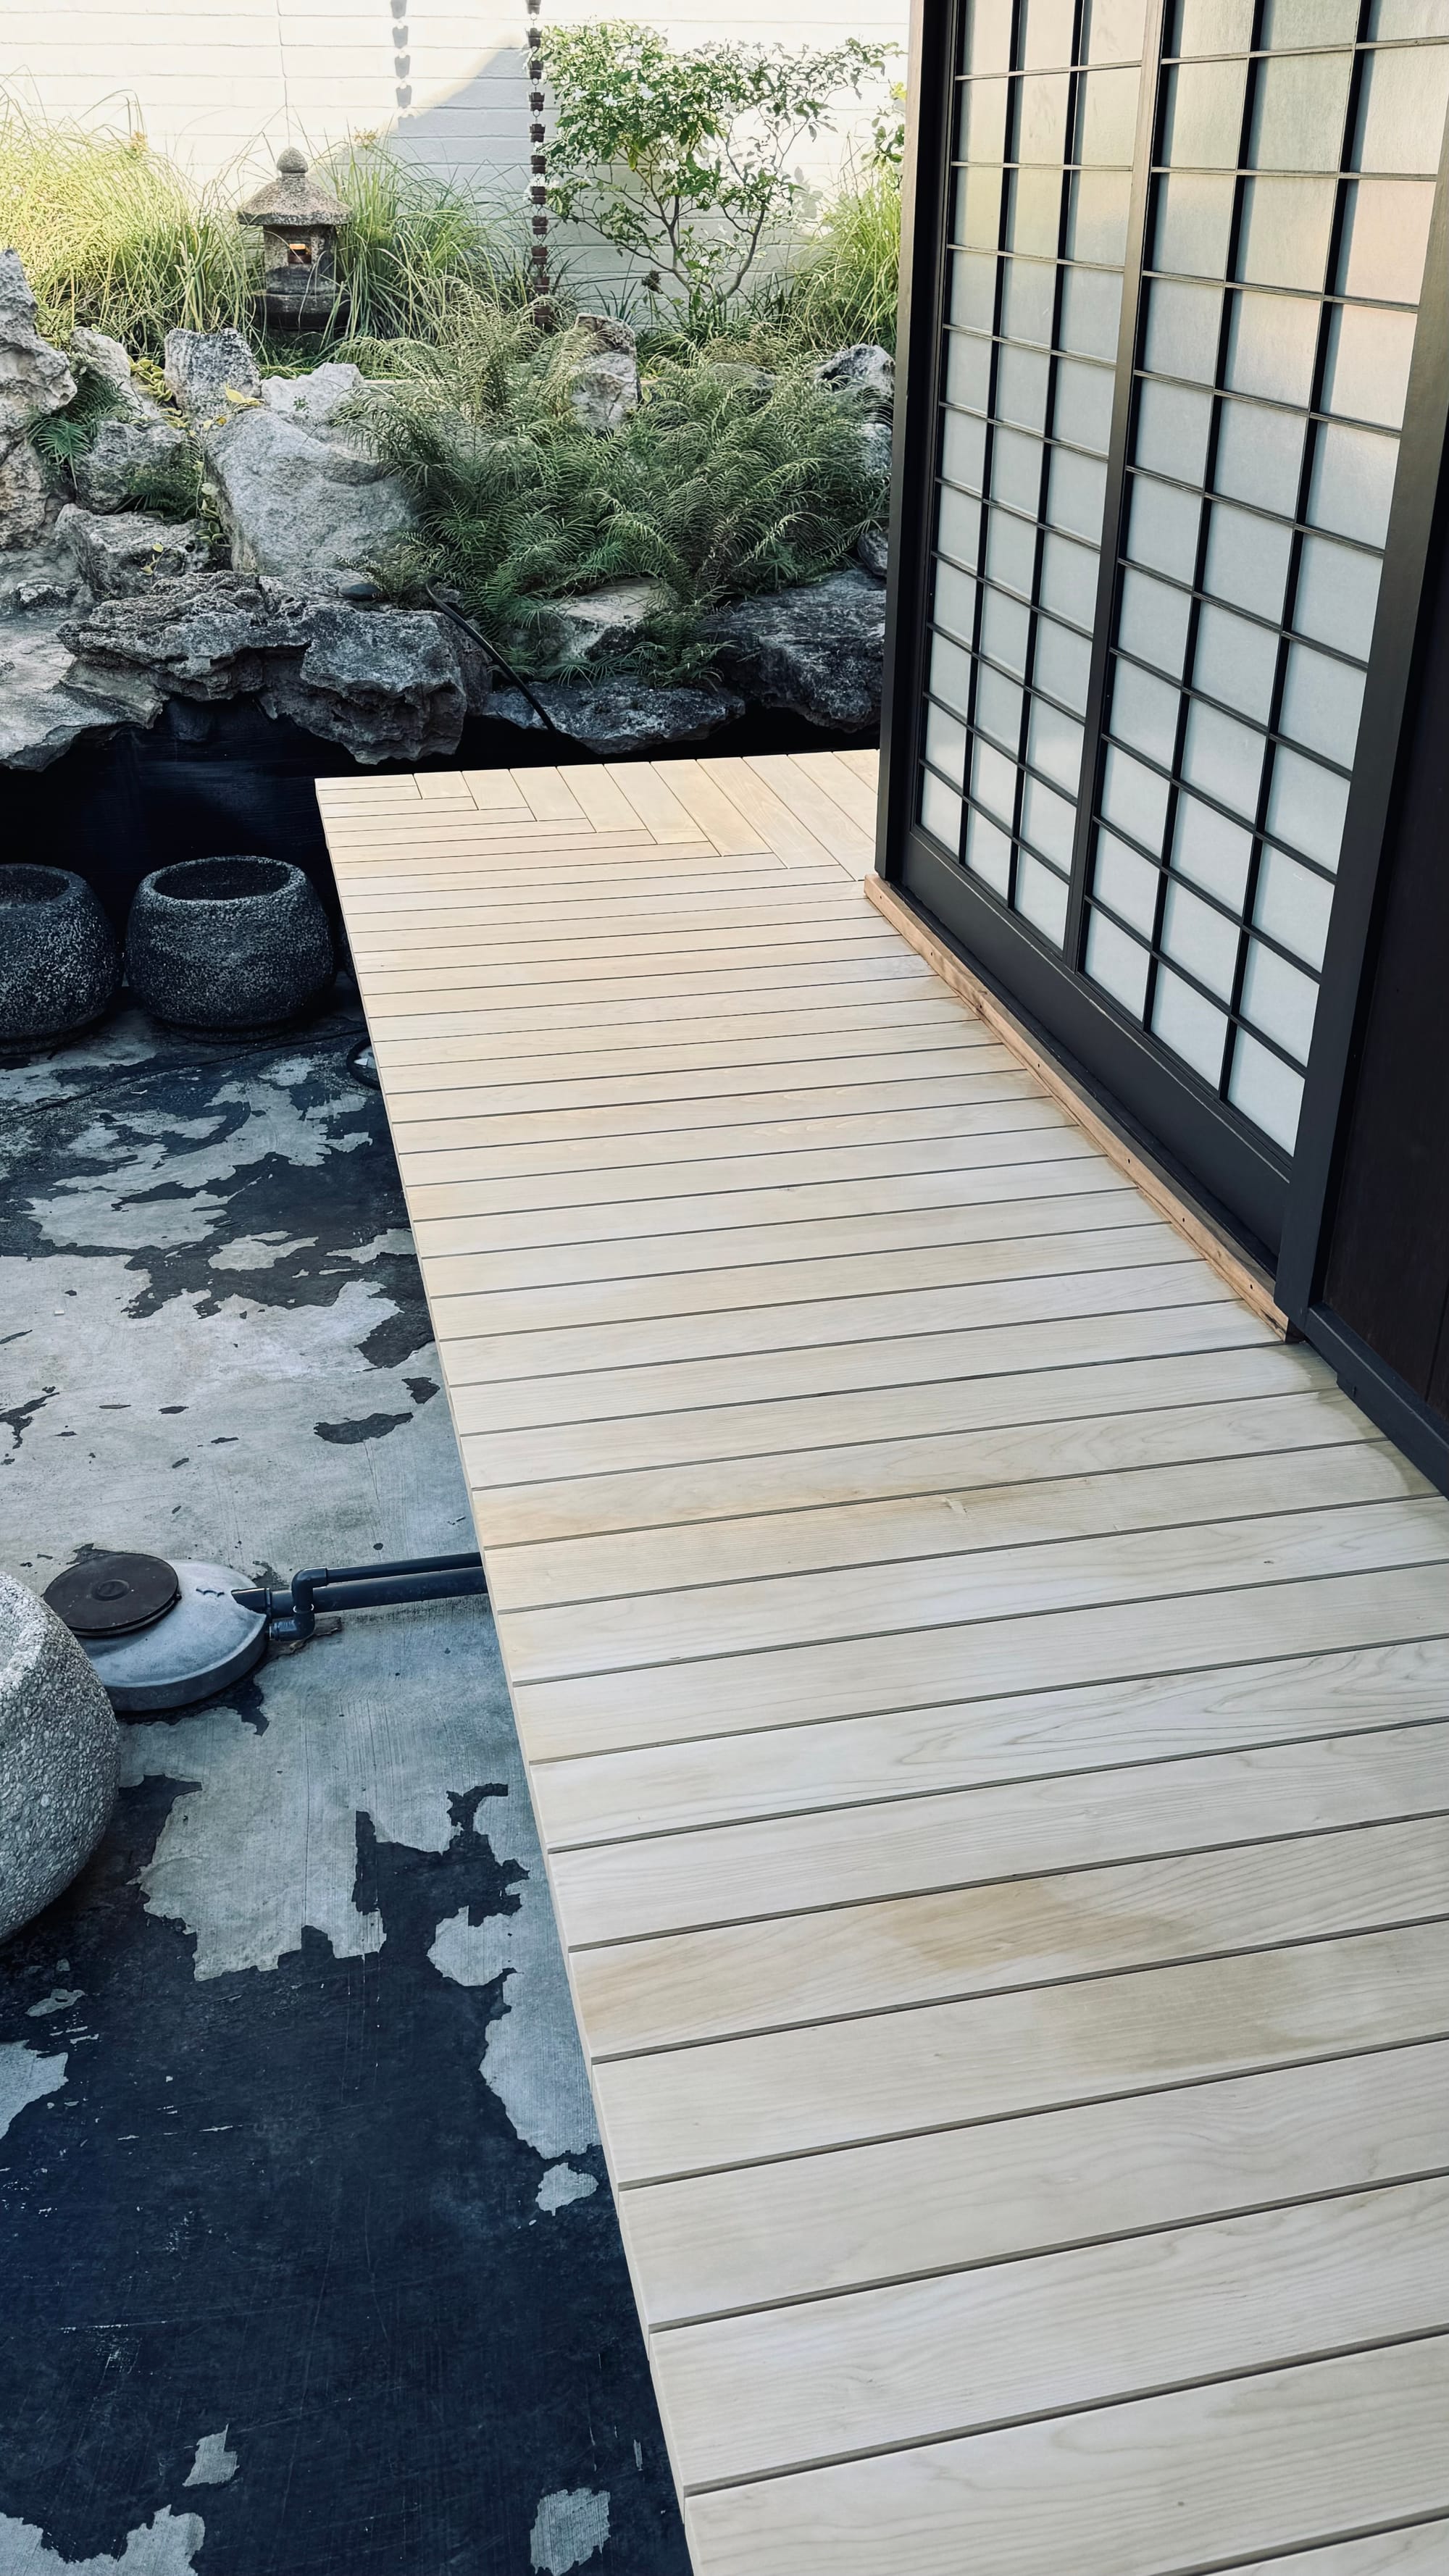
My friend told me he cleaned off the boot marks. But, he said, “I didn’t have any 320 or 480 grit so I used 240 grit.” I completely understand the context where that would make sense in western work, especially with a higher finishing grit. I said thanks as he drove away. And went back to the walkway to inspect it and decide what to do next.
The walkway had lost all sense of sheen but more importantly, when I applied water, the surface was definitely more thirsty and was holding debris more steadily. When you sand, a protective oil finish afterwards is ideal but I wasn’t sure I was ready to commit to a maintenance cycle over a koi pond. I was exhausted and frustrated. I talked to Yann about it, and he gave his condolences. I slept on the idea of what to do next.
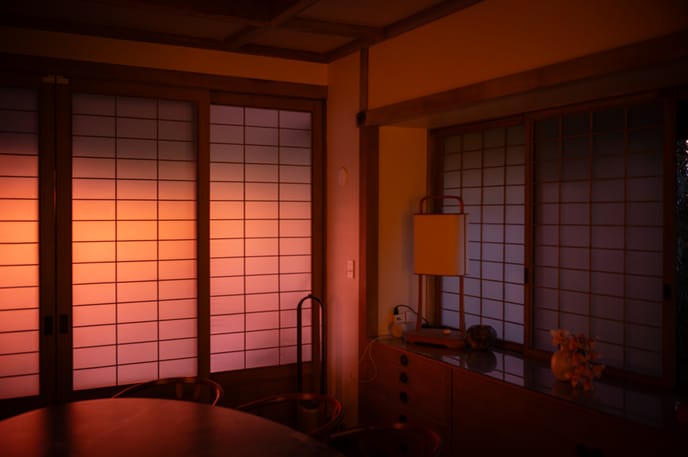
As I fell asleep, I thought about the last few years of my life for some perspective. I had been looking forward to working on this project for 2 years. And, have been practicing using hand planes and sharpening for the last 5 years. I had spent over 6 years working on this home, restoring almost every aspect of it. The walkway is the only large scale opportunity to do hand plane work left in the house. I would see it every day for the next few decades. It would be the first thing I’d see when I walk out of my room in the morning. And the last thing I’d see when I go to bed at night, reflecting light from the granite lanterns across the pond.
With all that in mind, I decided to try and enjoy planing the entire walk way a second time.
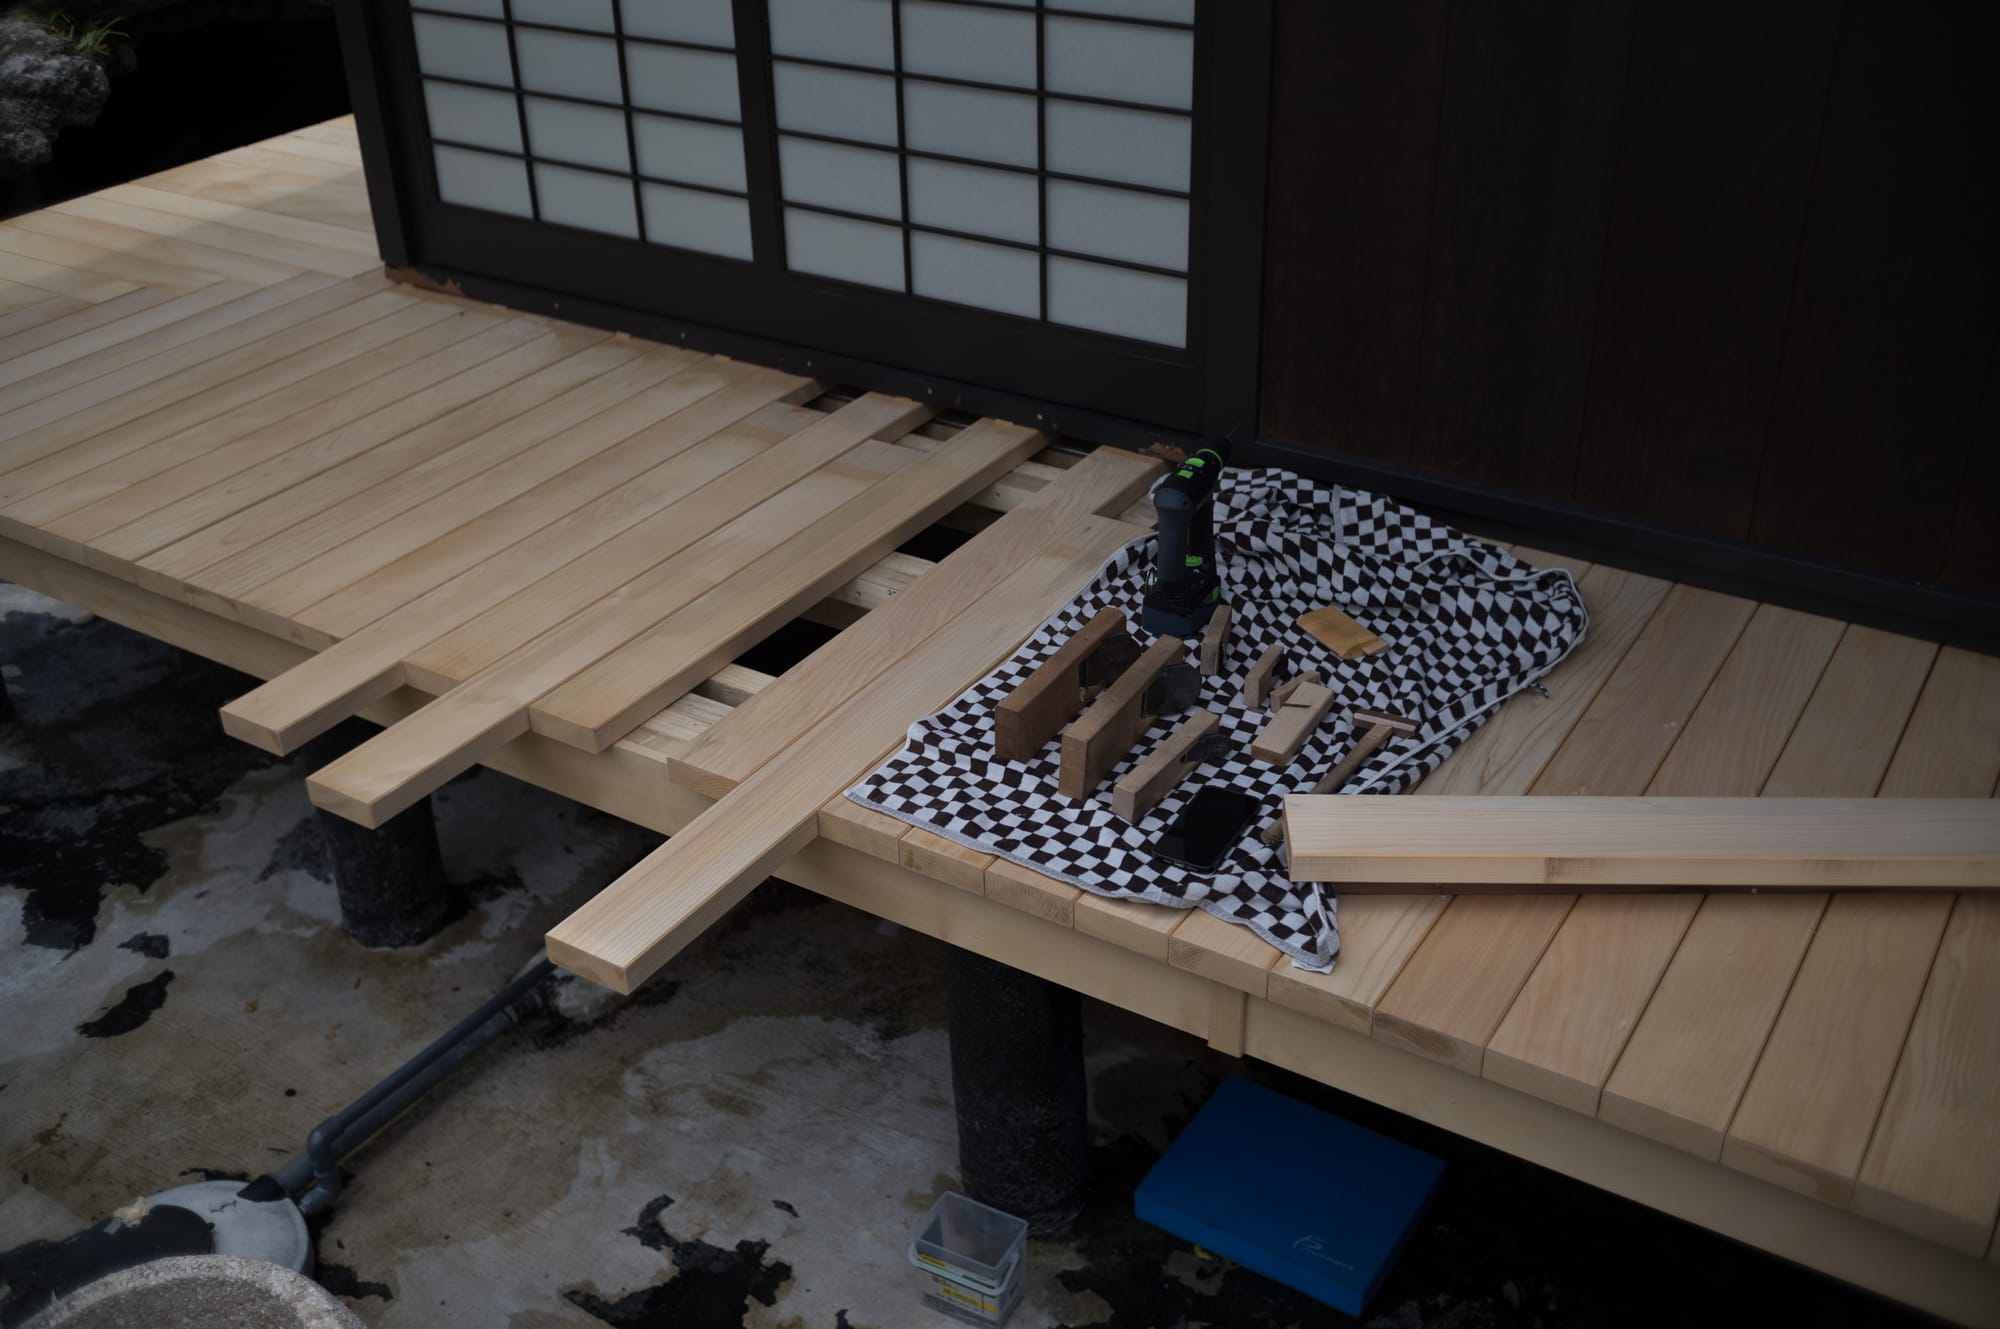
The next day I started removing the first few board to work them again. A friend, Spencer, came by to help with the removal of boards. This was extremely fortunate, as I’m nearing 50 years old, and being hunched over a muddy pond, removing about 600 3-inch deck screws above head was a little bit above my endurance capability after planing over half a linear mile of hand plane passes. Spencer had a great idea, and removed almost all the screws, so I could plane the next day without having to go under the deck. He would return in two days on Friday to help me reinstall the remaining boards.
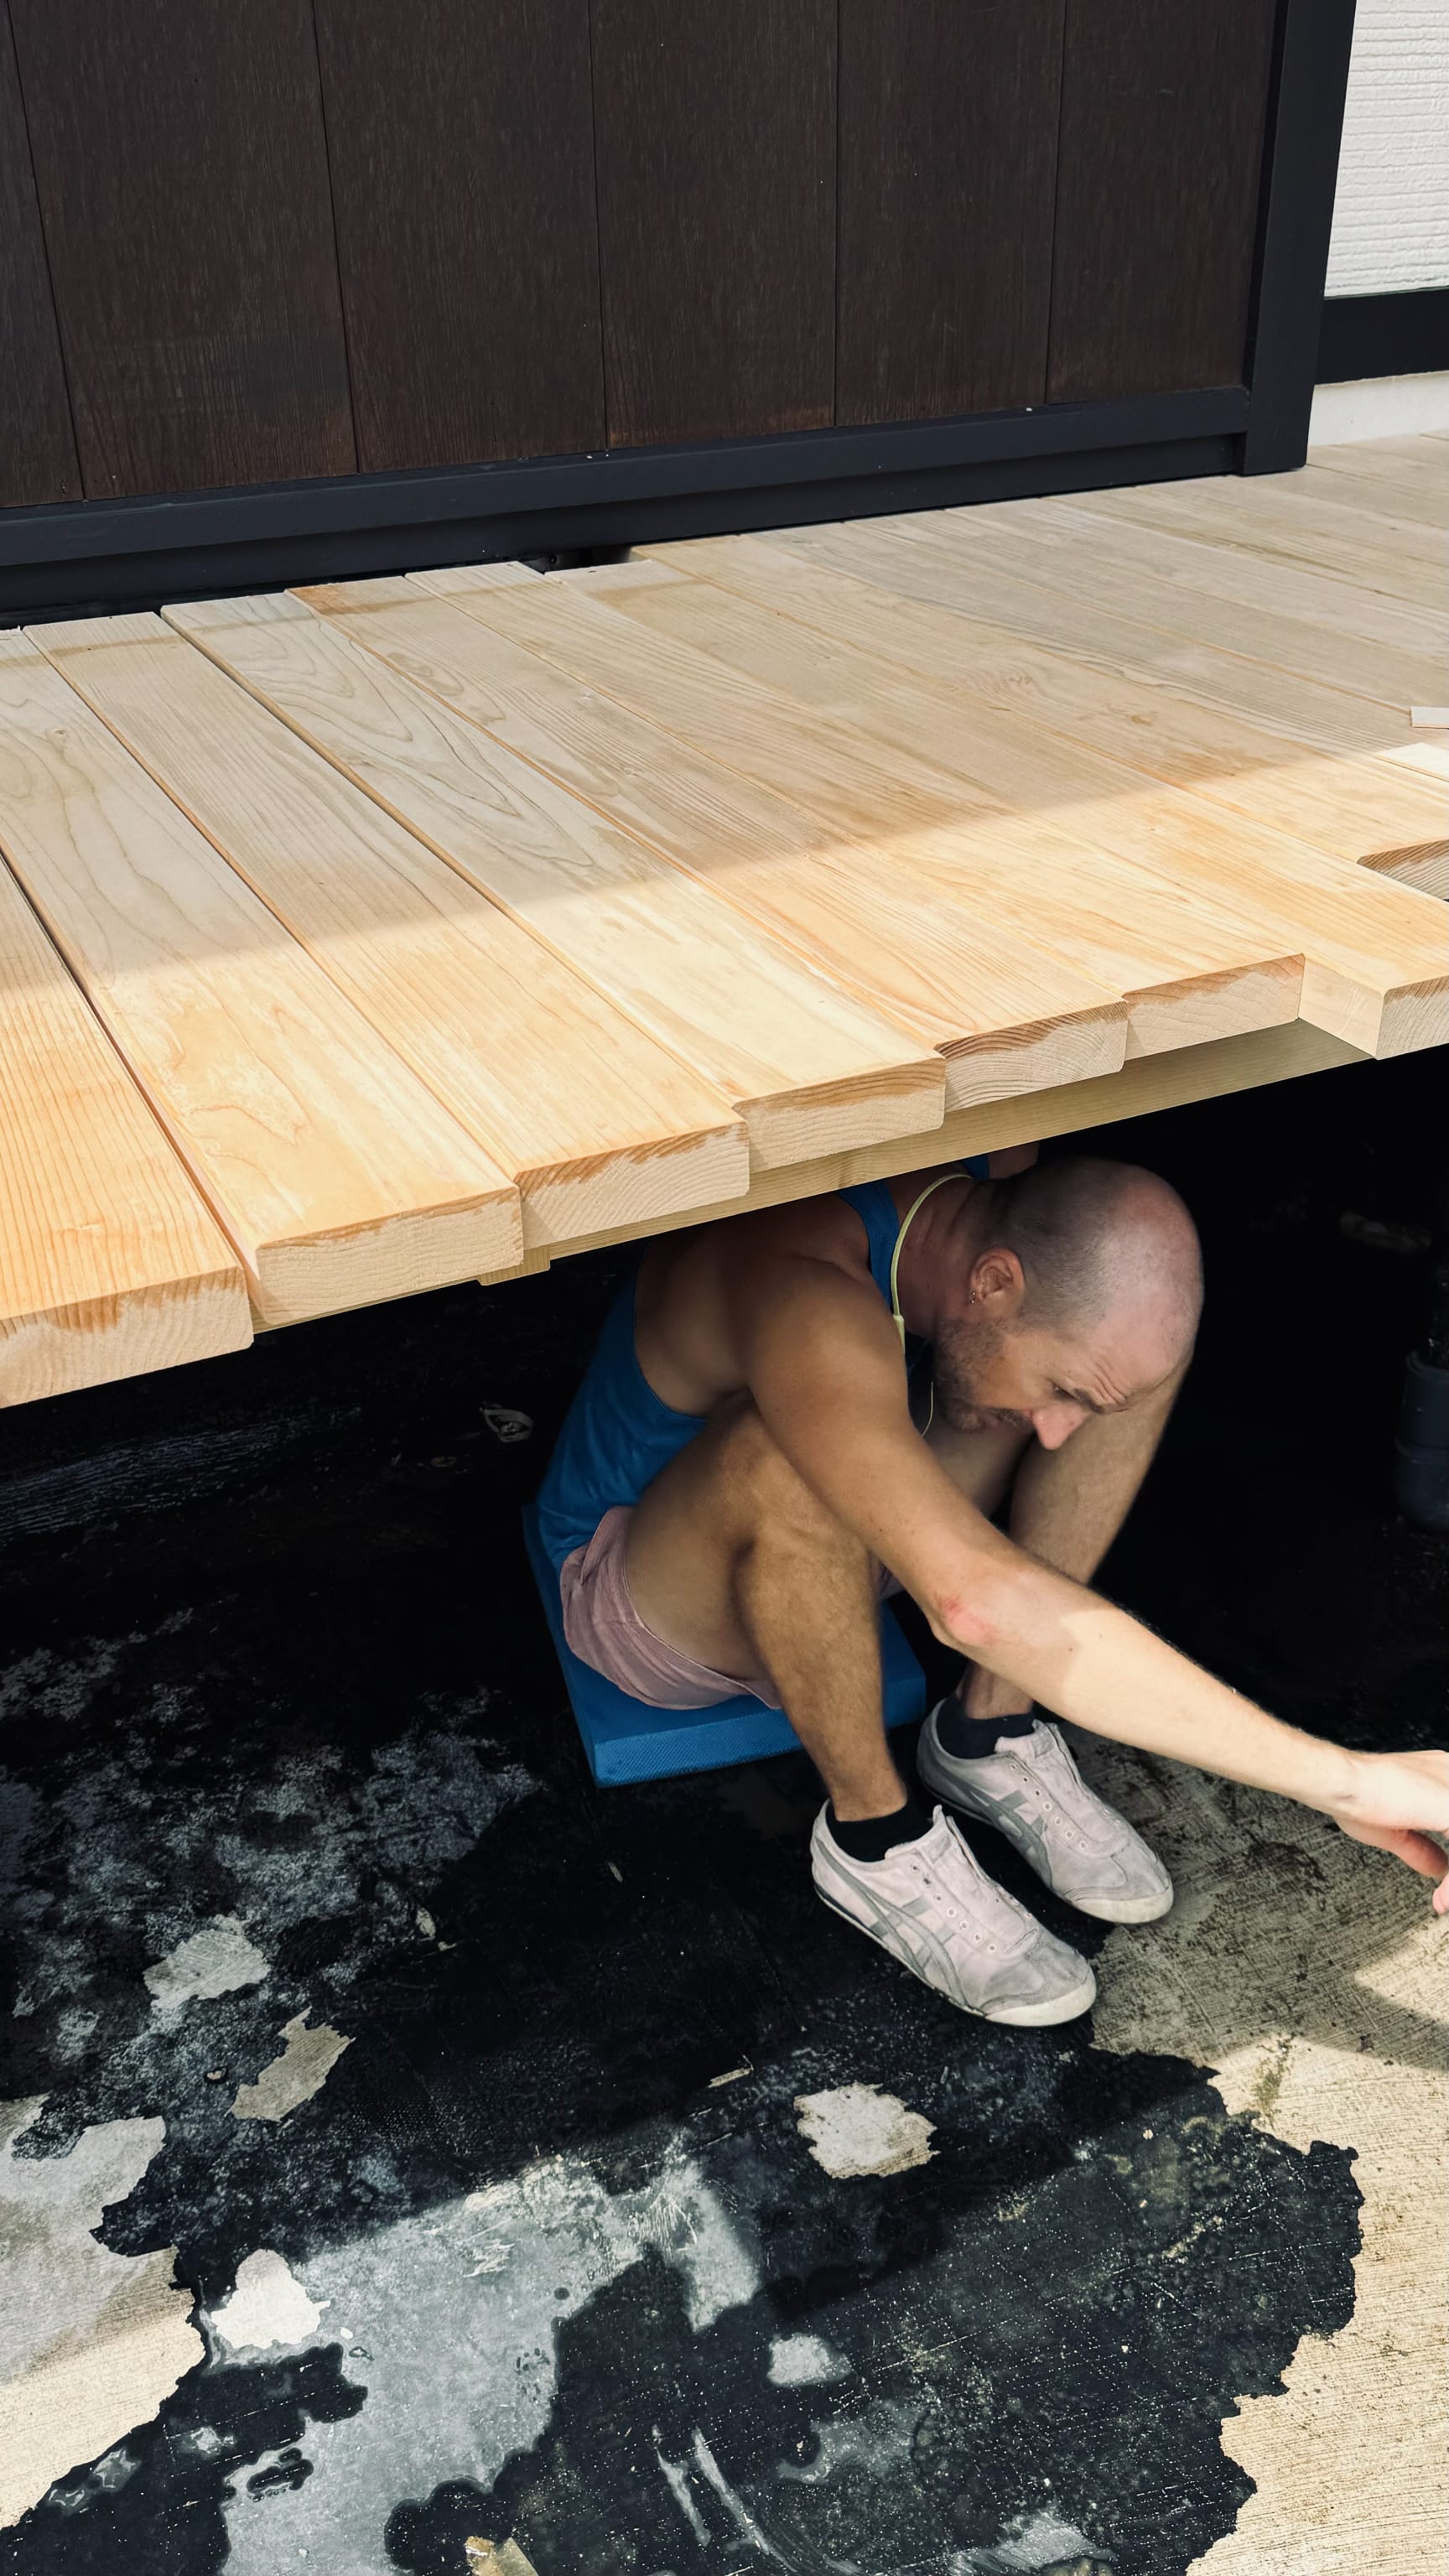
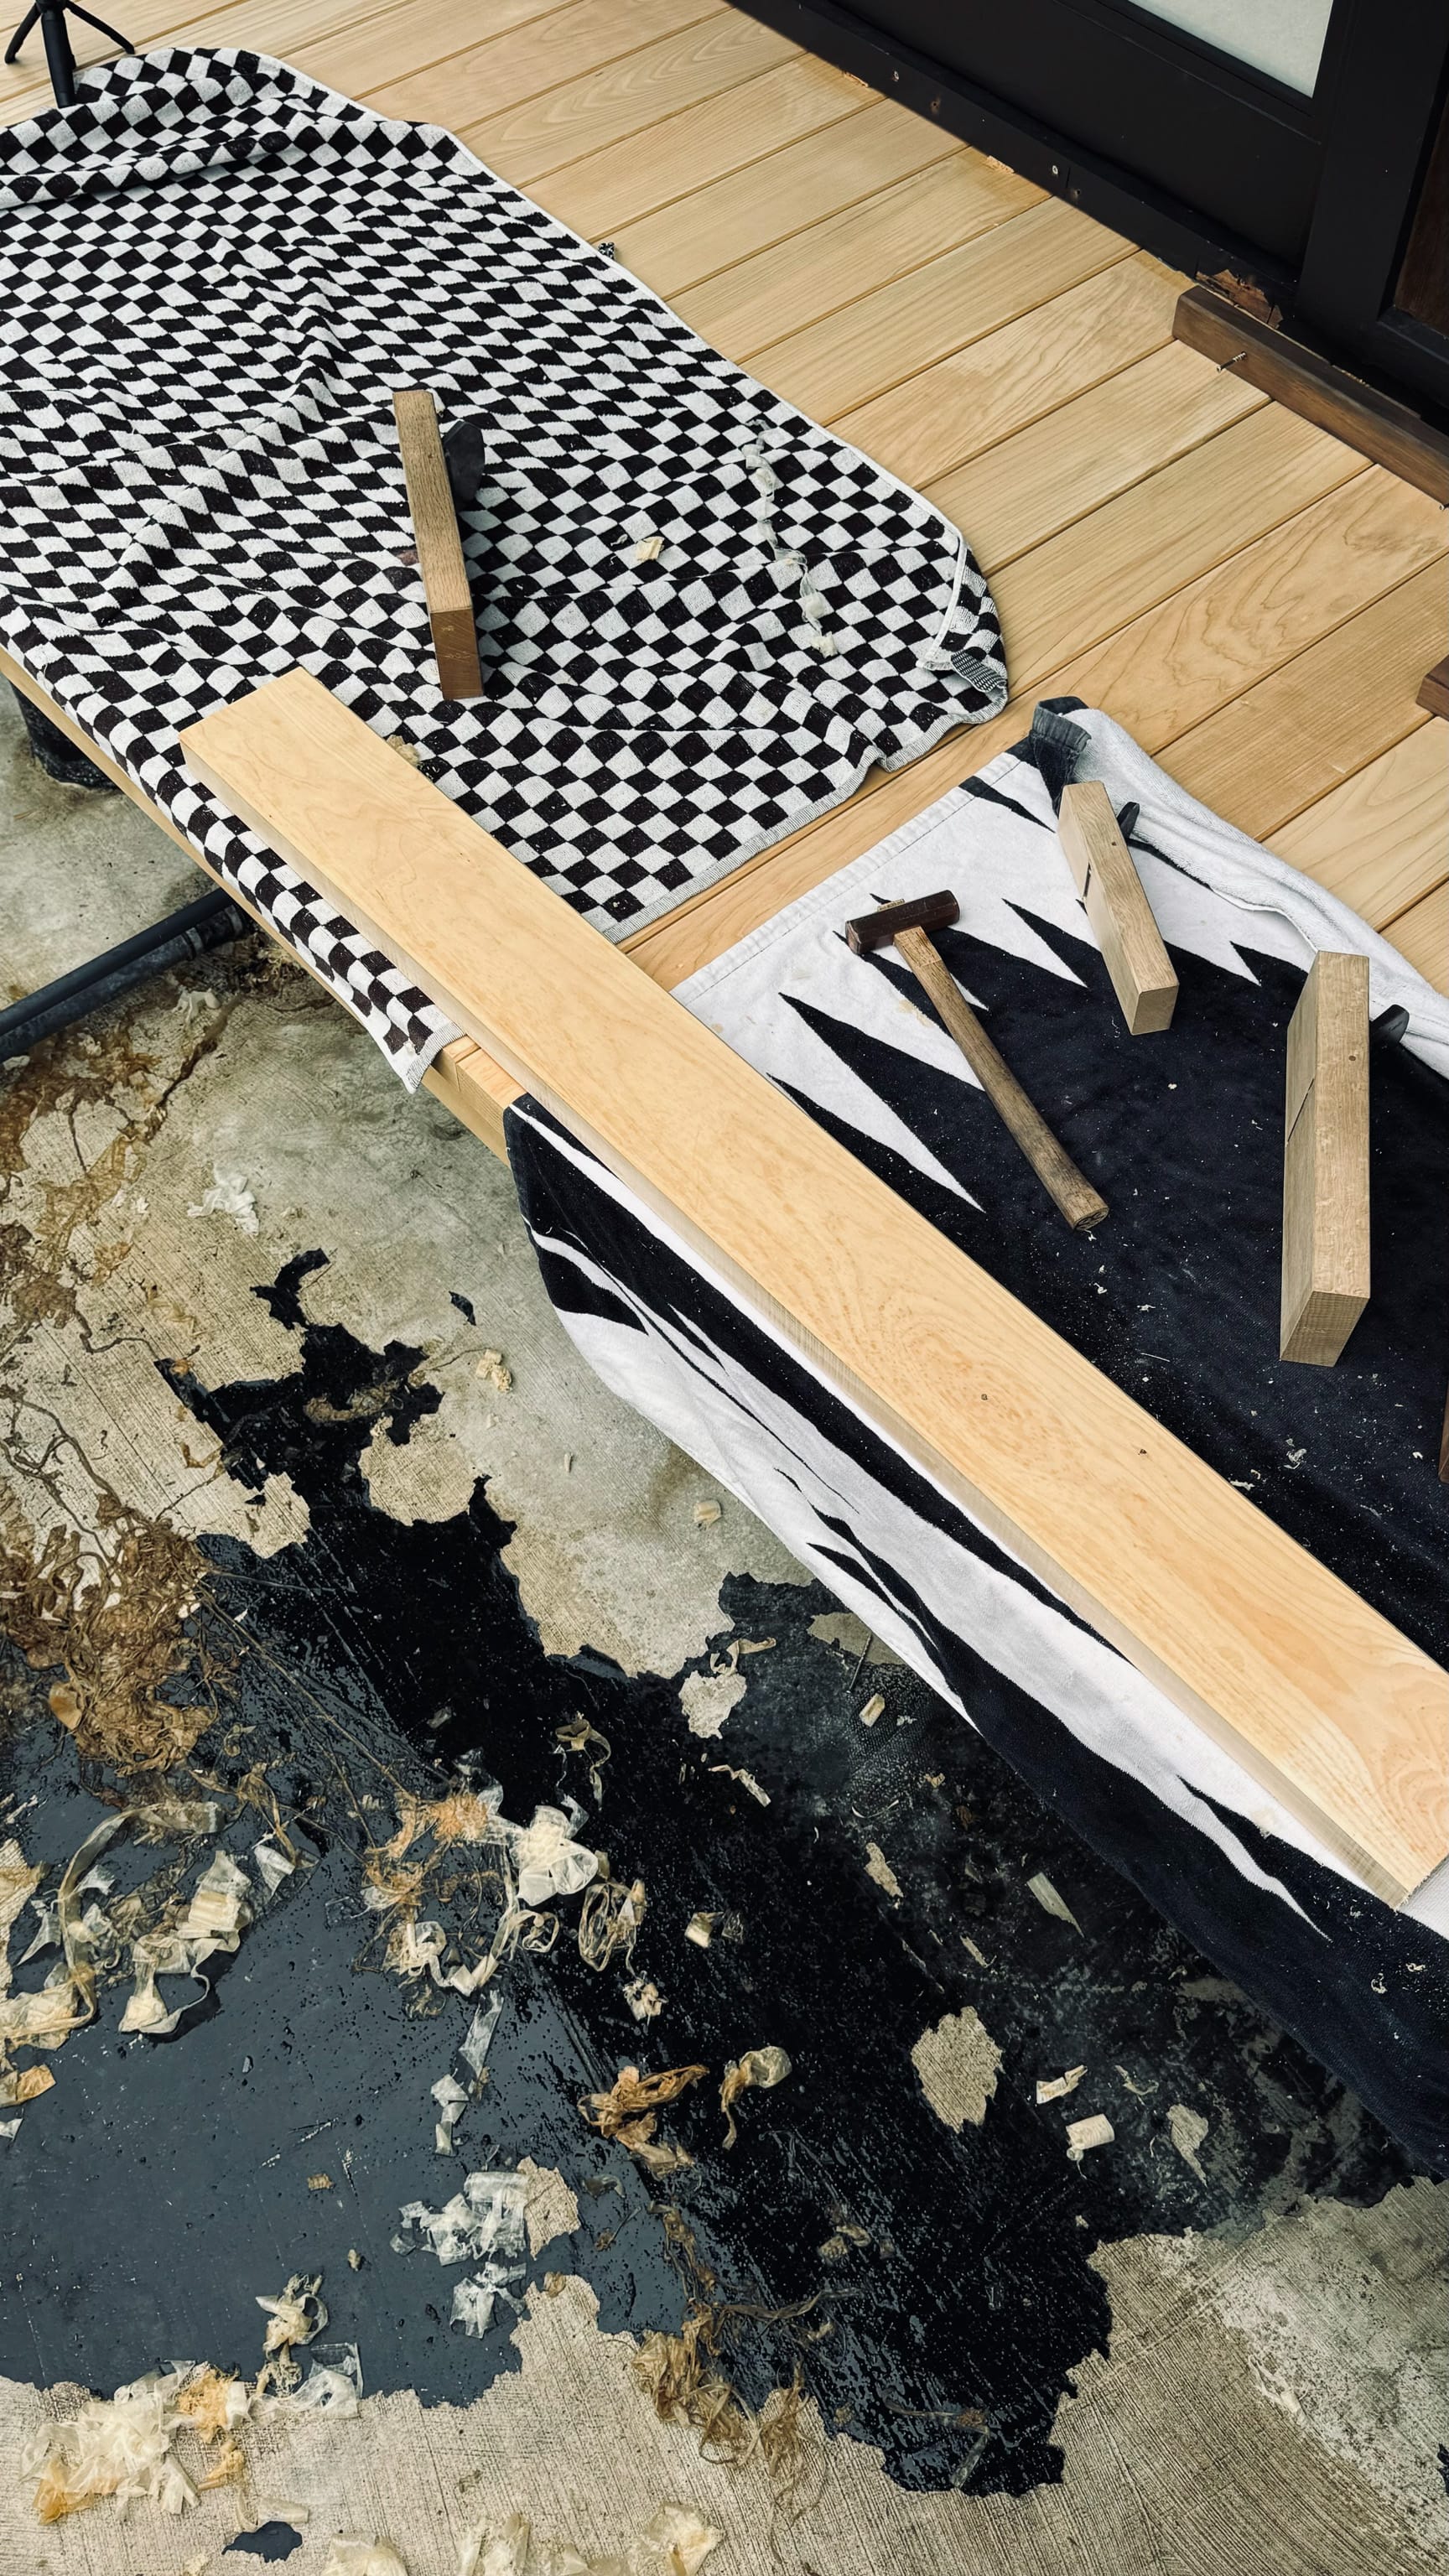
After the first 15 or so boards were re planed and reinstalled, I set up a planing station on the walkway itself with a towel to protect the surface.
The corner herringbone detail was not removable without considerable effort, because they were connected to each other with floating tenons and partially attached with screws from behind the fascia boards. Both Yann and Dale (Yann’s teacher) told me a usual option for the last board on the corner was to have one wider board milled so end grain showed on both sides of the corner. But I did not have access to such a board. The feeling of the design, as it is now, seems so tenuous, even if it is mechanically solid.
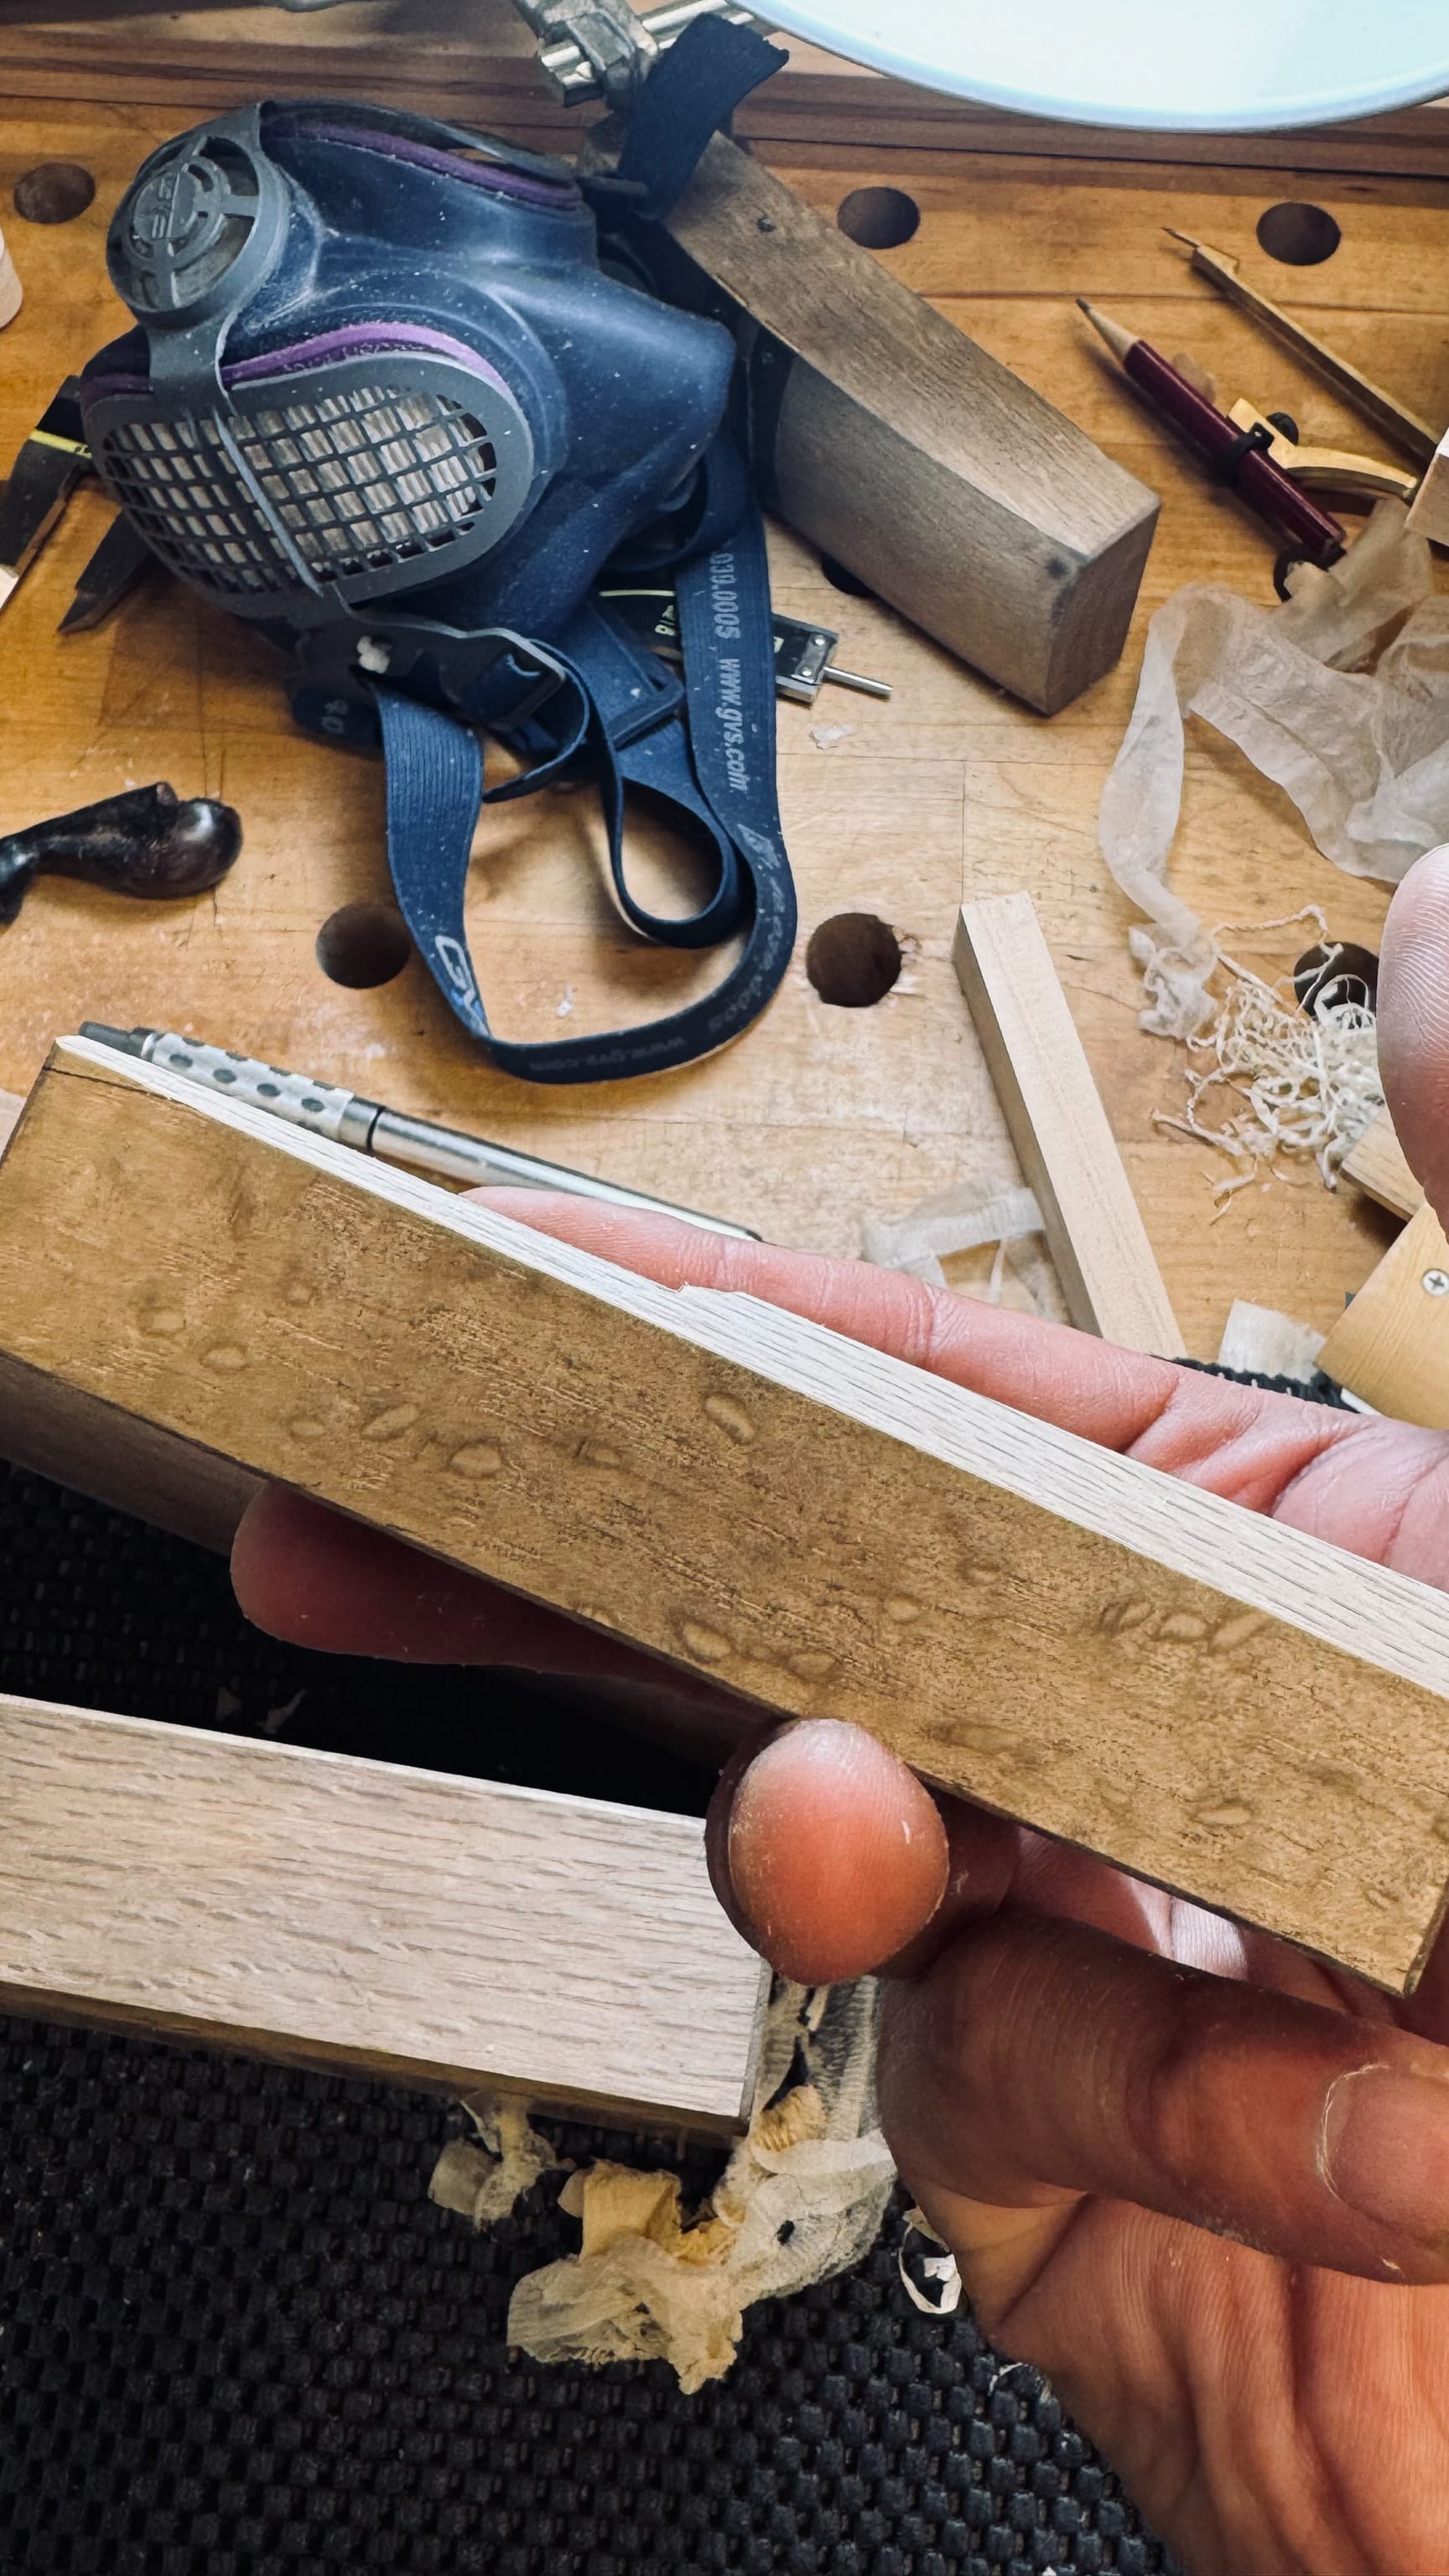
To plane the corner pieces without disassembly, I took a lesson from my time at Mount Fuji Wood Culture Society and in 5 minutes modified a small plane with excessive clearance on the sides and behind the blade to allow it to cut with minimal interference from adjacent boards that might be a little taller.
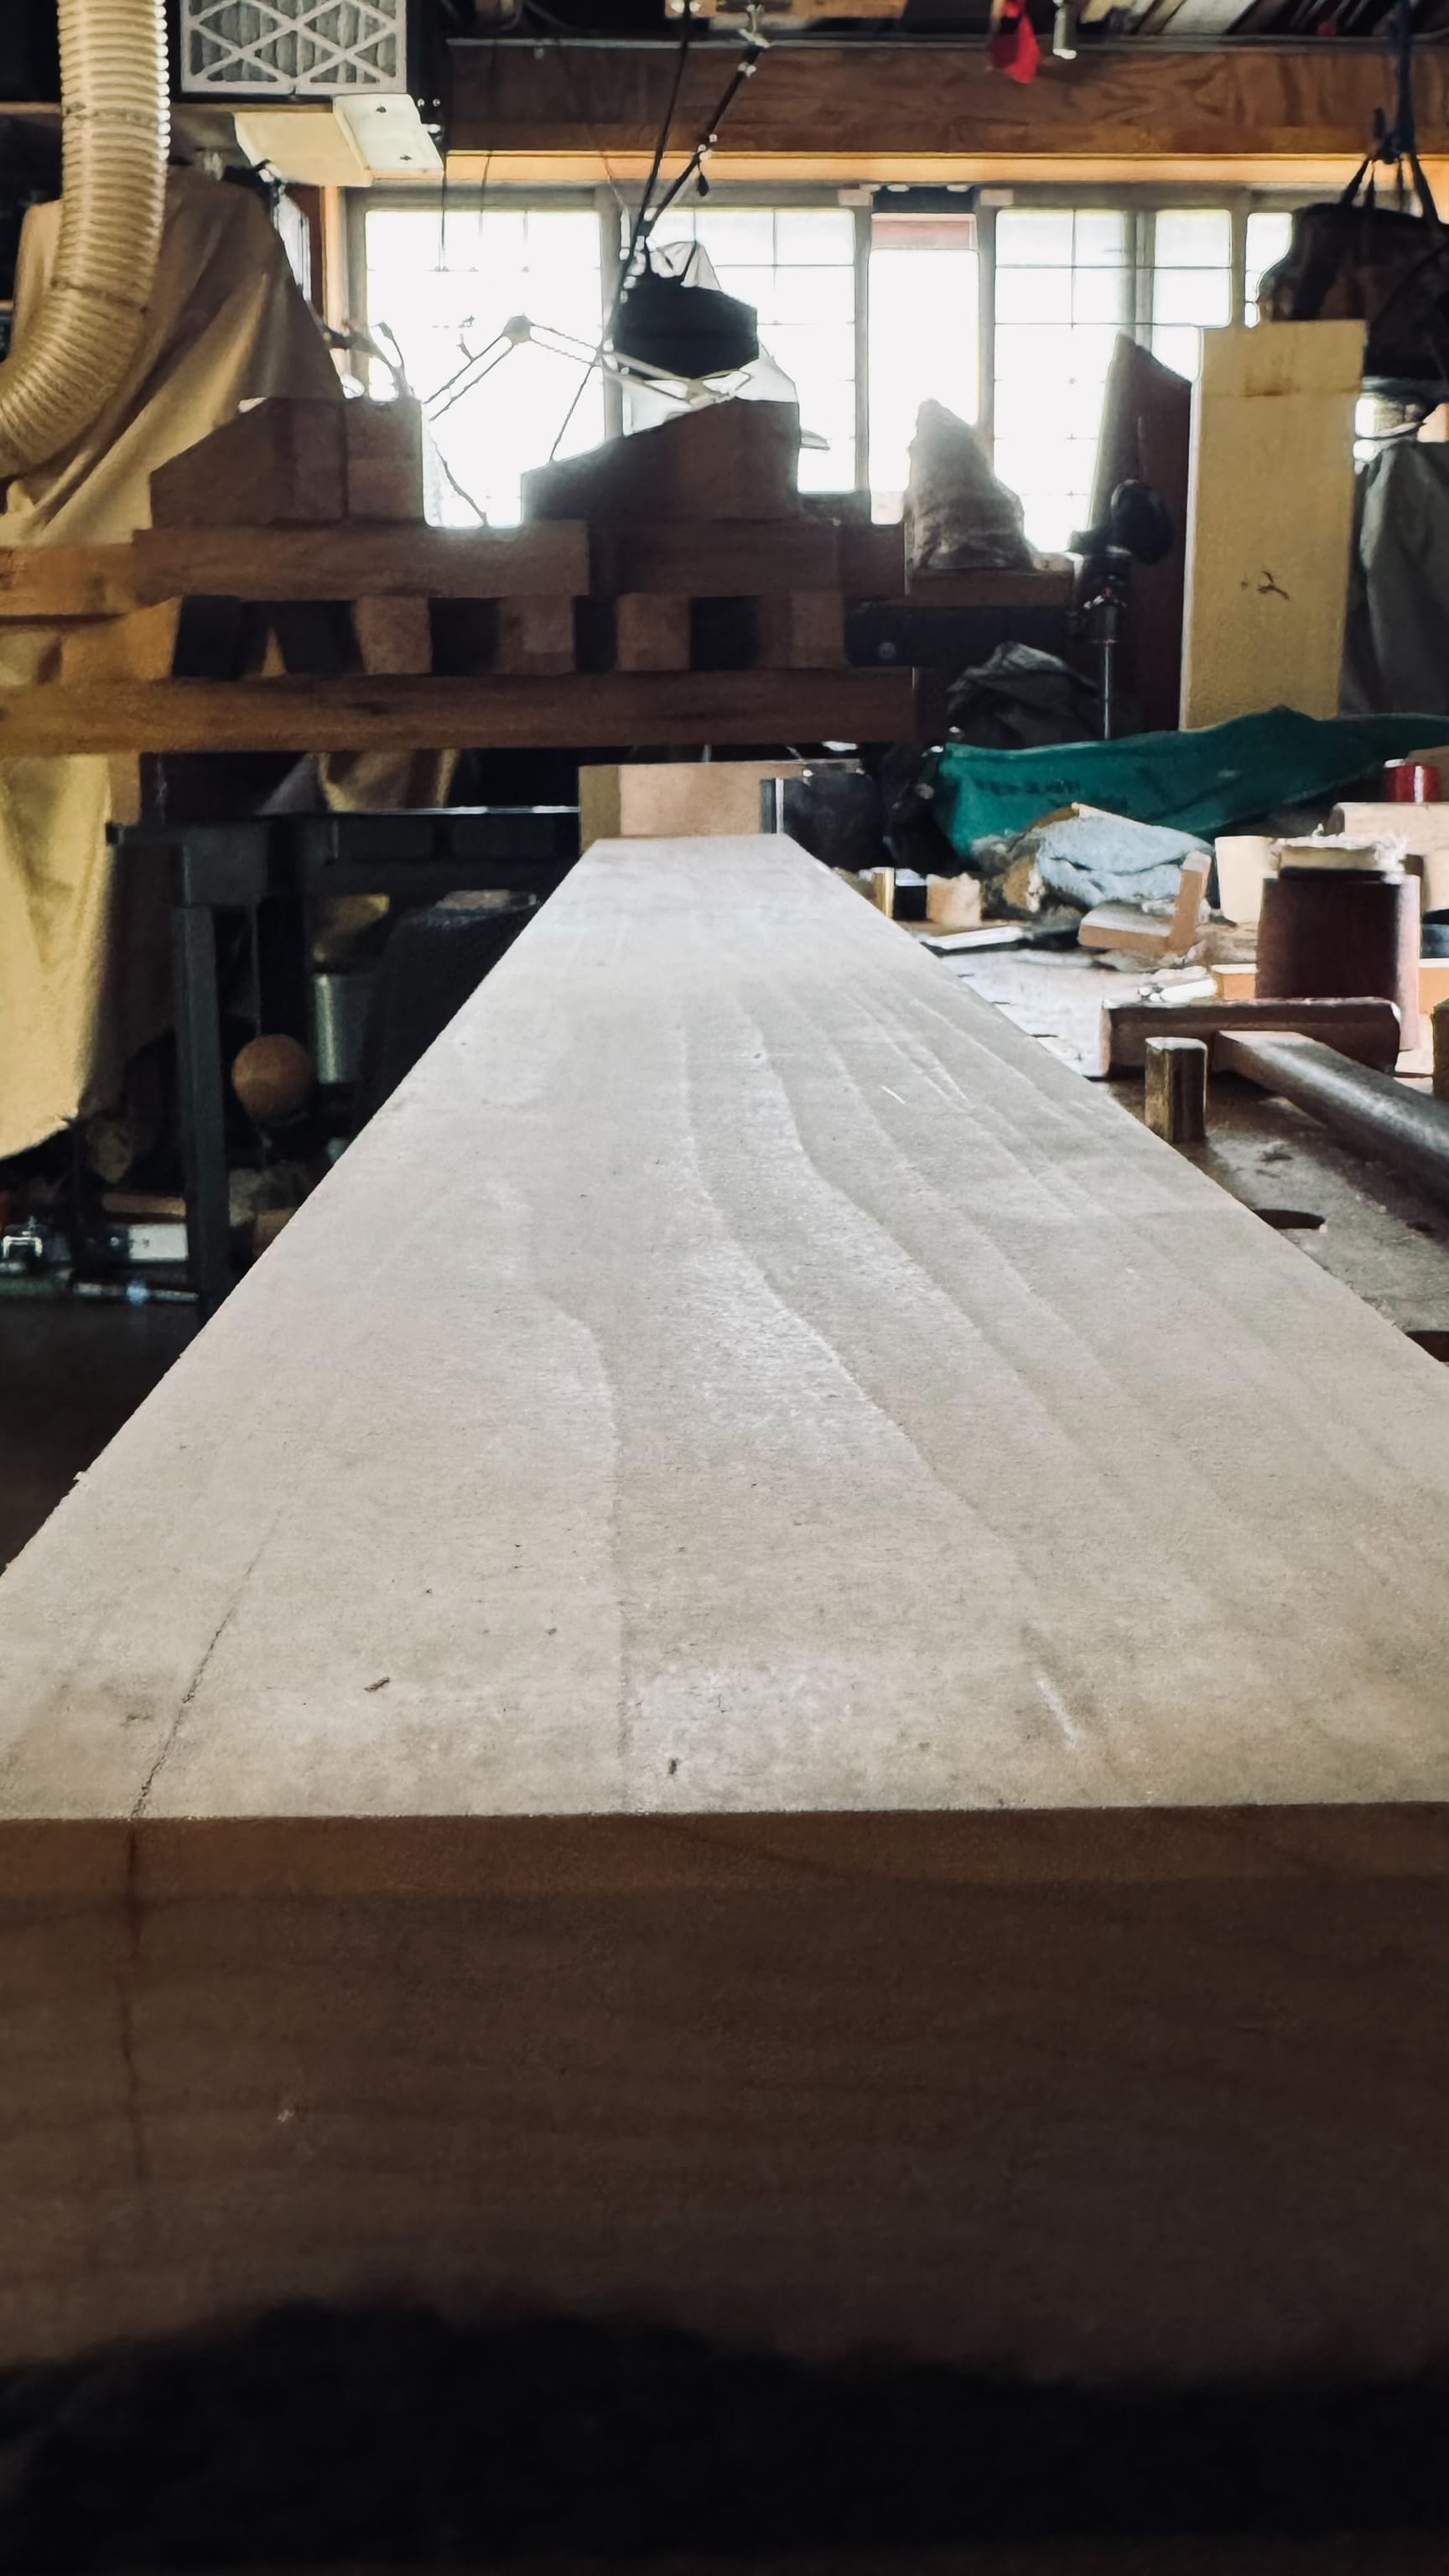
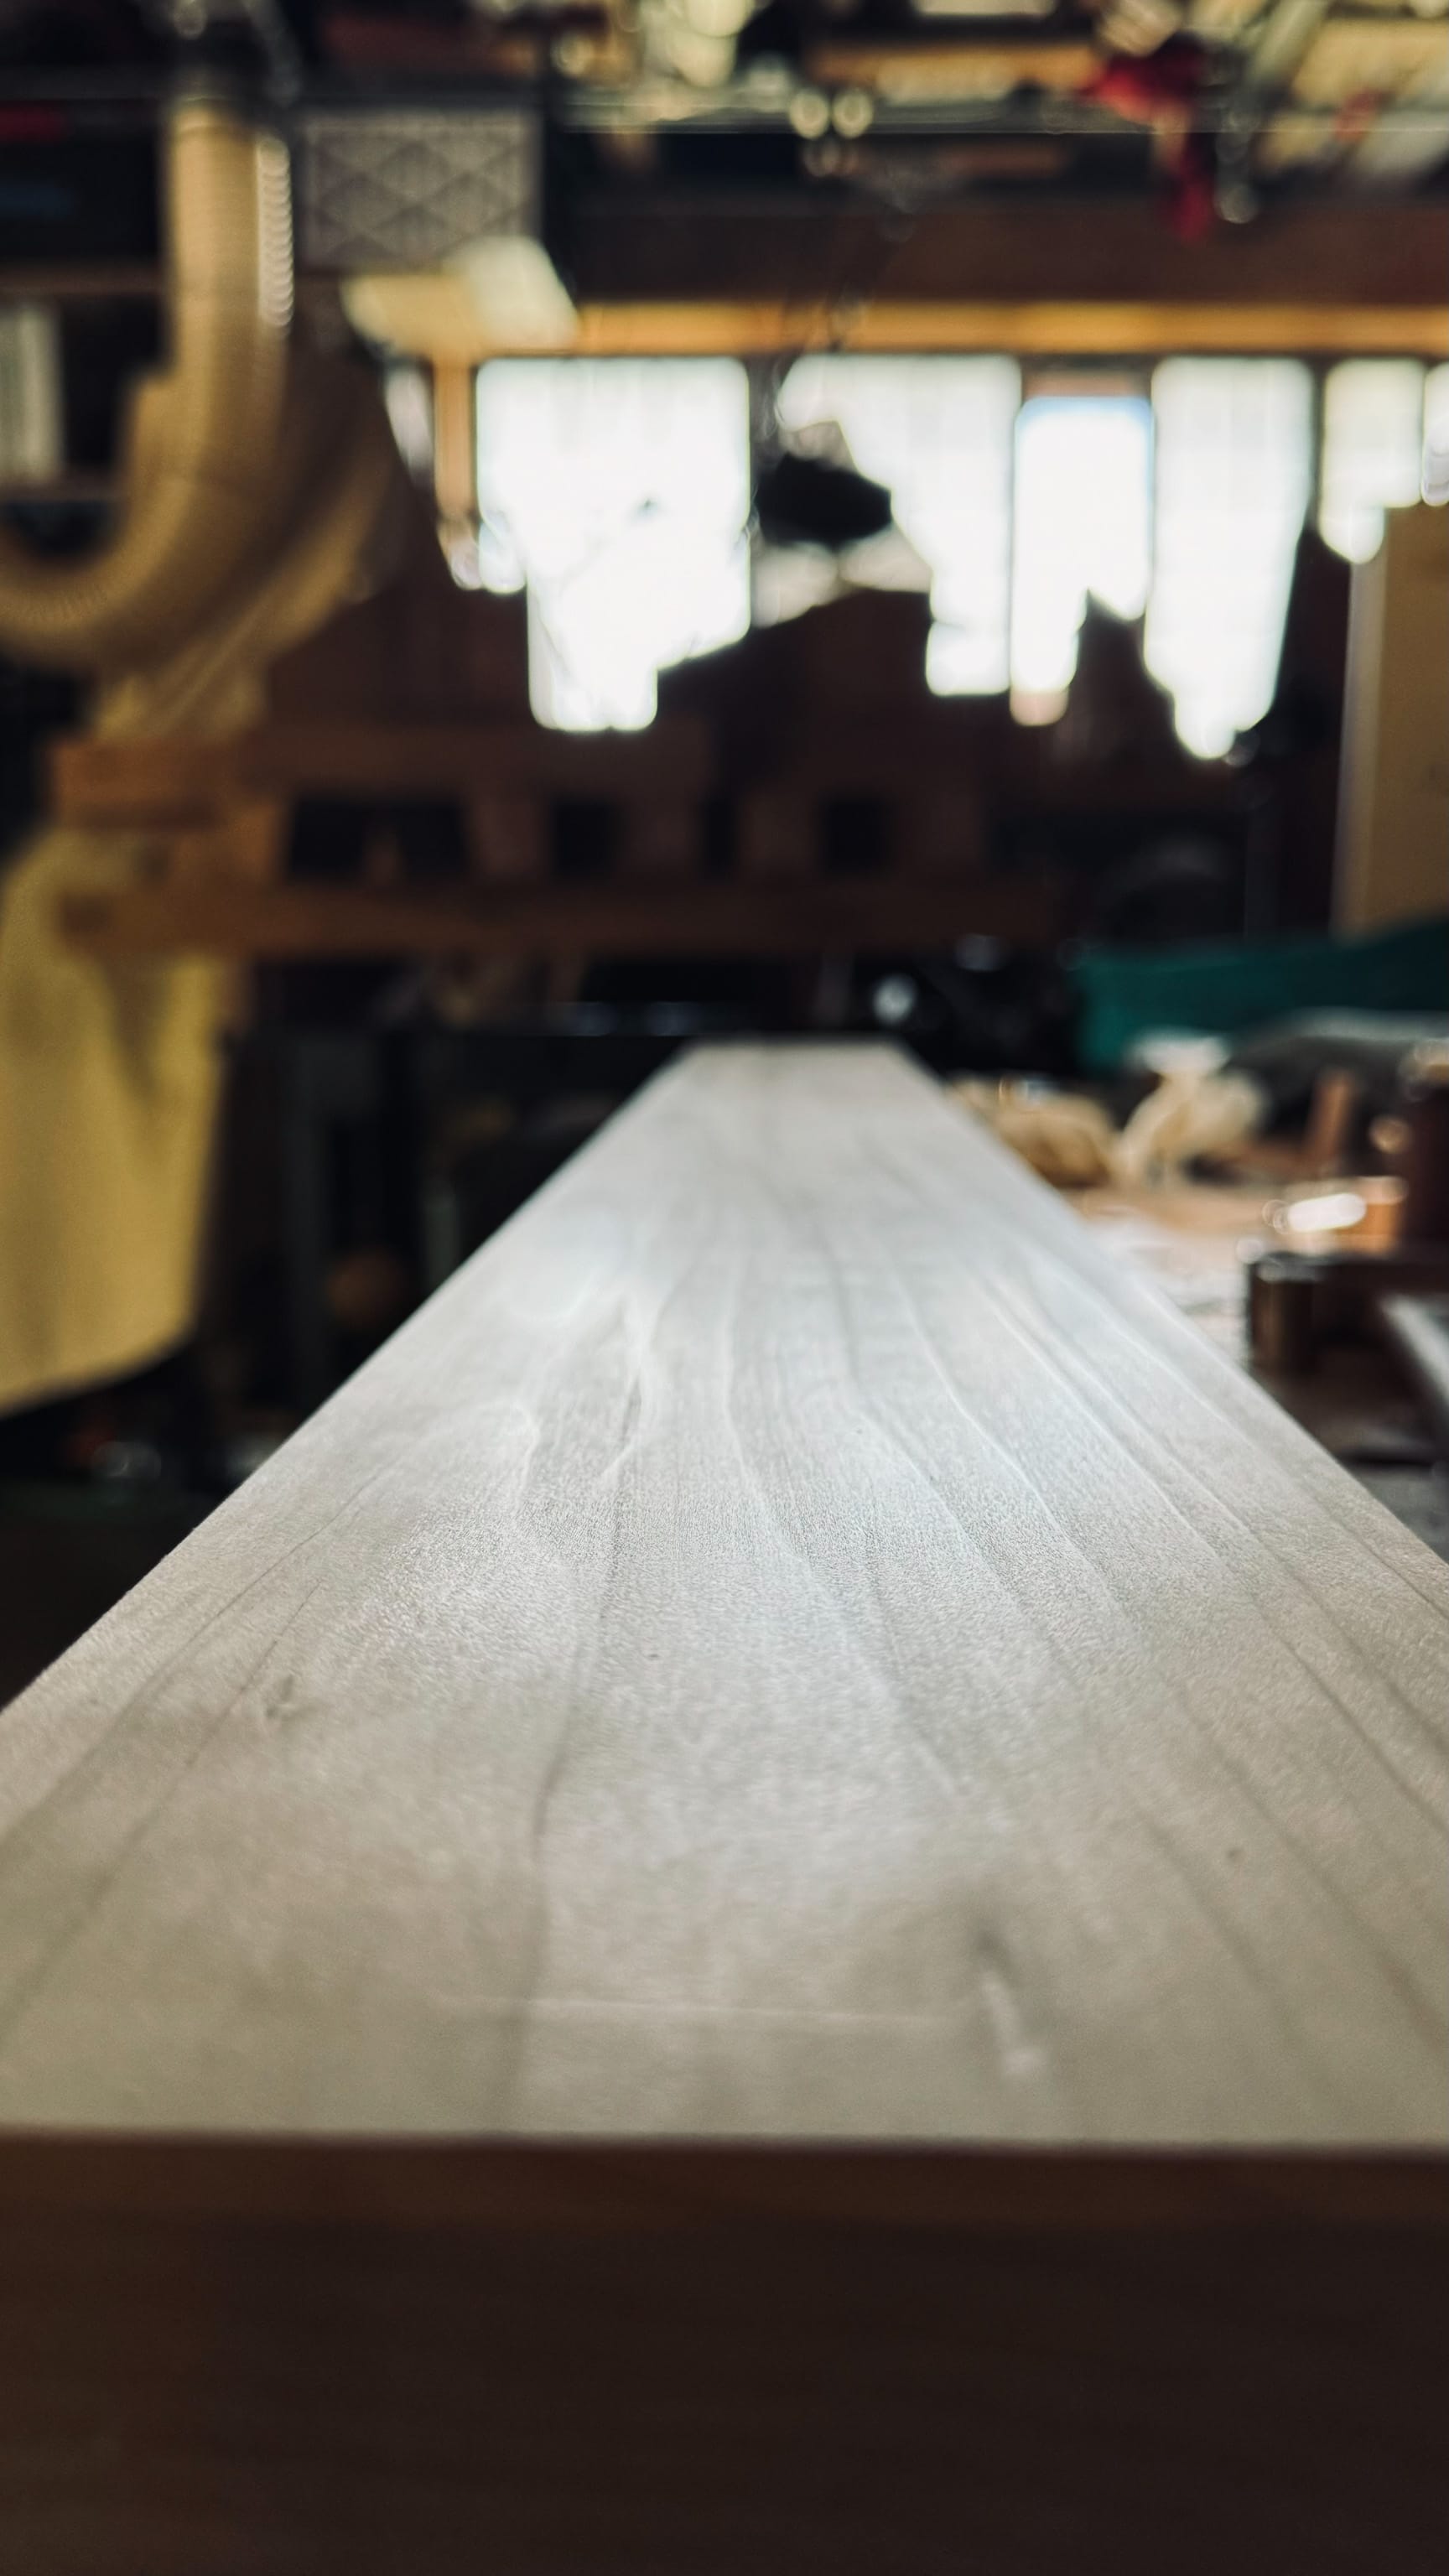
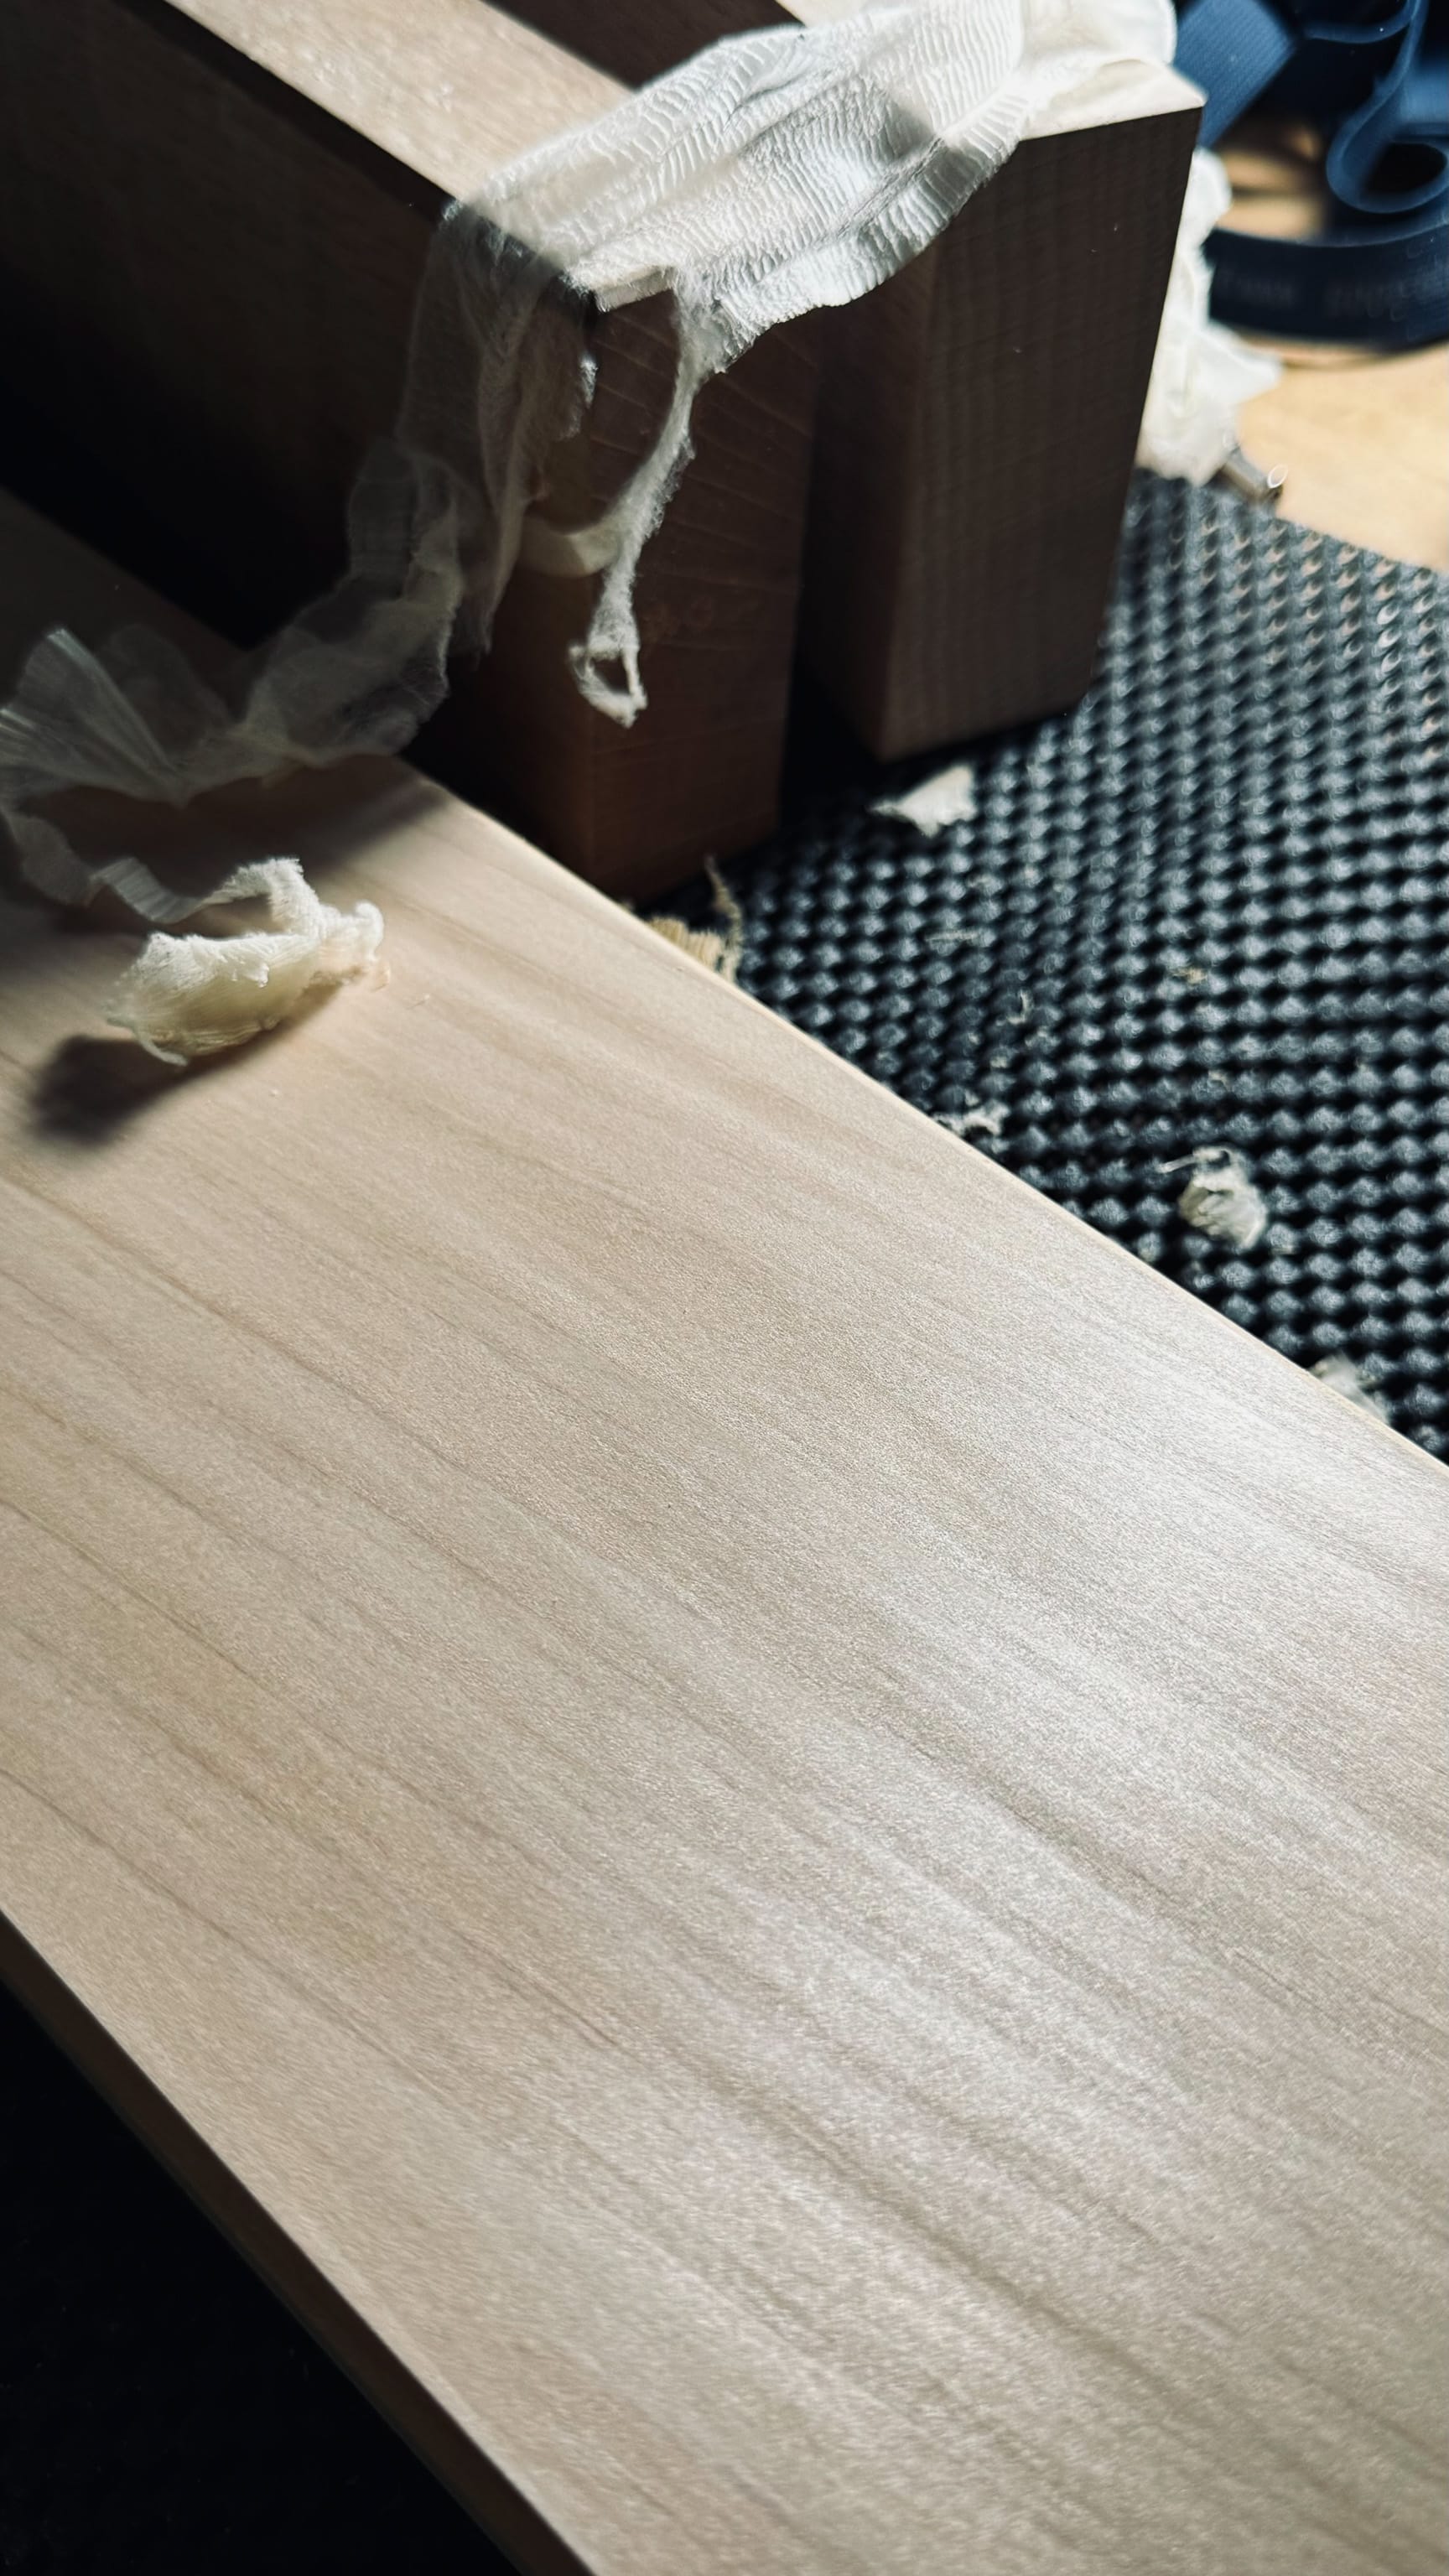
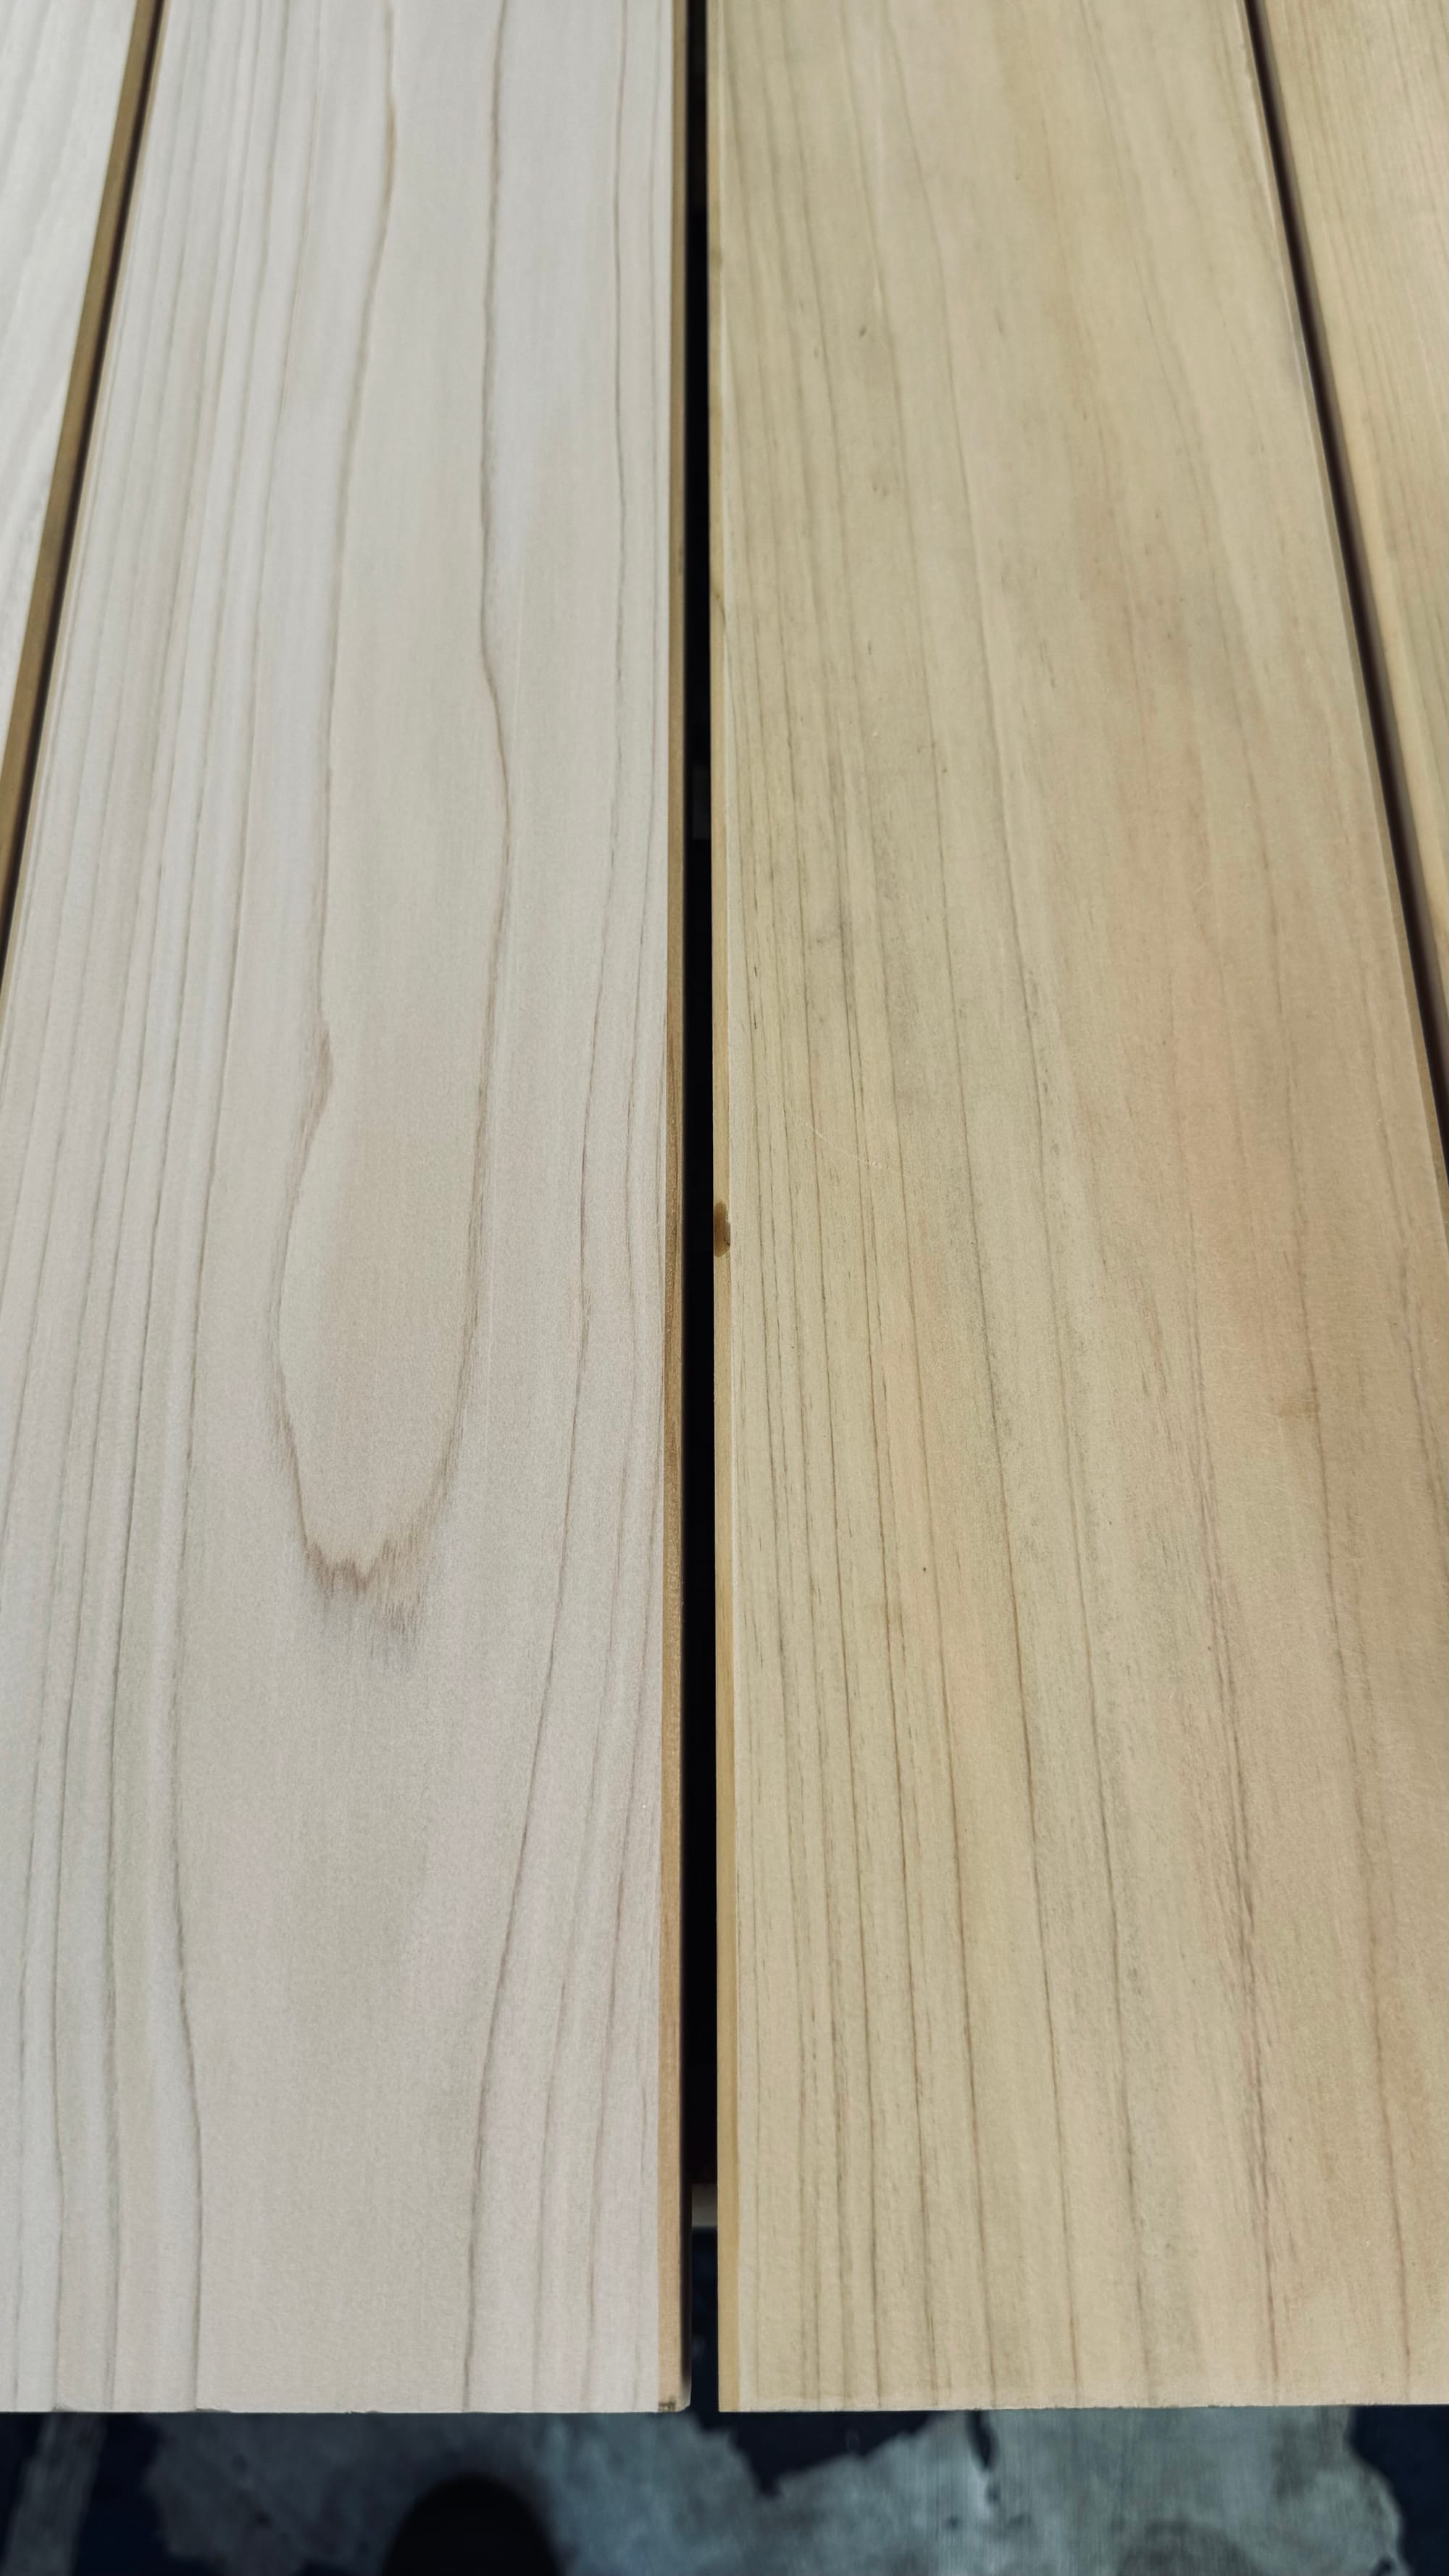
From sanded to re planed finish.
The next 2 days, remnants of a near miss hurricane brought moderate rain. Fortunately, using the same knowledge of how boards move with shifts in moisture, I knew all the planes would arch to be more convex allowing planing to get easier in some regard.
Blades were dying every 3-5 boards from the grit but with Spencer focusing on removal and installation, I could focus on sharpening often to continue planing.
I used the aggressive alloy blades to take medium passes, and clean the boards. This allowed my finer sharper but more fragile blades to do the final passes without threat of sandpaper or boot dirt chipping them.
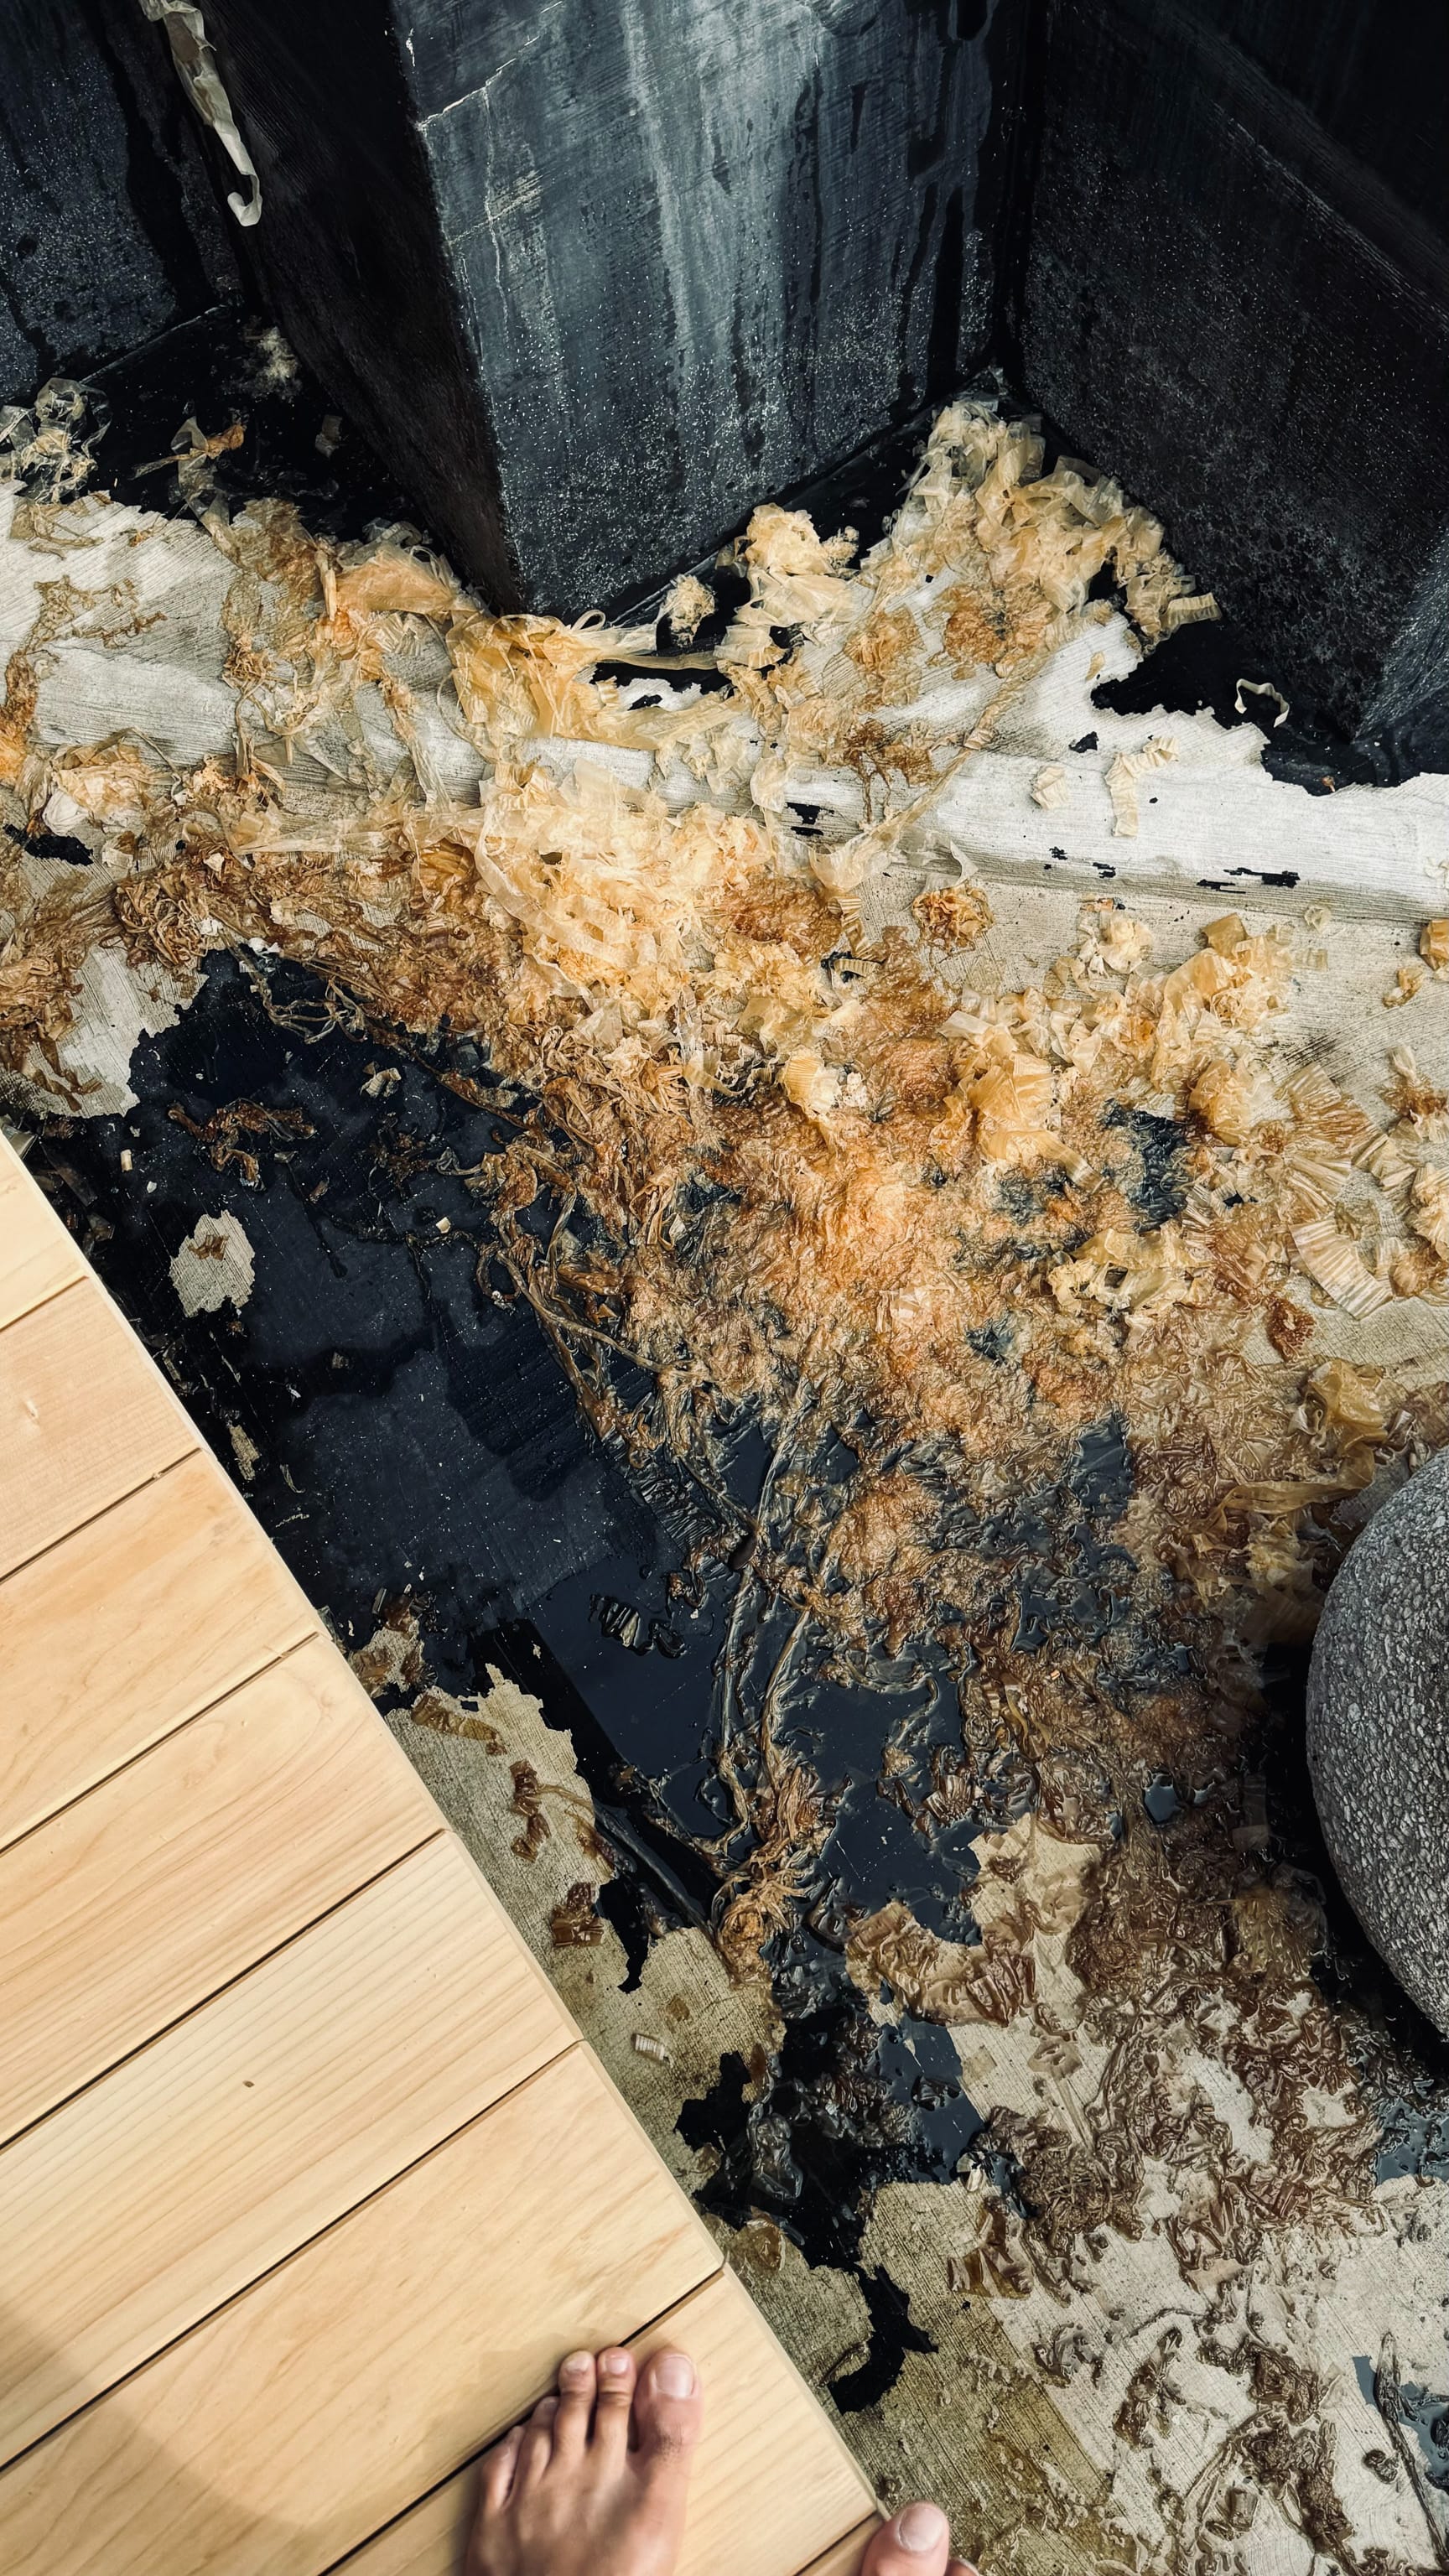
I have to admit I was at my physical limits at this point. The last few boards seemed dirtier than all the rest and were killing my blades quickly. Rather than resharpen, I kept grabbing for spare planes I thought would be ready to work. I could barely stand by the time we were installing the last few boards. The rain intensified at points, turning the pile of shavings into a soggy pulp.
The final 5 boards—near the rock that was scribed—were installed in a complicated way, and so I left them as sanded, to see how they age.
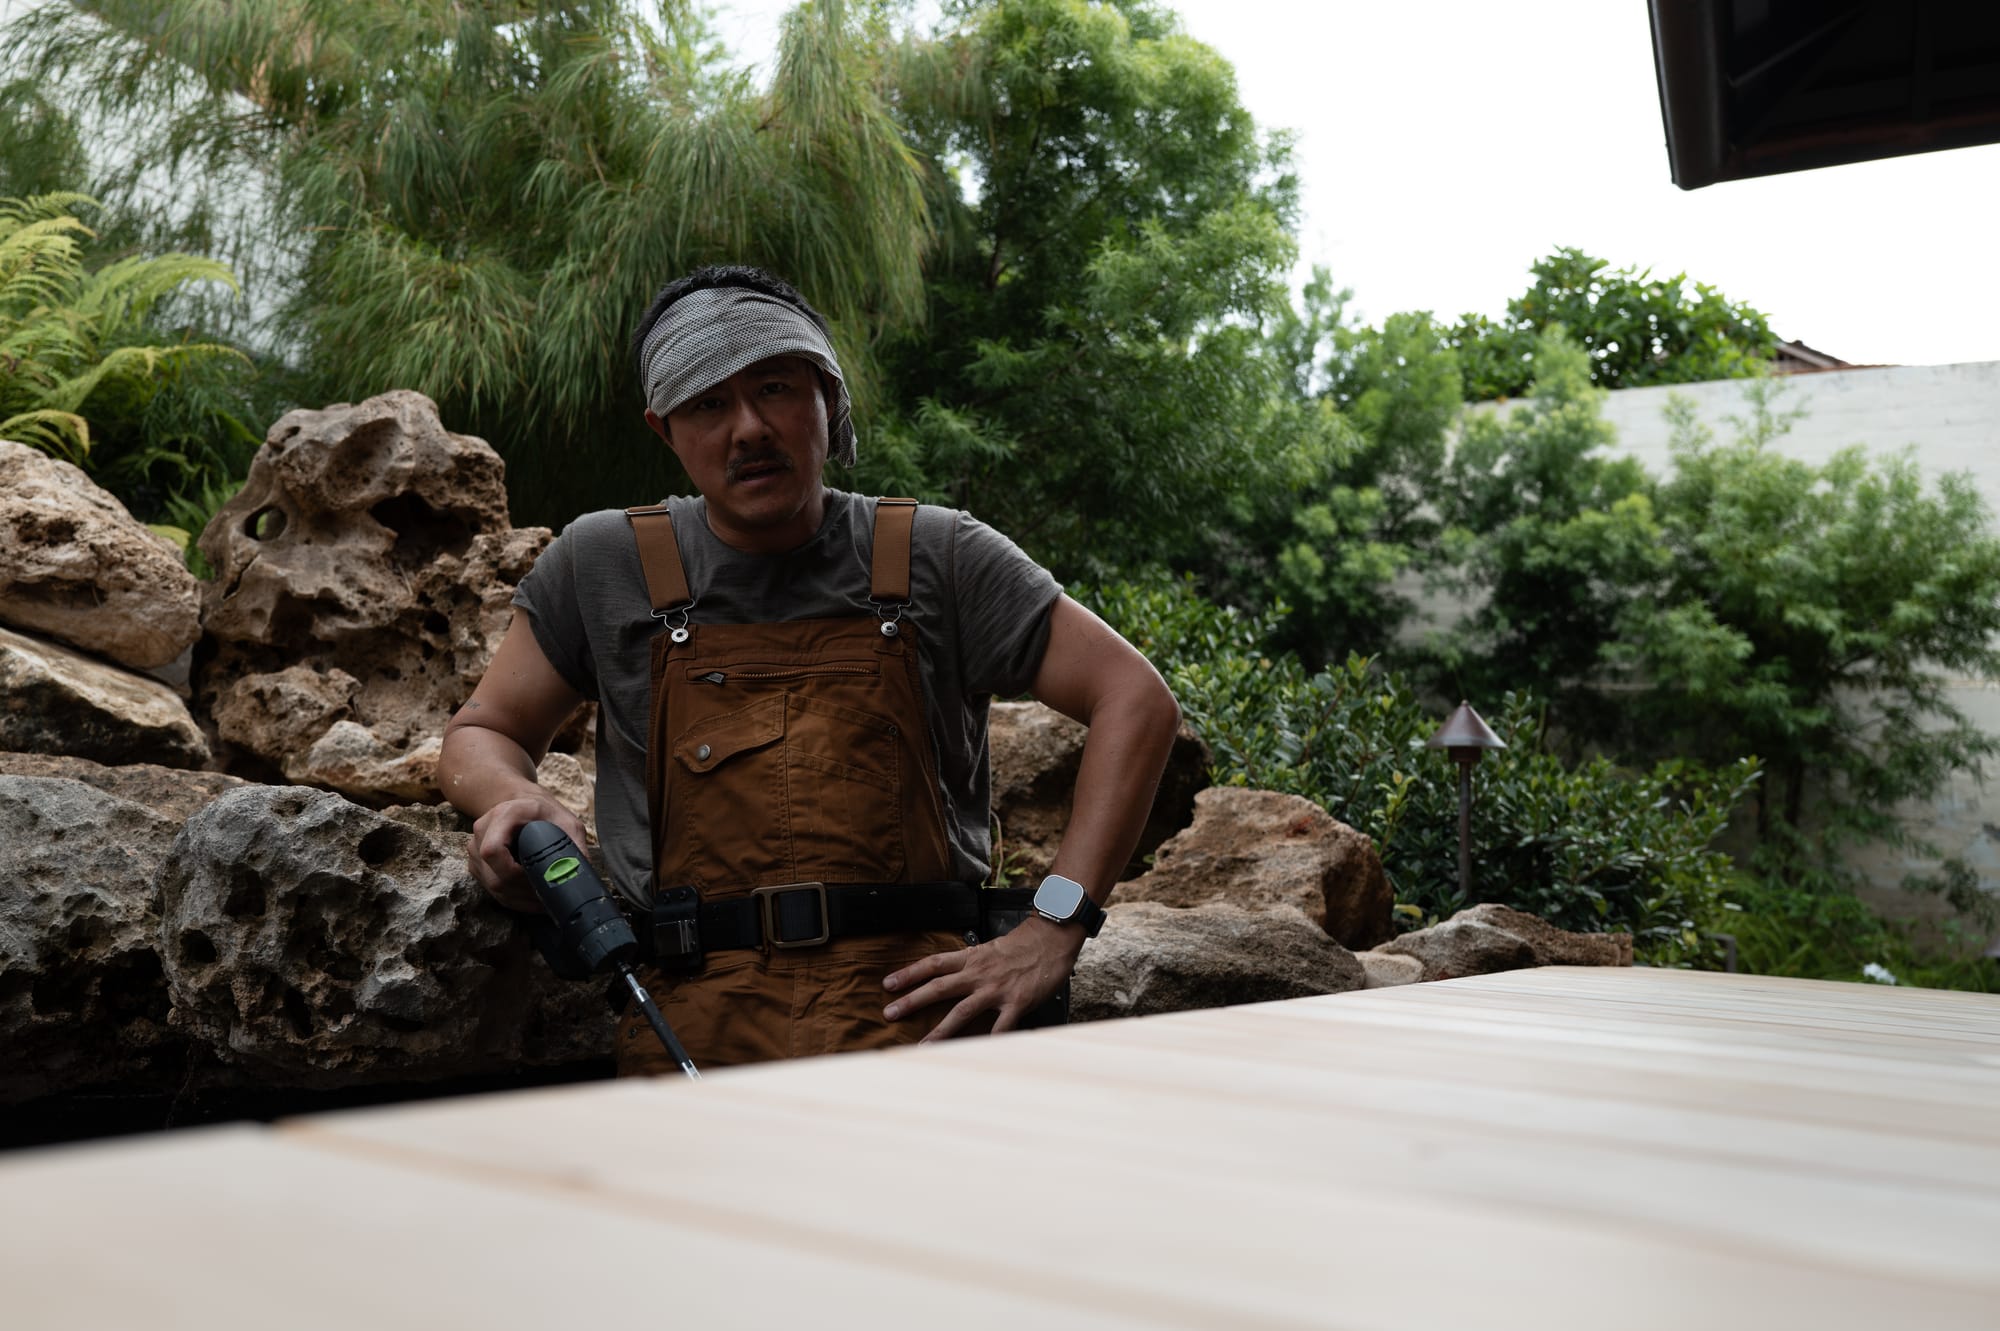
We were done. (Again.) I cracked a beer.
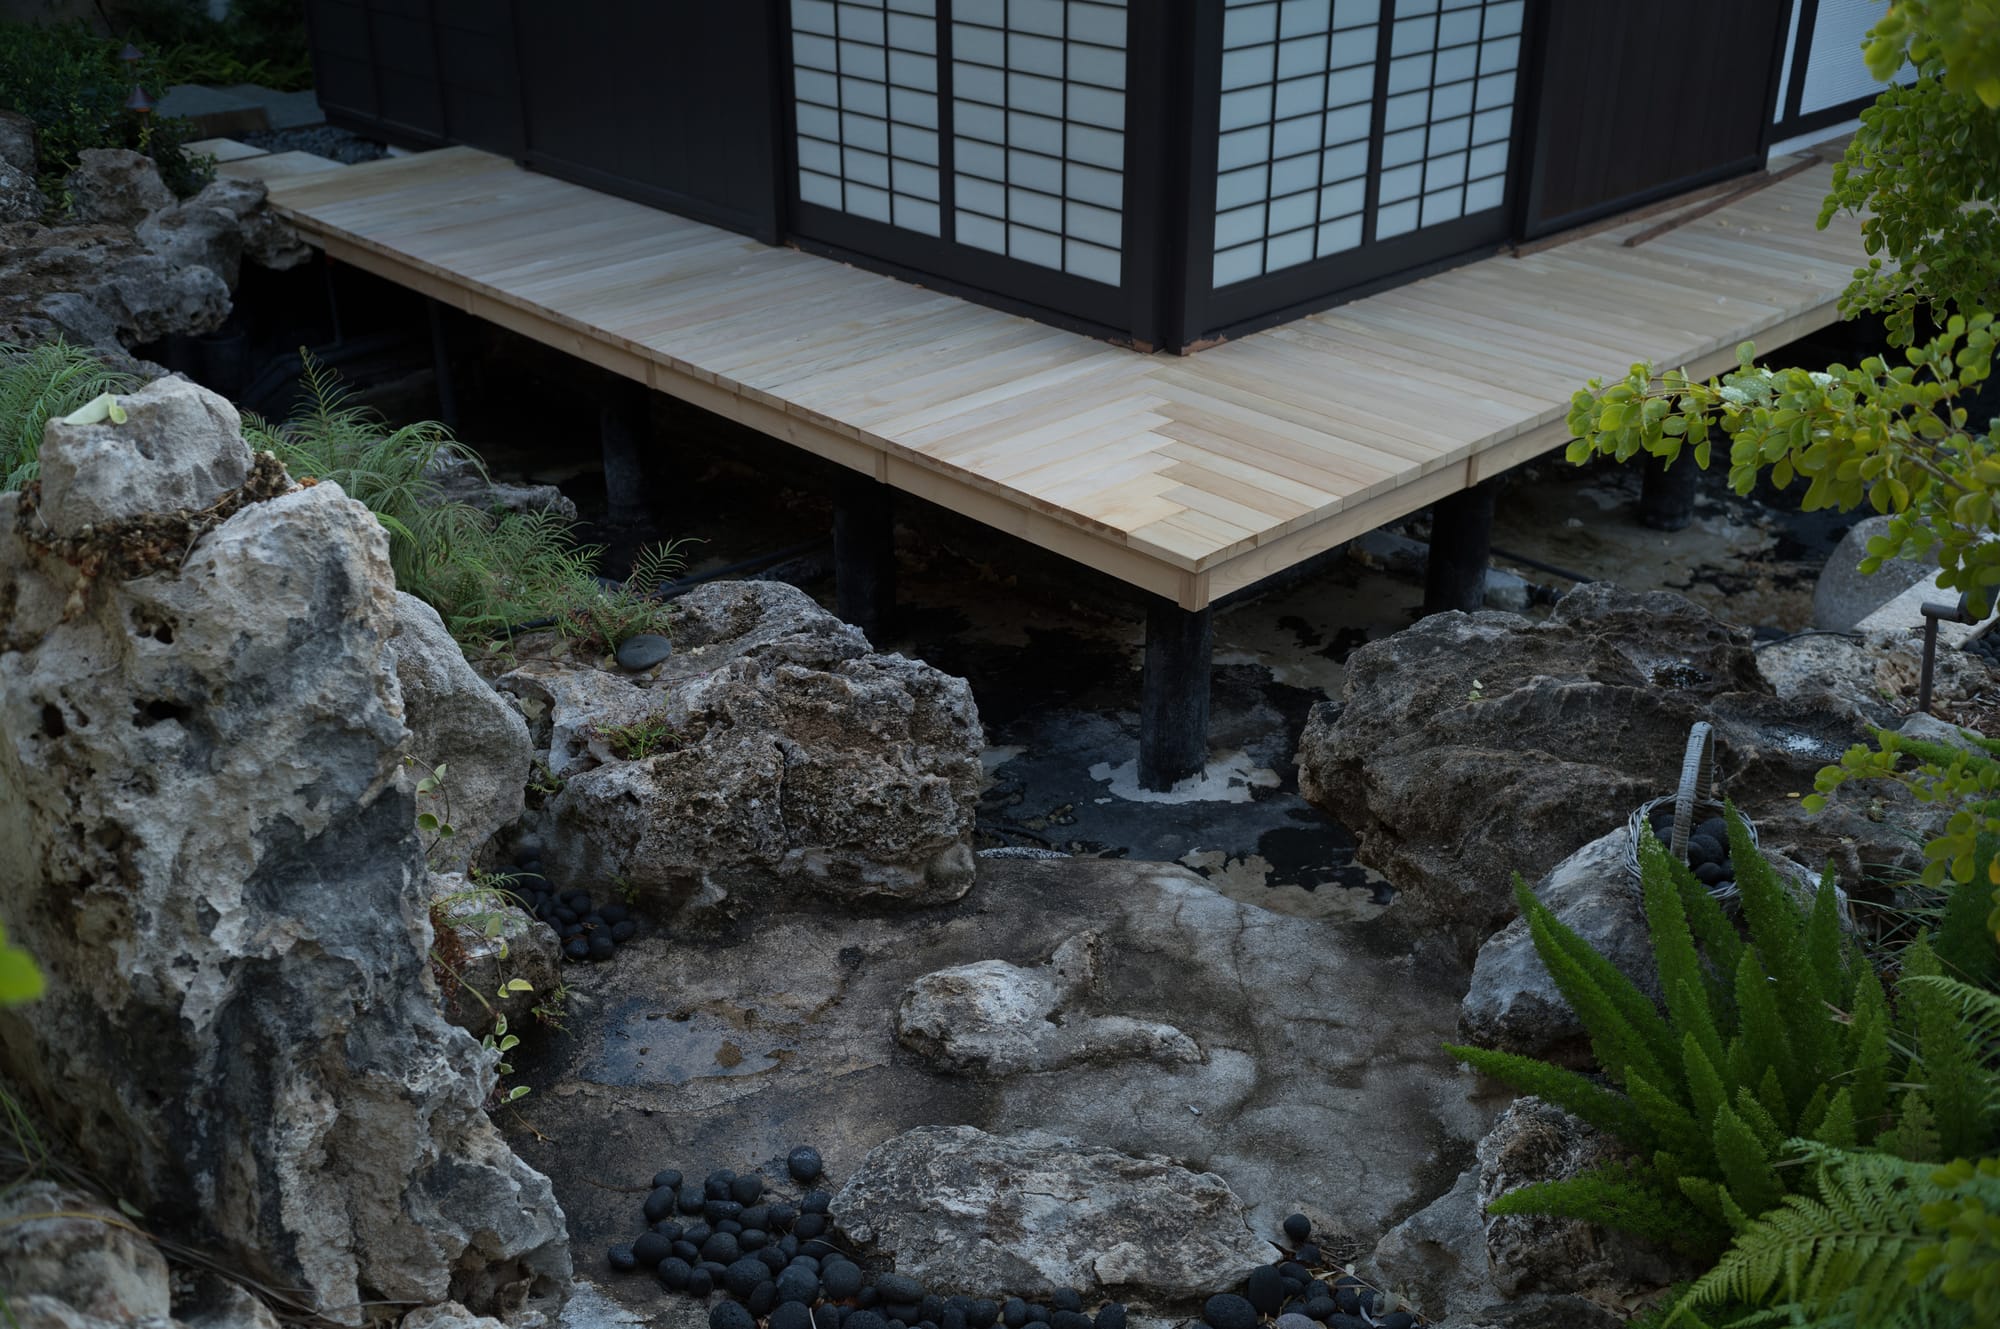
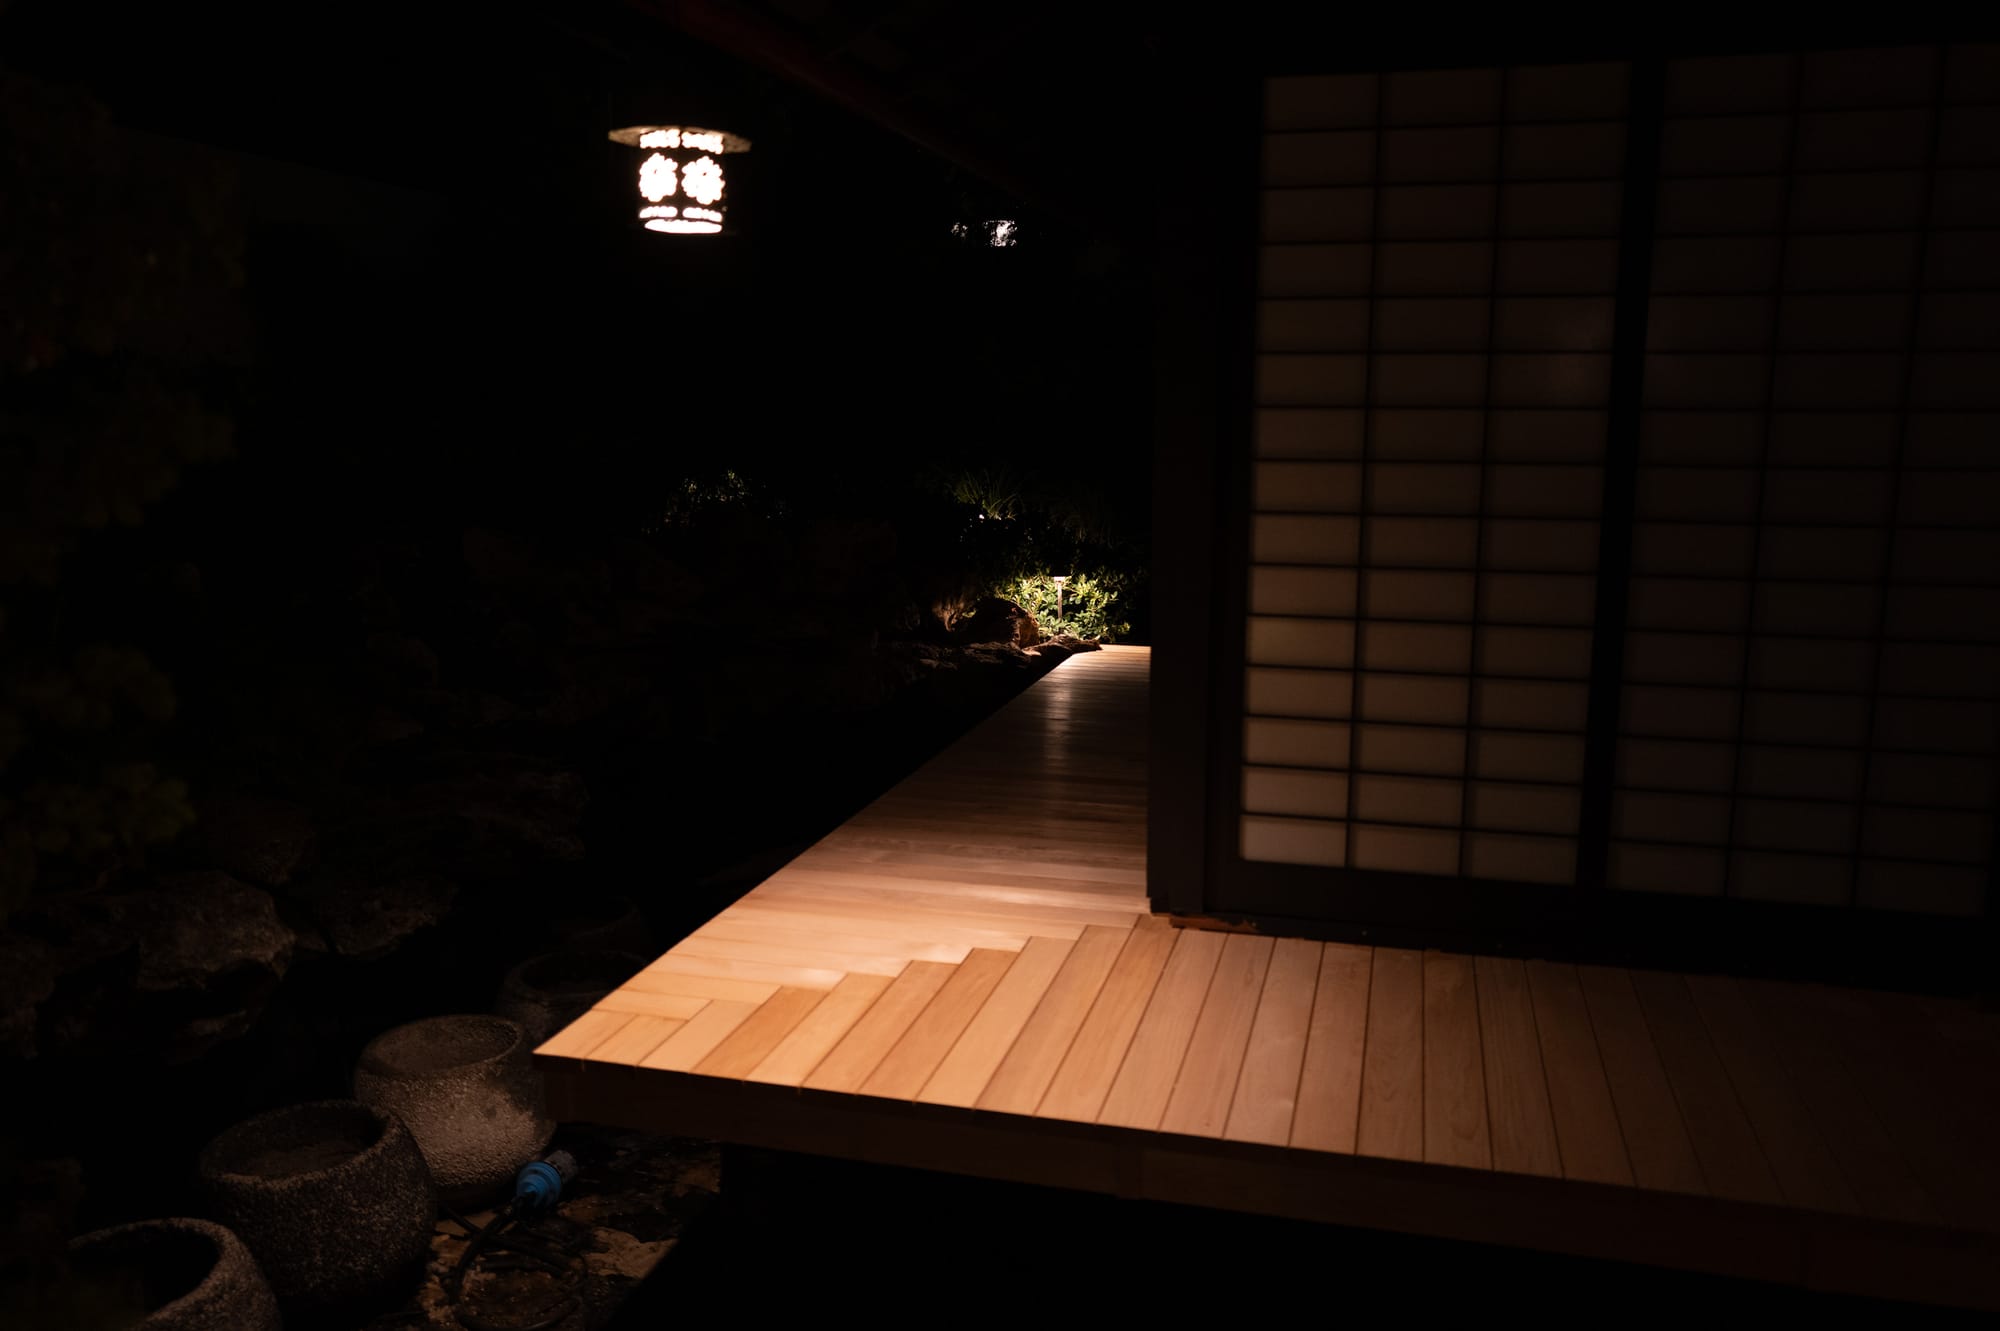
The first planing round ended up nearly perfect, with barely any tear out or track marks across the nearly 100 boards. The frantic second attempt at planing, outdoors, in weather, with dirty boards and tired arms, was imperfect but I can say without a doubt that I gave it everything I had. Working under less than ideal conditions makes things much more interesting.
Thank you to my teachers, Spencer, and my carpenter friends. I couldn’t have finished this project without you.
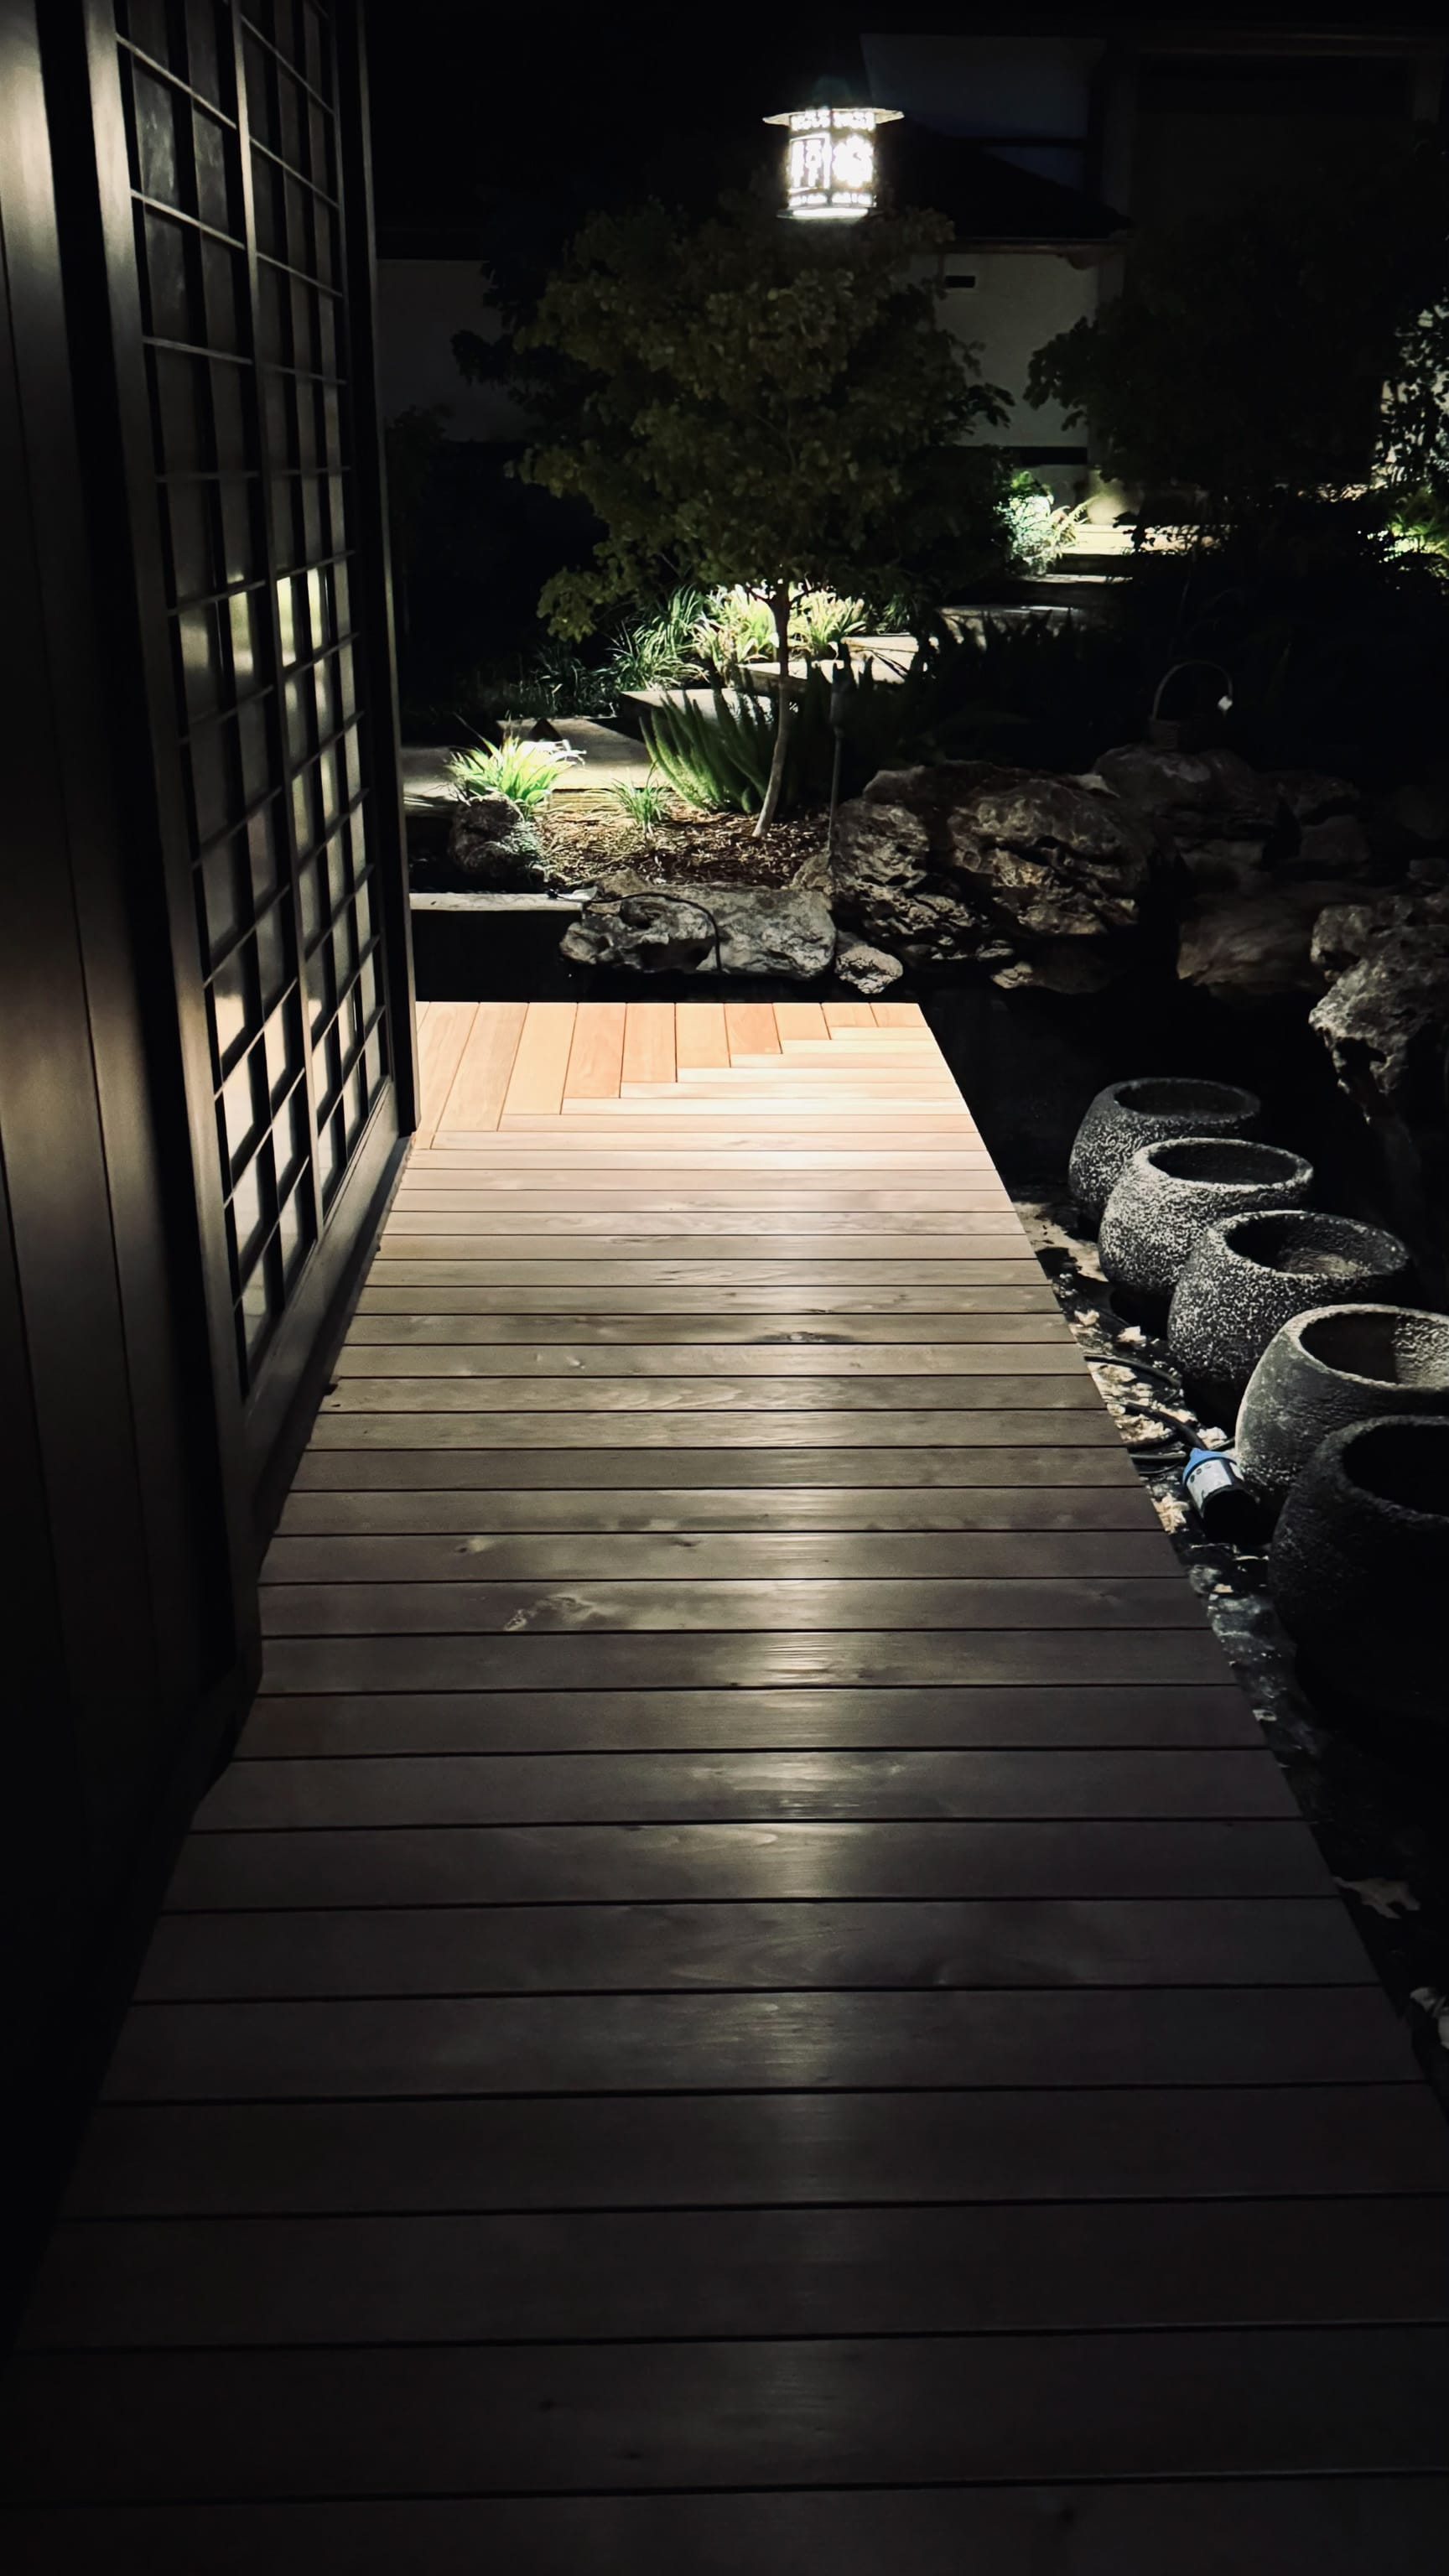
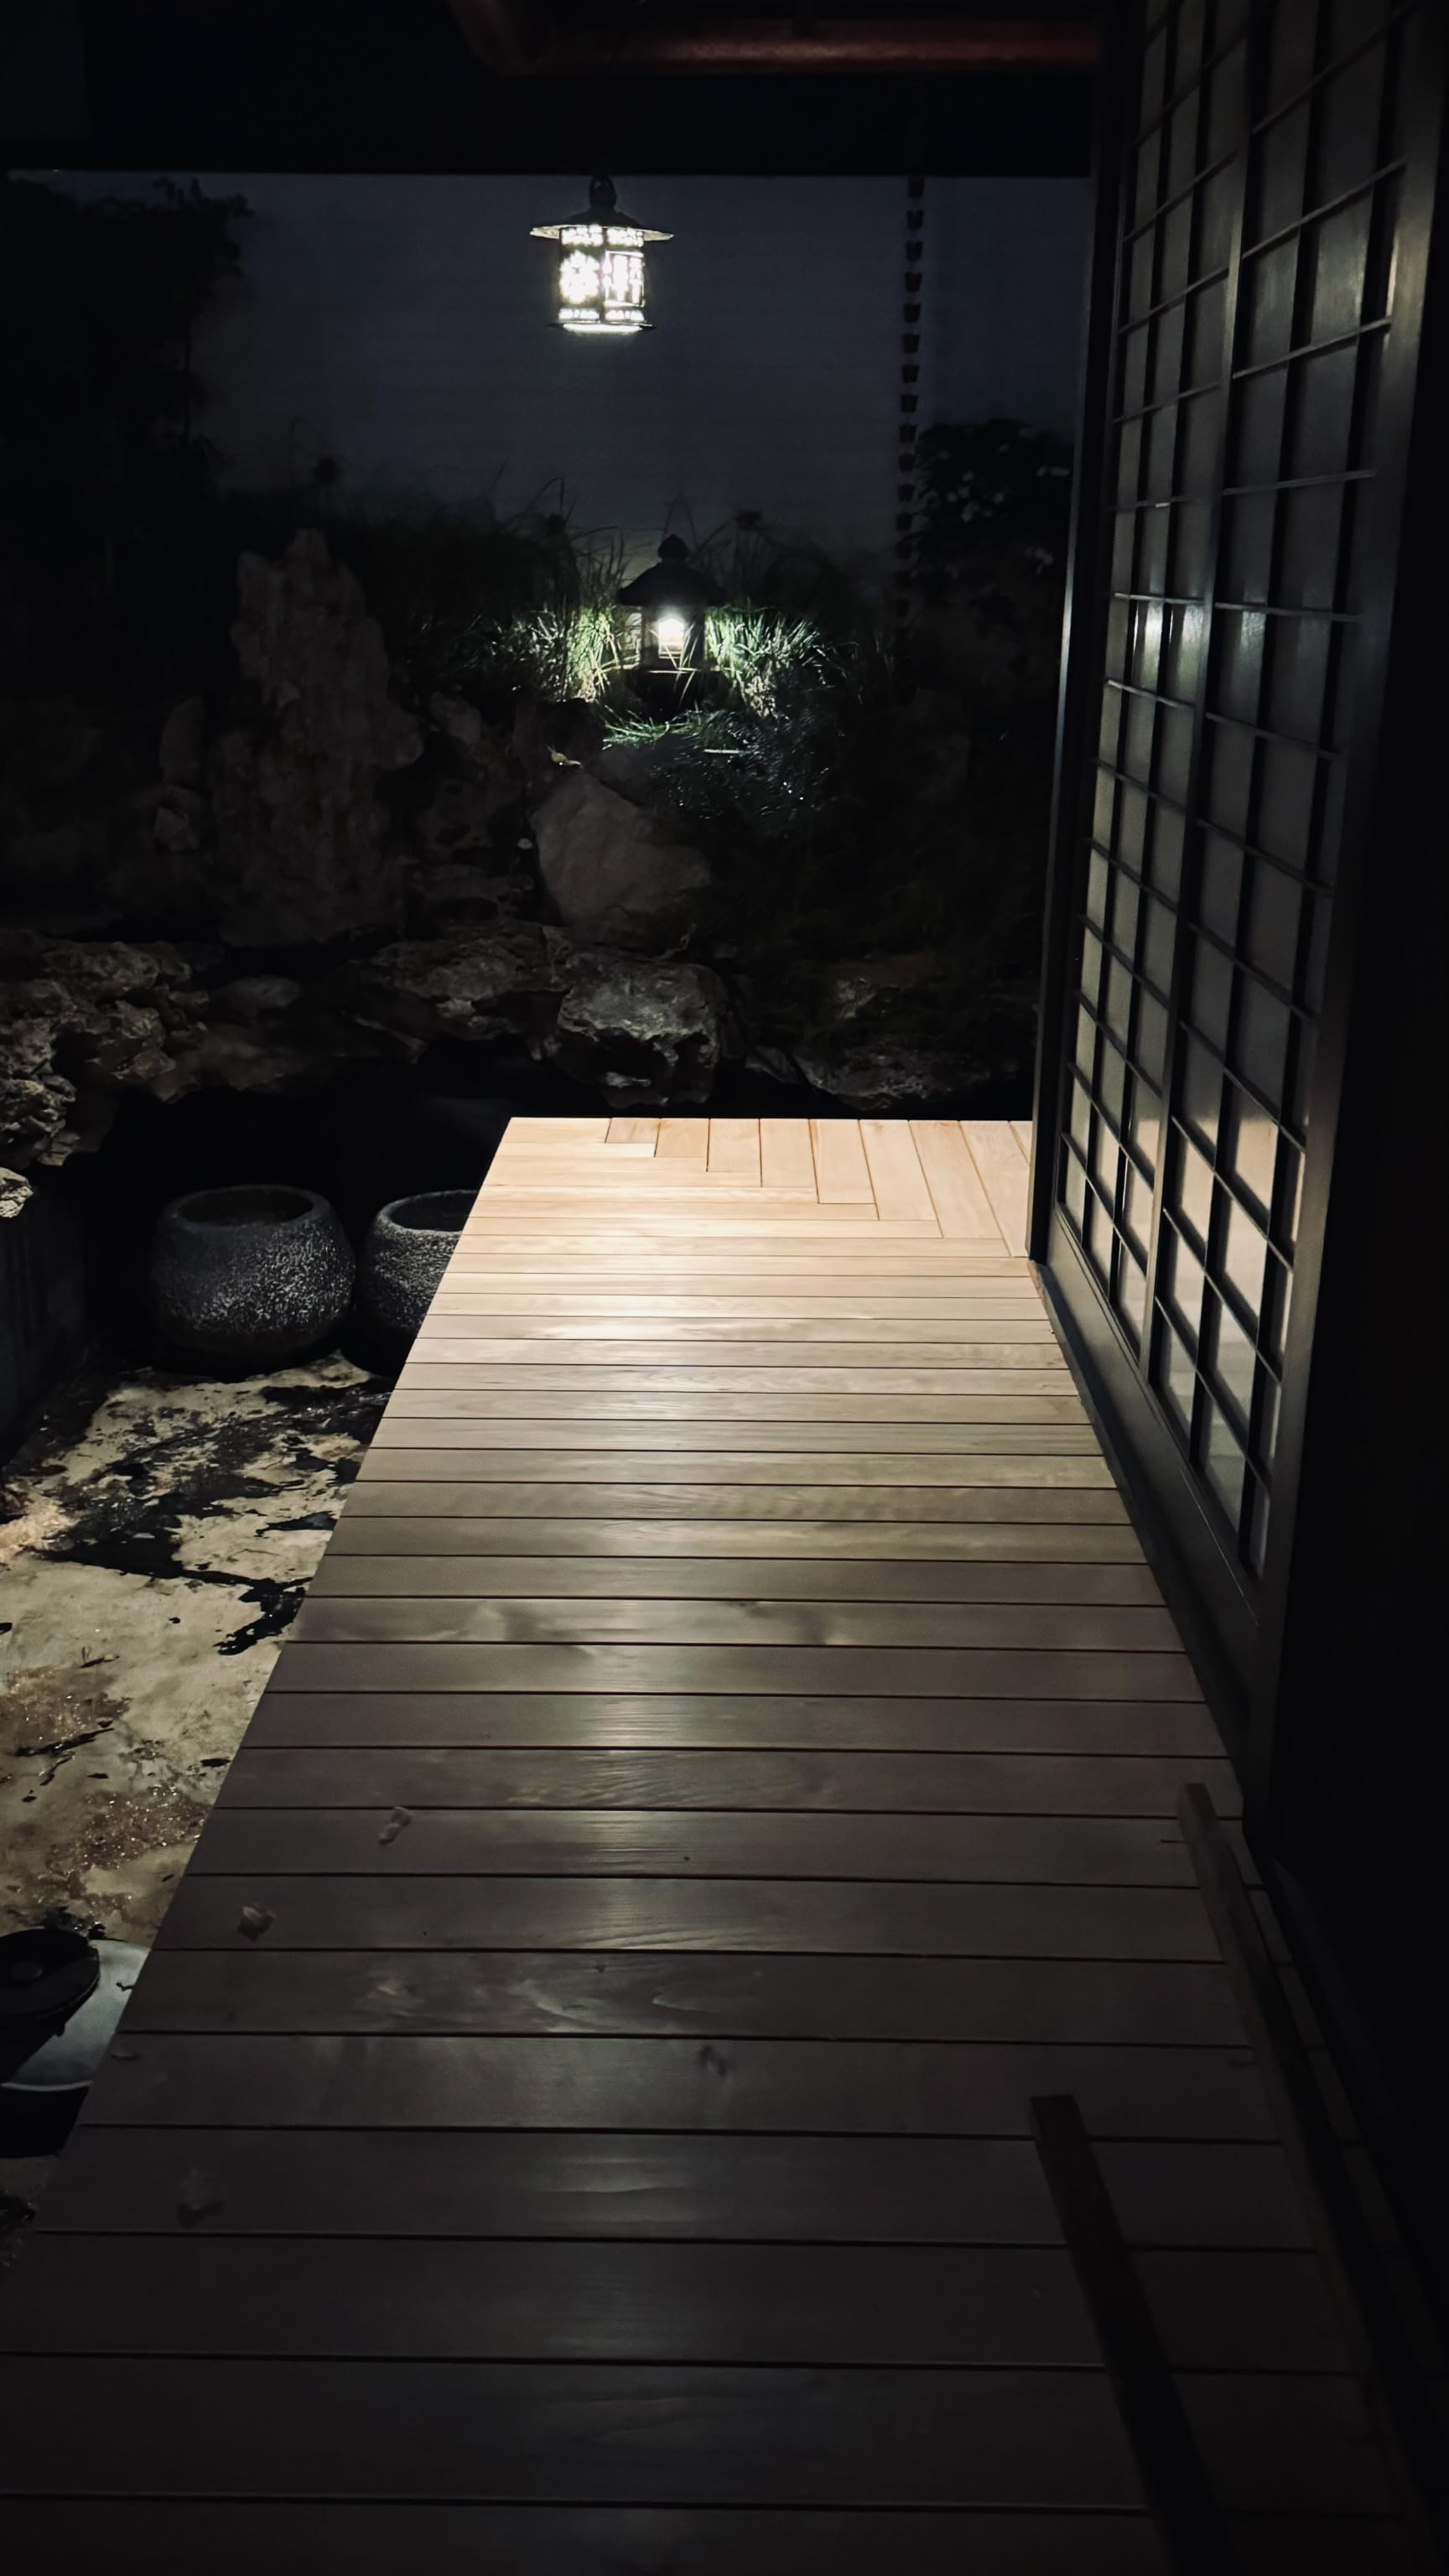
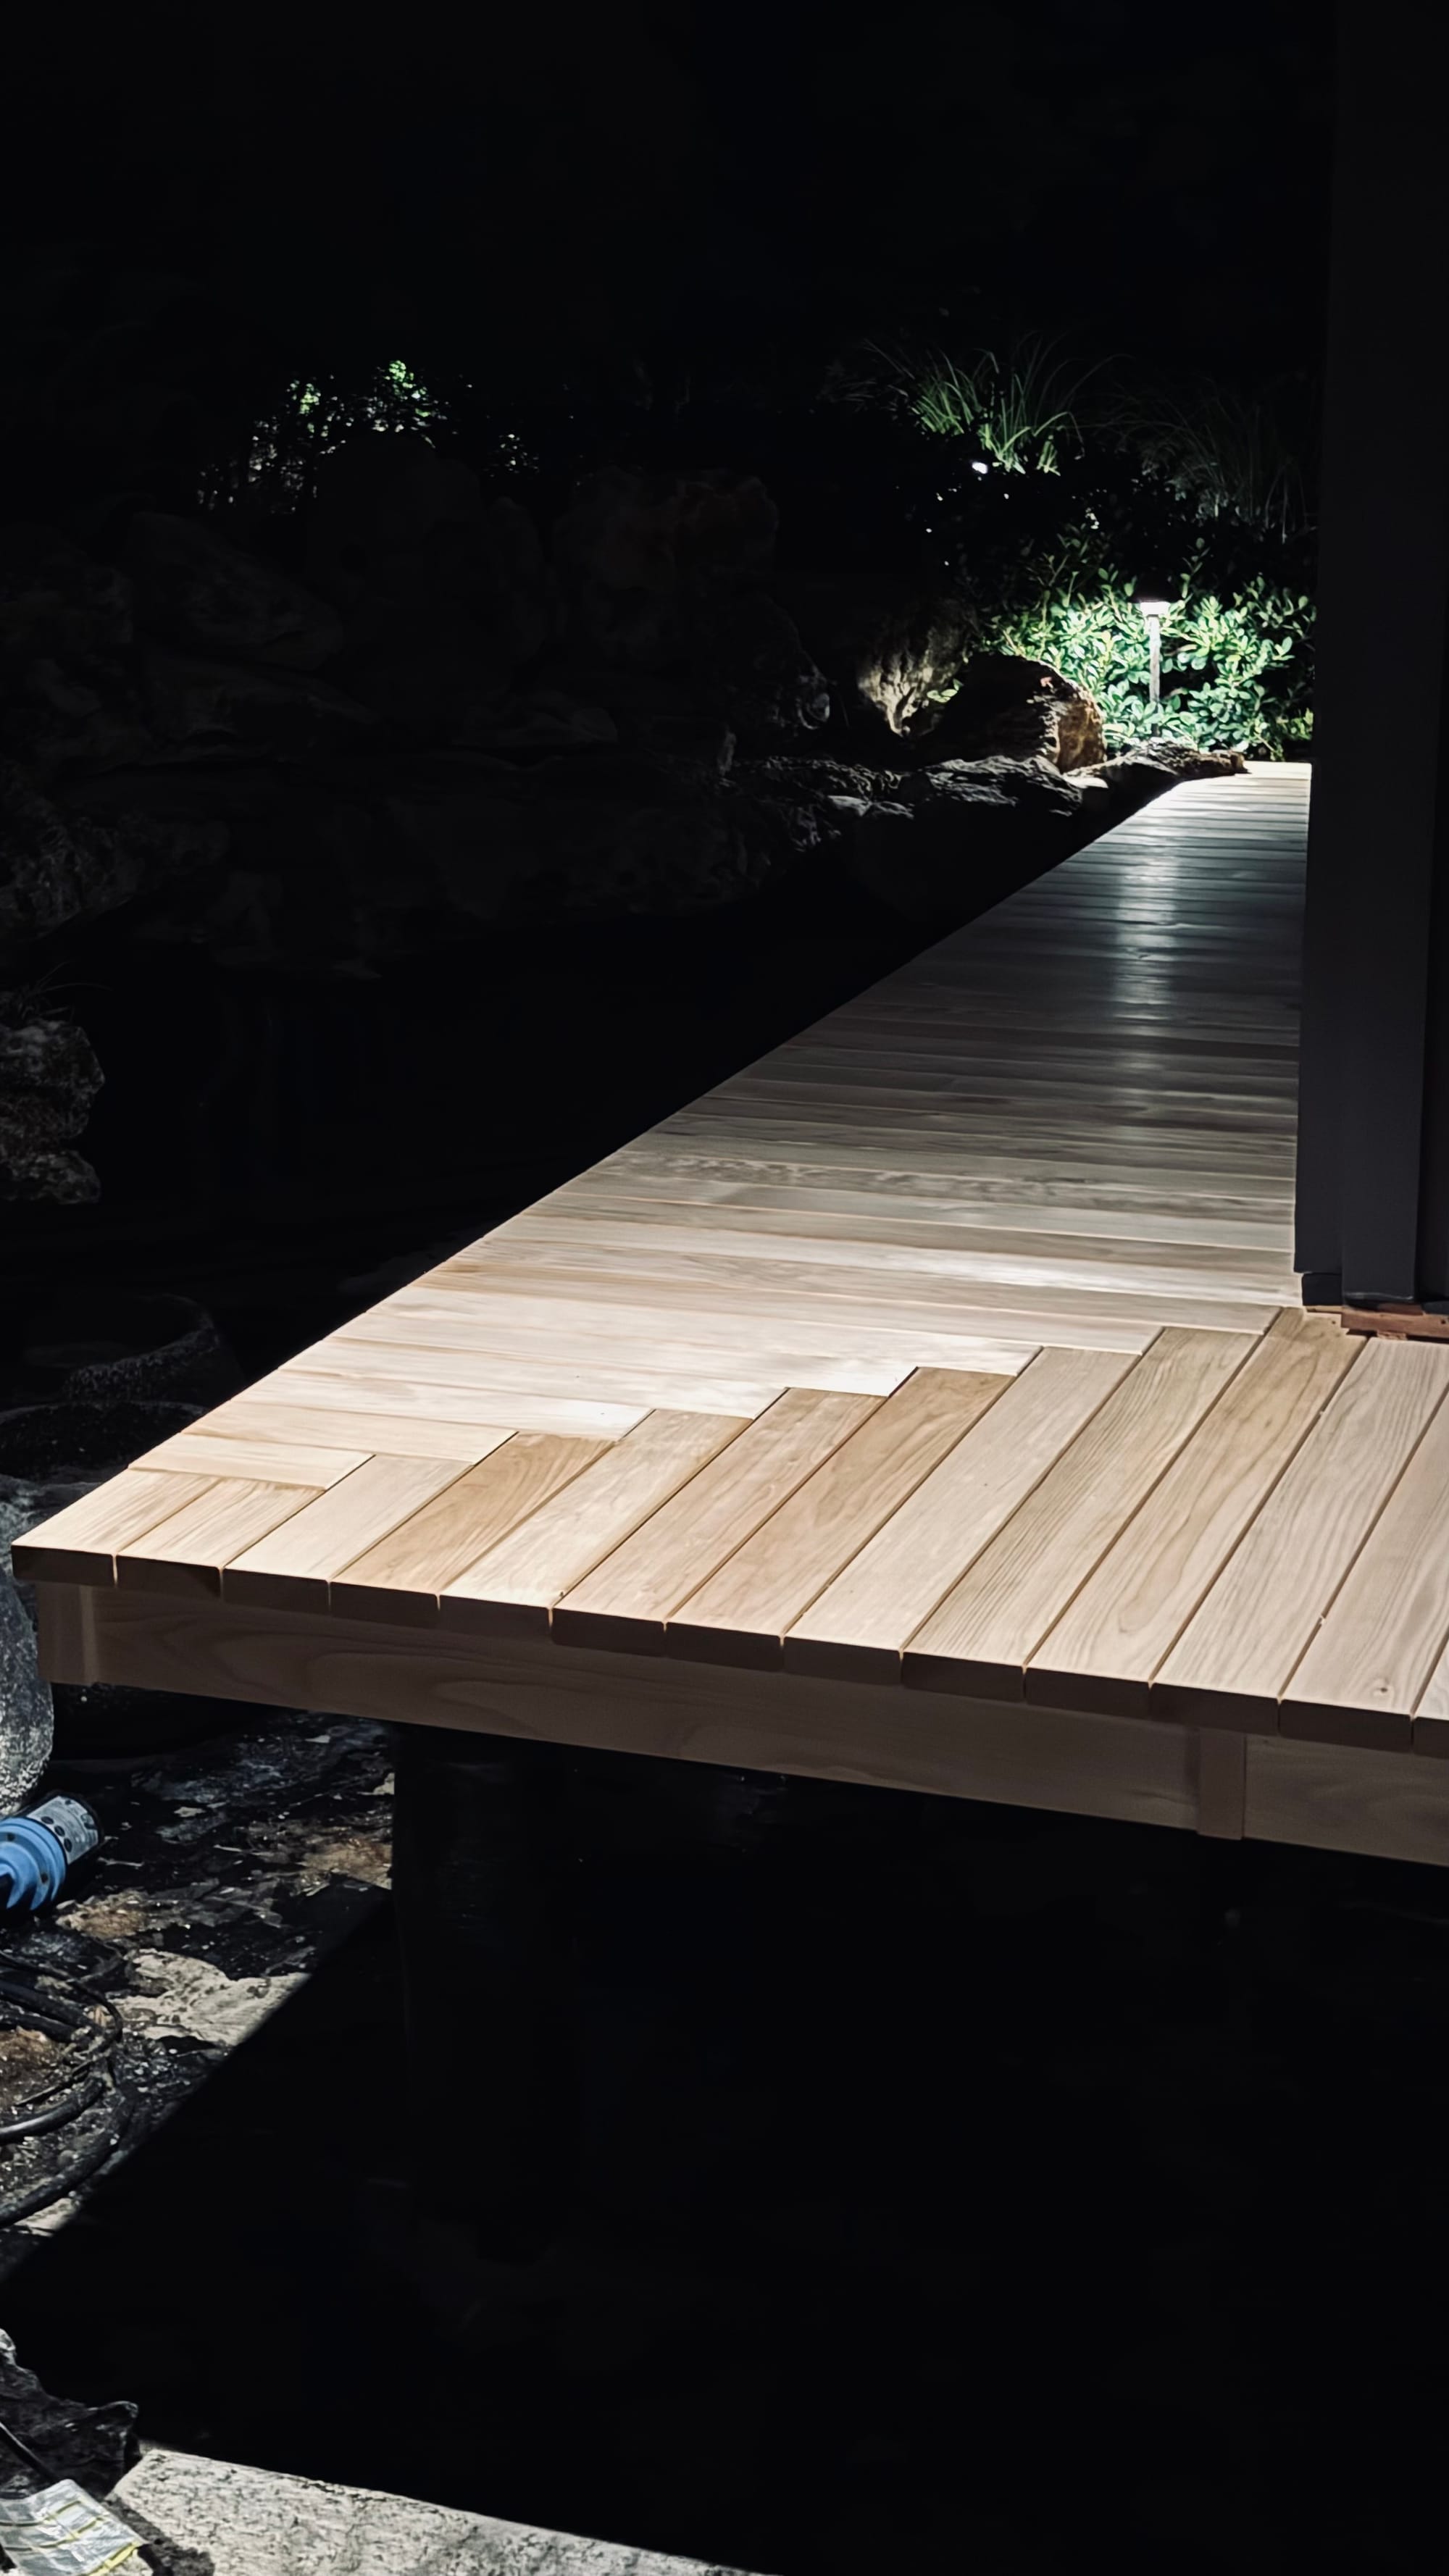
The extra effort to re plane the boards changed my mind about how I want to use the walkway, though. My next project will be for two signs, one for each end of the path, that say “No Shoes Please.”
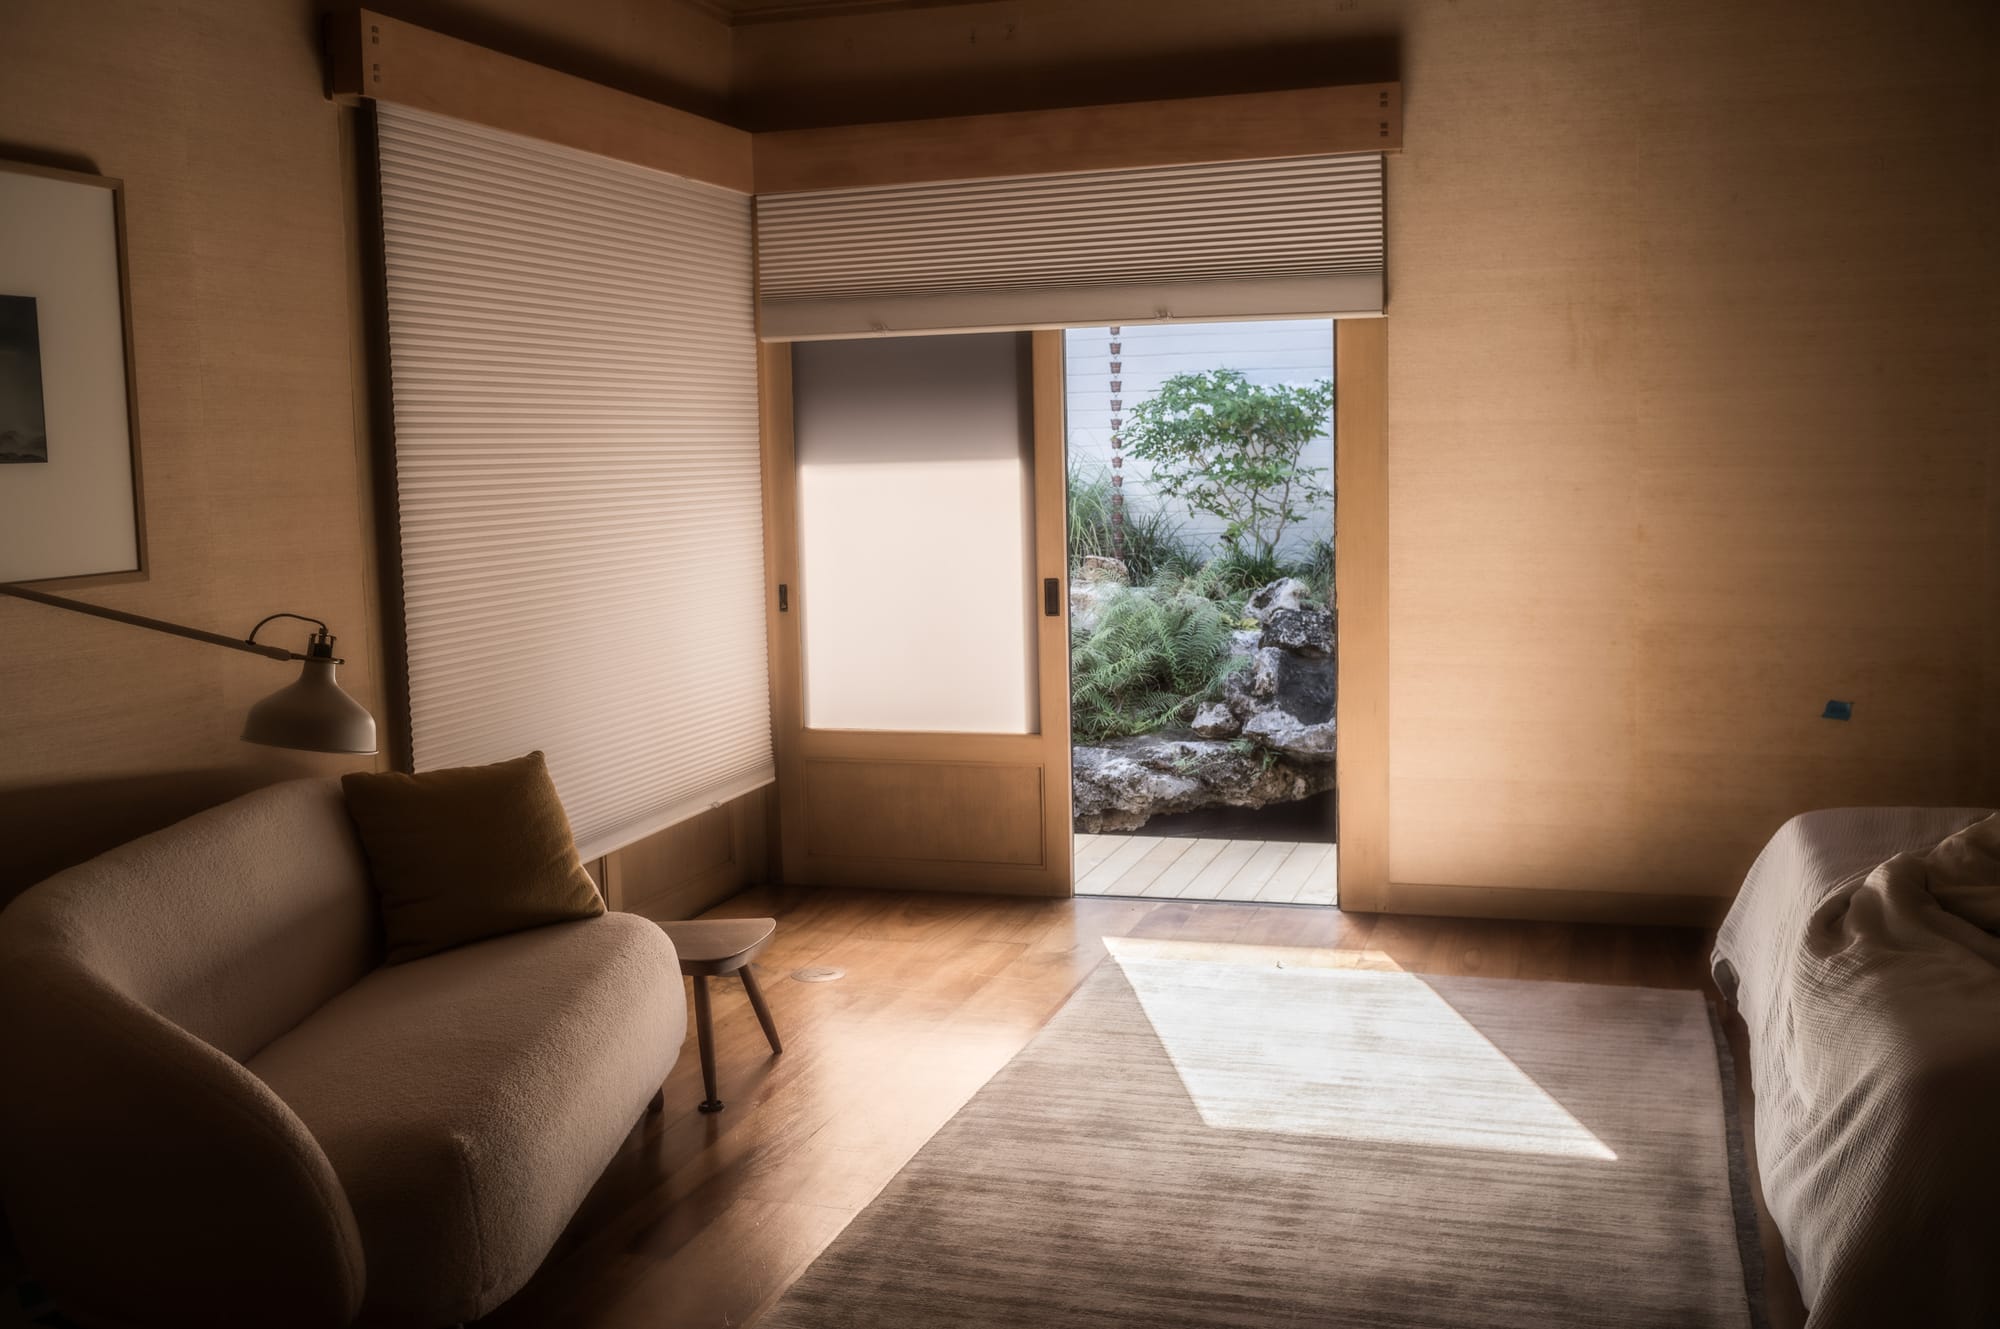
Soon, we will repair the coating. I told the masons and painters that the deck needs to be treated like interior finish work, so they will wrap it before we grind off all that black epoxy. After we fill the pond and test the systems, we will get the fish back from a neighbor’s house where they have been hanging out for about 5 years. I look forward to seeing my daughter feed them from the walkway. I wonder if the koi will remember us.
[1]:It is not quite an engawa, not quite a deck, so I’ll call it a walkway.
[2]:Port Orford Cedar is known as one of the hardest cedars, because it isn’t actually a cedar—it’s a part of the cypress family. It’s identical or similar to the Japanese hinoki, and in fact the better grades of POC get sent to japan. There is some talk about hinoki being more yellow/pink than POC, but I can’t remember it right now. (I just asked some carpenters to clarify.) In Japan, Hinoki is used as a premium wood in temples and higher end contexts as well as baths where rot resistance is important. It smells fragrant and minty.
[3]:The framing is from accoya, a fast growing European pine engineered with a vinegar like solution to push out hydrophilic elements and add intense water and pest resistance. Accoya isn’t cheap or pretty (it is typically paint grade) but it can be buried directly into the ground as a post and is rated 25 years in marine use. It’s a super material I also experienced as decking material at the Liljestrand house, where I volunteer as a board member and sometimes carpenter.
[4]:Yann estimates a third of time planing is spent resharpening using traditional methods and steels. Yama-San, another teacher of mine, employs hollow grinds, and radically quick sharpening methods to get it down to 5 minutes a blade. I employ both types of methods, depending on the context.
Subscribe


