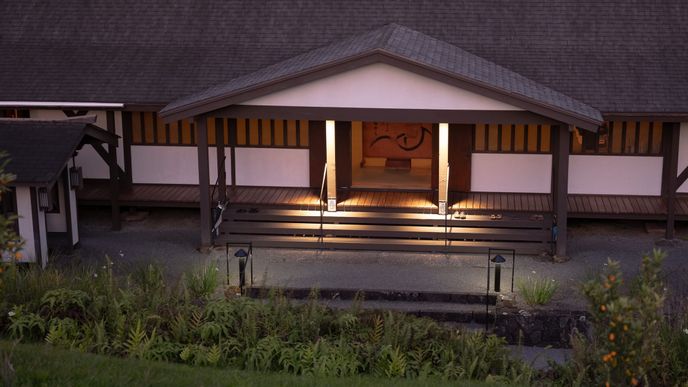
Preparations for the class at Chozen Ji are underway.
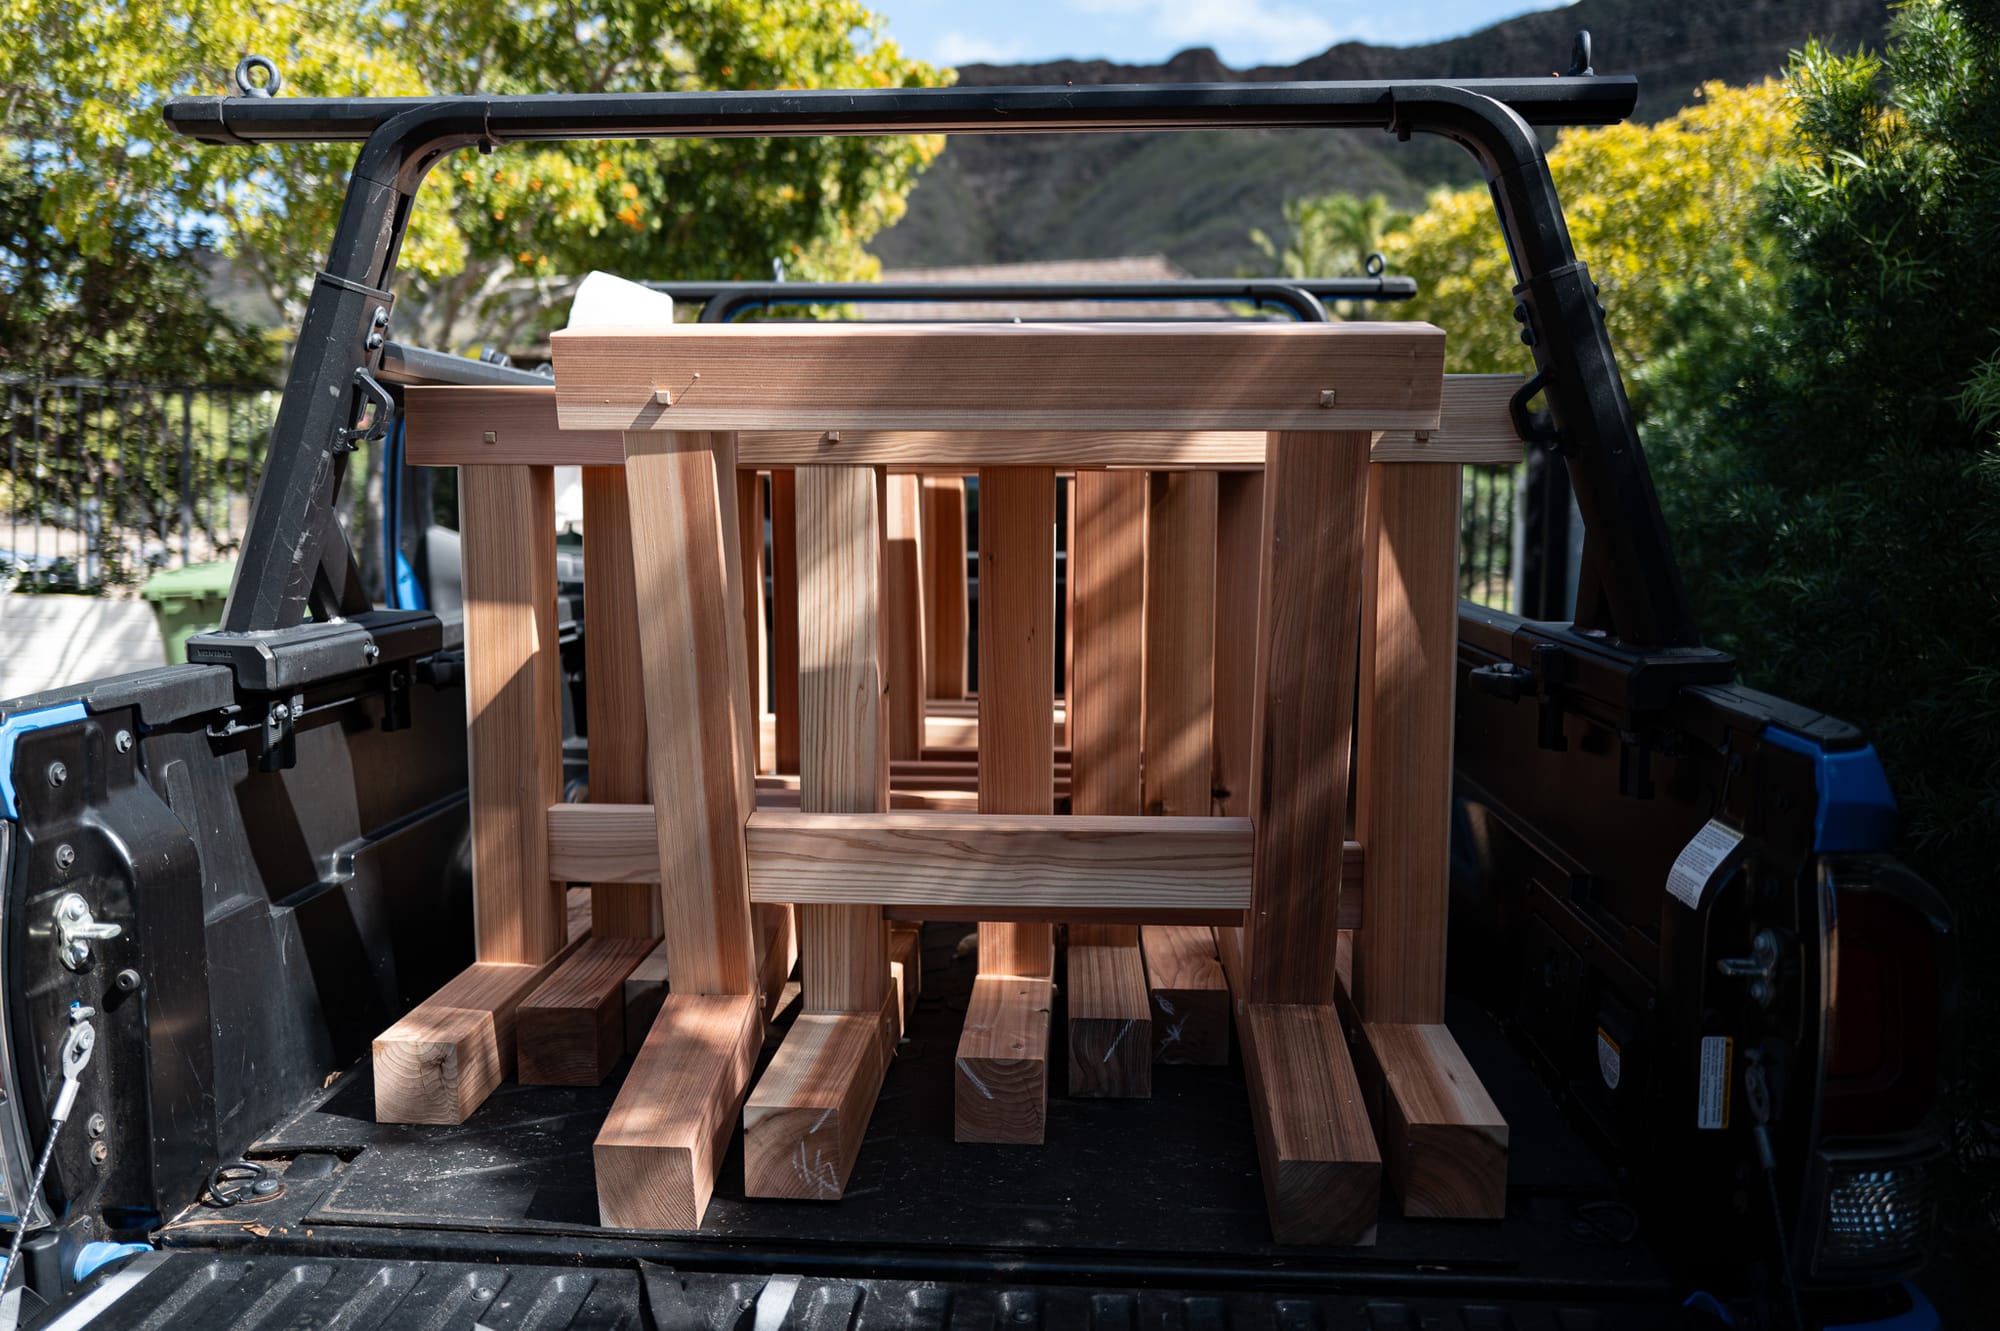
The wood for the frame had showed up. But before I could get to milling it up, I needed to build some sawhorses.
There's an idea that to improve, repeating fundamentals is key. At Chozen-ji, that is how they approach ceramics, for example. The idea continues that after doing a simple thing many, many times, even a hard thing becomes easier.
Sawhorses are something I've made a few times for practice and practical shop use. Stout ones, low ones, skinny ones, tall ones. They have always been made with draw bored mortise and tenon (my favorite). In most sets, the joinery was cut by hand. But the last few, by machine. Of course, I didn't need to make horses quite as nice as the ones Jason Fox drew plans for, for student work. But I made them with the intent that we will leave them at Chozen Ji. And, one day, we might use them for other classes, and with enough luck, to build a workshop and tea house on them.
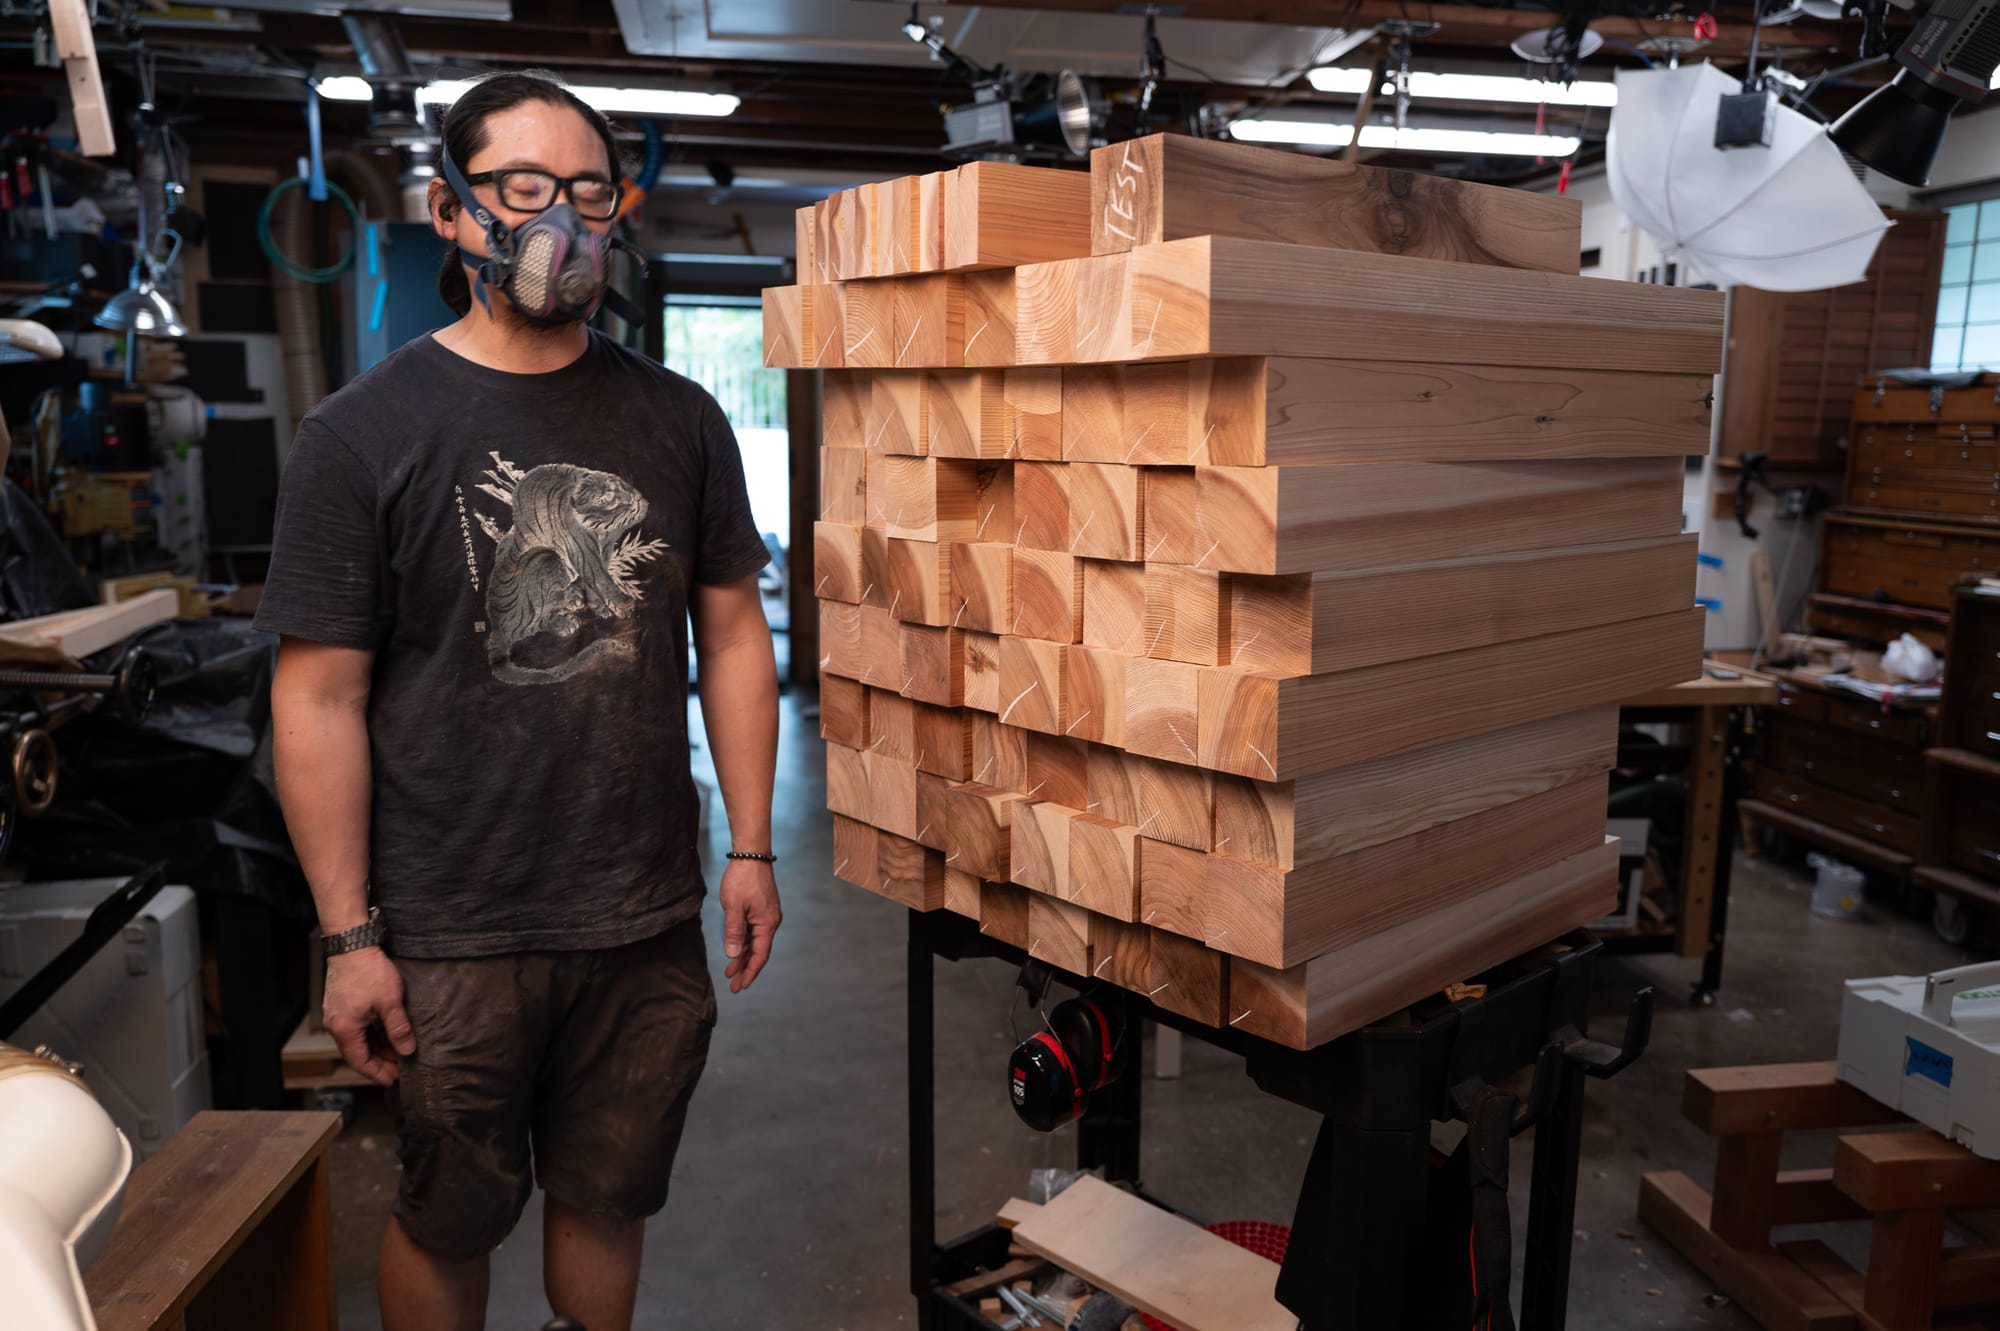
I made a few changes to Jason's plans based on the styles inherited from people I've studied with. I used square rather than diamond pegs. The peg orientation that Somakosha and its former apprentices like Jason use have some practical benefits in seismic activity, but I wanted square pegs and squared off stock to match the extremely direct spirit of Chozen Ji, and to match the style of my first carpentry teacher. I decided to eliminate the pegs on the stretchers to save another 24 pegs and mortises.

Because of the number of mortises to cut, I initially set up a 1" hollow chisel and bit in the Oliver 91-d mortiser with the intent of cutting a three-by-one-inch mortise in three plunges. What a dream! Short of a beam mortiser, most modern machines could never take such a large bite.
I bought the Oliver from the Plumier in Hudson Valley, NY, and had it shipped by truck and ocean liner to Honolulu. It was restored by Darcy Warner, who is sort of a maniac genius at dealing with machines like this. They probably spent $25k on the machine and restoration but I got it for less than a third of that. Crated for freight. The play in the bushings is nonexistent. It is a very stout machine. The XY table is almost 3 feet long and has stops for material and travel. It has a few brass parts due to it having taken a tumble at sea in a machine room on the USS Vulcan, a WW2 repair boat, which the machine was used on in the 1940s.
Less interesting is the second mortiser, a Powermatic 719T, that I use on small stock or peg holes. I loaded that with a 1/2" bit. This machine is arm actuated, which makes it a bit more precise and useful for furniture or lamps.
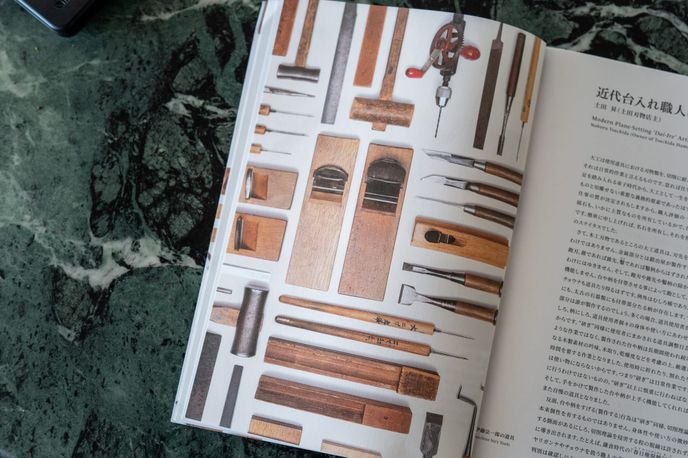
Although many people try to avoid sharpening regular hand chisels by getting these machines, you really cannot get the best out of a mortising machine without tuning. These machines work like junk (bad cuts, smoke coming out of mortises, squealing bits, bluing of augers, racking workpieces and jammed chisels) if you cannot tune them. [1]
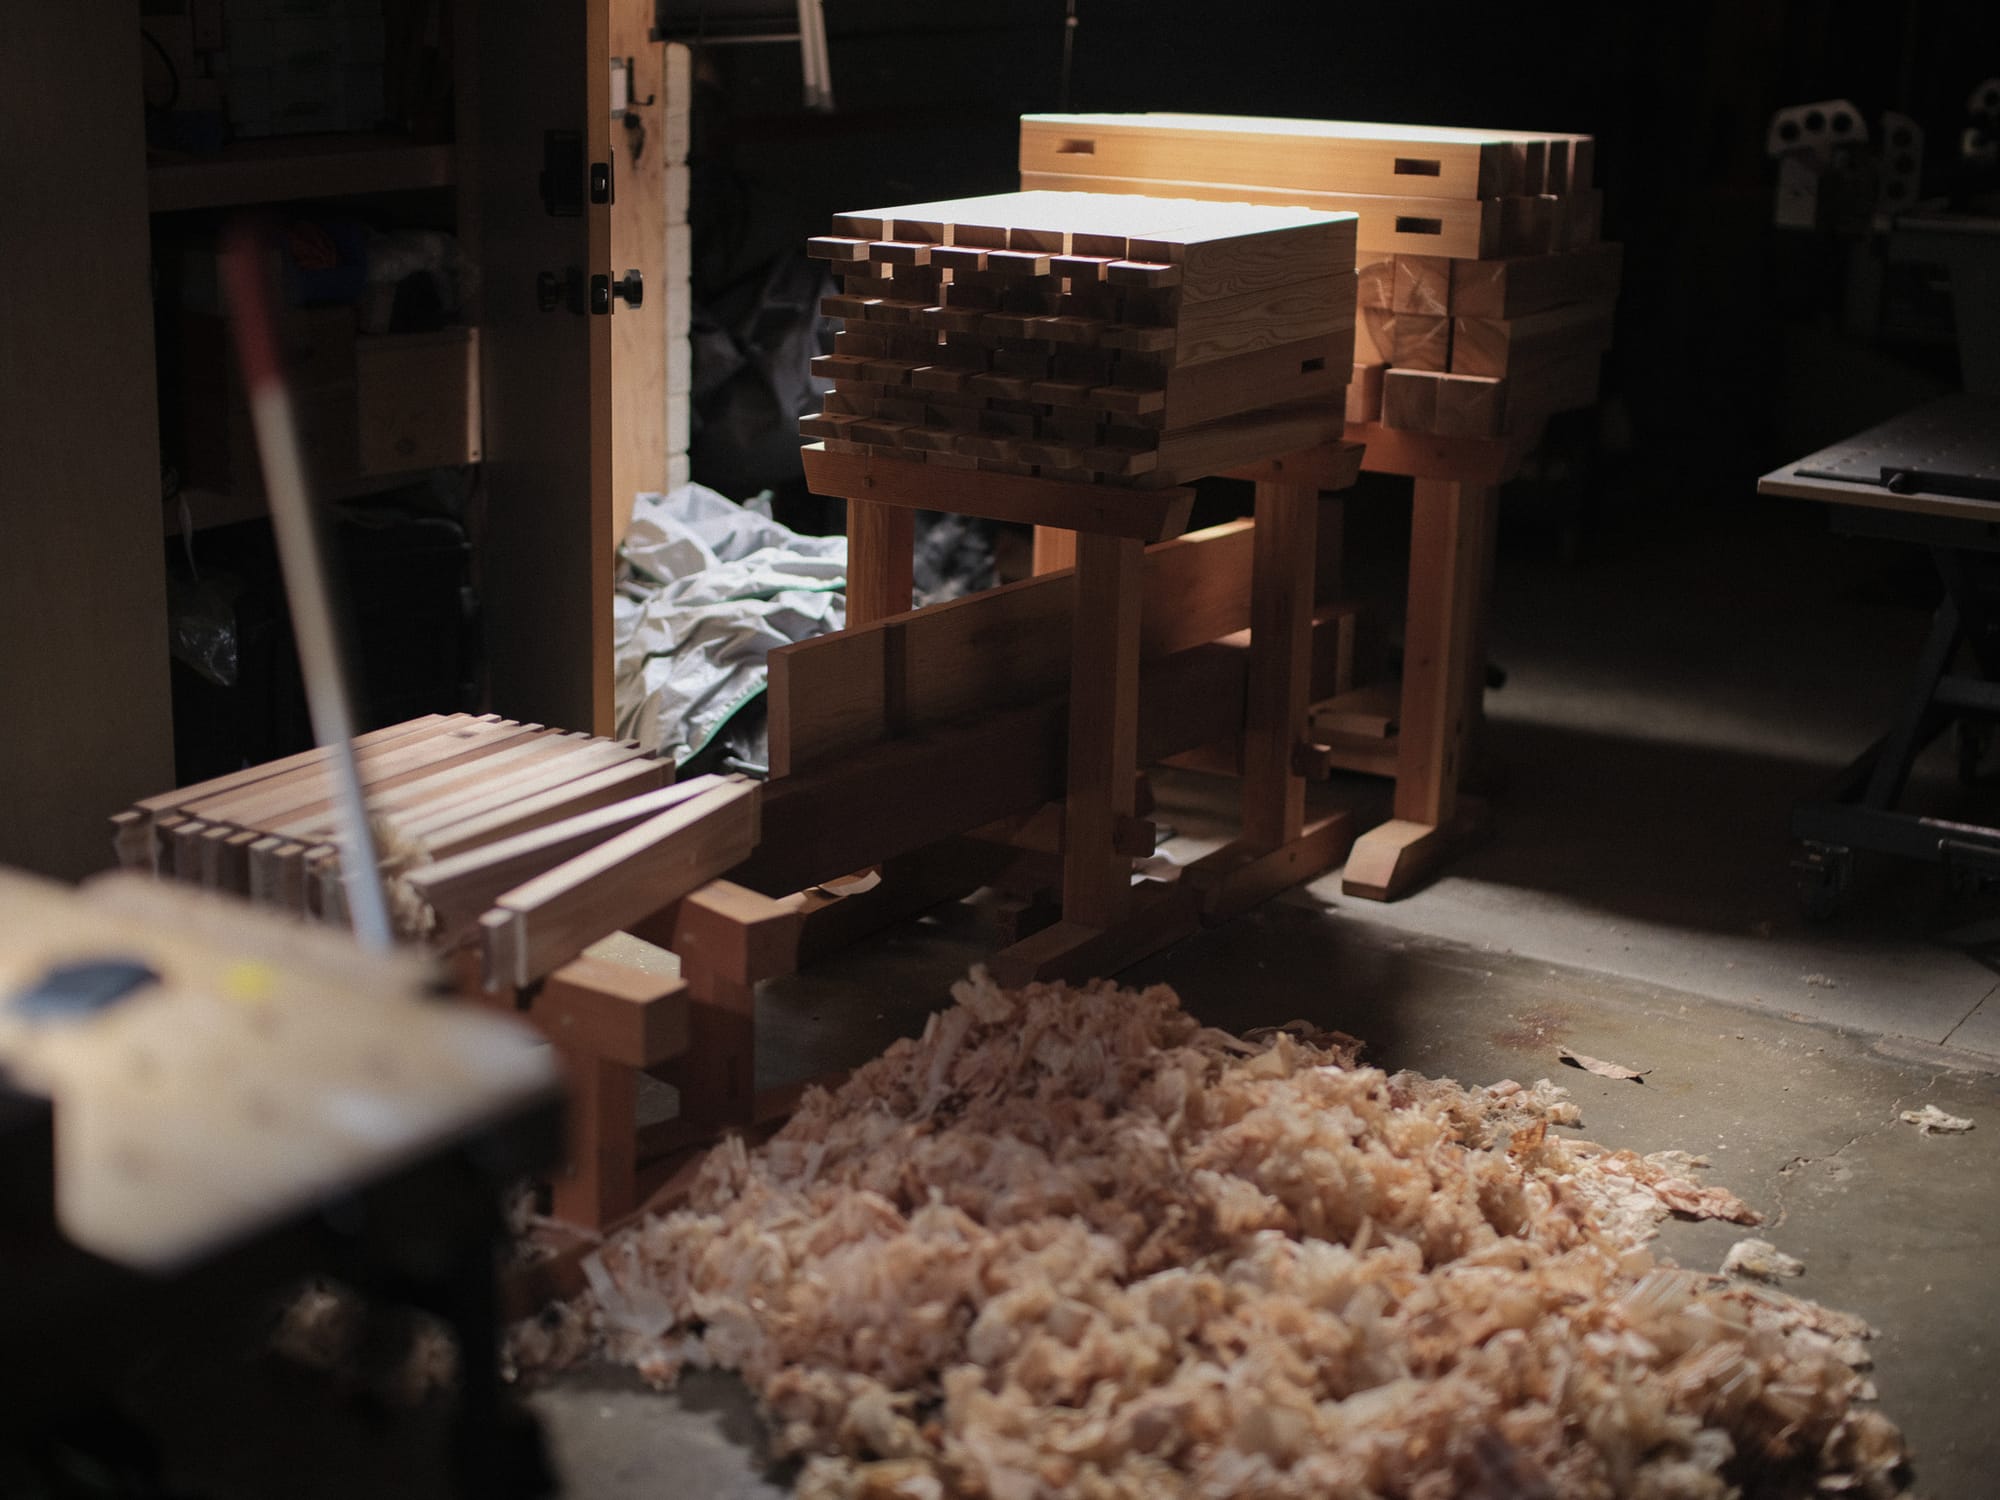
The 12 horses (six pairs) have about 120 mortises, if you include peg holes, across about 24 pieces of 4x4 cedar. That equates to over 1000 plunges on the mortiser. To save more time, I did layout on out one piece to set fence settings, and cut all the remaining pieces by trusting those fence settings. I frequently checked the mortises and tenons with calipers to make sure fence settings didn't drift and double checked the fence locks every few cuts as well. I also duplicated tenon dimensions (3"x1" on the foot and tops) to save time on machine set up and to avoid confusion.
To help deal with the repetition, I also installed some low-end pneumatic clamps, since the replacement brass mount to the screw clamp was starting to show a lot of wear, and was racking a lot. Suprisingly, the pneumatic clamps, two horizontal and two vertical, had enough force to hold the work piece as long as the piece did not rack or the chisel got somehow stuck in the mortise due to a chip wedging between the piece and the chisel. It's nothing like the crazy kinds of pneumatic clamps that Brian Holcombe builds for himself, or the clamps on my sliding saw by Mac Campshure. But it will work for now.
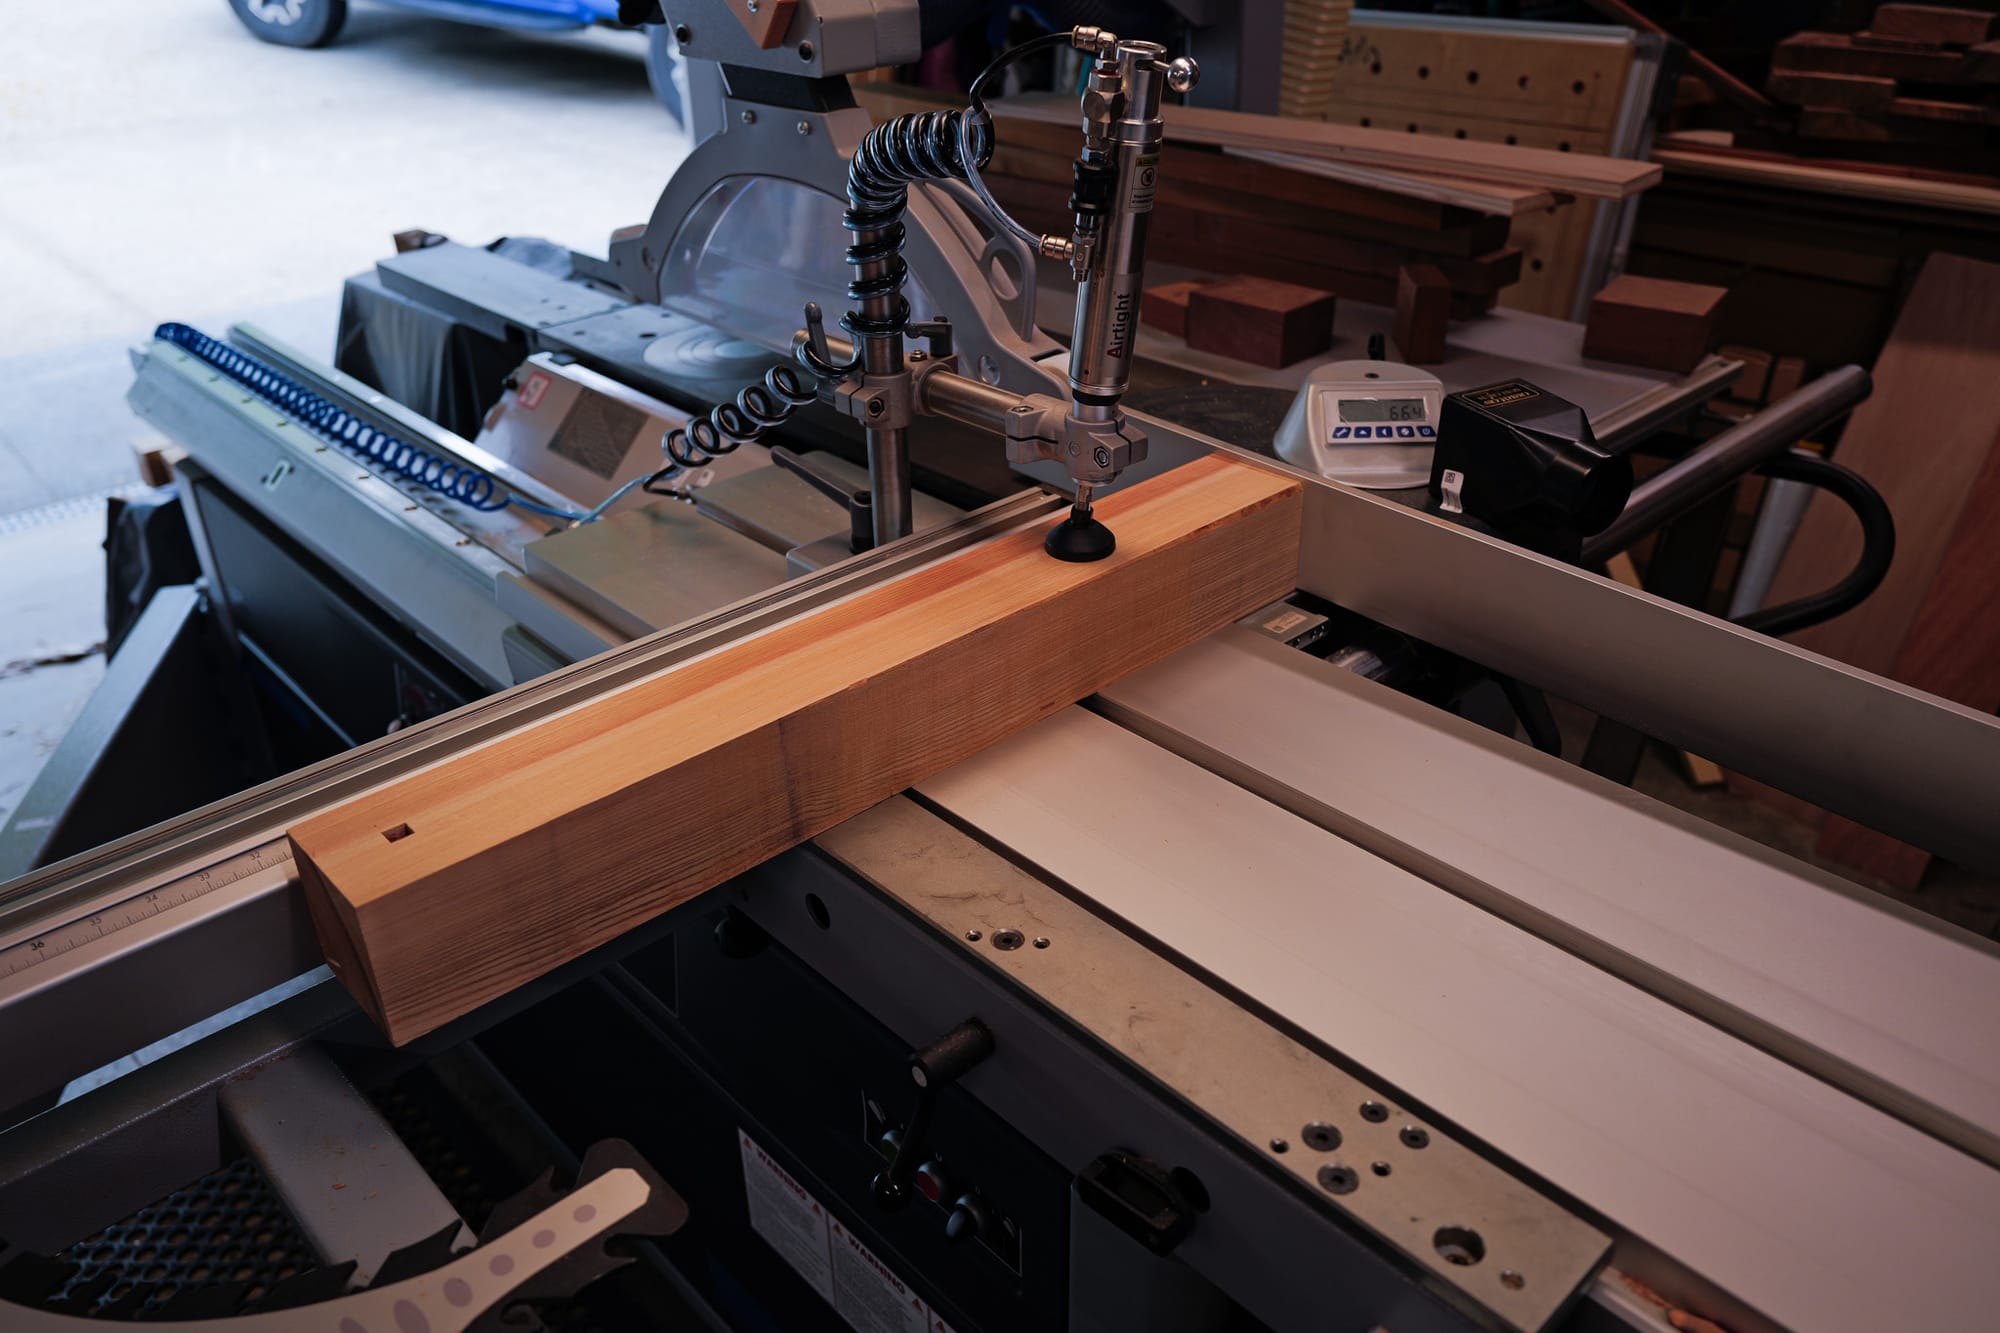
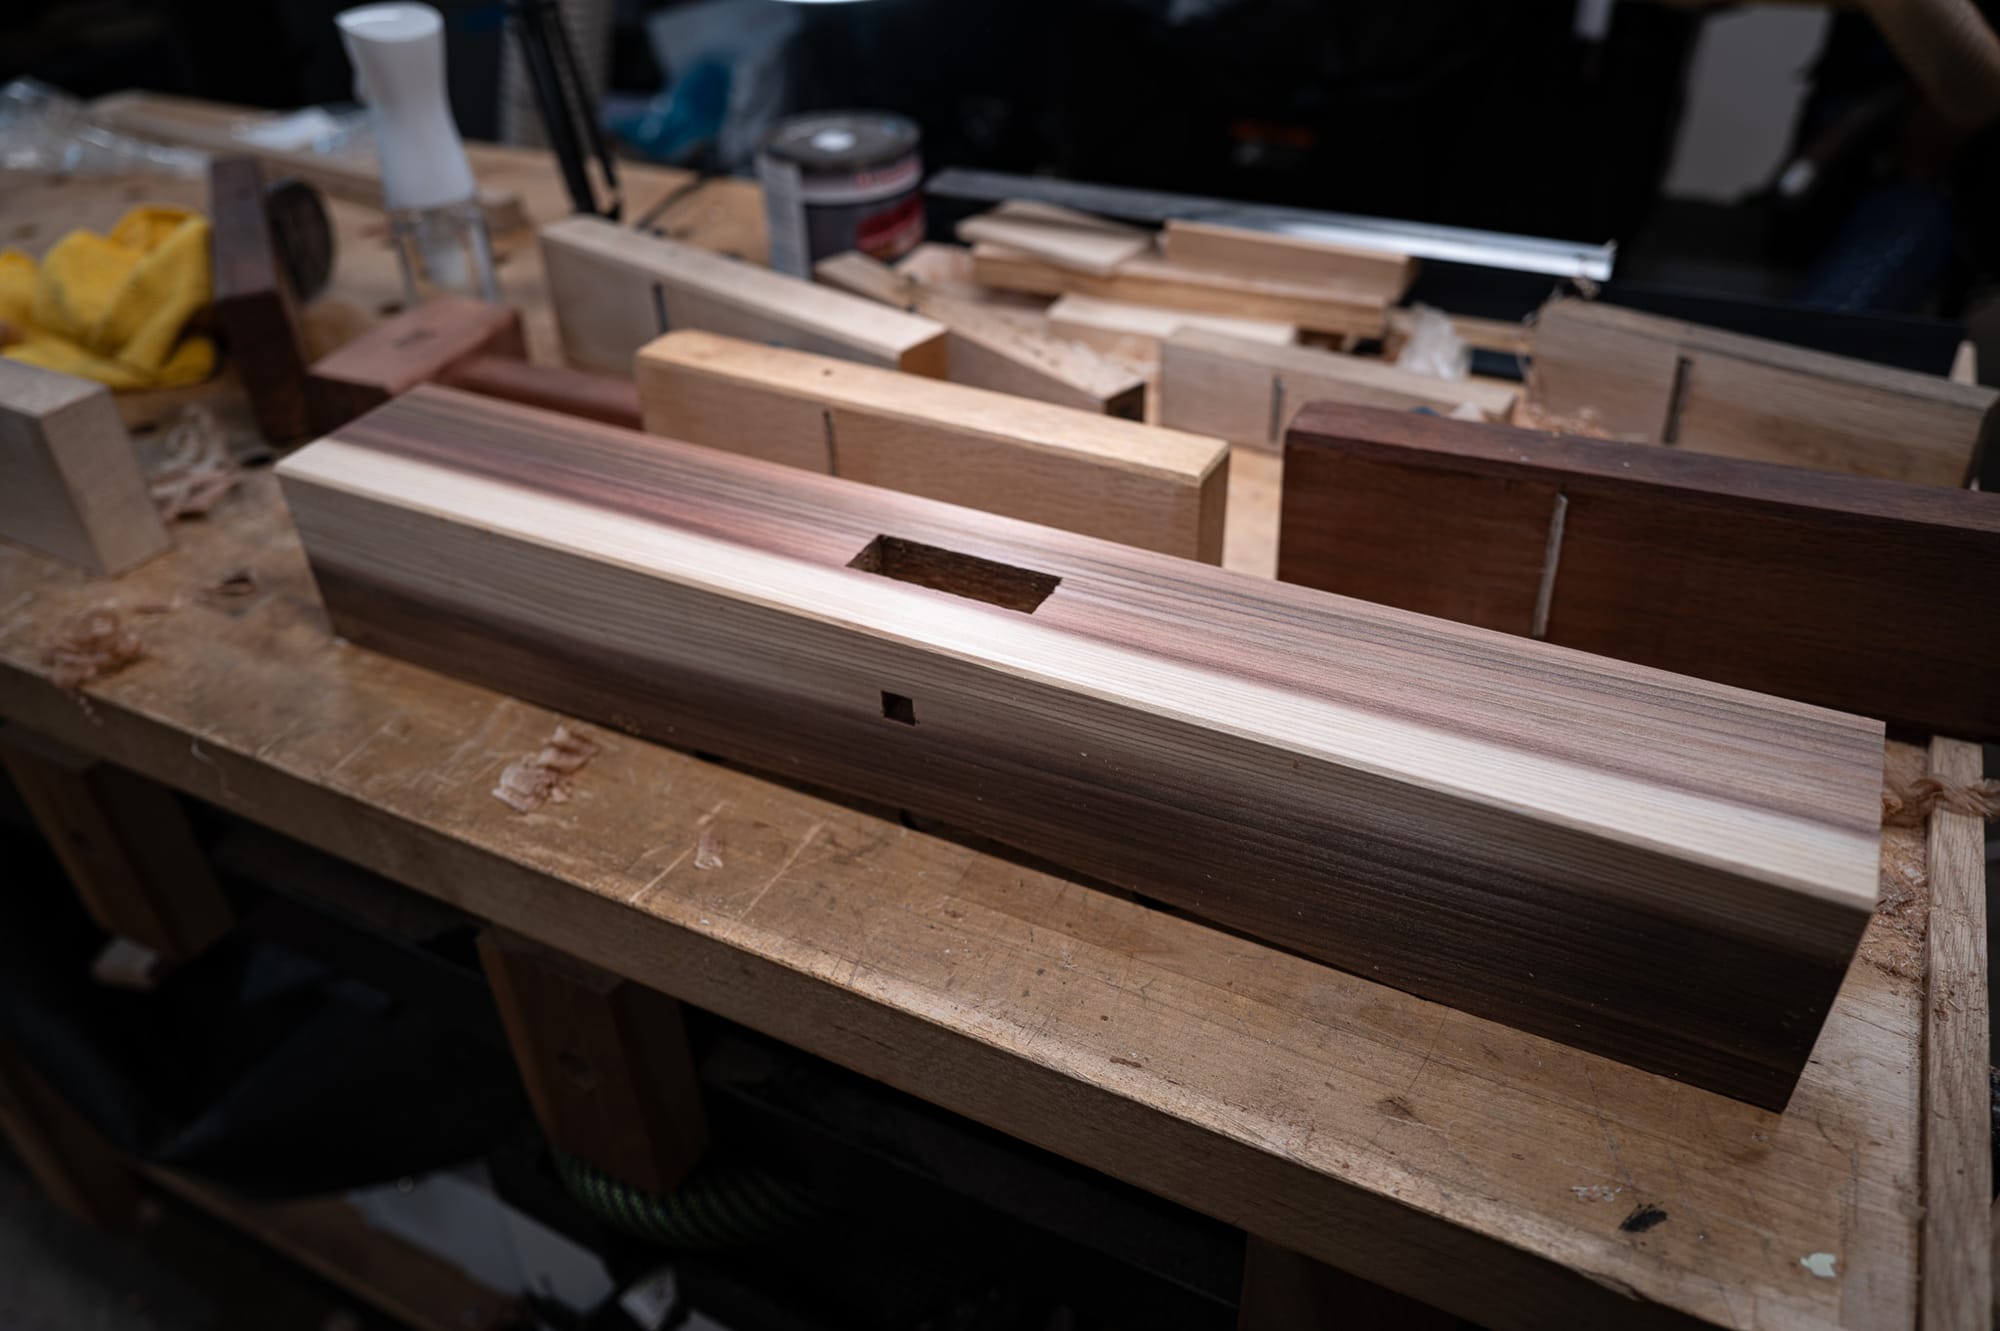
Tenon shoulders were cut on the sliding saw, using digital stops and blade height to tune in the fit to 1mm oversized. This allowed for a compression fit that would still easily enter the mortise with a 2mm chamfer. This wood was extremely soft, so I probably could have gotten away with a tighter fit, but I also decided to use glue to also deal with the idea that over time such a soft wood could work itself loose, even if drawn with a peg. The cheeks were cut with an accurate bandsaw. The roughness of the mortiser and bandsaw made a friction fit easier than if both pieces were smooth. I could have gone for a tighter fit with kigoroshi, and probably should have made things 2mm oversized and crushed the fibers of the tenon with the round face of a large hammer.
Before finish planing the piece, I machine planed 2mm off each side of the posts, in order to accommodate a 2mm chamfer on the legs and tops, and create a subtle shadow line.
The material was really kind of difficult to finish, by accident. I choose some clear as possible fencing 4x4 at Home Depot, labelled as mystery cedar. When I got home, it was apparent I had picked up something like western red, an abrasive but soft cedar known in the community for being able to destroy a lesser blade edge quickly, and then proceed to crush and tear out under that compromised edge. Compounding the issue is that this batch had a lot of sap wood. The sap wood had even less structure than the main wood.
To cope, I had to be on my best sharpening. And, had to set up a finer blade I'd had in a drawer that was sharp enough and long lasting enough to deal with the sap wood. [2]
Regardless of the blade, to deal with the sap required constant sharpening. Using the method Jon Stollenmeyer taught me last month made a huge difference in my ability to touch up a blade to the level where hairs could be cut in mid air, within 2 minutes.